The best Photoshop alternative for Mac depends on your editing needs. For AI-powered photo enhancement, Luminar Neo is the fastest path to pro results. For quick retouching and object removal, TouchRetouch. For batch operations (resize, rename, watermark), PhotoBulk. None require a subscription to Adobe.
Photoshop is now $22.99/month standalone (annual billing). The Photography Plan ($9.99–$19.99/mo) is cheaper and includes Lightroom. There's no one-time purchase option.
GIMP is the best free Photoshop alternative — open-source, cross-platform, and genuinely powerful, but with a steeper learning curve than Mac-native apps.
Most Photoshop skills transfer directly to alternatives. Layers, masks, selections, and adjustment workflows work similarly across modern editors.
Without doubt, Adobe Photoshop is the most iconic raster image editor in the world that has been the go-to app for professionals for over 30 years. Mastering the ins and outs of Photoshop used to be one of the most important skills for designers, photographers, and digital artists of all kinds.
The Photoshop app inspired nearly every image editor that came after and, today, there are lots of paid and free Photoshop alternatives available on the market to suit every taste.
Still Photoshop stands out as an iconic achievement. Even its name has been generalized and frequently used as a verb (i.e. to photoshop something). Given that most Photoshop skills are transferable to any other image editing app, starting your digital art journey by learning the basics of Adobe Photoshop for Mac is a great idea.
Let’s explore how much is Photoshop, how to install Photoshop Mac, how to use Photoshop actions, and which Photoshop alternatives for Mac users tend to choose.
Standalone from $4.99 USD/mo on Setapp Marketplace, or Setapp Membership ($14.99 USD/mo + tax)
Affinity Photo 2
Full raster editor
Yes
Yes
No
$69.99 one-time
Pixelmator Pro
Mac-native editor
Yes
Yes
Yes (ML enhance)
$49.99 one-time
GIMP
Full raster editor
Yes
Via plugin
No
Free
How to install Adobe Photoshop for Mac
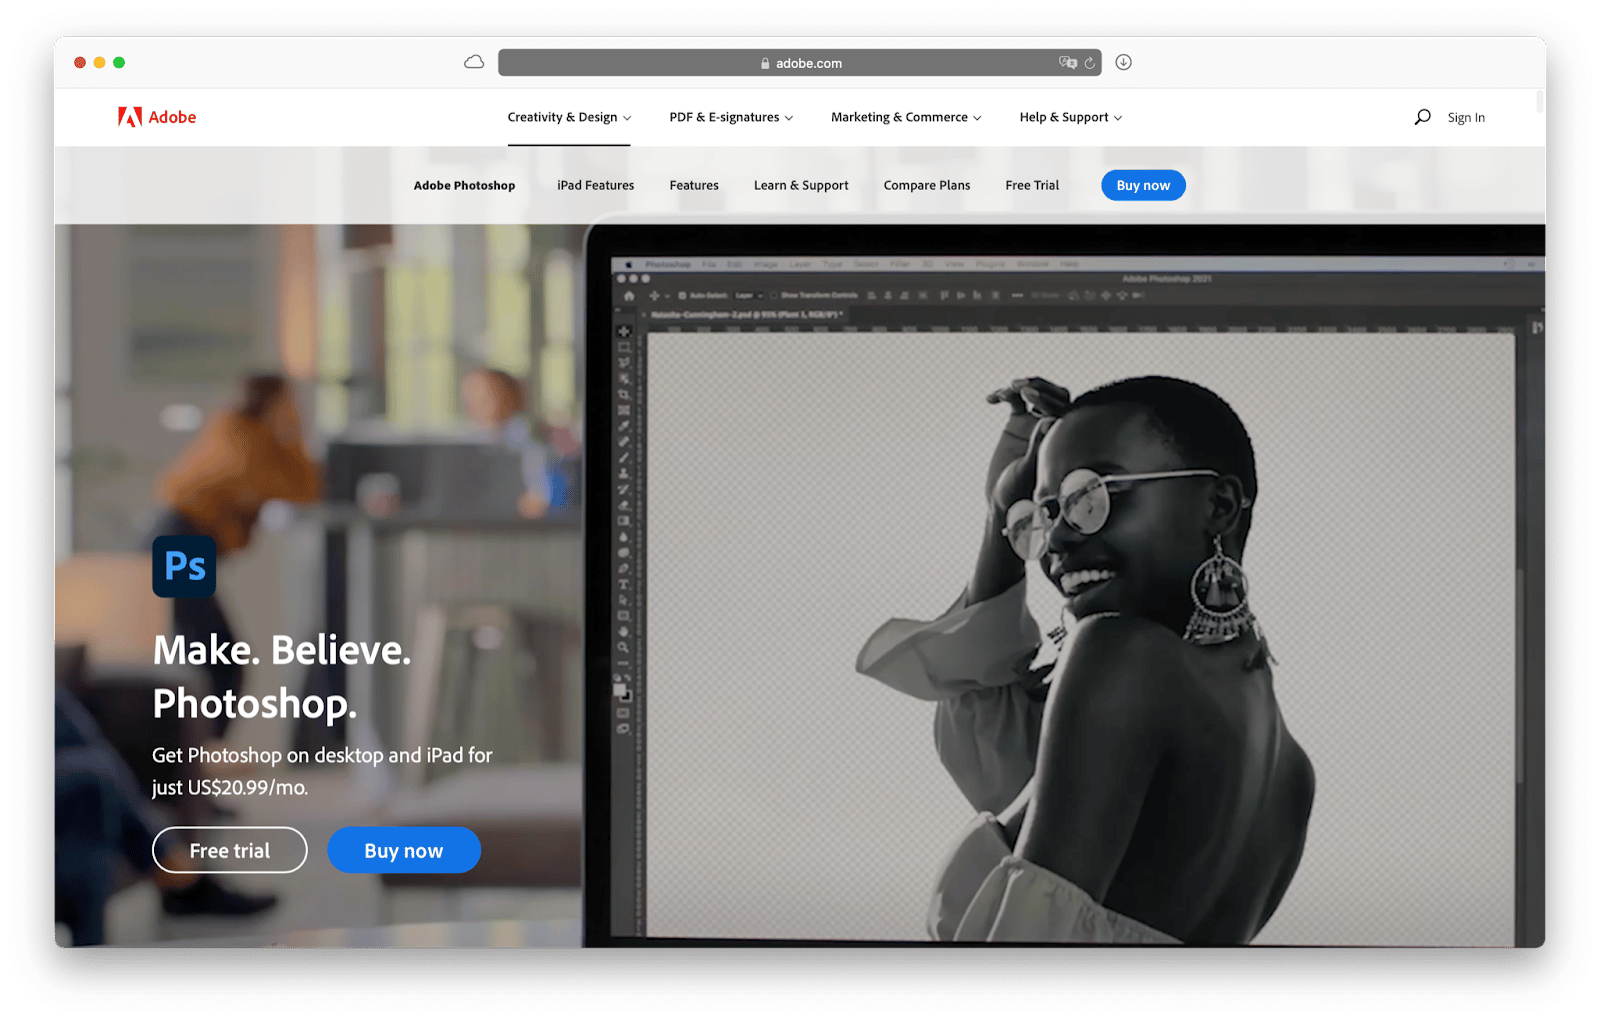
Before we install the Photoshop app, it should be mentioned that Photoshop is not free. In fact, back in the day, Photoshop used to cost hundreds of dollars as a standalone app. Recently, however, Photoshop became part of the Creative Cloud — Abode’s subscription platform. This means that there’s no one-time payment to own the app forever anymore. Instead, you choose a plan that includes Photoshop and subscribe to it for however long you need to, with all future upgrades and versions included in the price.
There are three different plans to get Photoshop right now. You can subscribe to Photoshop only for $22.99 a month (annual plan, billed monthly) or $34.49/month on a month-to-month basis. The Photography Plan, which includes Photoshop, Lightroom, and Lightroom Classic, starts at $9.99/month (20GB storage) or $19.99/month (1TB storage), both on annual billing. Or you can subscribe to the Creative Cloud Pro plan with 20+ apps for $69.99/month (annual billing).
Arguably, subscription options for Photoshop are not very cheap. That’s why there are so many cheap or free Photoshop alternatives available, some of which we’ll list at the bottom of the article.
Now, how do you download and install Photoshop on your Mac?
Visit adobe.com/photoshop
Click Free Trial
Choose a subscription plan by clicking “Start free trial”
Fill out all the information to create an account
Download and install Creative Cloud
After Creative Cloud is installed, Photoshop will download automatically
How to use Photoshop: Top Photoshop actions
Unless you’re a professional photo editor, most of the Photoshop actions you’ll need to start using Photoshop frequently are fairly basic. You need to know how to resize an image in Photoshop, how to make a GIF in Photoshop, how to remove the background in Photoshop, how to add fonts to Photoshop, how to crop in Photoshop, and so on.
Here are the step-by-step instructions to get you started with the most popular Photoshop actions.
How to resize an image in Photoshop
Resizing images is one of the most frequent Photoshop actions that everyone needs to do, sometimes many times a day.
Luckily, resizing images is also very easy, and Photoshop has a robust menu to do it:
Launch Photoshop
Drag and drop your image onto the app
Go to Image ➙ Image Size (Option + ⌘ + I)
Select one of the presets or configure your own image size using any measuring units available (e.g. percents, pixels, points)
Click OK
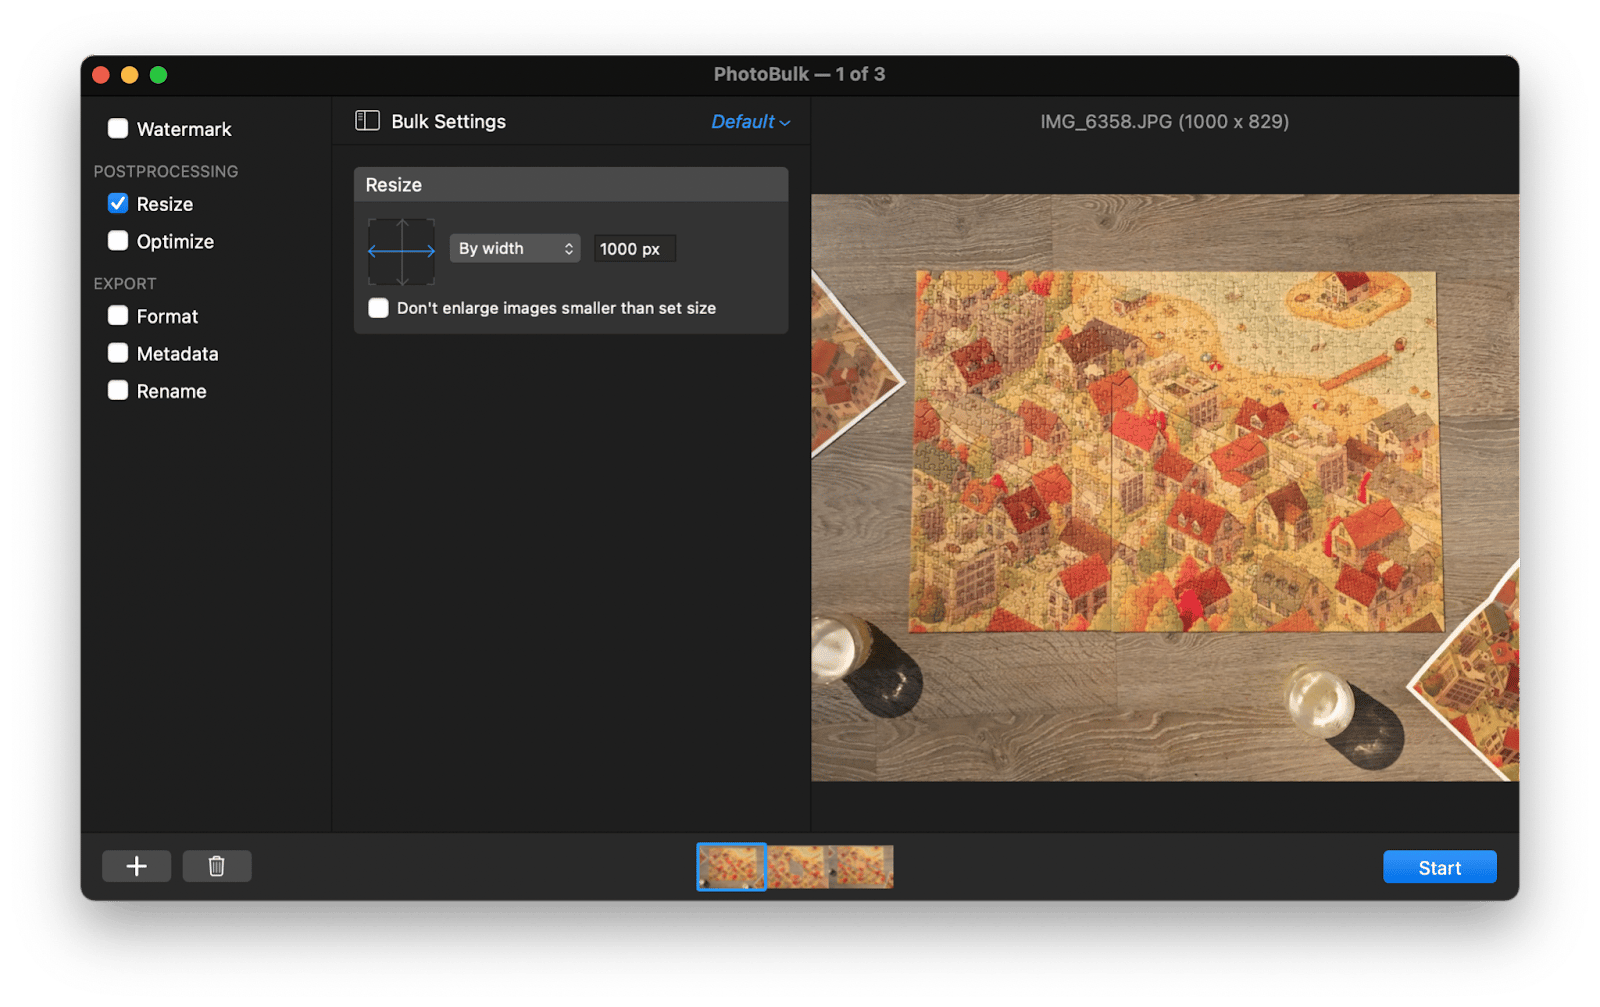
The only problem with resizing images in Photoshop is that you have to do it one by one, which is not very practical when you need to cut dozens or hundreds of pictures to the same size. For such scenarios, what you need instead is a bulk image editor like PhotoBulk.
PhotoBulk is a super-fast image editor designed to perform bulk actions, such as resizing, optimizing, and renaming, in seconds. All you need to do is check which actions you want to do, configure each one to your liking, then drag and drop all the images you want to work on, and click Start.
Resize, watermark, and rename hundreds of photos at once. Skip Photoshop's one-by-one workflow. PhotoBulk batch-processes your whole shoot in seconds. Try PhotoBulk Free. Or get PhotoBulk standalone for $9.99 — no Membership needed.
How to make a GIF in Photoshop
Attracting attention to your work these days is all about motion. GIFs are a perfect example of that, helping you create a story that separate images would struggle with.
As the go-to destination for photo-editing, Photoshop can help you create GIFs of any complexity — all using the Timeline window:
Launch Photoshop
Paste your images into the same document but as separate layers
Go to Window ➙ Timeline
Click Create Frame Animation
Select the menu on the right and choose Make Frames From Layers
Right-click on your frames and pick the speed for your animation
To export your work, choose File ➙ Export ➙ Save for Web (Legacy)
Make sure to set GIF as the format and Forever as the Looping Option
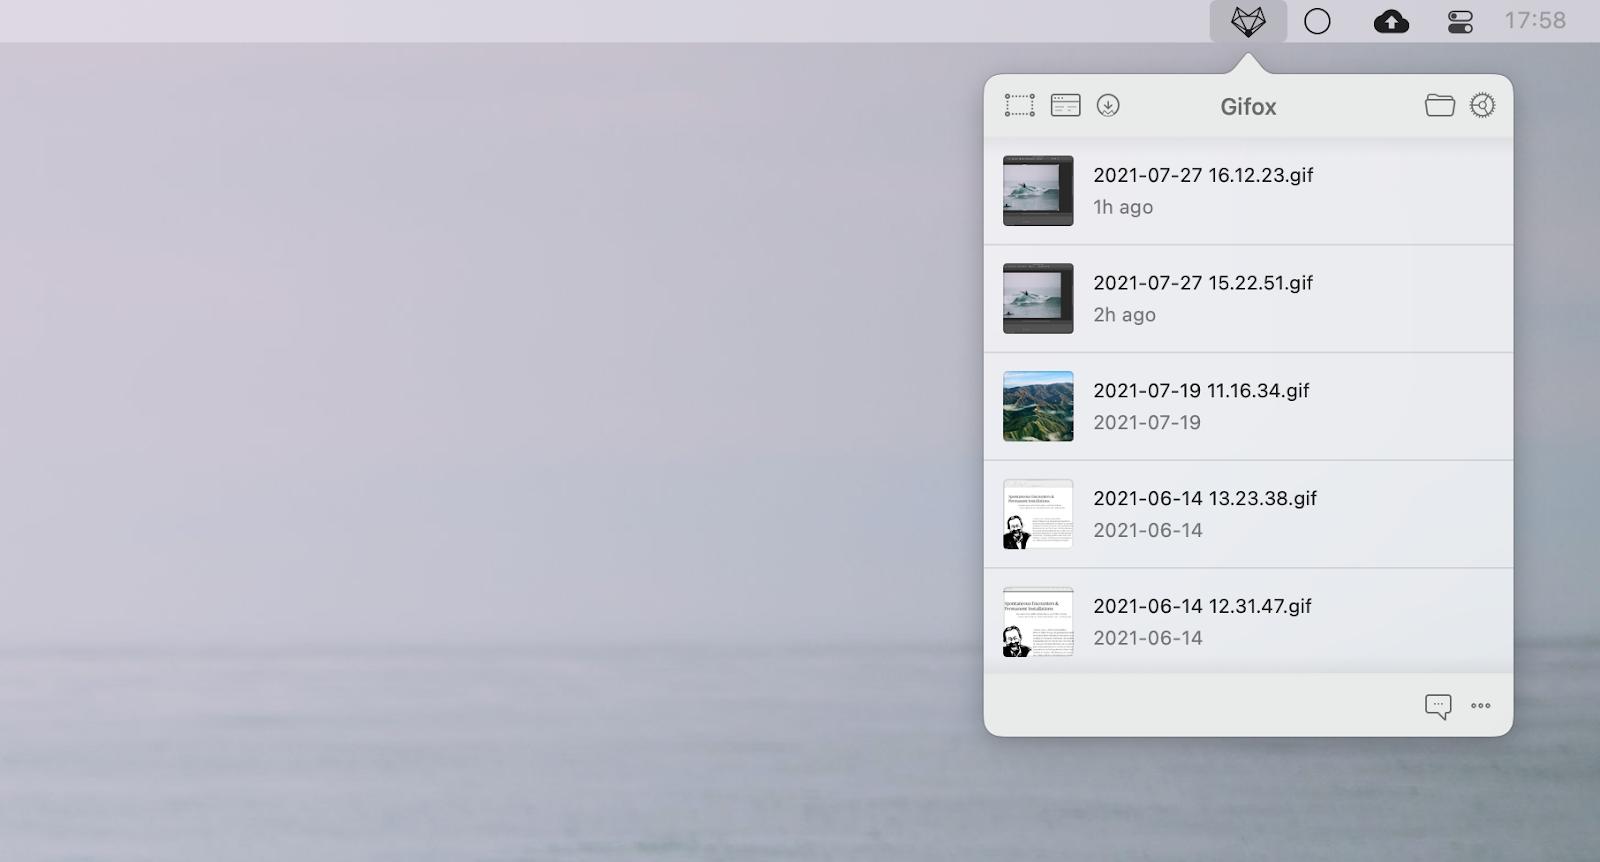
If a GIF you need to do is not a custom animation but rather a screen-shared show-how to send to your coworkers or to share online, then your best bet is to use a special GIF-making app that can create GIFs on the fly, such as Gifox.
Gifox is the most effortless GIF-maker around. With a single click (or shortcut) you can start recording anything on your screen and then share it with anyone on your team. No complex features, no bloated apps. Just click record, stop, and the resulting GIF will be saved on your Desktop.
How to remove background in Photoshop
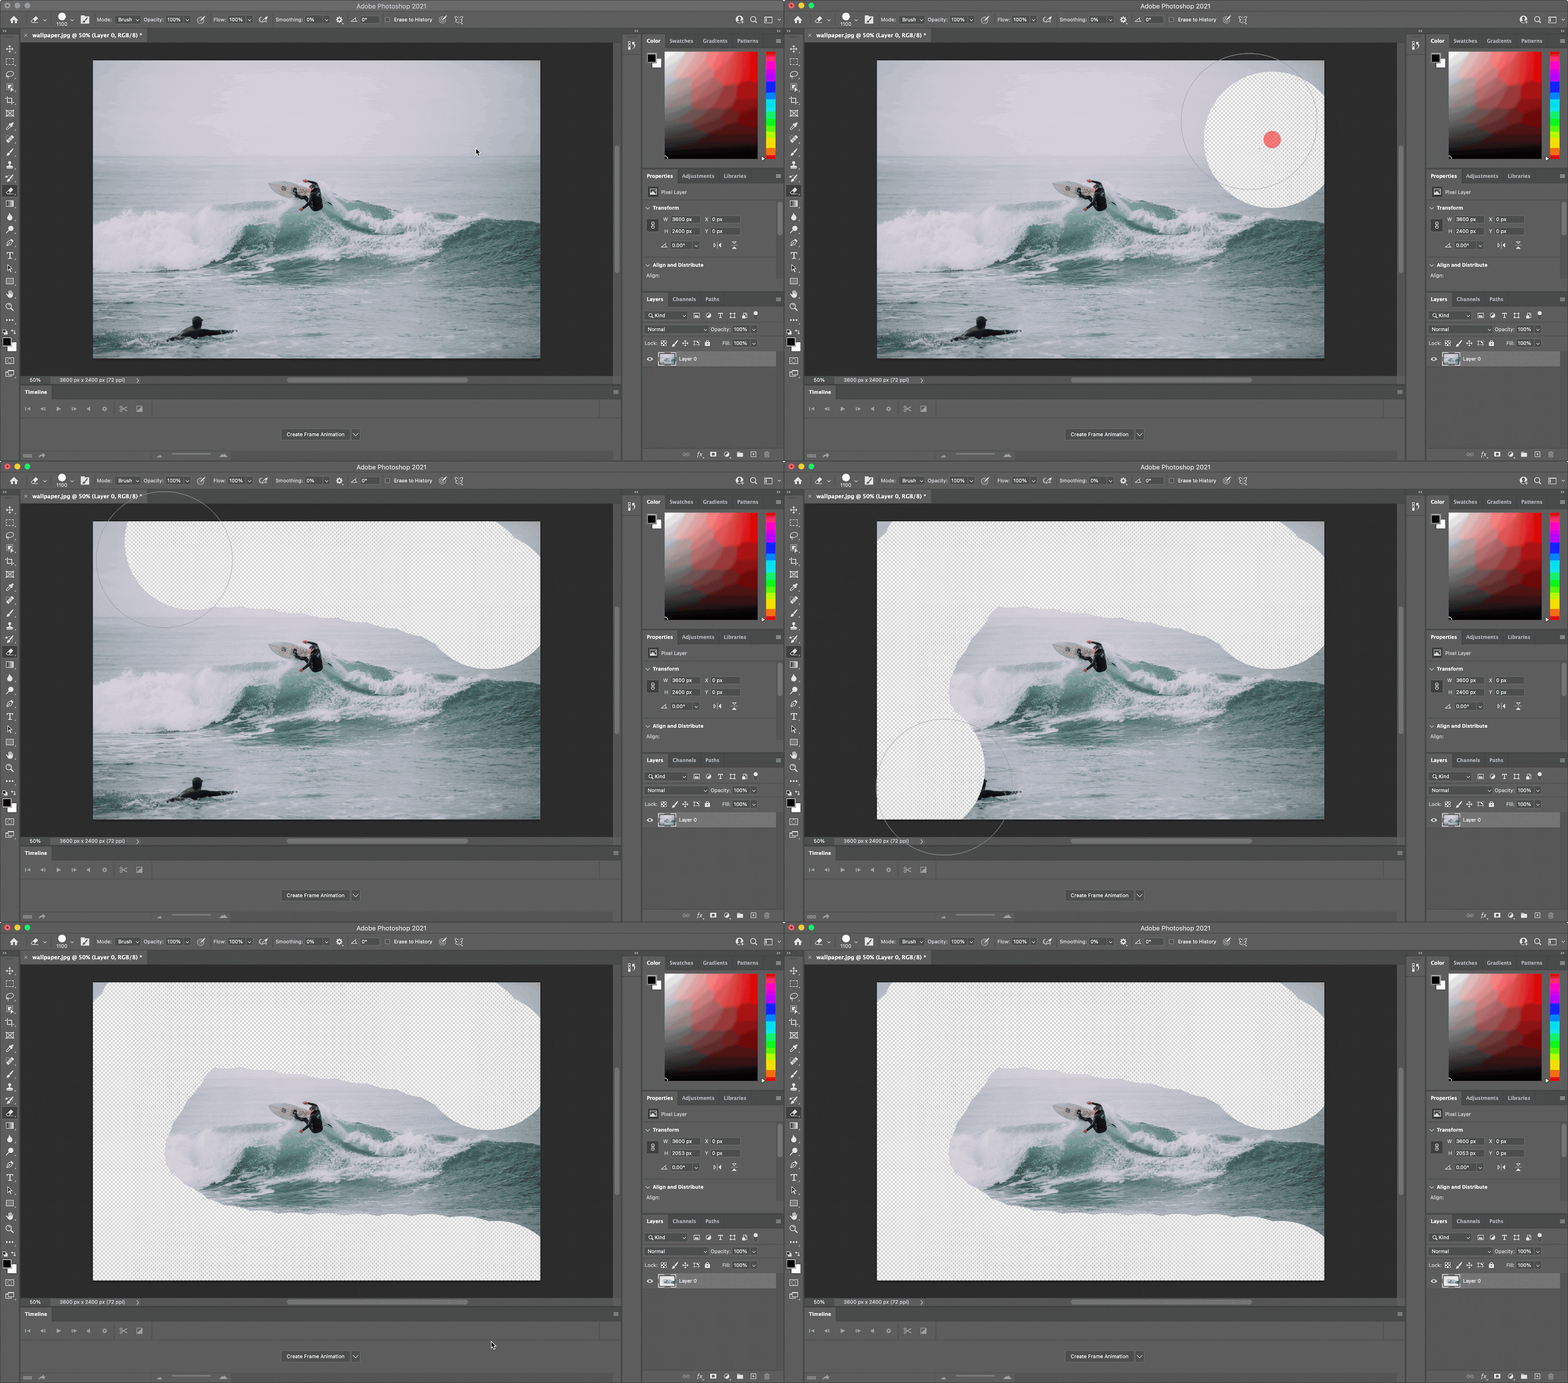
One of the most popular Photoshop edits is placing one part of the image onto another. But how do you cut out the part you need? You can do so by removing the background. The way to do that is by using the Eraser tool:
Launch Photoshop and open your image
Switch to the Eraser tool (E) in the left sidebar
Press and erase parts of the image you don’t want. Adjust the size of your eraser by using [ and ] keys.
How to add fonts to Photoshop
Photoshop is often used to make posters, advertising, banners, and other design collateral. To design a really cool poster, you definitely need to use one or more custom fonts that would stand out and support the meaning of your message.
The question is how to add fonts to Photoshop on Mac to work natively. It’s actually very simple because all fonts installed on your Mac are automatically added to Photoshop. So if you’ve found a new and exciting font and downloaded it, you just have to install it on Mac for it to be available in Photoshop:
Double-click on the font file
Click Install
Check that the font has been added properly to your Font Book
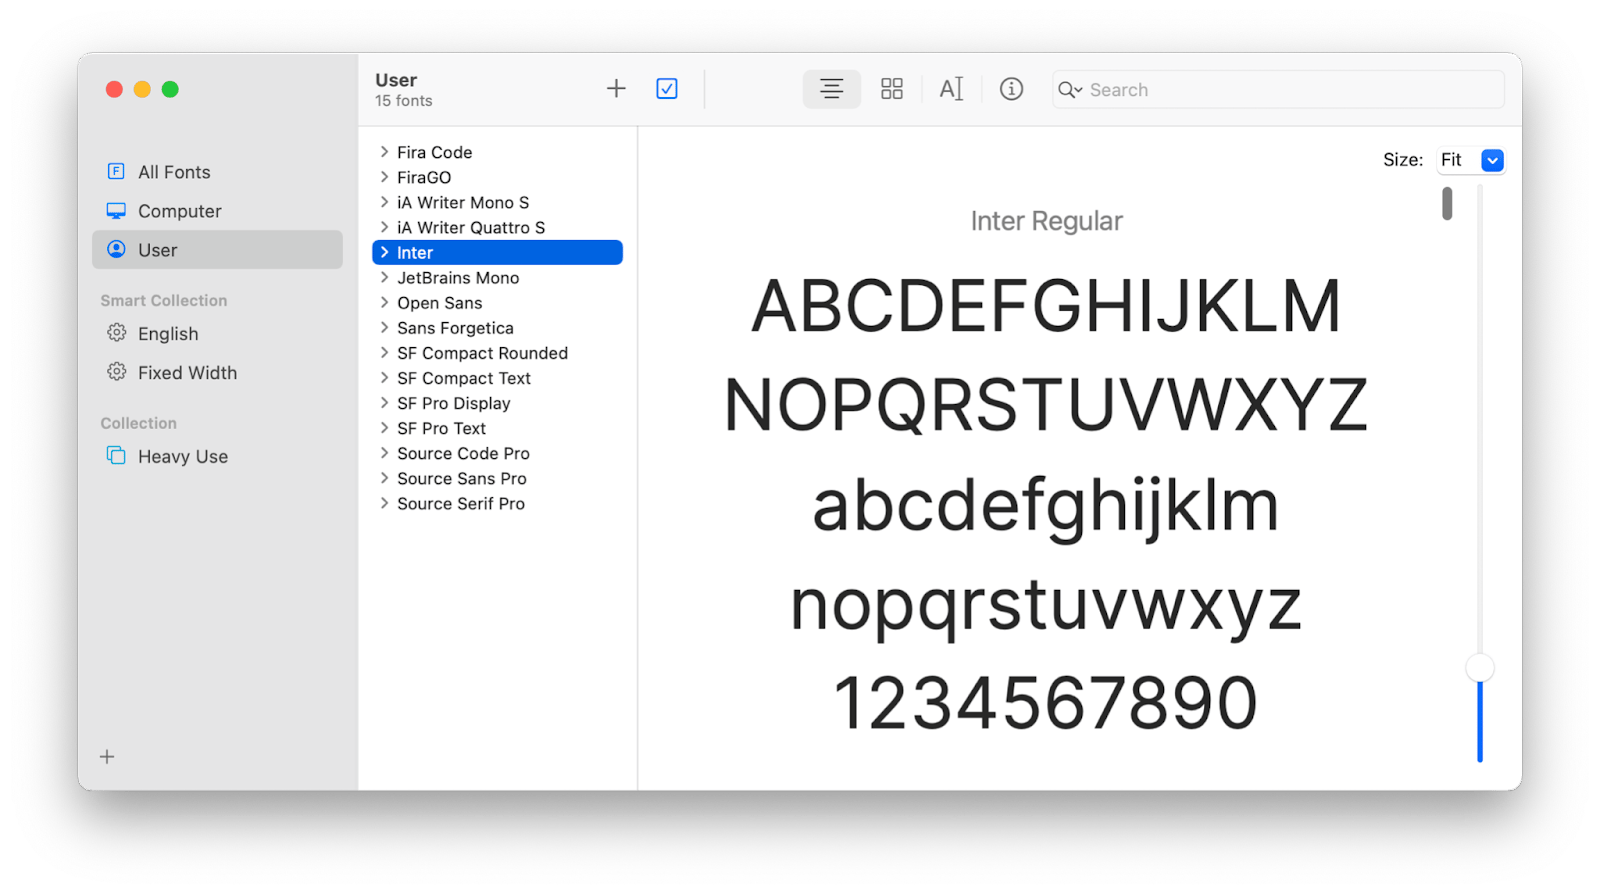
If you get to owning lots of third-party fonts, you might find that the default Font Book app is not that great at letting you experiment and choose the right font for the project. When this is the case, consider upgrading to a more professional font manager such as Typeface.
Typeface is a beautiful font manager that presents near-unlimited options for comparing and choosing fonts for your next design challenge. You can preview any fonts side by side and organize your whole font library as you see fit.
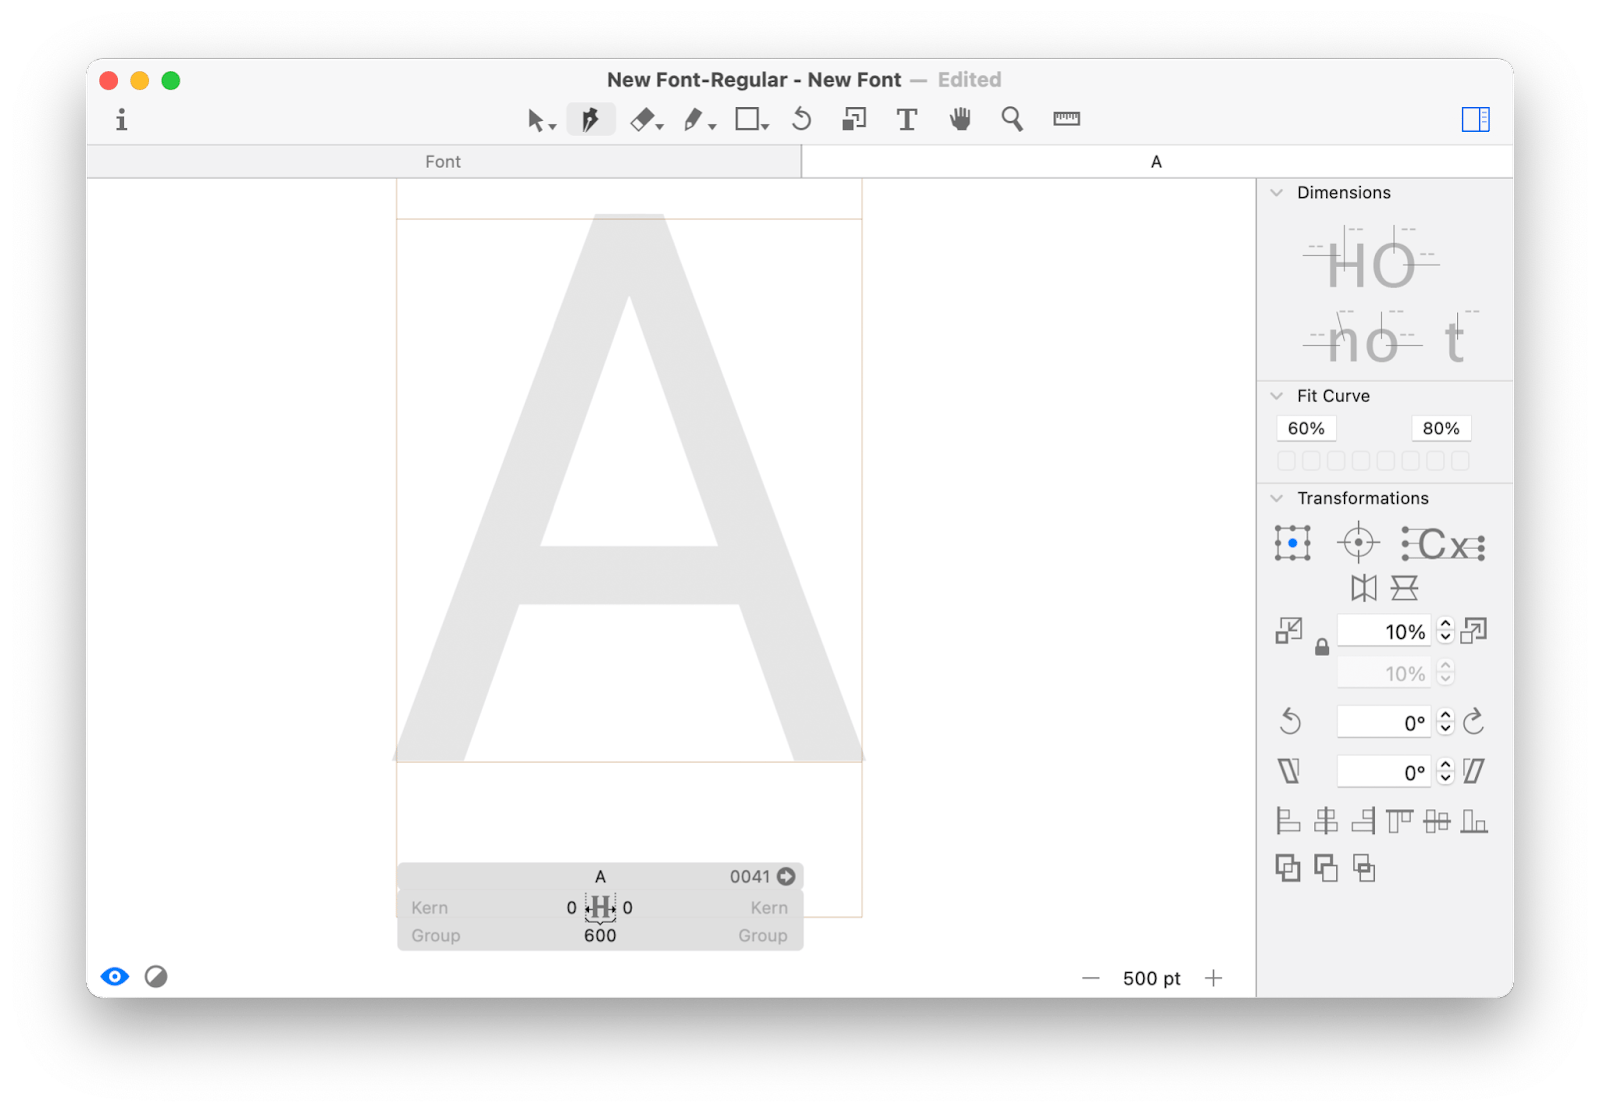
When you work with headlines, sometimes you’ll notice that the font you’re using might need a few subtle custom tweaks to look right. How do you do that?
Glyphs Mini is another essential app for anyone seriously interested in fonts. This compact font editor lets you adjust any characters in your favorite fonts to better fit into your designs. You can even save the font as a new one and reuse it for other projects in the future, or you can create a completely new font from scratch. Glyphs Mini is also a great choice for beginners compared to other font editing apps.
How to crop in Photoshop
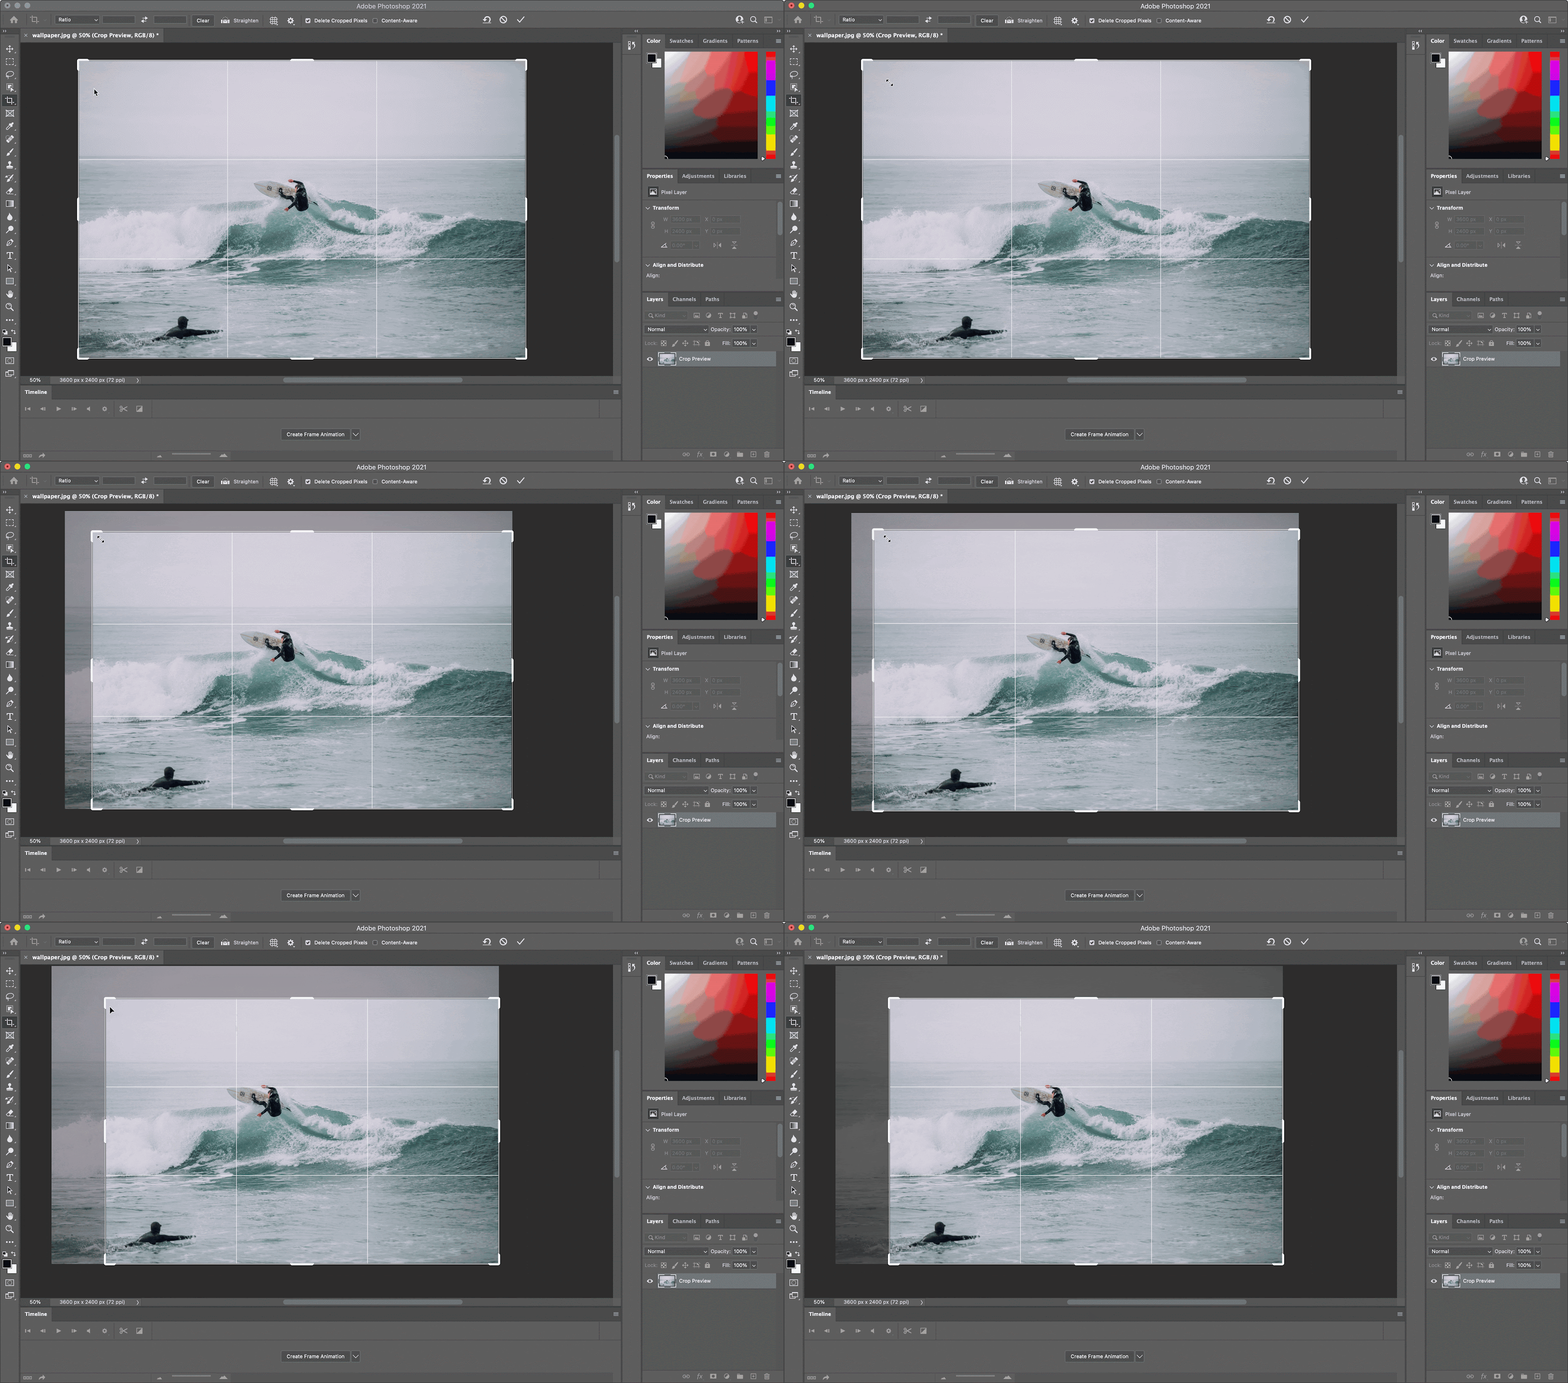
When you’re in the process of editing photos, nearly every time a shot can be made better if you adjust the focus through cropping. So you might be wondering how to crop in Photoshop?
Open your image in Photoshop
Select the Crop tool (C) from the left sidebar
Grab a corner of the image and drag it to get the photo you want
Hit Return to save your result
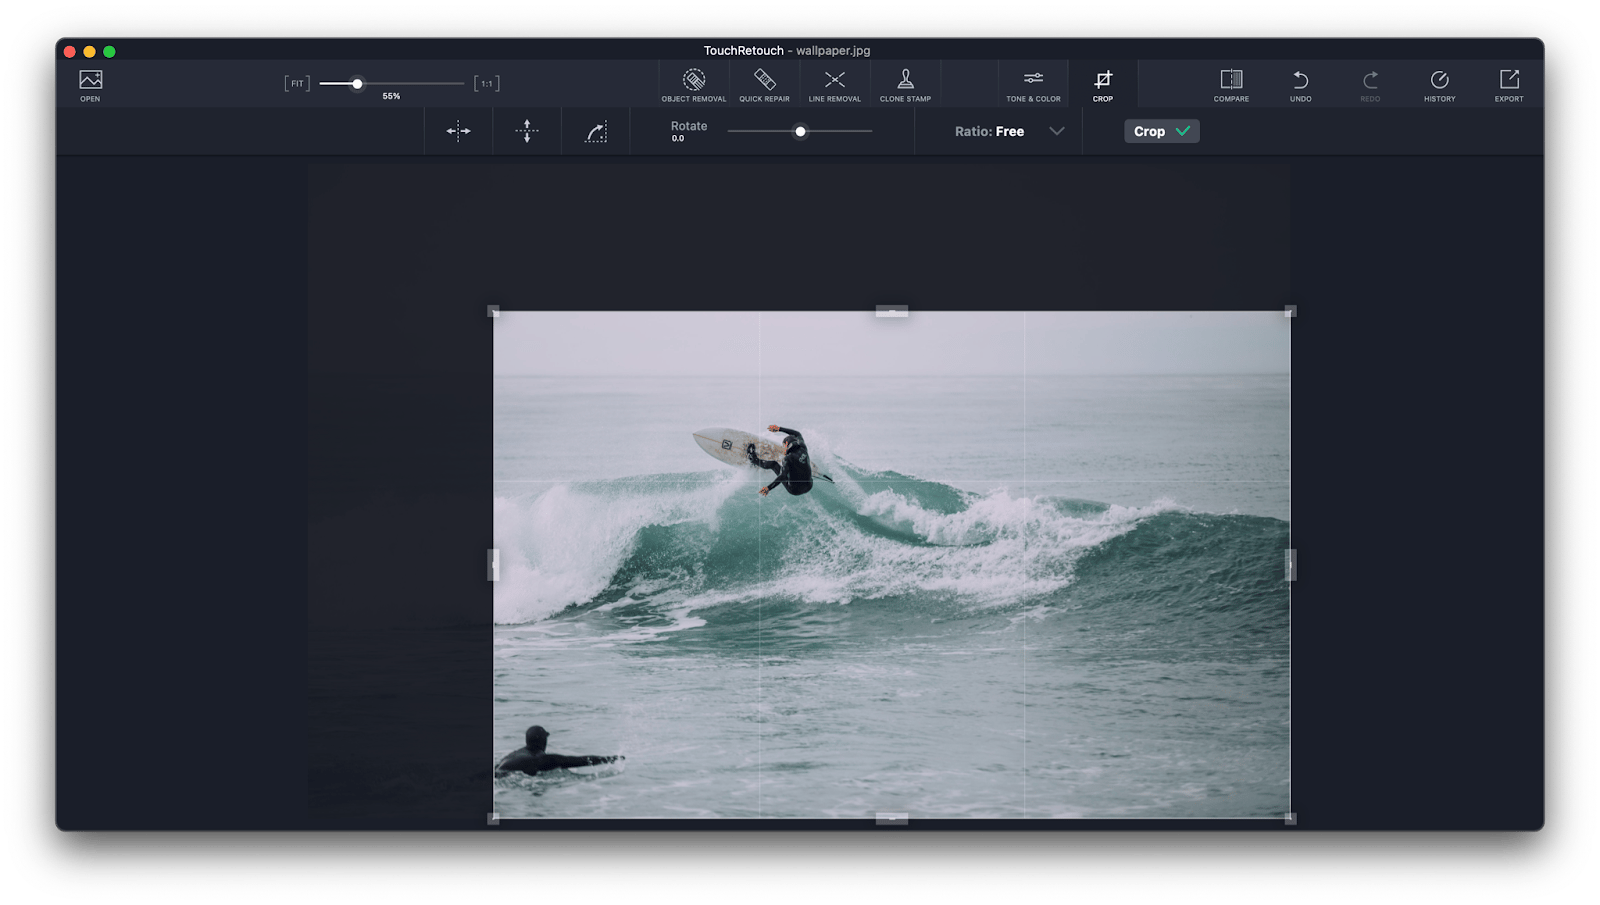
When you plan to do future iterations on your image, cropping it in Photoshop first makes sense. However, if all you need to do is crop, you might as well find a more lightweight app that can get the job done faster, such as TouchRetouch.
TouchRetouch is a quick and easy but powerful retouching tool powered by content-aware algorithms that help you get the photo you want faster, whether it comes to erasing blemishing, covering up parts of the image, or cropping. Think of TouchRetouch as your own photo-retouching studio on the go. For cropping, for example, can be accessed with one click from the top toolbar.
Best Photoshop alternatives for Mac (free and paid)
Now that you know how to get around Photoshop and do the basic tasks pretty well, you might consider taking what you’ve learned and applying it to one of many paid or free Photoshop alternatives as well — just to see if you like any of them better. Not sure where to start? Here are some of our favorites.
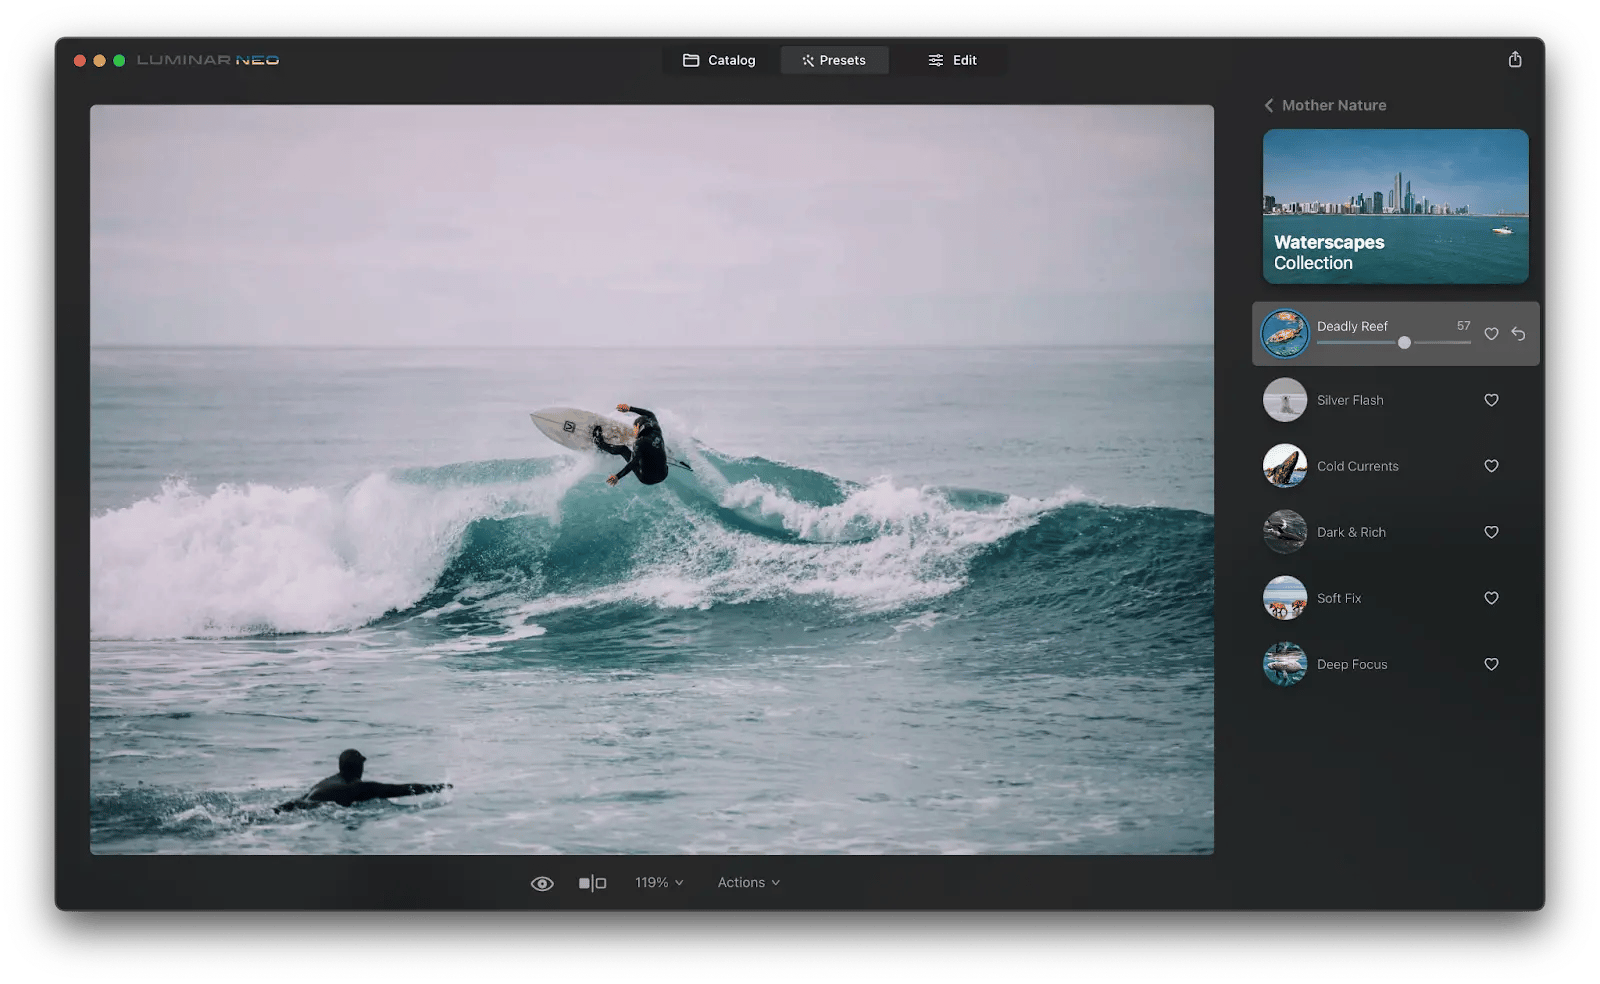
Luminar Neo is an incredibly powerful AI photo editor that lets you turn images into masterpieces without knowing all that much about professional retouching. The app is able to do that due to its vast collection of presets, filters, and bundled enhancements, which allow you to make instant changes across a wide variety of tools. Just try clicking on a few Luminar Neo presets with your photo to really see the difference it can make.
AI sky replacement, portrait enhancement, and background removal — no Photoshop needed. Luminar Neo handles the edits that used to take 30 minutes in Photoshop in a few clicks. Requires Setapp AI credits or your own API key. Try Luminar Neo Free.
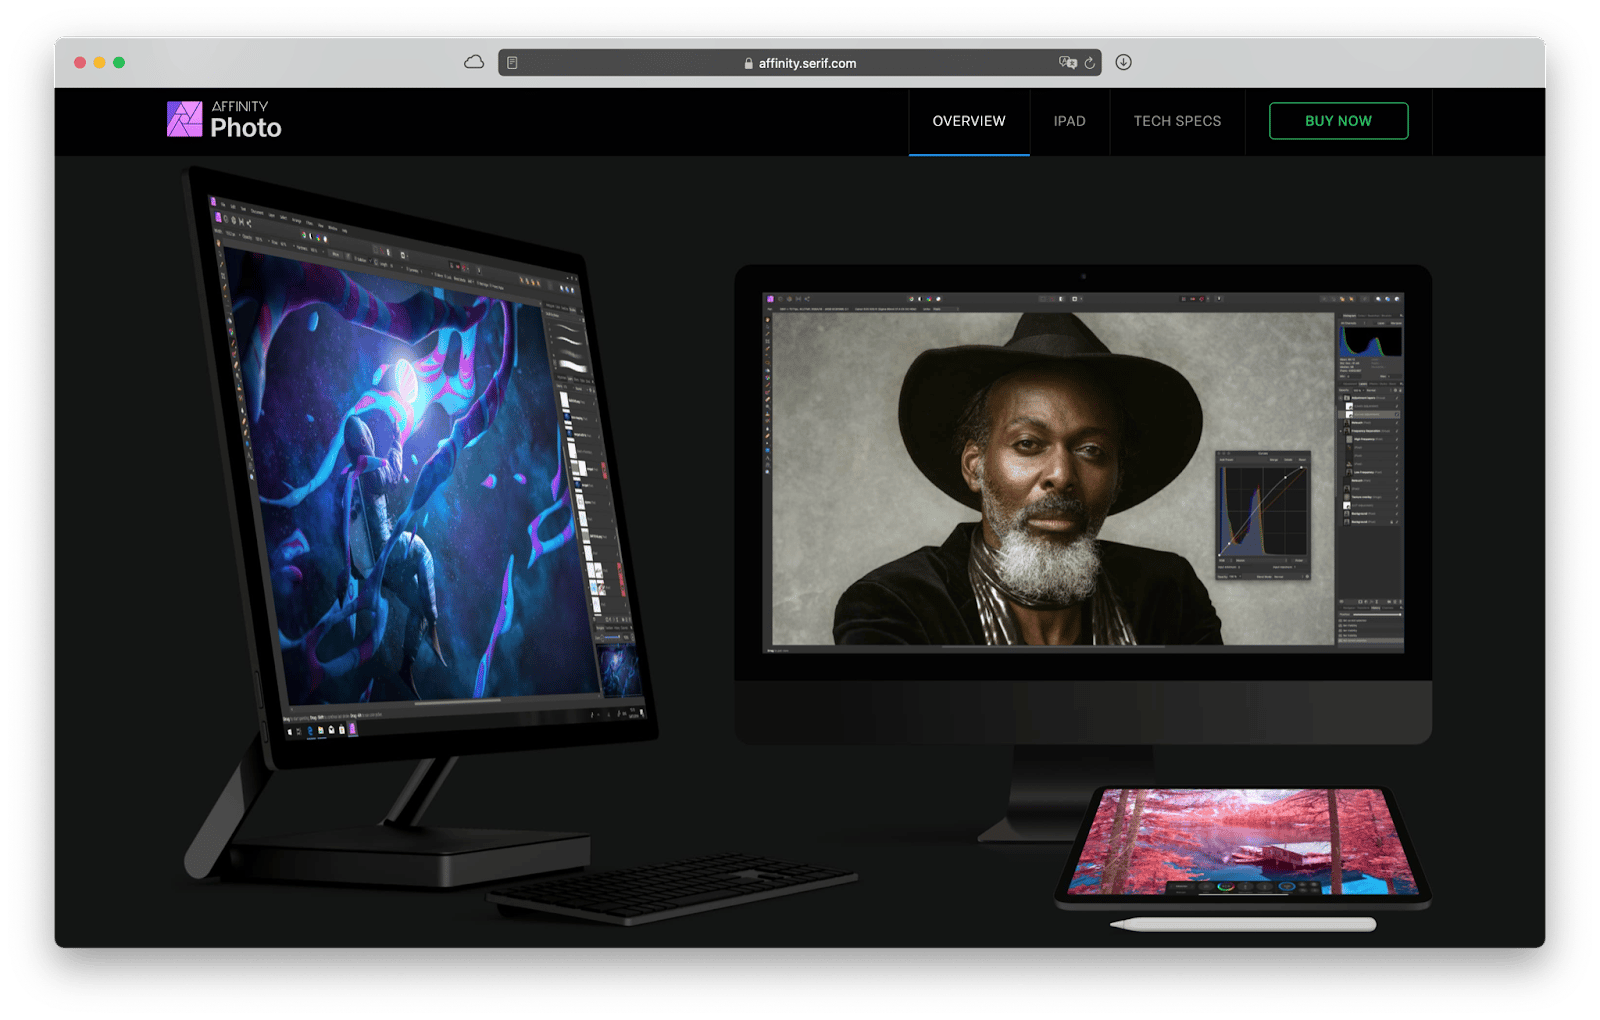
Affinity Photo is probably the closest competitor to Photoshop you can imagine. This professional retouching solution even works with PSD files and has all the same photo-editing capabilities. Its biggest advantage — a standalone price of $49.99 for the full app, yours forever.
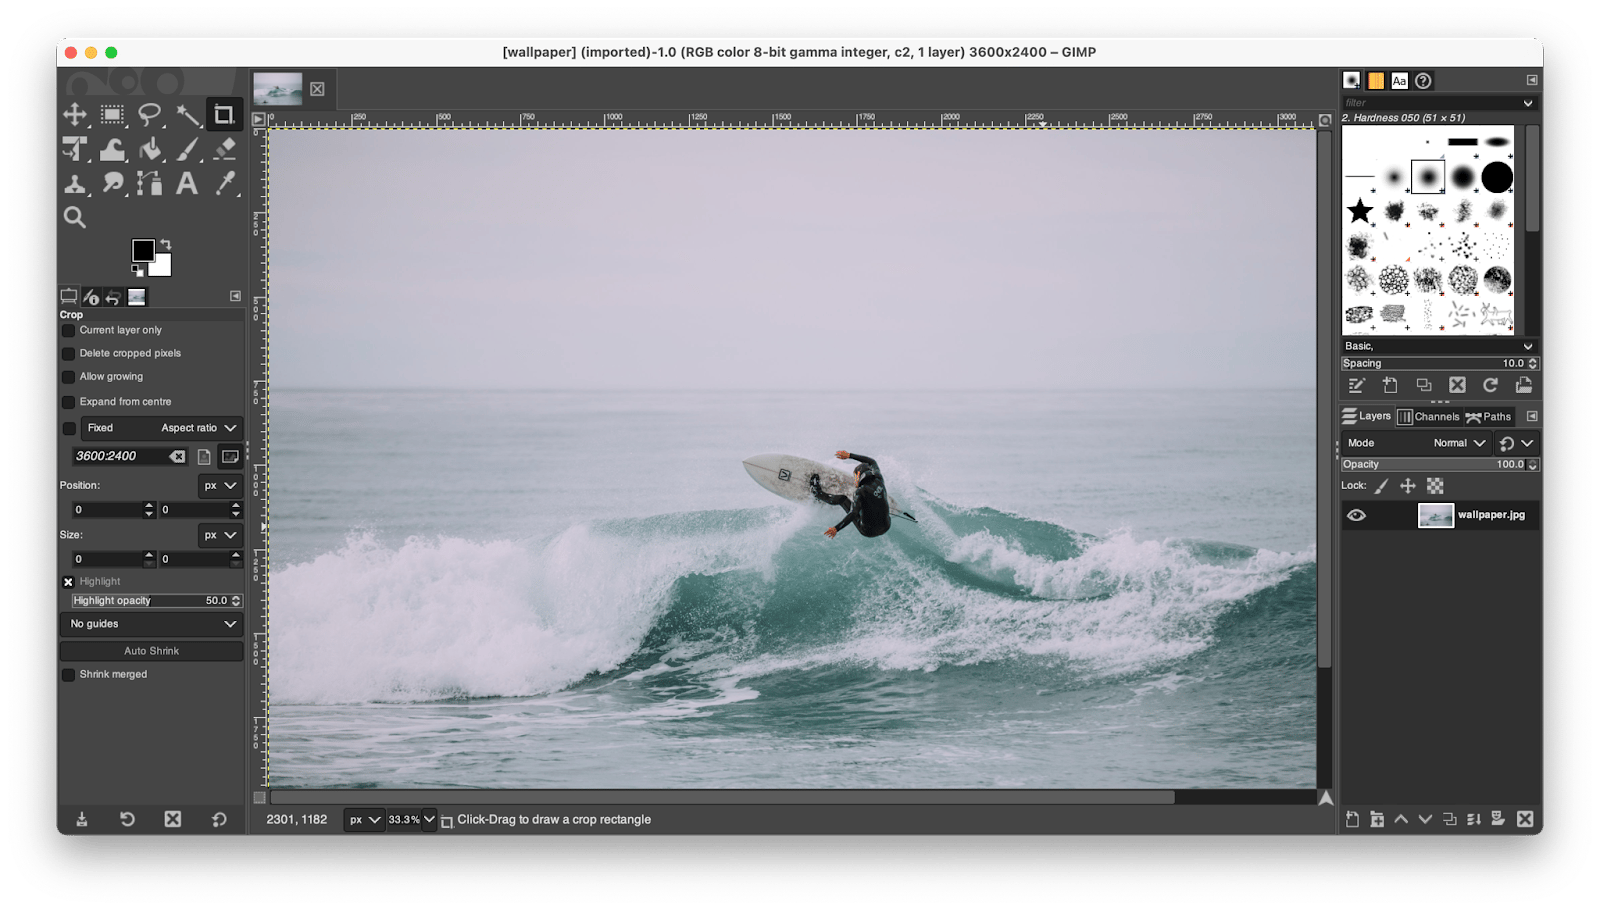
GIMP has been the go-to free Photoshop alternative for decades. This open-source photo-editor supports high-quality photo retouching, design work, digital painting, and so much more. Practically everything you can do in Photoshop, you can do in GIMP. The downside is that the learning curve might be a bit steep.
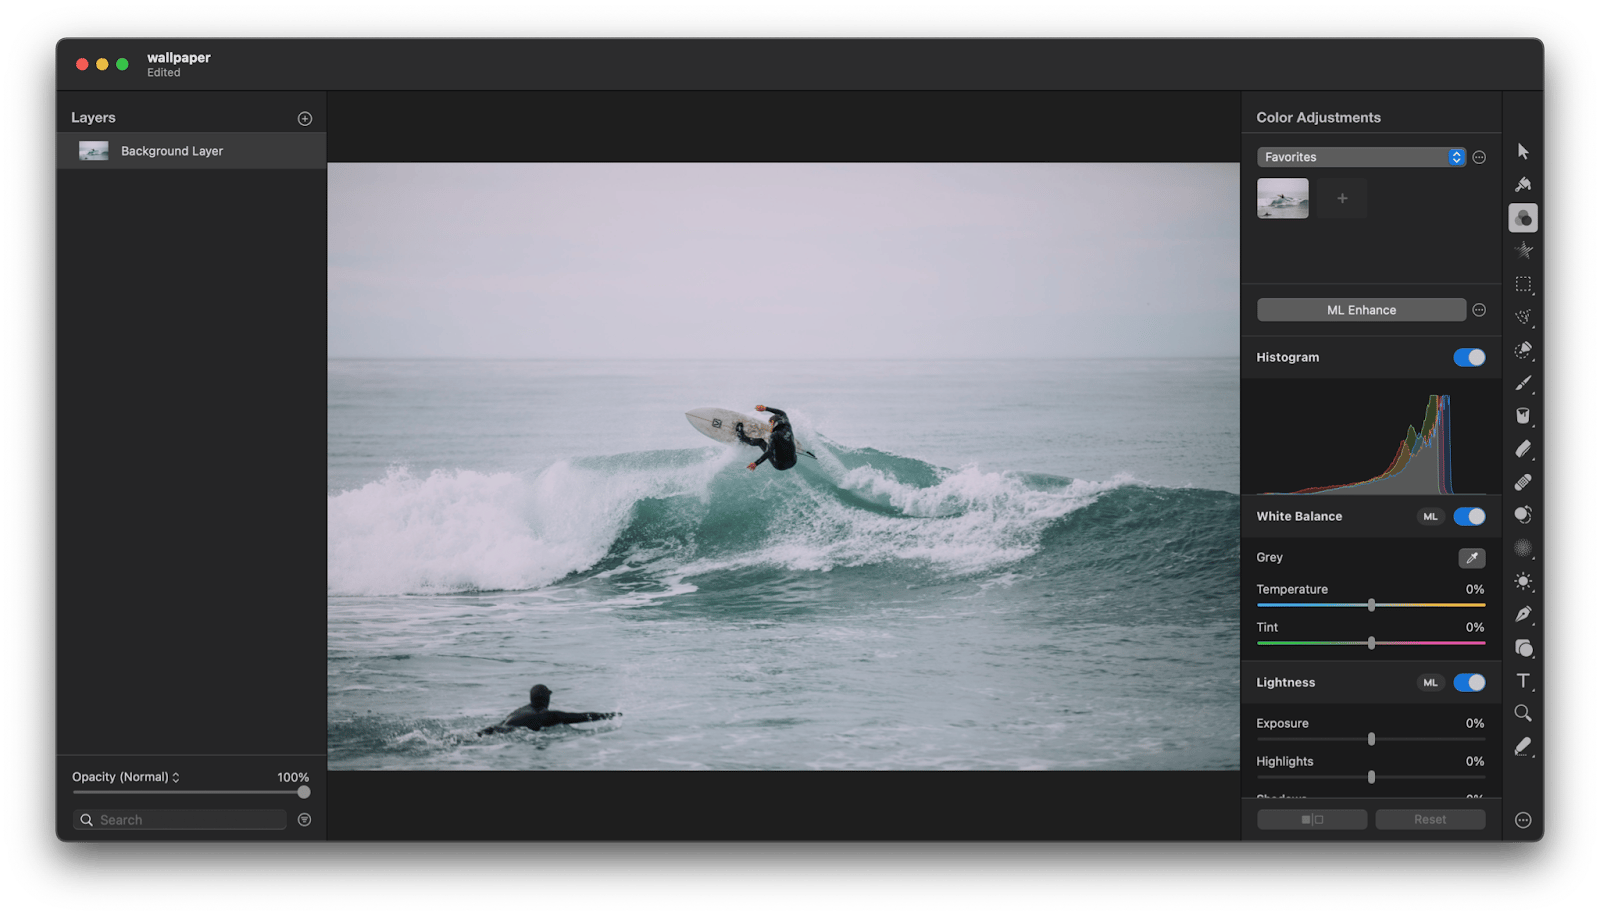
Pixelmator Pro is a beautifully designed photo editor. It offers non-destructive retouching with a whole suite of intuitive tools and controls, including the ability to create your own presets for faster workflow. The app works natively on M1 chips, but is only available on macOS.
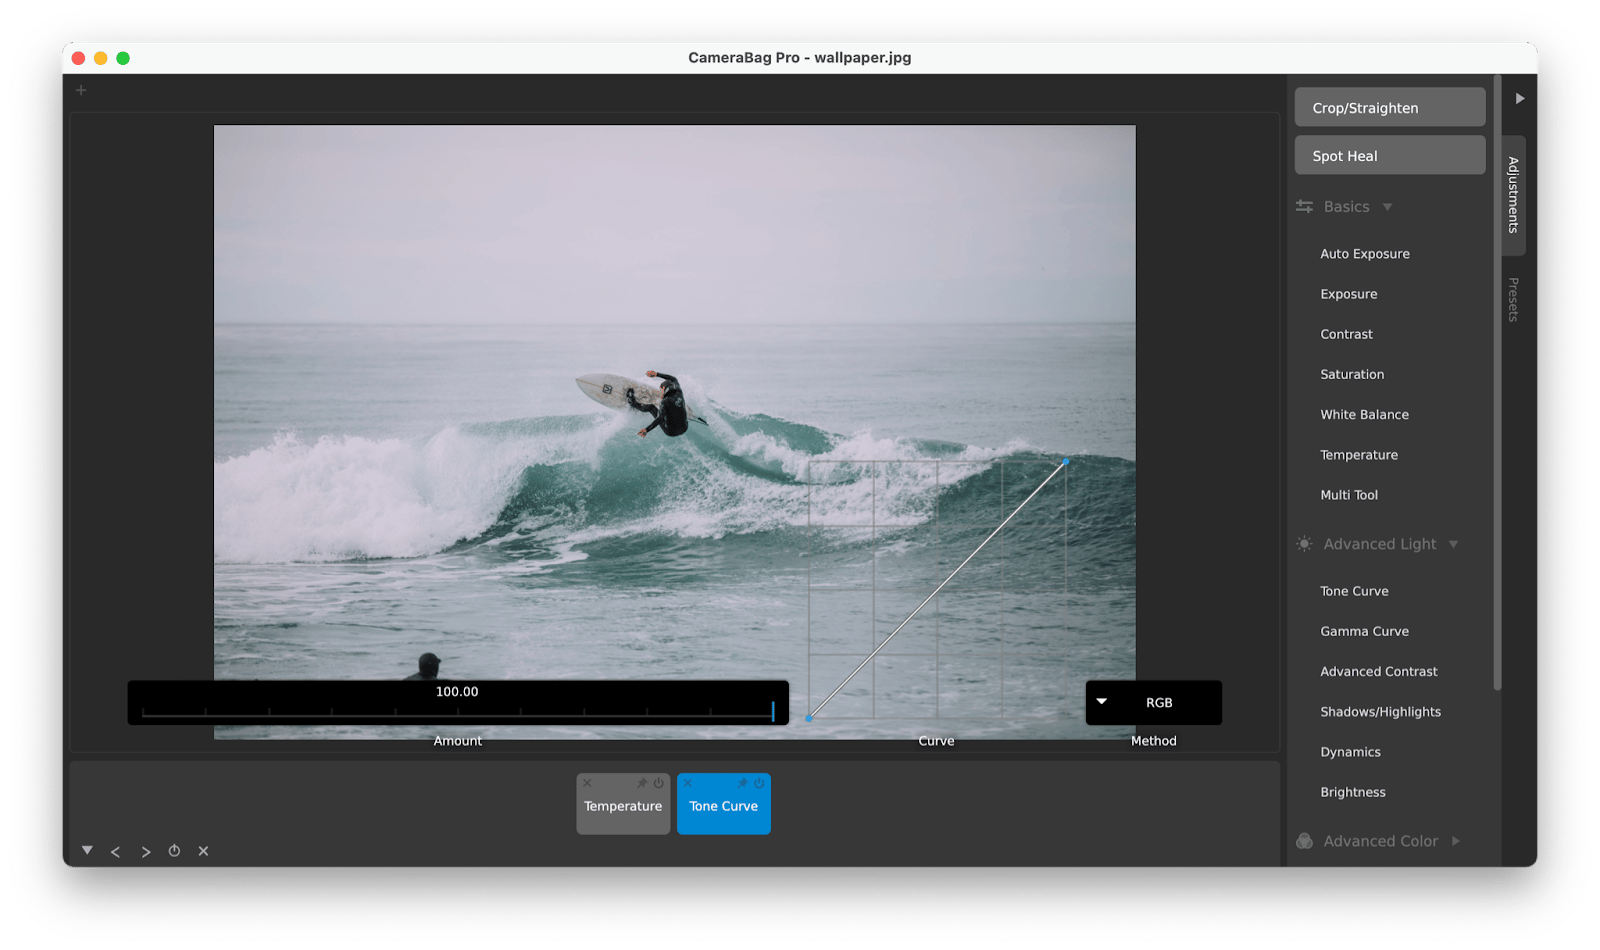
CameraBag Pro is your ultimate photo and video editing app, covering the full breadth of your creativity. Shortlisted by Apple as Mac App of the Year, CameraBag Pro is both easy to learn and powerful, letting you create amazing photos and videos in just a few clicks, thanks to the preset filters, but at the same time allowing you to dig into any level of granularity you prefer.
Not sure which Photoshop alternative fits your editing workflow? The Productivity Tools GPT assistant can help match your needs to the right tool. Free and takes about a minute.
The best Photoshop alternative for Mac depends on your workflow
As you can see, learning the basic features of Photoshop is actually not difficult at all. And once you know your way around the app, you can reap even more benefits from tweaking your photos in batches with PhotoBulk, creating beautiful GIFs with Gifox, organizing fonts in Typeface, making adjustments to typefaces with Glyphs Mini, cropping images with TouchRetouch, and editing photos in Luminar Neo as well as CameraBag Pro.
Photoshop does everything. These tools do the jobs you actually need — for less. Luminar Neo, TouchRetouch, PhotoBulk, Gifox, Typeface, Glyphs Mini, and 270+ other apps — all on Setapp. Get 270+ Apps.
FAQ
What is the best Photoshop alternative for Mac?
For most Mac users, Affinity Photo 2 ($69.99 one-time) is the closest full replacement — it supports layers, PSD files, RAW editing, and advanced retouching. For AI-enhanced editing, Luminar Neo delivers sky replacement, portrait enhancement, and background swaps without the learning curve. For free, GIMP is the most capable option.
Is there a free version of Photoshop?
Adobe offers a 7-day free trial, but there's no permanently free version. The cheapest ongoing access is the Photography Plan at $9.99/month (annual billing, 20GB storage). For a genuinely free editor, GIMP is the strongest option.
Can Photoshop alternatives open PSD files?
Affinity Photo 2 and Pixelmator Pro both open PSD files with good layer compatibility. Complex features like smart objects, certain blend modes, and advanced text effects may not translate perfectly — test with a real project file before switching.
What's the best one-time purchase Photoshop alternative?
Affinity Photo 2 ($69.99) and Pixelmator Pro ($49.99) are the top picks — no subscription, full ownership, and both run natively on Apple Silicon. Affinity is closer to Photoshop's feature depth; Pixelmator is more Mac-native and beginner-friendly.
Superpowers for your Mac
Tackle your tasks with dozens of helpful apps on Setapp.





 Best solution
 Best solution