How to retrieve replaced files on Mac in 2026
- Overwritten files can still be recovered on Mac.
Even if a file is replaced or overwritten, its data often remains on the hard drive for some time, allowing recovery with the right tools. - Use iBoysoft Data Recovery for one-click recovery.
This software can scan your Mac, detect replaced files, and restore them—even from unbootable Macs or encrypted drives. - Time Machine can restore older versions.
If you have Time Machine backups, you can enter the app, select the folder, and recover the version of the file before it was replaced. - Cloud and app version history are useful backups.
iCloud, Google Drive, Dropbox, and apps like Pages, Numbers, Word, and Excel often allow you to restore previous versions of replaced files. - Setapp provides essential Mac recovery tools.
Apps like iBoysoft Data Recovery, Get Backup Pro, CloudMounter, and ChronoSync Express are available on a Setapp seven-day trial for managing backups and recovering overwritten files: Start your free trial.
According to the latest estimates, there are almost 330 million terabytes of data created and stored every day. Every person is contributing to it by generating, capturing, copying, or consuming data. Saving new files counts as well. But whenever we save a new file on our Macs, we tend to either delete another file or directly replace it with the new one. And that can cause problems later if we realize it was an accident and now need to recover the overwritten file Mac has removed from the desktop.
A situation like that happens way too often, especially if you’re a busy multitasker, so knowing how to recover replaced files Mac has seemingly deleted is an essential skill you’ll need to use more than you might imagine. Let’s get into the details of what you can do and the tools to help your Mac recover replaced files.
What went wrong | How to fix it |
Replaced files aren’t showing on Mac | Install Get Backup Pro to back up important files. Download iBoysoft Data Recovery and use the Search for Lost Data feature. |
Accidentally overwrote a file | Use Time Machine to select an older version of the file before it was replaced and click Restore. |
Accidnelty replaced files on iCloud backups | Log into iCloud > Settings > Advanced > Restore Files > Recover desired files > Cick Restore Files. |
Unable to log into cloud storage to retrieve files | Install and use CloudMounter to access cloud storage files from Mac’s Finder menu. |
Want a quick troubleshooting assistant for a Mac? Use the free GPT tool that helps you fix issues fast — just describe your problem, and it instantly gives you the best solution.
How to recover replaced files on Mac with one click
The good news is you can still retrieve replaced files that your Mac isn't showing, even if you don’t have any backup available.
And how? By using professional data recovery software that can scan your Mac’s entire hard drive. These tools use advanced algorithms to detect files whose references no longer exist because they’ve been replaced or overwritten. iBoysoft Data Recovery is one of those tools. The app can recover overwritten files your Mac is hiding inside its hard drive and bring back the data, no matter how it was lost.
Here’s how to recover a replaced file on a Mac with iBoysoft Data Recovery:
Launch iBoysoft Data Recovery and select the drive/partition.
Click Search for Lost Data.
Preview and click Recover to restore your data.
One of my favorite features of the app is that it works even when your Mac is unbootable. You can install it from macOS Recovery Mode with a simple Terminal command, then retrieve your files before reinstalling the operating system. It's also compatible with Apple Silicon Macs and Intel Macs (including T2 models), and supports encrypted APFS, NTFS, and other file systems.
Recover an overwritten file on Mac with Time Machine
A Mac operating system also has a built-in tool that allows you to recover overwritten files or any other data you’ve lost by accident. Time Machine is the backup mechanism of macOS designed to work with both local storage, network-attached, and external disk drives.
If Time Machine is active on your Mac, it creates incremental backups of files on your hard drive and other selected locations, so you should be able to go back, find, and recover any older version with a few clicks.
Here’s how to recover replaced files Mac using Time Machine:
- Open Finder and go to the folder containing your overwritten file
- Go to the Time Machine icon in the menu bar and click Enter Time Machine
- Select an older version of the folder before your file was replaced
- Click Restore and select which one of the files (old, new, or both) you want to keep
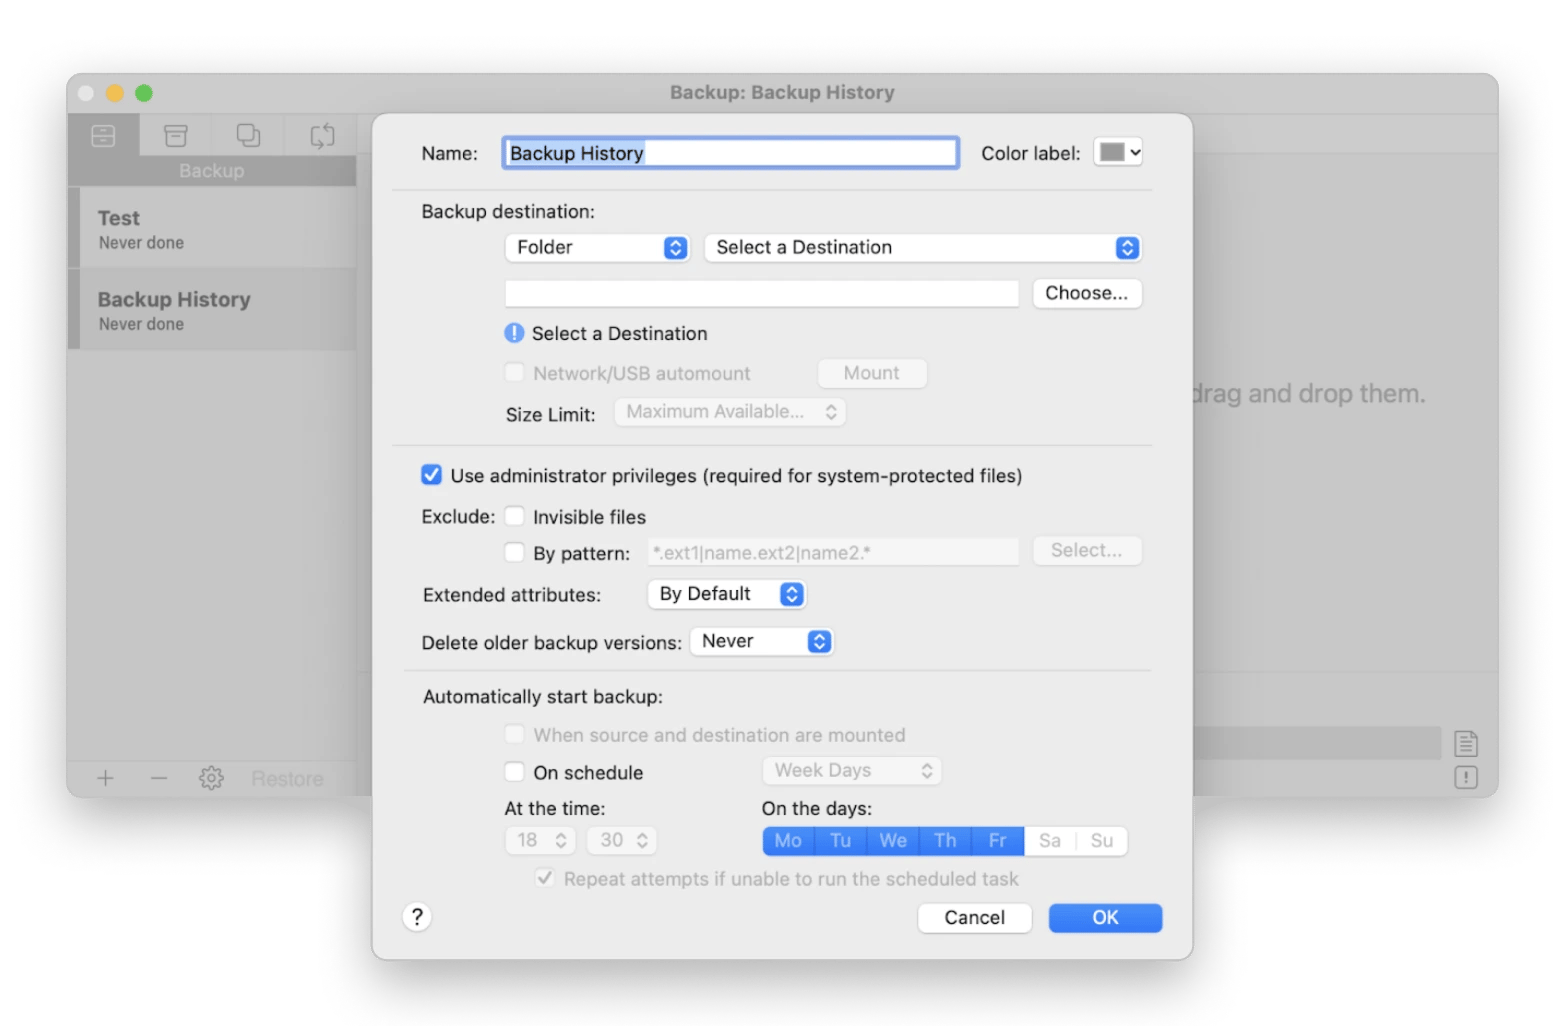
While it can help Mac recover a replaced file, Time Machine isn’t the most flexible backup software out there as it works in preset intervals only and backs up every single file stored on your hard drive, whether you want it or not. If you’re looking to up your backup game, try Get Backup Pro.
Get Backup Pro is a neat utility with an array of customization options, making backups and folder synchronization tasks so quick you can do them on the fly. Choose from one of four reliable backup methods: simple copy, clone, incremental, or versioned. Get Backup Pro lets you Schedule backups with Stealth mode, back up only the units you want, and save up to 60% of archive space by conducting incremental or compressed backups!

How to undo replacing files on Mac via cloud backups
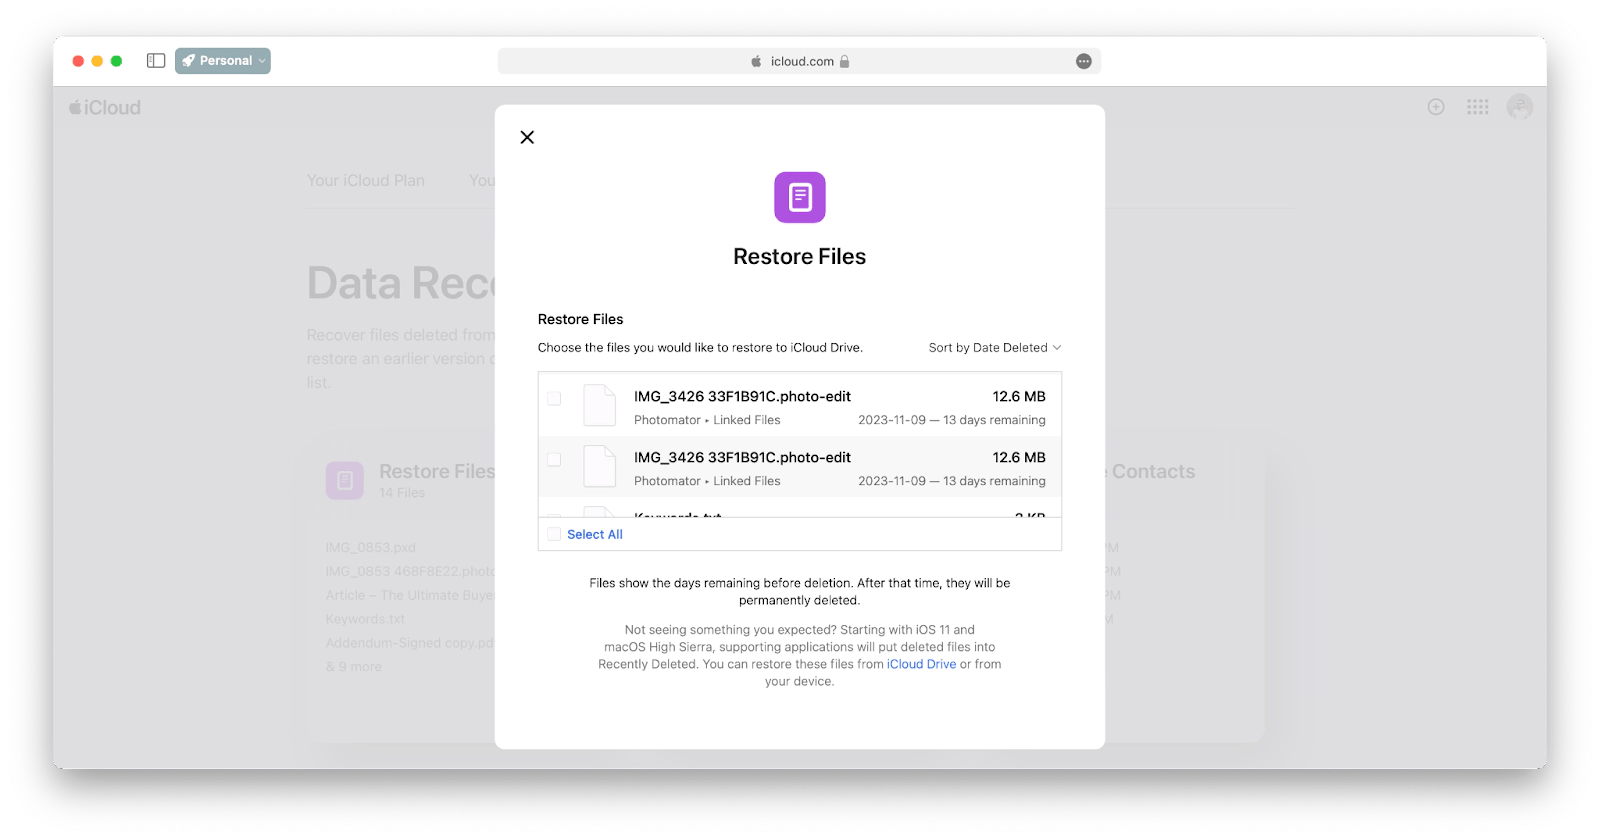
If you have a habit of backing up your files to a cloud service like iCloud, you can recover those you’ve accidentally overwritten for the next 30 days from the day it happened.
Here’s how to retrieve replaced files Mac from an iCloud backup:
- Log in to iCloud.com with your account credentials
- Go to Settings ➙ Advanced ➙ Restore Files
- Locate the files you want to recover and check the boxes next to their names
- Click Restore Files

Other cloud storage services like Google Drive, Dropbox, and OneDrive offer similar ways to recover overwritten Mac files no longer has. Here are the generalized steps you’ll need to follow:
- Connect to the cloud storage service
- Use the tool’s search functionality to find the files you want to recover
- Select the files and use the tool’s interface to perform the recovery
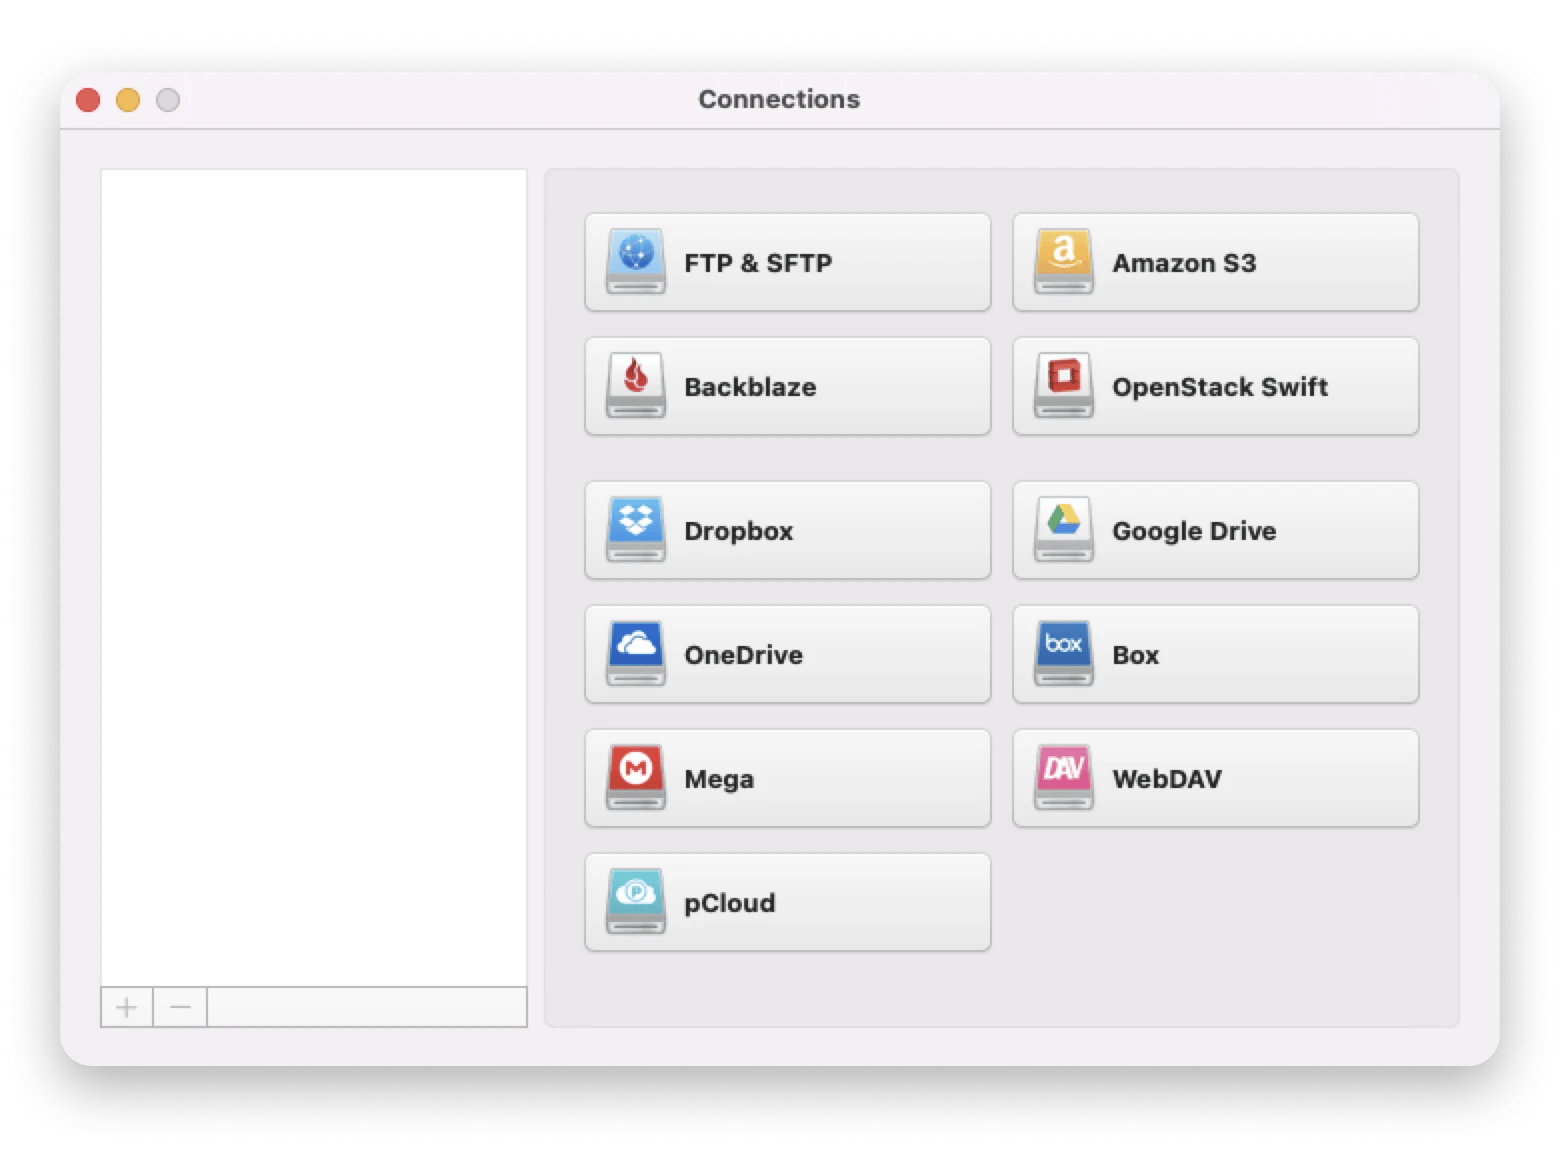
To increase your Mac’s storage capabilities, streamline your workflow on the cloud, and give yourself more options in case you need to help your Mac recover replaced files quickly, try CloudMounter.
CloudMounter lets you access your data faster by skipping the hassle of logging into different cloud accounts from a web browser. CloudMounter connects your cloud storage accounts to your Mac’s Finder, so you can treat them as local drives and use files in the cloud without leaving the comfort of the macOS native interface. Add encryption for extra security, and finally forget about running out of storage space ever again!

How to retrieve replaced files in Mac apps
Some word processing and spreadsheet-type apps within macOS have native version management systems that save replaced files in their history in case you need to go back to them in the near future. Below are the file recovery options available in the most popular office tools: Apple Pages and Numbers, Microsoft Word, and Excel.
Here’s how to undo a replace file Mac in Apple Pages and Numbers:
- Open the file you’ve overwritten
- Go to the File menu and select Revert To
- Click "Browse all versions"
- Locate the version you want to recover and choose Restore
While the Microsoft Office system doesn’t integrate directly with Apple’s versioning framework, it still includes options to recover overwritten file Mac can’t find. Here’s how:
- Open the replaced file in Microsoft Word
- Select the document name in the title bar and click Browse Version History
- Locate the version you want to recover and click Open Version
- Save the file with a new name
To make your Mac recover replaced file in Excel, follow these steps:
- Open your sheet and click File in the menu bar
- Go to Restore ➙ Restore to Last Saved
- Look through the list of old versions and find the one you want to restore
- Click Restore or Restore a Copy
Other apps have similar functionality, so it’s worth checking before turning to more elaborate methods to recover overwritten file Mac.
What is an overwritten file?
Before jumping to solutions for how to retrieve replaced files Macs bury on their hard drives, take a moment to understand exactly what an overwritten or replaced file is, as it’s different from one that was simply deleted.
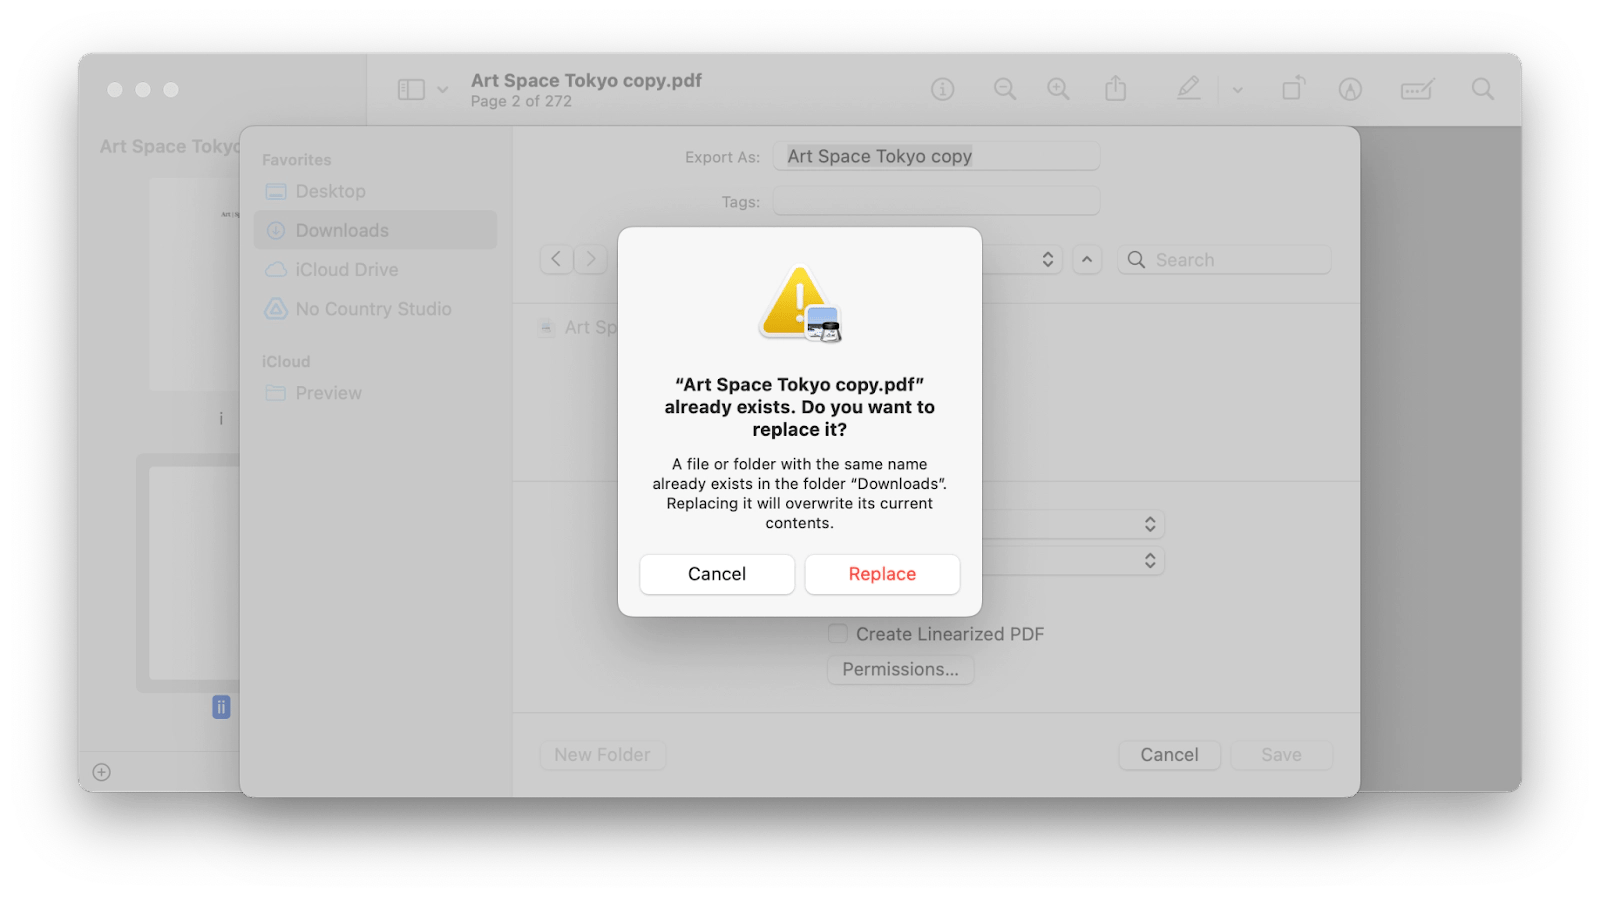
The most common example of choosing to overwrite a file is when you’re saving a new item and get a message saying something like "this file already exists, would you like to replace it?" At this point, if you choose to Replace, that original file will be overwritten by the new one. Usually, you’d get a message like that when you’re saving a file with a name identical to the name of another file on your Mac.
While an overwritten file is the one that’s been replaced with another file, it doesn’t mean that the data it references is immediately deleted. The actual data that original file contains is stored on your Mac’s drive and won’t be deleted right when you click Replace. In many cases, it takes days, weeks, or even months for the original data to be overwritten. Until then, you have time to bring it back!

Where do replaced files go?
Think of an overwritten file as having two parts: the reference to the original data, which is the name, icon, thumbnail, and everything it represents, and the actual data that file references, which is a large number of ones and zeros stored on the hard drive.
Once a file is replaced, all its references to the original data are deleted, but the data itself remains on the hard drive for a period of time before it gets deleted as well.
FAQ: How to undo replace file Mac?
In addition to the tips and solutions outlined in the guide above, here are some answers to the most common questions about ways to recover overwritten file Mac has deleted.
How do I recover a file replaced by another file with the same name on Mac?
To recover a file replaced by another file with the same name, give the new file a different name, and then use your backup and a good recovery tool to find and restore the original file on your Mac/
How to recover the replaced file on Mac without a Time Machine?
To recover the replaced file on Mac without Time Machine, start by checking your Trash and iCloud — sometimes, the file might still be there. If not, consider using recovery tools that can restore deleted files regardless of how they were lost. In the app, select the location to scan, click Search for lost data, wait for the scan to complete, and recover your files with a single click.
Can iBoysoft recover data from a Mac that won’t turn on?
Yes, iBoysoft Data Recovery can recover data from a Mac that won’t turn on, since it can be installed through macOS Recovery Mode. You'll need to run a Terminal command for this and preferably have an internet connection, and you can then recover your data before reinstalling macOS.
Does iBoysoft support Apple T2 and M1/M2/M3/M4 chips?
Yes, iBoysoft Data Recovery supports Intel Macs with the T2 security chip and Apple Silicon Macs (M1 to M4). It also works with older Intel Macs and all formats of external drives, even when they're corrupted or unbootable.
What types of files can iBoysoft recover on Mac?
iBoysoft Data Recovery can recover any file type (1000+) on Mac, including all document formats, photos, videos, audio files, and emails. Since it can't display all available file types, it has an "Other" category that lists all the remaining file types. The software also works with all kinds of internal and external disks, supporting file systems from encrypted APFS to FAT.
How do I recover an overwritten folder on Mac?
To recover an overwritten folder on Mac, use Time Machine to find and restore the overwritten folder you want to recover.
Although overwriting a file or folder makes it that much harder to restore, you’re now aware of all of the best options out there. You can stick to Mac’s native Time Machine or use more efficient tools like Get Backup Pro to prevent data loss (or use iBoysoft Data Recovery to recover lost files). Plus, if you’re working with a few cloud storage services at once, CloudMounter will connect them to your Mac’s Finder and keep your files secure. And if you need the perfect app for syncing and backing up folders — ChronoSync Express is the one for you!
All three apps — Get Backup Pro, iBoysoft Data Recovery, CloudMounter, and ChronoSync Express are available to you right now for free. How? Through a seven-day trial of Setapp, a platform of more than 250 exceptional utilities for Mac and iOS. Check out Setapp’s top recovery software or browse the "All apps" section to choose the ones for your needs!


