How to use Dropbox on Mac: Tips I use in 2026
Dropbox is the app that made storing data online mainstream. Sure, it’s not the only cloud storage option out there for Mac users, but it’s still one of the most popular, and for good reason.
Even if you already use iCloud, Dropbox has a few handy features that make it worth adding to your setup. Things like shared folders or letting someone download a file straight from your folder can really come in handy.
In this guide, I’ll show you how to install Dropbox on your Mac, use its core features, and make the most of everything it offers.
But first, here’s a quick cheat sheet to help you fix common Dropbox problems fast:
| What’s the problem? | Do this |
|---|---|
| Can't install Dropbox | Download the installer from https://www.dropbox.com/install and run it. |
| Don’t know how to open your Dropbox folder | Click the Dropbox icon in the menu bar or open it through Finder. |
| Not sure how to upload files | Drag and drop them into your Dropbox folder. |
| Files not syncing across devices | Make sure you’re online, Dropbox syncs automatically when connected. |
| Need offline access to files | Right-click the file or folder and choose Make available offline. |
| Can’t sign in to your account | Double-check your login info or reset your password in the Help Center. |
| Need to share files with someone | Right-click and use the Share option to send a link or invite by email. |
| Juggling multiple cloud accounts | Use CloudMounter to access them all in one place. |
| Desktop cluttered with notes and files | Try Unclutter to keep things neat without extra folders. |
How to sync Dropbox on Mac easily
While you can always access your data from the Dropbox website, it would be easier if you download the Dropbox desktop app. With the app, you won't have to manually upload or download files in your Dropbox folder. Any time you make a change to a file and are connected to the internet, that change will sync everywhere you have Dropbox installed.
The Dropbox app for Mac works even when you're offline, just like a regular folder.
How to install the Dropbox app for Mac
Follow these instructions to install the Dropbox app for Mac:
- Download the Dropbox installer.
- Locate the downloaded file in your Mac’s Downloads folder. It should be named DropboxInstaller.dmg.
- Open the file to launch the installer.
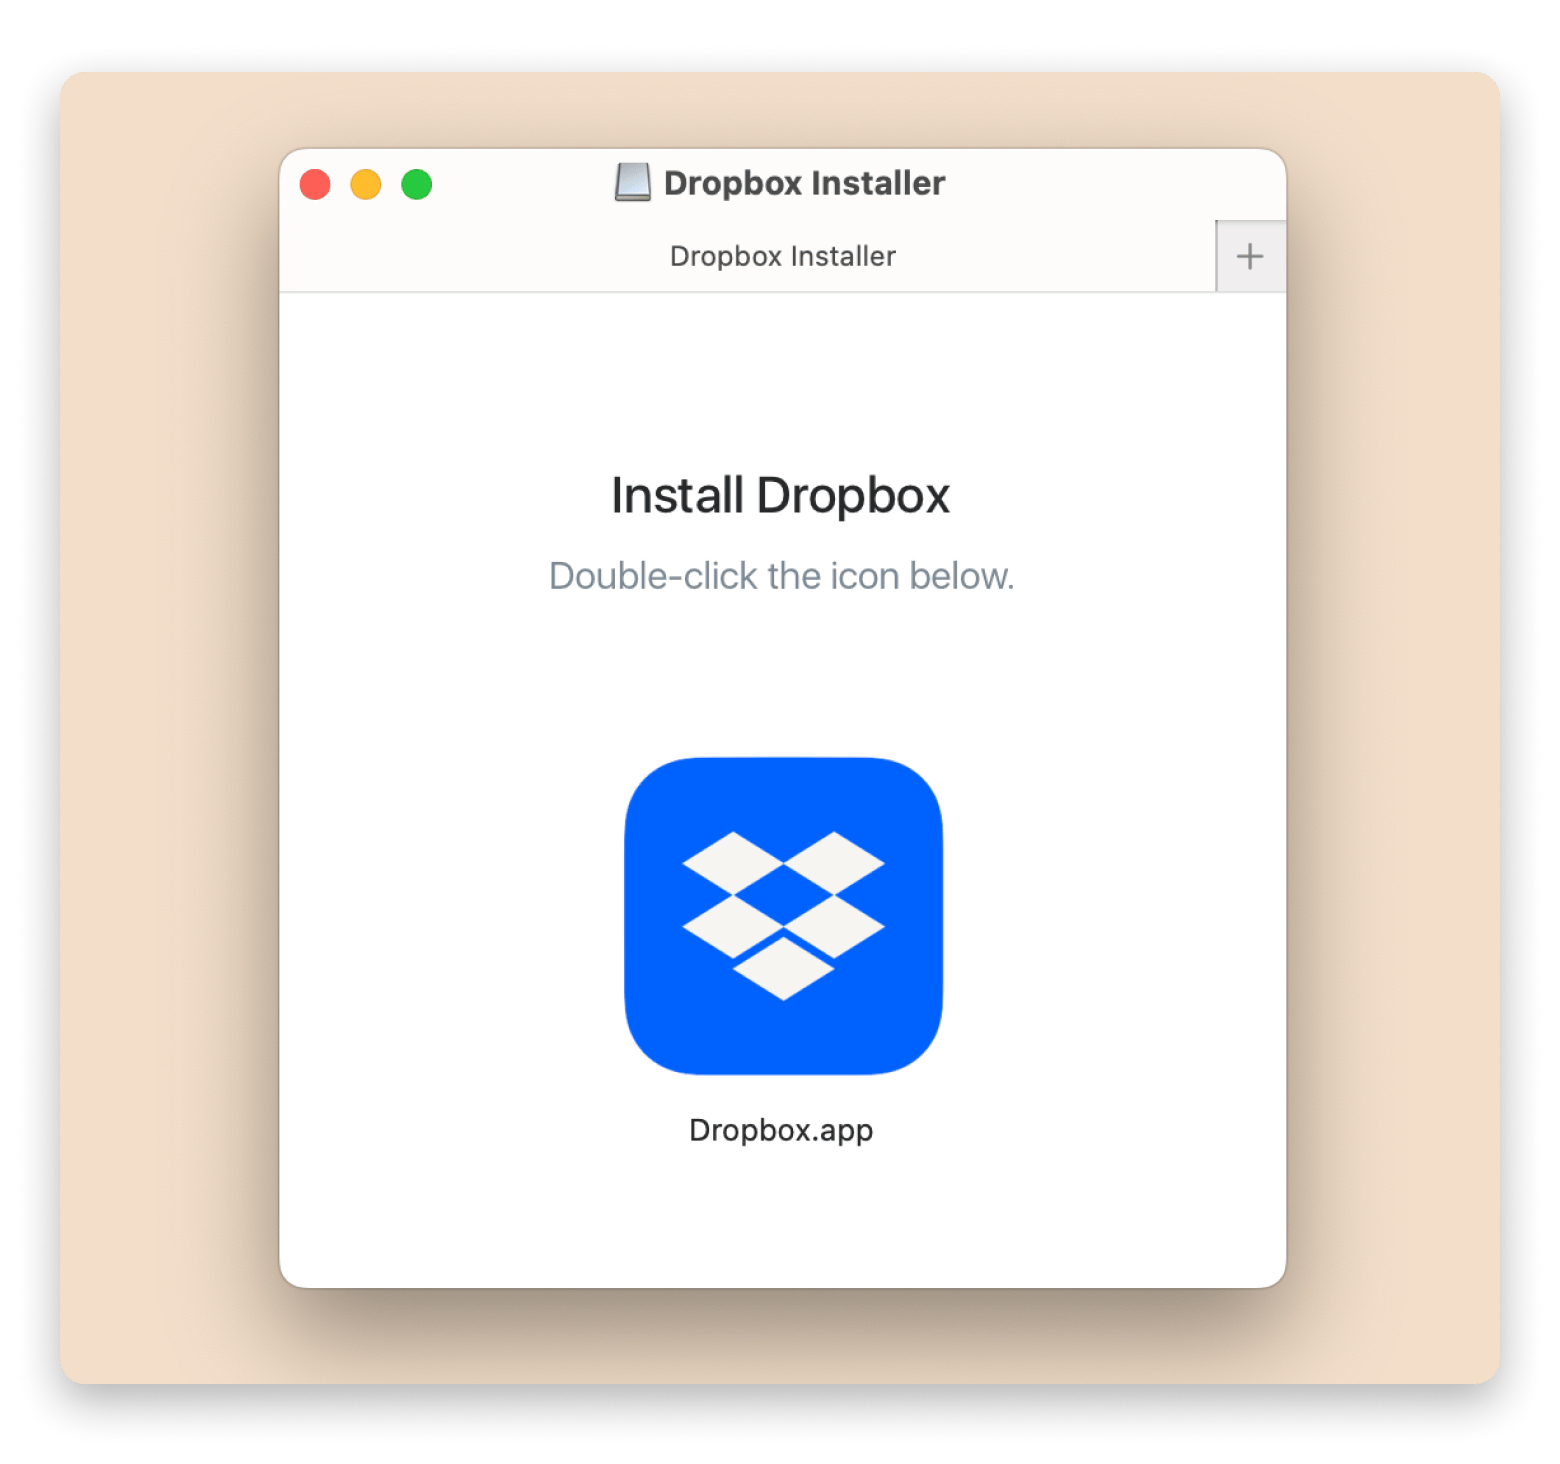
- Double-click the Dropbox icon in the installer window.
- Click Open to start the installation process (a warning sign will appear, cautioning that Dropbox is an application you downloaded from the internet).
- Follow the on-screen instructions to complete the installation process.
- You can sign in once the basic installation is complete. If you don’t have an existing Dropbox account, click the Sign up link and follow the instructions to create one.
After you sign in to Dropbox on Mac, you’ll see a confirmation message that the installation was successful.
Next, set up your Dropbox folder:
- Click Open My Dropbox Folder in the final installer window.
- Enter your Dropbox password, then click OK.
- Allow Dropbox to add itself to your Finder’s sidebar. It'll also place a Get Started with Dropbox.pdf file inside your Dropbox folder.
Take a few moments to read through the guide. It provides a good outline for working with Dropbox.
How to manage files on Dropbox
Got Dropbox set up? Great. Here’s how you manage your files:
- Open Dropbox. You can find it in your Applications folder, or just hit Command + Space and type Dropbox.
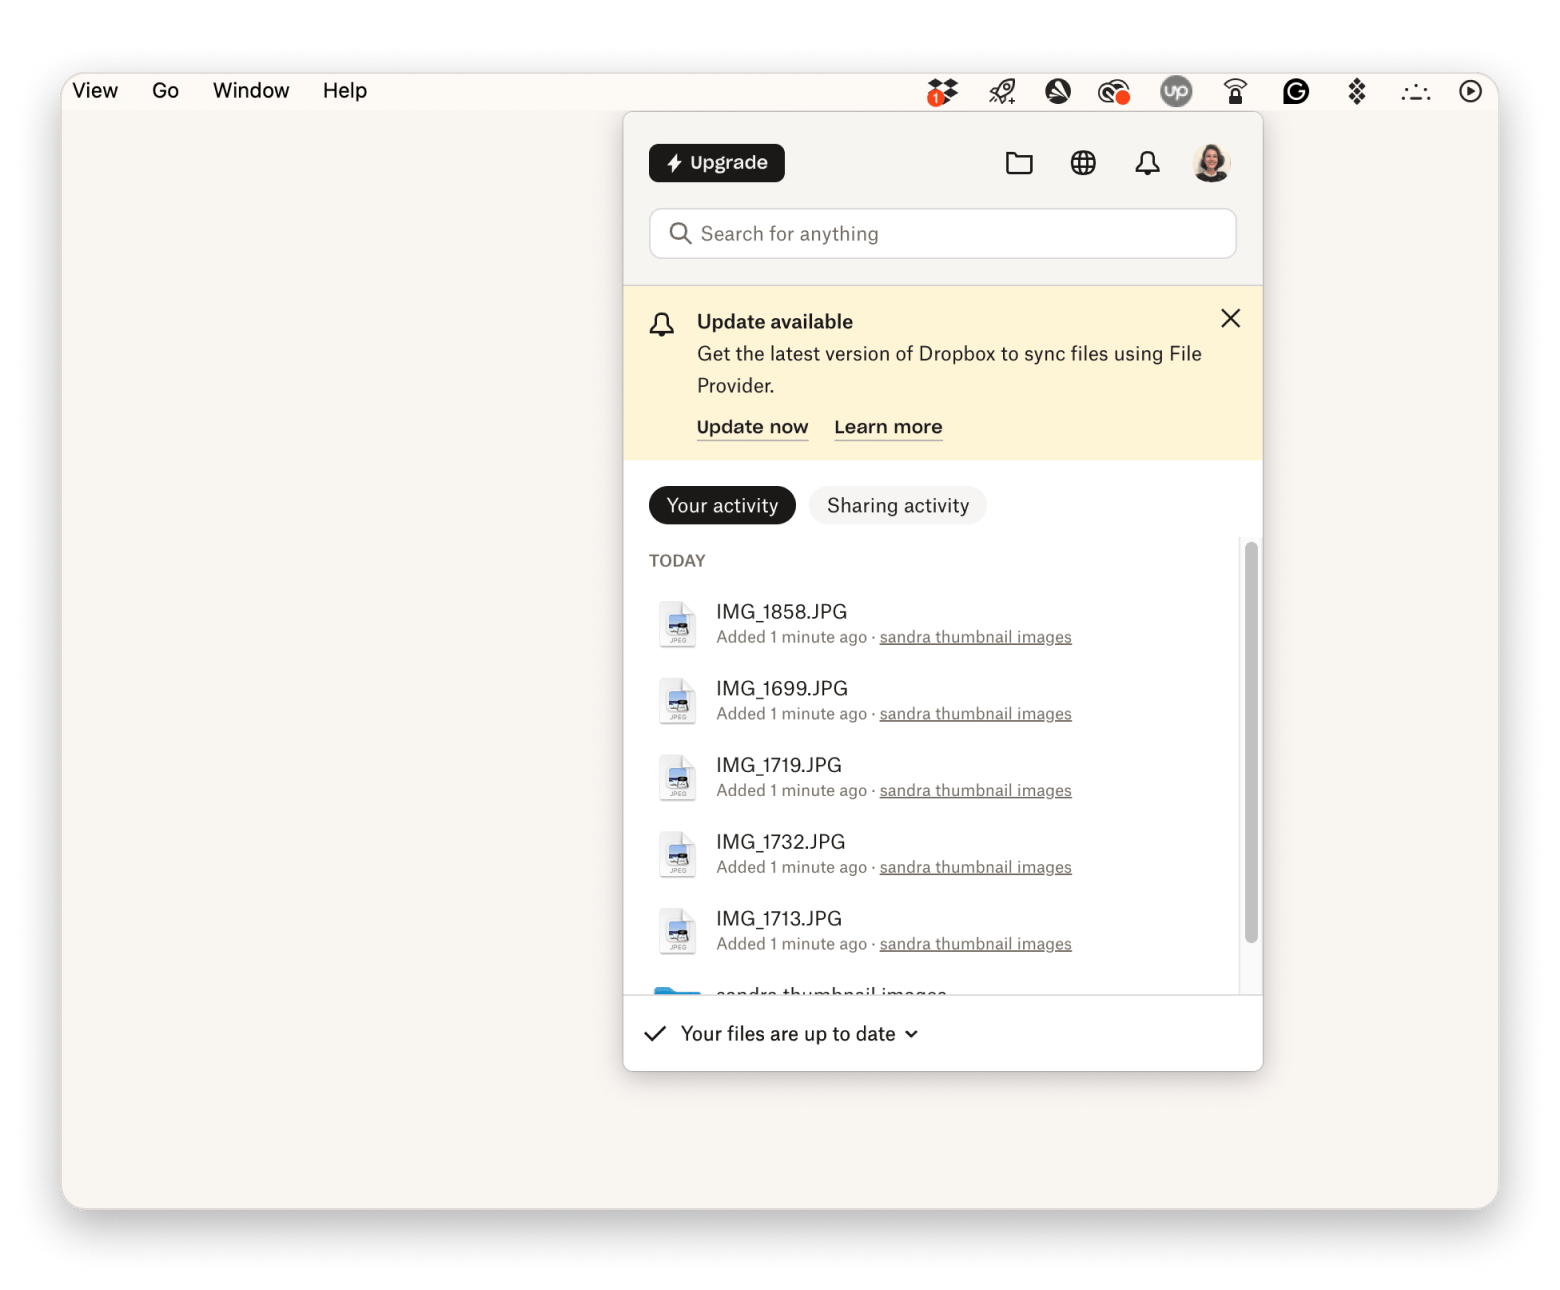
- Click the Dropbox icon in your menu bar (top right corner of your screen), then double-click the folder you want. Finder will open.
- Add files by dragging and dropping them right into that window. If you haven’t made any folders yet, you can just drop everything into the main Dropbox folder for now.
- Delete something by selecting the file or folder, pressing Command + Delete, or right-clicking and choosing Move to Bin.
If you frequently access your Dropbox folder, add it to the Favorites section of your Finder sidebar so you can quickly find it.
Add Dropbox to the Finder sidebar
As mentioned above, Dropbox is easier to use when you can open it with one click from your Finder sidebar. It also means you can easily drag and drop files and folders into it within Finder. To add Dropbox to the Finder sidebar:
- Open Dropbox from the Applications folder or using Spotlight.
- Click on the Dropbox icon in the menu bar and click the Dropbox folder icon. The folder will then open in Finder.
- Drag the folder and drop it in the favorites section of the Finder sidebar.
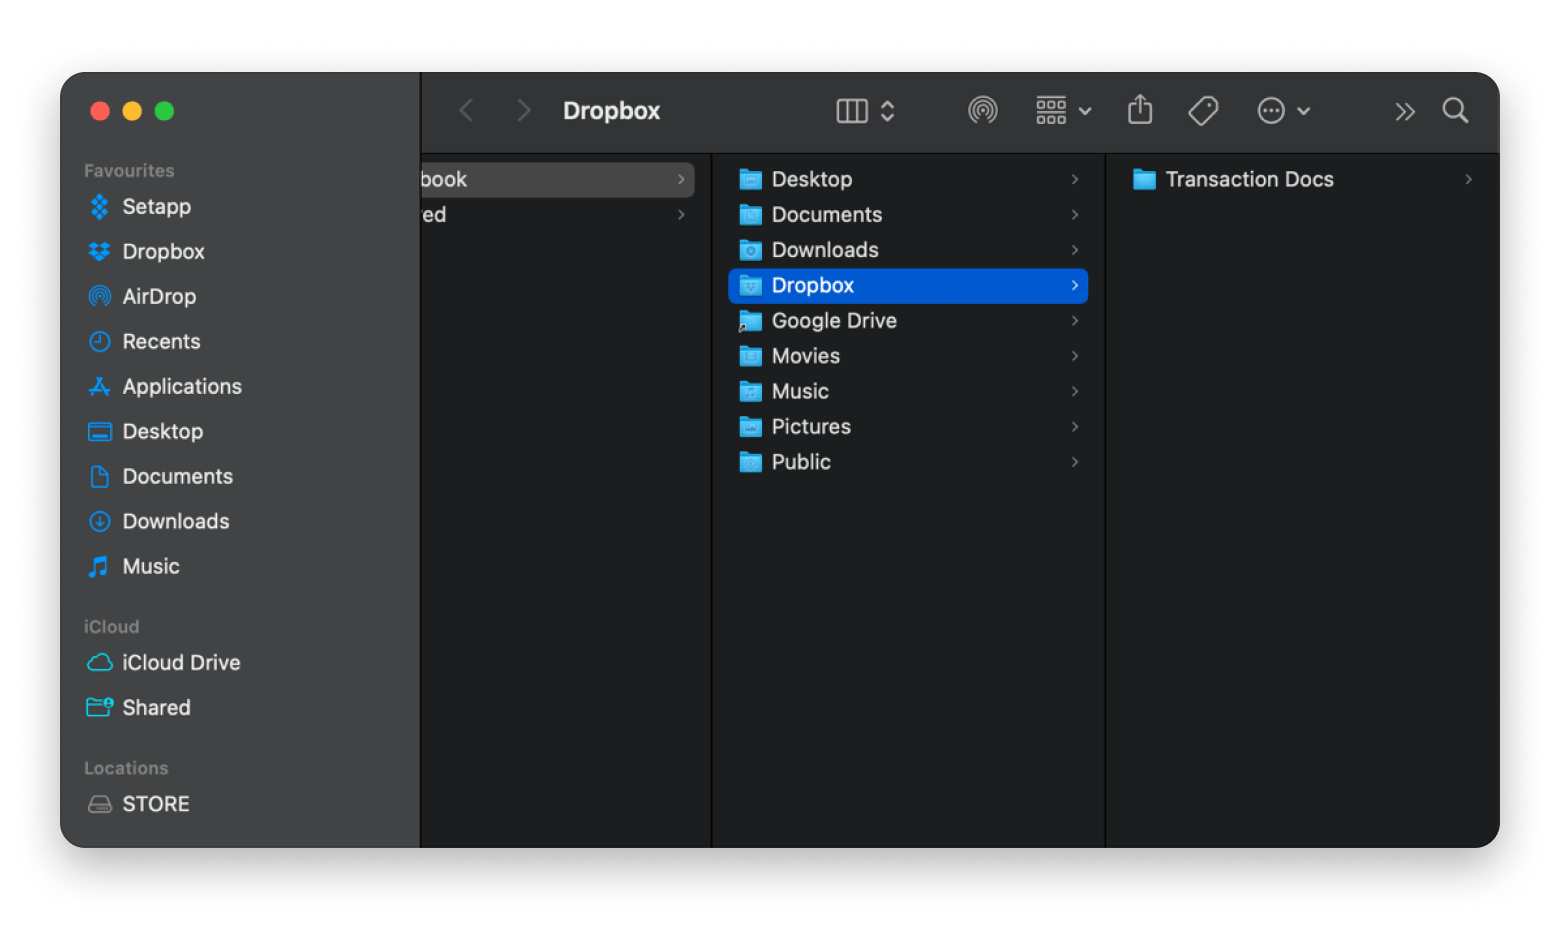
You can always move Dropbox up and down in your list of Favorites, and add a specific Dropbox subfolder you access frequently to this list.
Tips for using Dropbox on Mac
Once you install Dropbox on your Mac and sign in, it creates a special folder. Anything you drop in there syncs to the cloud and your other devices automatically.
You’ll see a blue syncing icon as files upload, which turns into a green check mark once they’re done. To move multiple files, hold the Command key and select them, then drag them in.
No need to worry about syncing — Dropbox handles it all in the background. Just add files from any device, and they’ll appear on your Mac like magic.
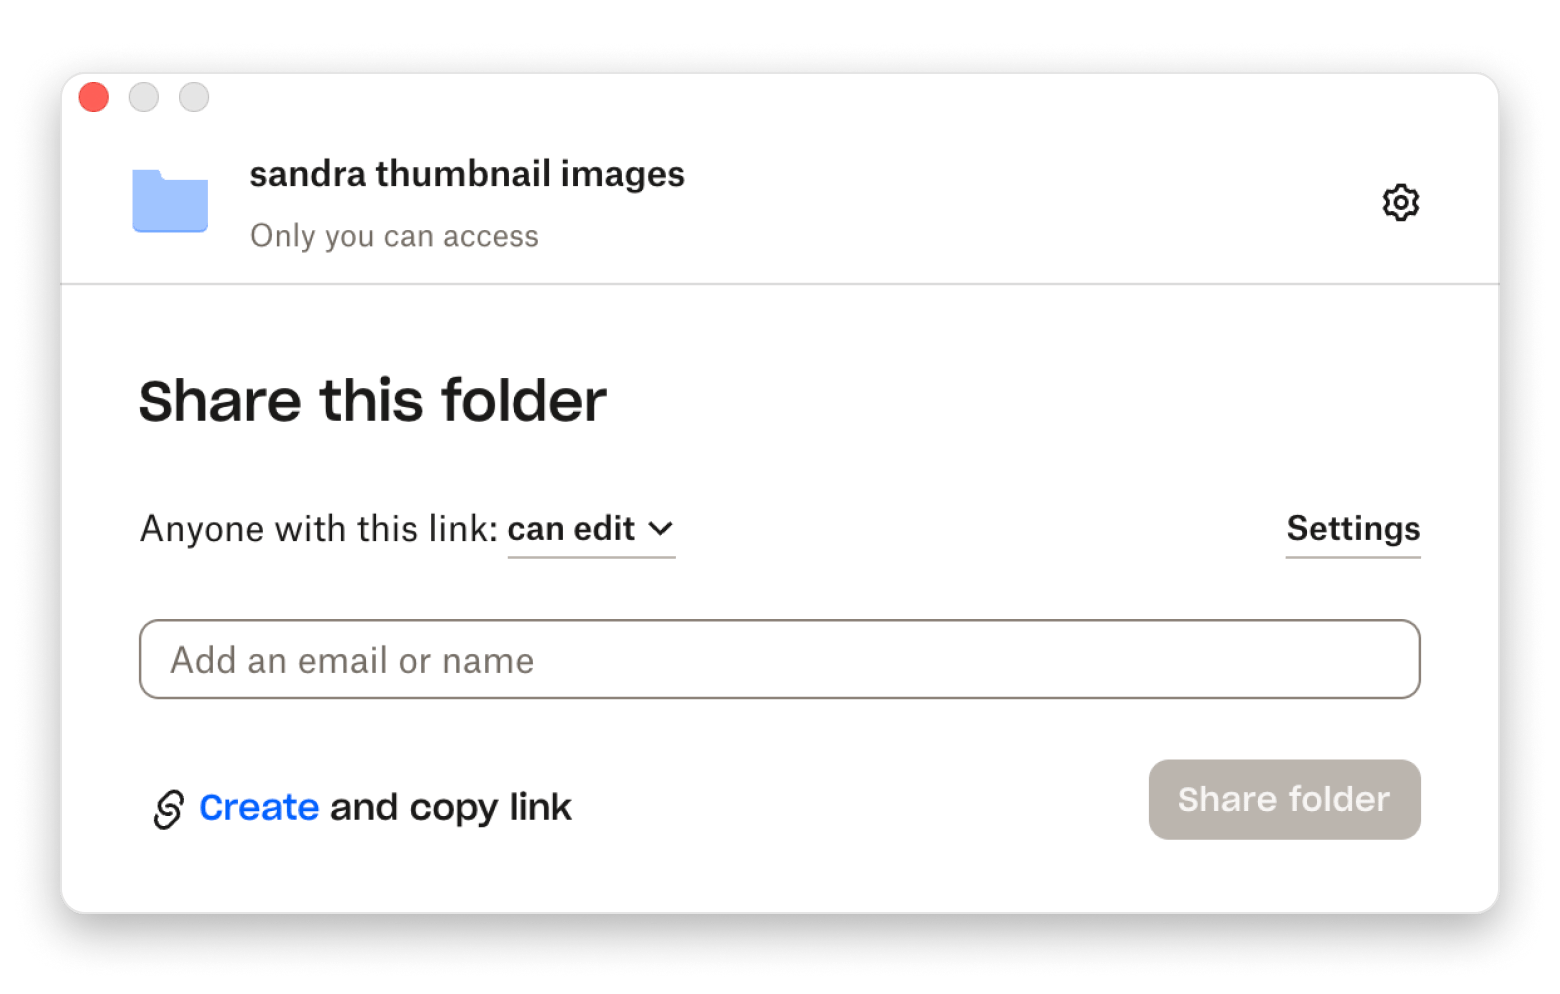
One of Dropbox’s strongest features is sharing files with colleagues and family members. To do this:
- Right-click on the item you wish to share in your Dropbox.
- Select the option that says Share with a Dropbox icon next to it.
- Enter the email addresses of the people you want to share with.
- Choose the level of access, either Can view or Can edit.
- Add a message if you’d like. If you prefer, you can also create a link to share manually instead of sending it via Dropbox’s email option.
Unable to sign in to Dropbox on the computer? Here’s how to fix this
One of the most annoying issues when jumping between different accounts and using multiple tools is forgetting your login info.
If you can't sign into Dropbox on your Mac, here are some steps you can take to get back into your account:
- Check to see if you’re using the right credentials.
- Right-click the Dropbox icon in the menu bar and choose Help Centre. The Dropbox Help Centre page will open in your web browser.
- Click on the password reset page, and you’ll find different recovery options with links.
- Pick the option that fits your situation, and just follow the steps on the screen.
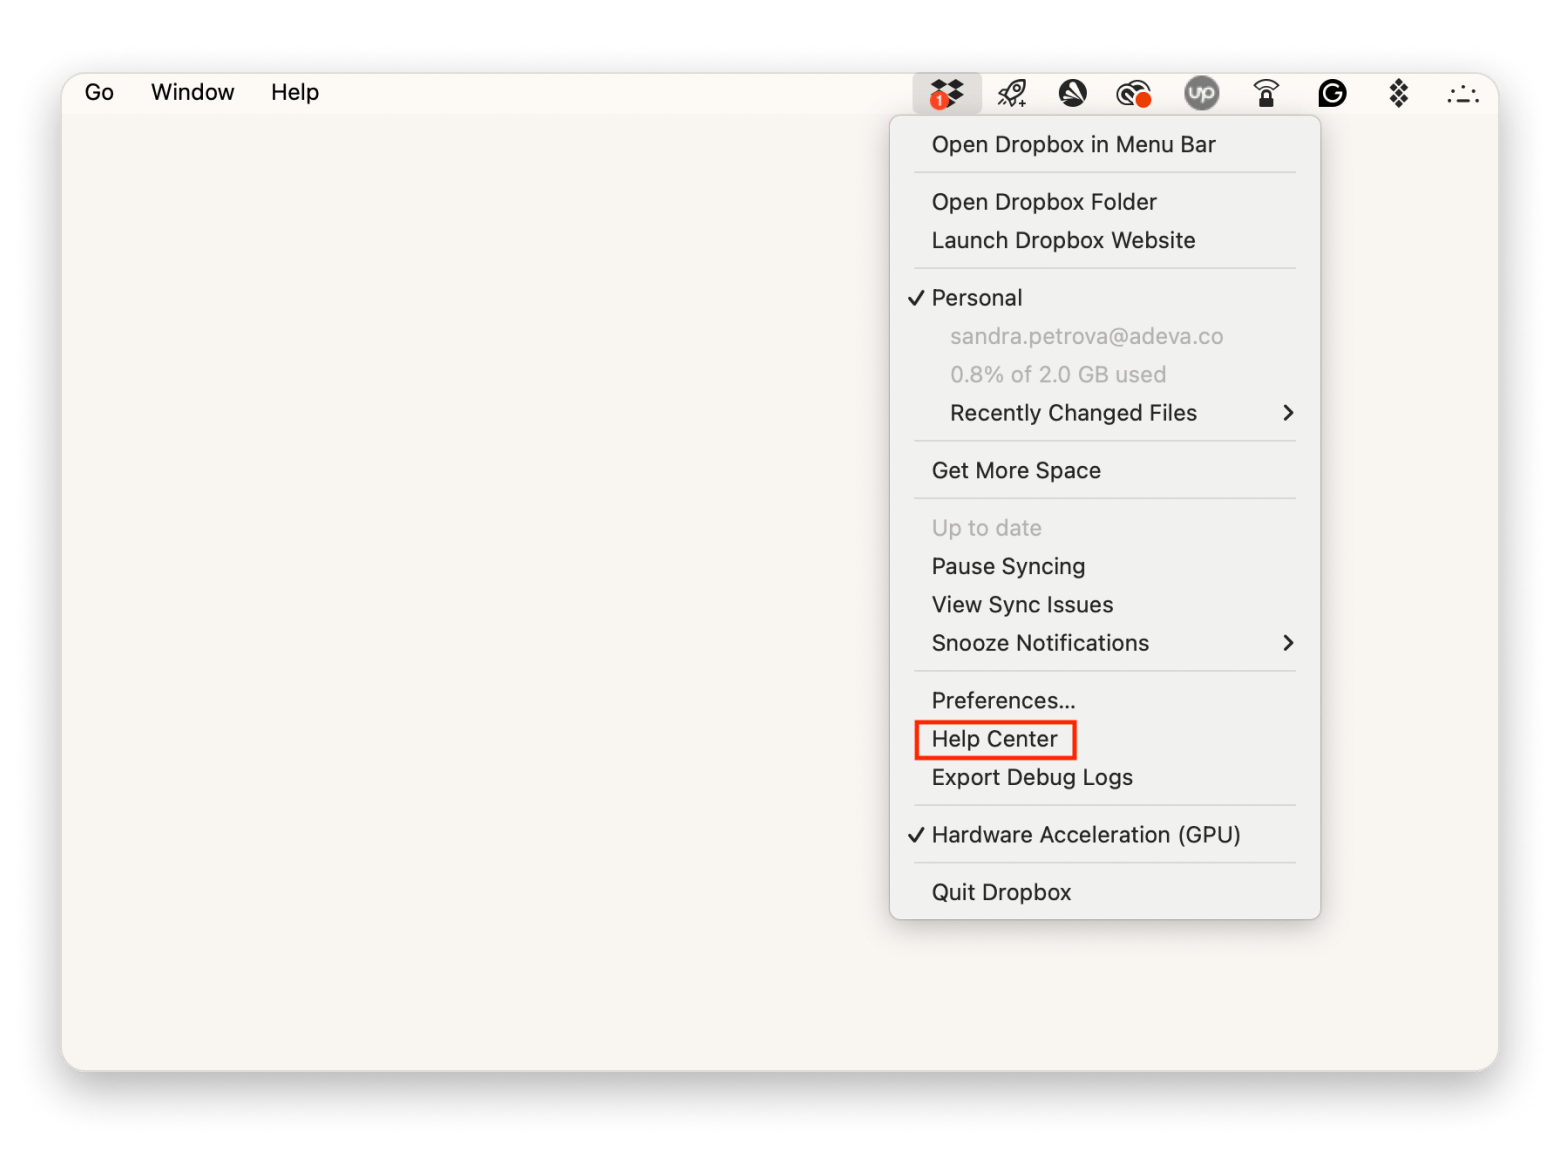
There are times when Dropbox just won’t let you sign in, even if everything seems right. If you’ve already double-checked your login info and you're still stuck, try removing the app from your Mac and reinstalling it using the offline installer from the Dropbox site. Still having trouble? Switching to a different user profile on your Mac might do the trick.
What is Dropbox pricing?
Need more space? The Plus plan is the most affordable paid option, offering 2 TB of storage for $9.99 per month when billed annually. In addition to storage, you get the ability to transfer files up to 50 GB, restore deleted files for up to 30 days, and edit PDFs and get signatures.
For even more space, consider the Professional plan at $16.58 per month, which includes 3 TB of storage, higher limits, file branding, and password protection for files. There are also plans available for teams and businesses.
Final thoughts on how to use Dropbox on Mac
Dropbox already makes it easy to keep your files in sync, but with a little help from the right tools, you can make it work even better for you. CloudMounter is great if you’re juggling multiple cloud accounts, it brings them all together in one spot. And if your desktop tends to get messy (I've been there), Unclutter helps you keep files, notes, and clipboard stuff organized and easy to find.
Best of all, you can find CloudMounter and Unclutter on Setapp, a platform of more than 260 Mac and iOS apps that will completely overhaul the way you work. There's a free 7-day trial, so make sure you give these apps a try.
FAQs
How do I make Dropbox available offline on Mac?
To make Dropbox available offline on Mac:
- Click the Dropbox icon in the menu bar.
- Click the Dropbox folder icon to open it in Finder.
- Right-click the Dropbox folder in Finder and choose Make available offline.
Is Dropbox good for Mac?
Dropbox is one of those apps that just makes life easier on a Mac. You don’t have to think too hard; just drop your files in, and they will show up everywhere you need them. Want to share something? A couple of clicks and it’s done. Whether you’re saving old photos, backing up work stuff, or collaborating on a project, it all feels super straightforward.
Why can't I open Dropbox on Mac?
There are a few reasons why you can't open Dropbox on Mac:
- You might be entering the wrong credentials
- Have exceeded the account’s device limit
- Or are running outdated software versions.
Check to see whether you're using an expired password or have signed into a recently restricted non-admin team account.
How to share a Dropbox folder on Mac?
To share a Dropbox folder on Mac:
- Open the Dropbox folder.
- Right-click the specific Dropbox folder you want to share, and choose Share, or click the Dropbox icon in the menu bar and click the Share button for that folder.
- Set your sharing permissions and click Share folder.


