How to save an image on Mac: Tested and easy methods for every user
I really value my photos and the memories they bring, so it's super important to keep them safe. So, my Mac has become my go-to for storing and organizing all my images the right way.
But no one wants personal photos ending up in a work presentation. And neither do you want to spend hours looking for a photo you need to work on. To knpw how to save image on MacBook is important because it helps you:
Access images you need quickly.
Keep private images safe.
Manage storage space smartly.
Maintain a coherent storage structure for collaborative efforts.
My deep dive will show you how to save pictures on a Mac, copy them, and create a space where all your photographs are kept for posterity. Let’s go!
Want to troubleshoot quickly on your Mac? Try this free Fix My Mac GPT assistant, which provides instant, effective solutions for any problem.
How to save images on a Mac
Saving images on a Mac is simple, and there are many ways to do it successfully. What works well for one user might not necessarily suit another, so it’s all about trial and error and finding the best method for you.
Along the way, I’ll show you some great apps that will help make the process easier.
Downloading from browser
One way to save an image to your Mac is to do it straight from your browser. Here's how to save pictures on MacBook from Googl or Safari:
- Open Safari > Choose the image you want to save.
- Right-click the image.
- Choose Save Image As.
- Enter a name for the file.
- Choose where to save the file.
- Click Save.

You can also drag the image to your desktop or a Word or Google doc and save it directly there.
Taking a screenshot
Sometimes, I might want to take and save a screenshot on my Mac. For instance, if I’m in a meeting and need to send information that’s on my screen to attendees.
To take a screenshot:
- Open the image, app, or webpage.
- Press Command + Shift + 5 simultaneously and choose one of the options: Capture Entire Screen, Capture Selected Window, or Capture Selected Portion > Capture.
- The image is captured and appears on the right-hand side of your home screen.
- Choose the right place on your Mac to save it, or it will automatically go to the Recents tab in Finder.

If you can’t take a screenshot with your Mac’s built-in tools, check out the guide on how to fix the screenshot feature when it’s not working.
Copying from an external device
Wondering how to copy a picture on a Mac? The Photos app can import photos or videos from an external device to copy and save them.
To do so:
- Connect the external device to your Mac via USB or USB-C.
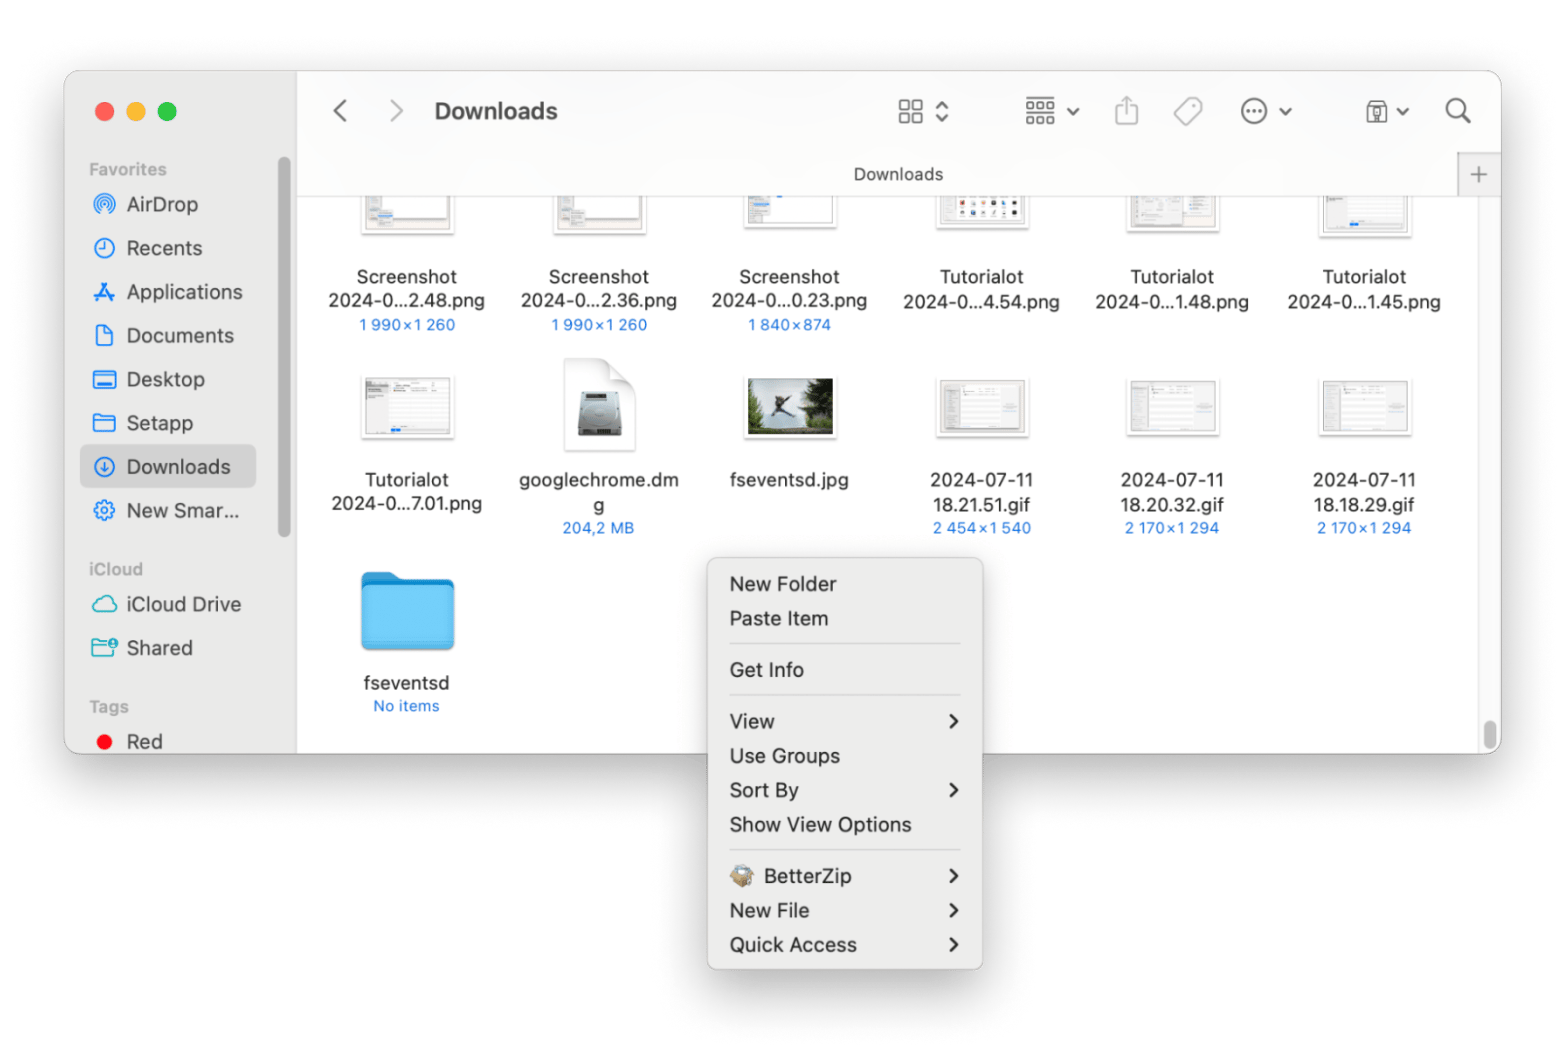
- Open the device in Finder under Locations.
- Select the photos or videos you want to import > Right-click and choose Copy.
- Choose a folder to store files > Right-click and choose Paste Item(s).
Creating images from videos
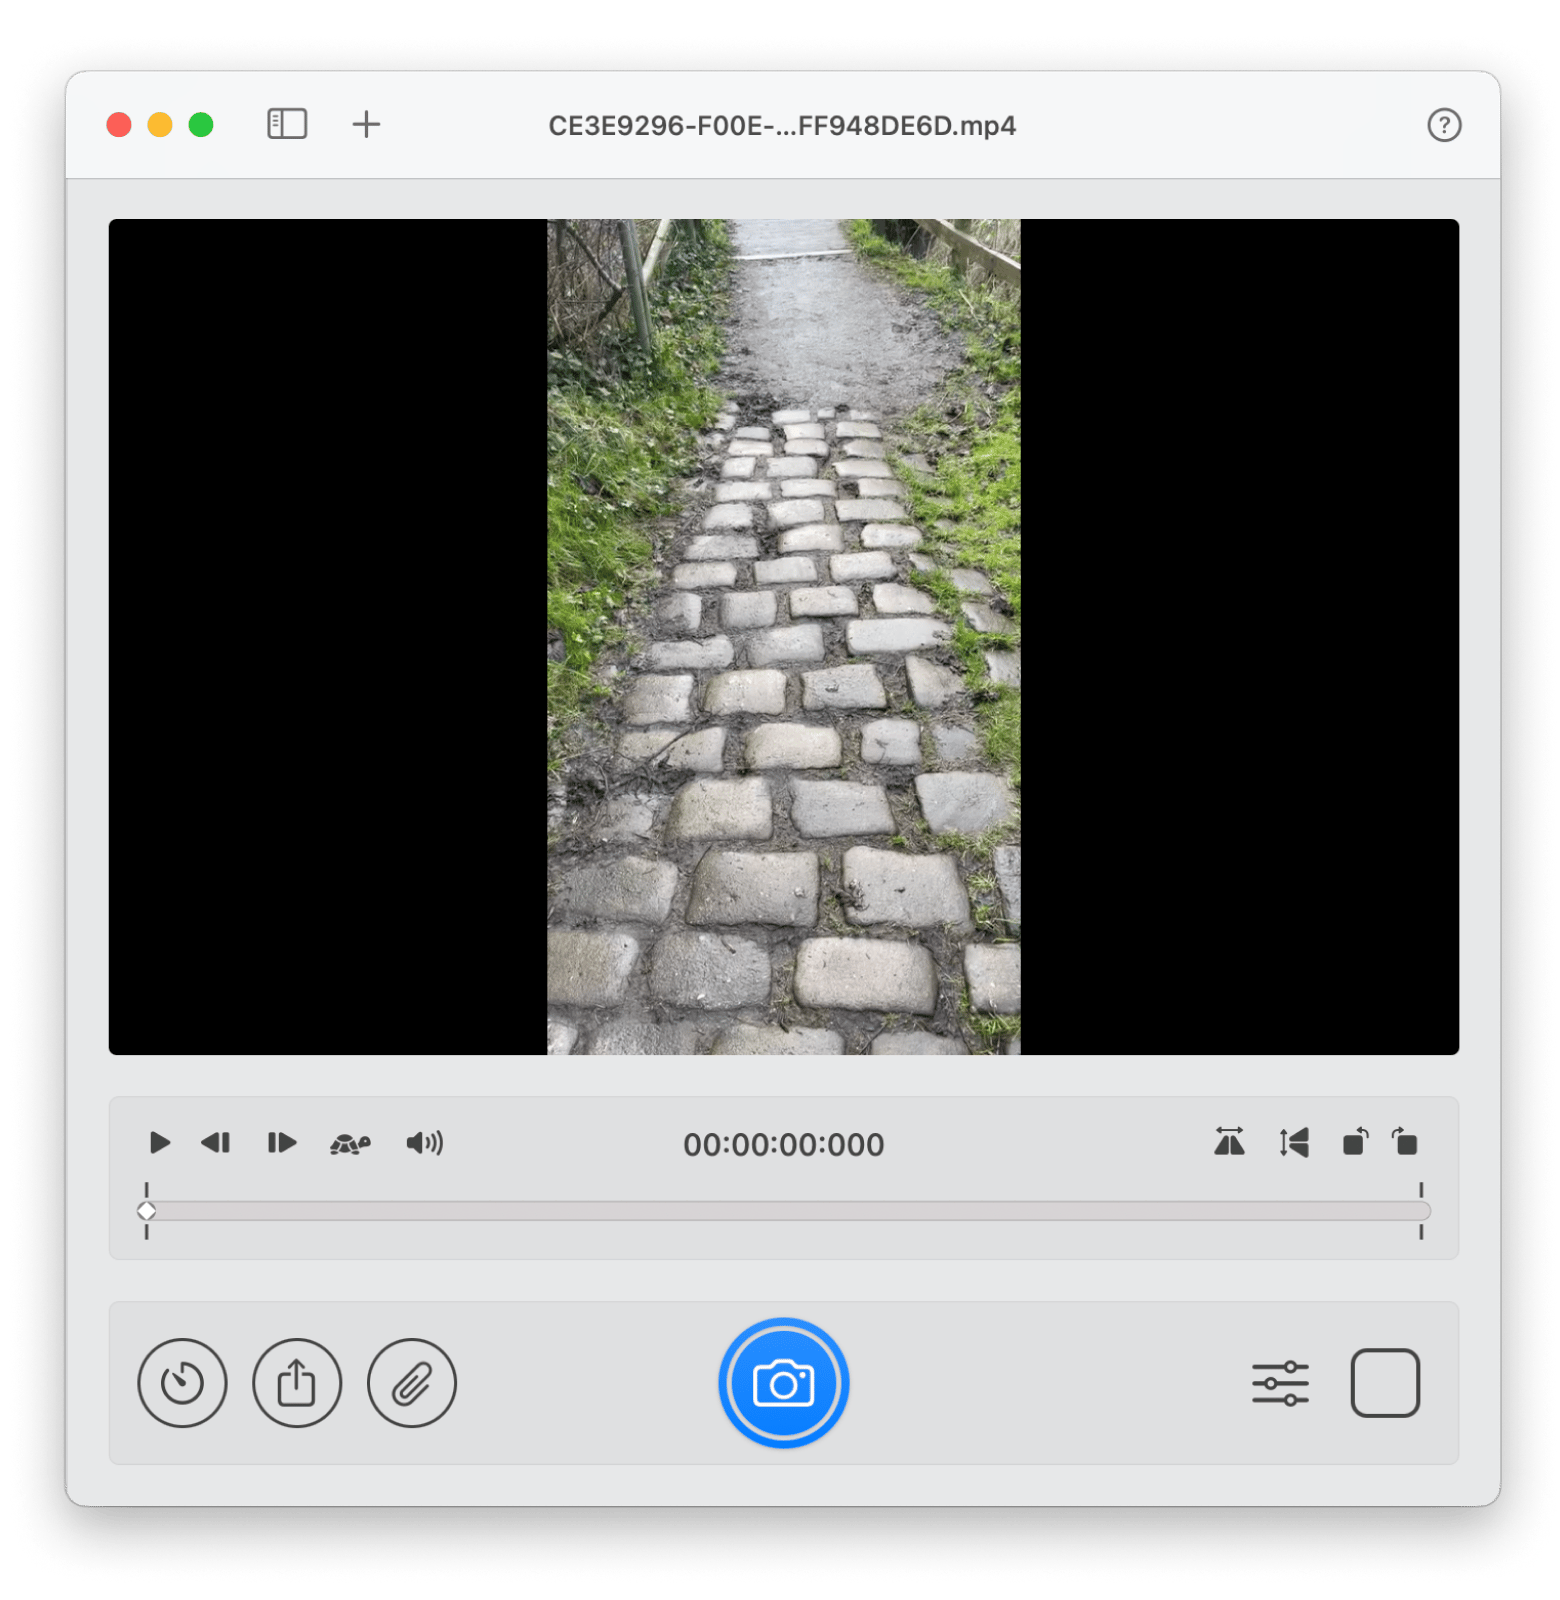
Sometimes, you just need a good still from a video — maybe for a project, a reference, or just to save a great moment. Instead of pausing and screenshotting (and ending up with a blurry mess), try SnapMotion. It lets you pull high-quality images straight from videos.
Here’s how to use SnapMotion:
- Install and open SnapMotion on your Mac.
- Click Choose Videos In the Finder
- Play the video and click the snap button (the camera icon) to make a snap of the extract moment.
- Once snapped, choose a destination folder.
Using downloaded browser extensions
This option lets you download and save a bunch of images at the same time without any hassle. Download browser extensions can batch-download images from a webpage, so you can save what you need in just a few clicks.
For Chrome, Image Downloader is a great option that lets you pick and save a bunch of images all at once. If you’re on Safari, you can try Images: Extension for Safari from the Mac App Store. It scans the page for images so you can download them in bulk.
How to reduce image size on Mac without losing quality
If your images take up too much storage, you can reduce image size on Mac without losing quality by resizing and compressing them the right way. The key is to lower the file size while preserving resolution and visual clarity.
Easy ways to reduce image size on Mac:
Resize dimensions, not quality: Large images often have more pixels than needed. Reducing the width and height slightly can cut the file size significantly with no visible loss.
Use smart compression: Modern tools remove unnecessary data while keeping details sharp.
Export in the right format: JPEG works well for photos, while PNG is better for graphics with text or transparency.
Here are the helpful apps for resizing and compression:
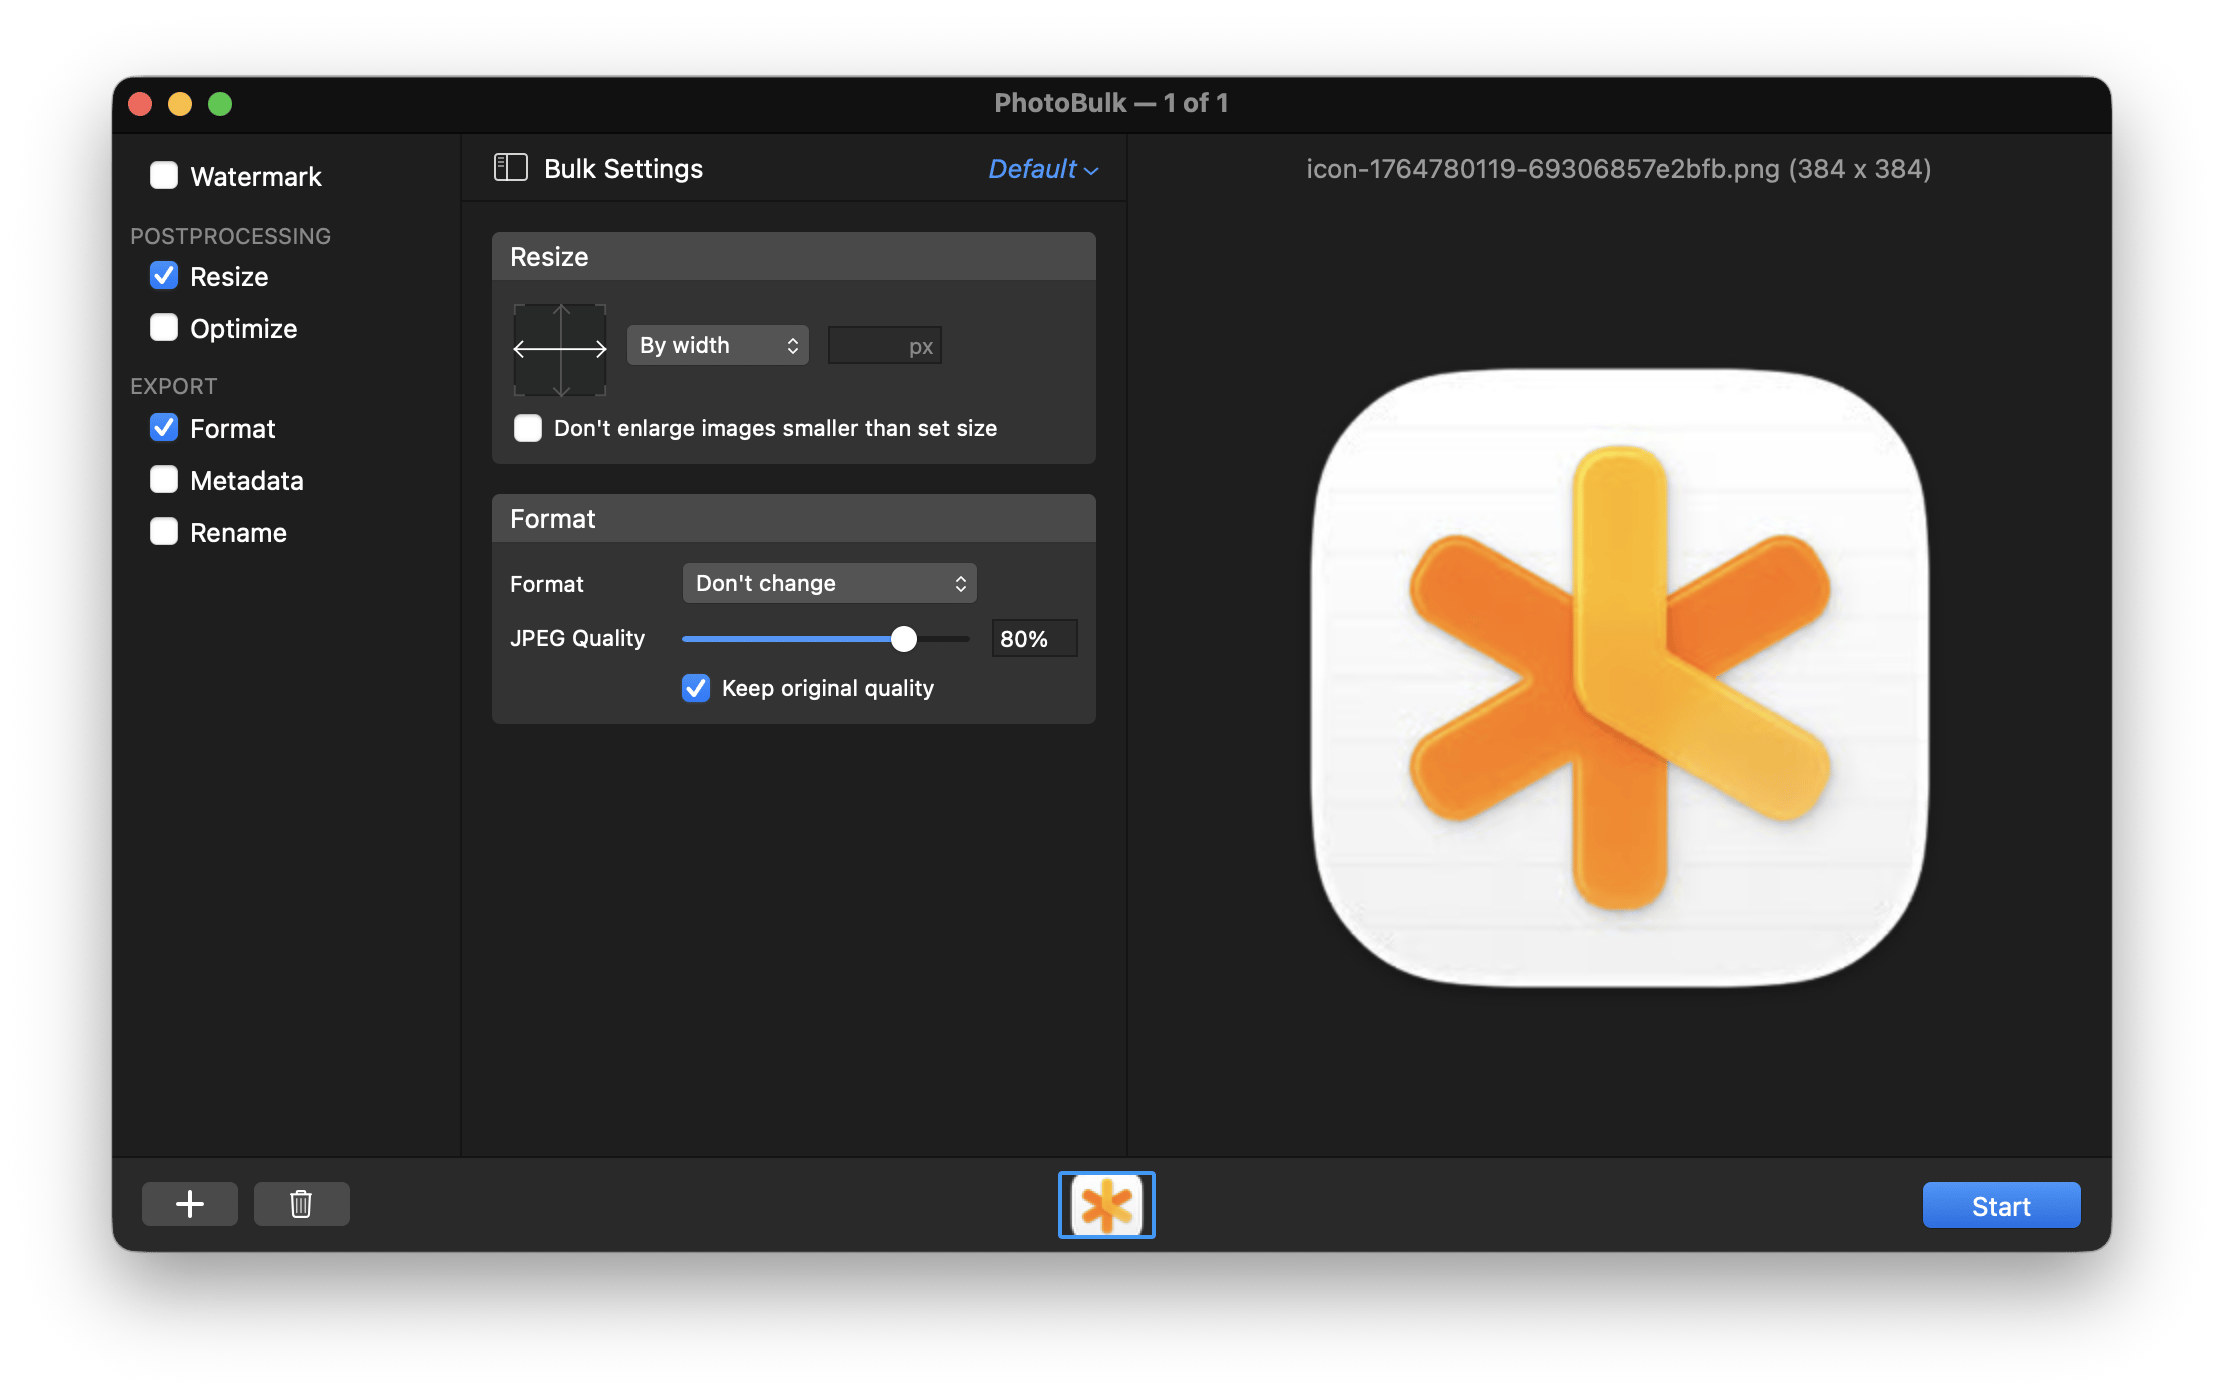
PhotoBulk: The app is ideal for batch resizing and compressing images. You can adjust dimensions, optimize quality, and process multiple files at once.
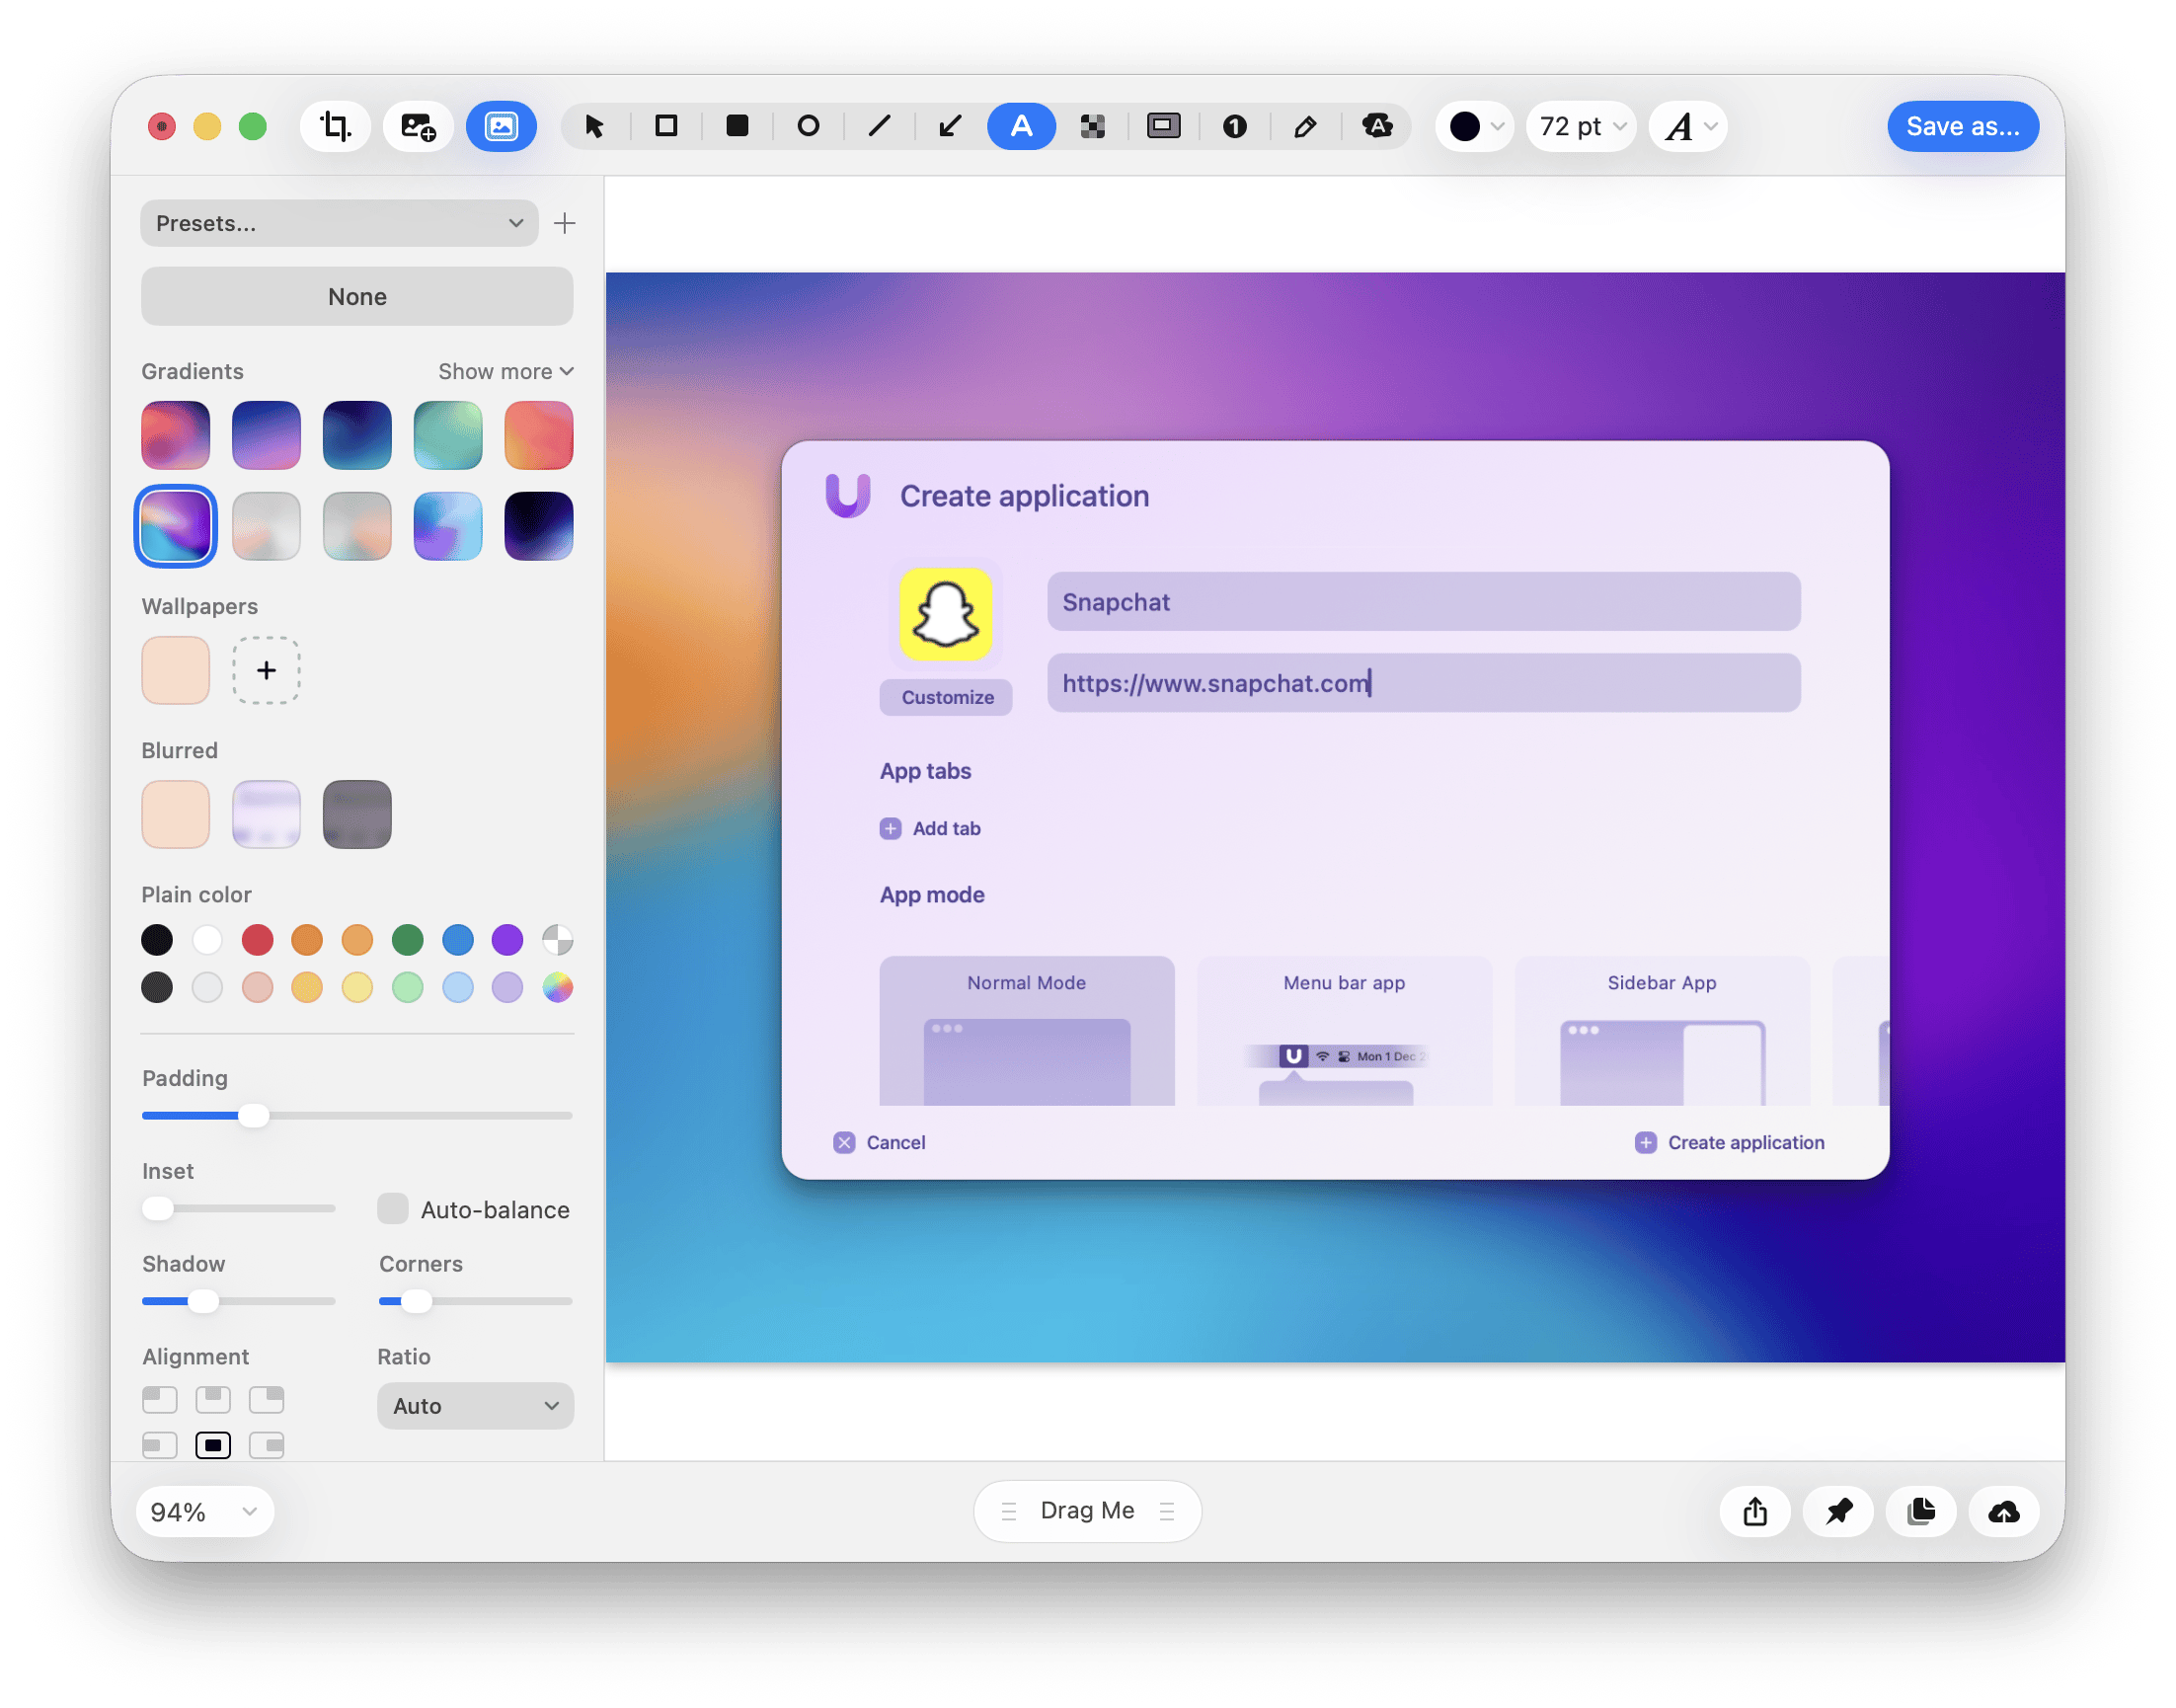
CleanShot X: The app is great for screenshots. It automatically compresses images, removes extra background space, and keeps text crisp and readable.
Time-saving tools to maximize Mac space
Once you’ve uploaded photos and saved them, it’s good to know about time-saving tools that can help you make the most of your images and maximize the space on your Mac.
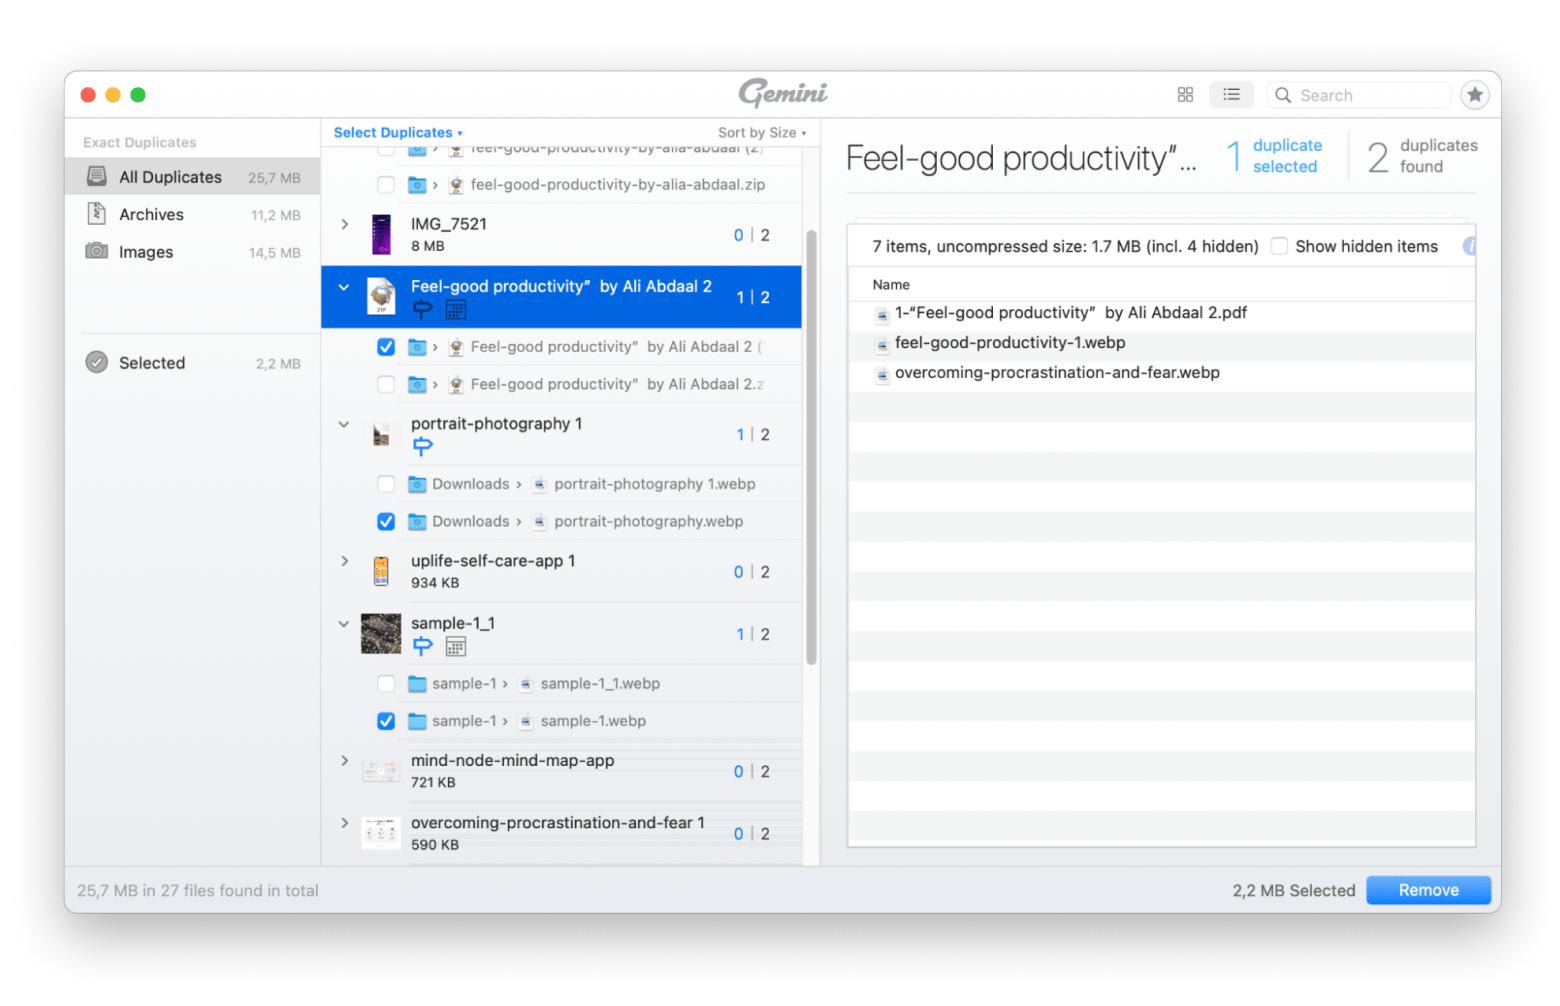
Here, I rate Gemini. It scans your library, finds duplicate or similar images, and lets you decide what to keep. The app makes sorting through photos way easier, especially if you’ve imported the same ones more than once.
Here’s how it works:
- Install and open Gemini on your Mac.
- Click Scan for Duplicates.
- If necessary, review duplicates and select the ones you want to remove > Click Remove.
How to save an image on a Mac: The final word
I hope you’ve found my round-up of how to save an image on a Mac useful. I’d love to know your thoughts if you try my suggestions.
Plus, you can use iBoysoft MagicMenu to help with clicking, or you can trust Gemini to handle duplicate files. Apps and programs such as SnapMotion, CleanShot X, and Trickster can help you get the most from your images and make editing and saving simple! Once you know how they’re easy to use.
The good news is that you can try these apps on Setapp. It’s a platform with more than 260 macOS and iOS apps you can try under a single subscription. Whether you’re a gamer or just want to find out more about the best ways to keep your Mac running smoothly, there’s a program that can help!
FAQ
How do you save an image from Google on a Mac?
To save an image from Google on a Mac, go to Safari > Right-click the image and then choose Save Image As.
Why can't I save an image on my Mac?
If you can't save an image on your Mac, it could be for a few reasons:
- You might not have enough storage left.
- You may not have the proper permission issues to save in the location you want to.
- Lastly, the image might be corrupted.
How do I save photos from the internet on my MacBook?
Here;s how to save photo on MacBook with the following instructions:
- Open Safari and go to the webpage.
- Move the pointer to the image you want to save.
- Right-click the image > Choose Save Image As.
- Choose a folder to save the image to.
- Name the file > Click Save.


