Do you feel bitter when you lose a file on a Mac? Fair enough! Macs are supposed to be reliable and keep your work safe. Unfortunately, Macs can’t be held responsible for the behavior of some Mac software, such as iMovie.
Knowing how to save iMovie files and projects on a Mac might save you hours and days of work. While the process of saving iMovie files is not very straightforward — there’s no “Save” button and you can’t go back to editing your video after you’ve exported it — it’s important that you learn the basics of saving finished and unfinished iMovie projects.
But first, let’s discuss quick solutions to your iMovie projects:
Your issue
Here’s what to do
Not enough disk space for iMovie projects
Use CleanMyMac to clear junk files and optimize storage.
iMovie project taking up too much space
Save projects to an external drive or use CleanMyMac to free up space.
How to save an iMovie project
It’s obvious why so many people love iMovie (me too!). It’s an easy entry-level video editing tool that can help anyone tweak a video — crop, trim, correct color, add audio, and more.
Before I show you the best ways to export finished and unfinished projects, let’s take a step back and clarify how to save a project in iMovie when you’re just getting started. iMovie has two main tabs to switch between — Projects and Media. Switch to Projects to view your current projects or to start a new one:
Click the plus “+” button to add a new project
Choose whether you want to create a Movie or a Trailer:
Choose Movie: if you want to create videos with your custom clips, audio, and images from scratch.
Choose Trailer: if you want ready-to-use trailer templates with a customizable outline and storyboard.
You’ll be taken right to your movie or trailer editing screen. So get to work!
How to save an unfinished iMovie project
Now, let’s talk about how to save iMovie on Mac or a removable drive to make sure you can pick up where you left off with your video editing anytime. In both cases, you’ll have to save iMovie to the iMovie Library. The only difference is where that library will be located — on your internal or external drives.
Saving movies to external storage is the best solution for two reasons:
First, movies usually weigh a lot, and if you’re an active video creator, you’ll soon clutter up your storage with those movies, while external storage will help save space.
Second, saving movies to a removable drive lets you work on your videos on any Mac.
Here’s how to save iMovie to an external drive:
Open iMovie and click File on the menu bar.
Choose Open Library > New
Name your new library and choose its location (external drive)
Click Save.
The new library will appear in your iMovie Media menu on the left, and it’s easy to drag and drop videos onto it.
Alternatively, you can create a library that’s stored internally on your Mac. Make sure it’s easy to find and located on a drive with plenty of free space.
How to save finished iMovie projects
Once you’re done with your video editing task, with all the tiny details refined and taken care of, let’s export it! We’ll once again ask you to note that it’s impossible to make any changes to your movie after you’ve exported it, so be careful.
Here’s how to export iMovie on Mac:
Click the Share button in the top-right corner of iMovie.
Choose Export File and change the details if necessary — movie format, name, resolution, quality, etc.
Pay attention to the movie size specified on this screen (sure you want to store it internally?)
Click Next and choose the location where the file will be stored
Confirm you want to export the movie (you’ll see a new icon appear next to the Export button, which shows the exporting progress and time estimate).
But besides the storage, it's also important to take note of the various details that iMovie asks for after clicking Export. These details shape the way your video looks, sounds, and is stored:
Description: A quick summary to identify various video versions effectively.
Tags: Keywords like "vacation," "beach," or "family" that help organize files.
Format: Choose "Video and Audio" for most projects or "Audio" only if needed.
Resolution: Higher resolutions (up to 8k) provide sharper visuals but create larger files.
Quality: Options are Low, Medium, High (default), and Best (ProRes), with High suitable for most uses.
Compress: "Faster" reduces file size quickly with some detail loss; "Better Quality" takes longer for a cleaner result but yields larger files.
It only takes a few seconds to fill out these details, but they have a big impact on how your final video turns out, especially in terms of quality and file size.
iMovie alternatives to edit and save video on MacBook
If iMovie export settings still seem confusing, or this video editing app is too limited for you, how about replacing it with a duo of powerful video editors?
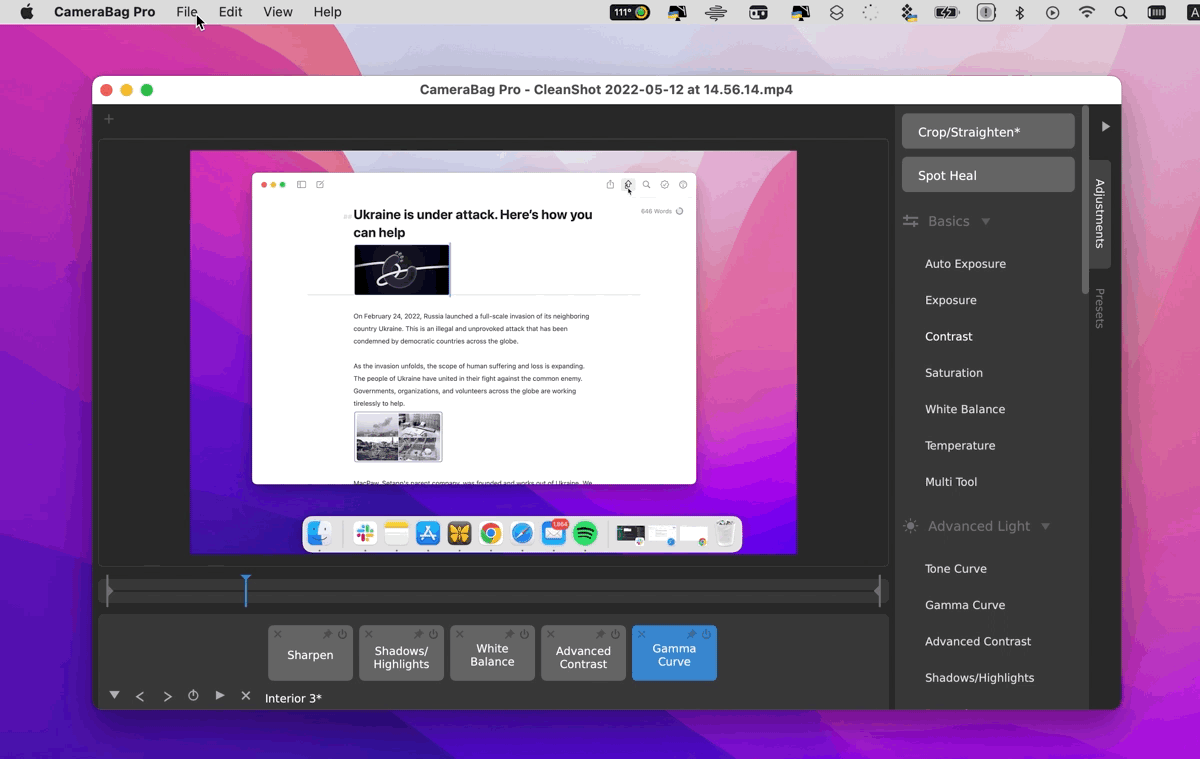
Create and edit videos with CamraBag Pro
CameraBag Pro is a sleek, beautiful, award-winning tool for photographers and videographers. Its main superpower is 200+ professional filters you can apply to your videos with one click. Non-destructive edits let you experiment with your videos, without damaging their quality. Finally, you get presets and batch editing if you need to edit a pack of videos using the same effects.
Here’s how to edit and export videos with CameraBag Pro:
Install and open CameraBag Pro.
Upload or drop your video onto the app interface.
Switch between Presets and Adjustments to apply changes (vertical button on the right). You can save the result as a preset at any time.
To save your video, go to File in the menu bar > Save As, then choose width, height, and format > Save.
You can edit your saved videos at any point, and either save them as new video files (use the Save As option) or go to File > Save Over Original, which will essentially apply changes to your previously saved video. You can even save a specific video frame if you want!
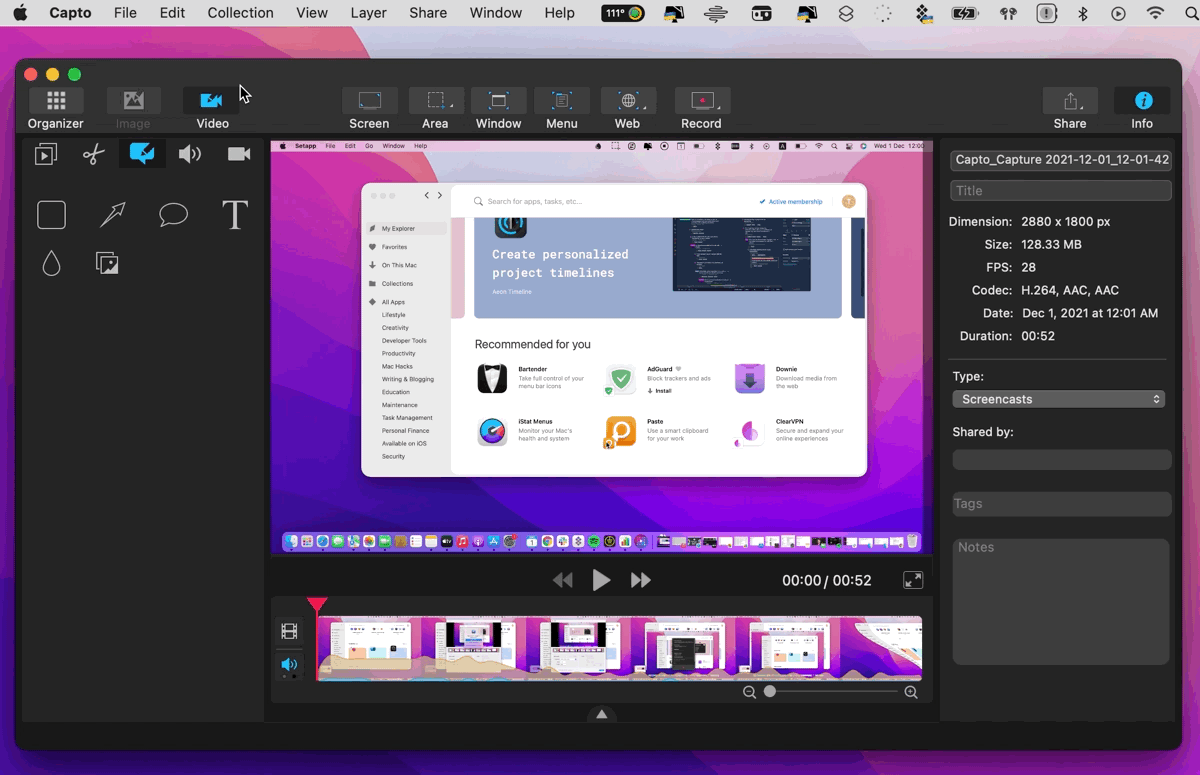
Edit videos and screen recordings with Capto
Capto is another video editing tool you can use, particularly useful if you need to make and edit a video of your screen. Whether it’s a screencast, a pro YouTube tutorial, or just a video you want to share with a teammate, Capto is the most effortless solution.
Here’s how the Capto works:
Install and open Capto.
Click the Record button to start recording or drag and drop your video to the app’s interface.
Once you’re done, access the recording in Capto’s Library.
Use Capto’s toolbar to crop, trim, annotate, or add audio.
Click File in the menu bar > Save when you want to save changes to the video.
Click File in the menu bar > Export when you want to save the finished video.
Why you need Setapp to save iMovie on Mac
If you look at the improvements Apple introduced to its products and operating systems over the last years, there’s a trend — security-related features always come first. Setapp helps strengthen Apple’s attempts to make Mac secure, and offers you a pack of backup and optimization tools such as CleanMyMac. If you have those installed, you shouldn’t worry about losing iMovie files, or any other files.
Additionally, Setapp gives you essential productivity utilities and tools for creators — I’ve mentioned two superb video editors, CameraBag Pro and Capto — to help you replace outdated software and boost your productivity on Mac even more. Try Setapp apps for 7 days free.
FAQ
Do iMovie projects automatically save?
Yes, iMovie projects save automatically. There's no Save button, as all updates are made as you go. However, it's always a good idea to have more control of your projects, so always back up your iMovie Library – especially when working on big projects. And in case of any data loss, you can recover the project using iBoysoft Data Recovery.
Why is there not enough disk space in iMovie?
There’s not enough disk space in iMovie because projects can take a surprisingly large amount of space, even if the video you started with was small in size. To stay in control of your storage space, use CleanMyMac to check how your space is used and clear out junk files to save more space.
How to transfer audio from iMovie to GarageBand?
The best way to transfer audio from iMovie to GarageBand is to export it as a file. In iMovie, go to File > Share > File, then choose Audio Only as the format. The output will be an M4A file that you can just drag into GarageBand.
Why can't I export my iMovie on Mac?
You might not export your iMovie on n Mac because of the limited disk space or a corrupted media file inside your project. Disk space is often the culprit, so first check for available storage and clean up junk with CleanMyMac. You can also try exporting a smaller version of the video, but an effective solution for most export issues is exporting an external drive.