A simple guide to iMovie on Mac: Easy tips for stunning results
So there I was, spending a laid-back Saturday afternoon scrolling through a bunch of digital memories — clips from last summer’s trip, laughs caught at friends’ birthday parties, and those random moments that just scream to be saved in their own little movie.
I know there are tons of apps out there promising Hollywood-style magic at the click of a button. But honestly? I didn’t want to spend the entire day discovering them all. So, I turned to my trusty old friend — the iMovie app. In this article, I’m going to show you my favorite tips and tricks for mastering iMovie on Mac. Ready?
Getting started with iMovie on Mac
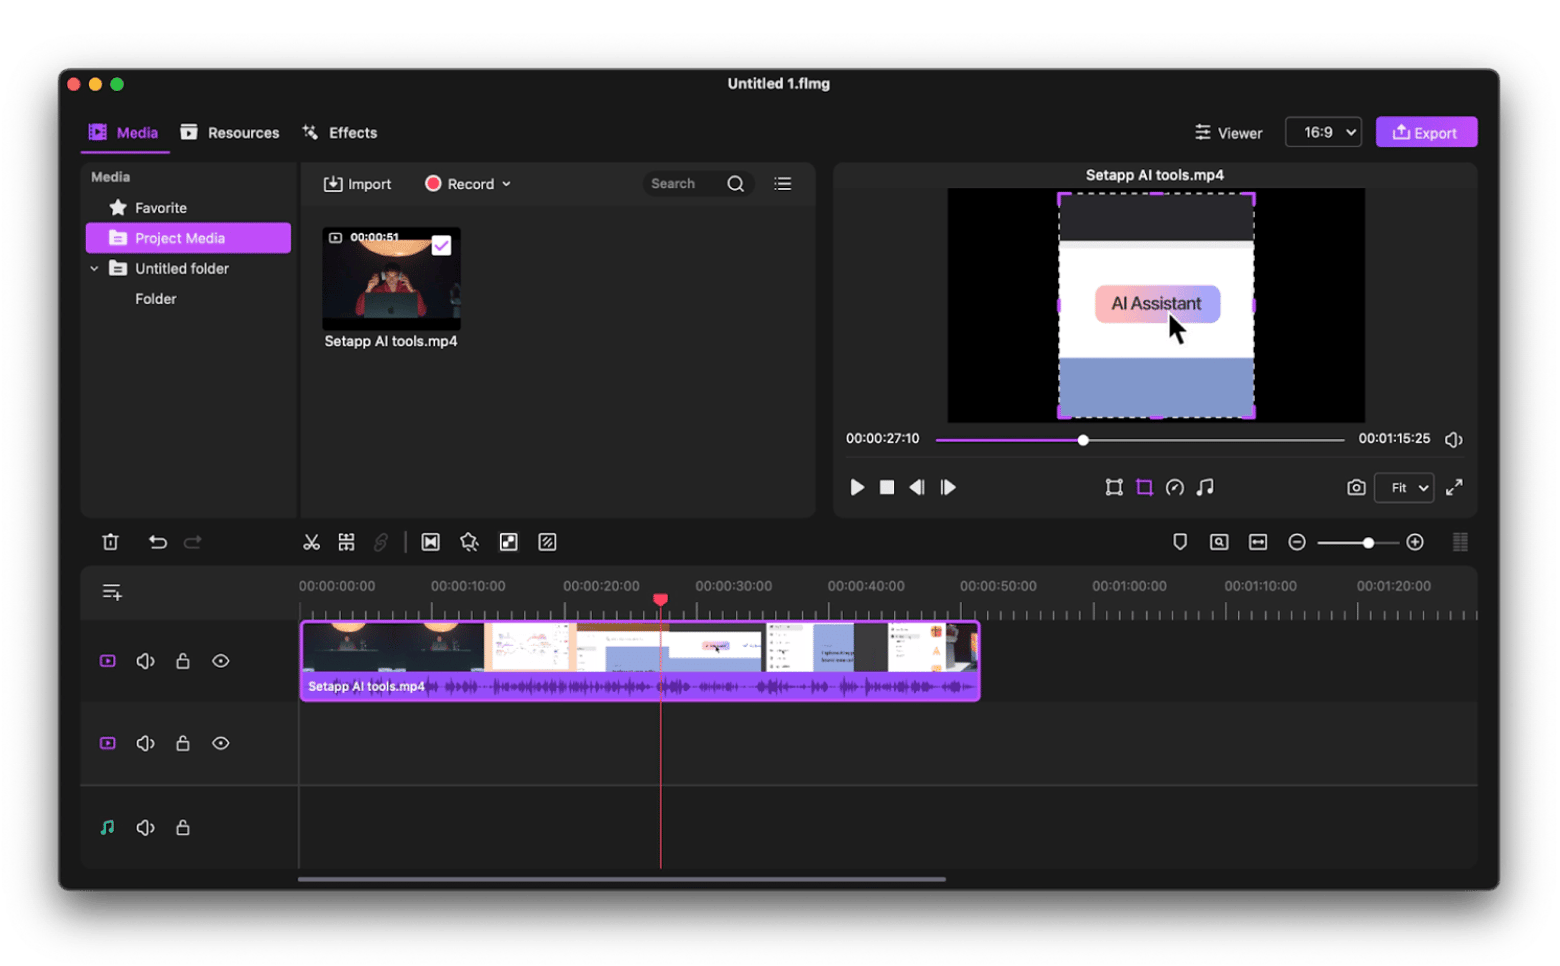
First things first, you’ll need iMovie on your Mac. If it’s not already installed, just go to the App Store and download iMovie for Mac.
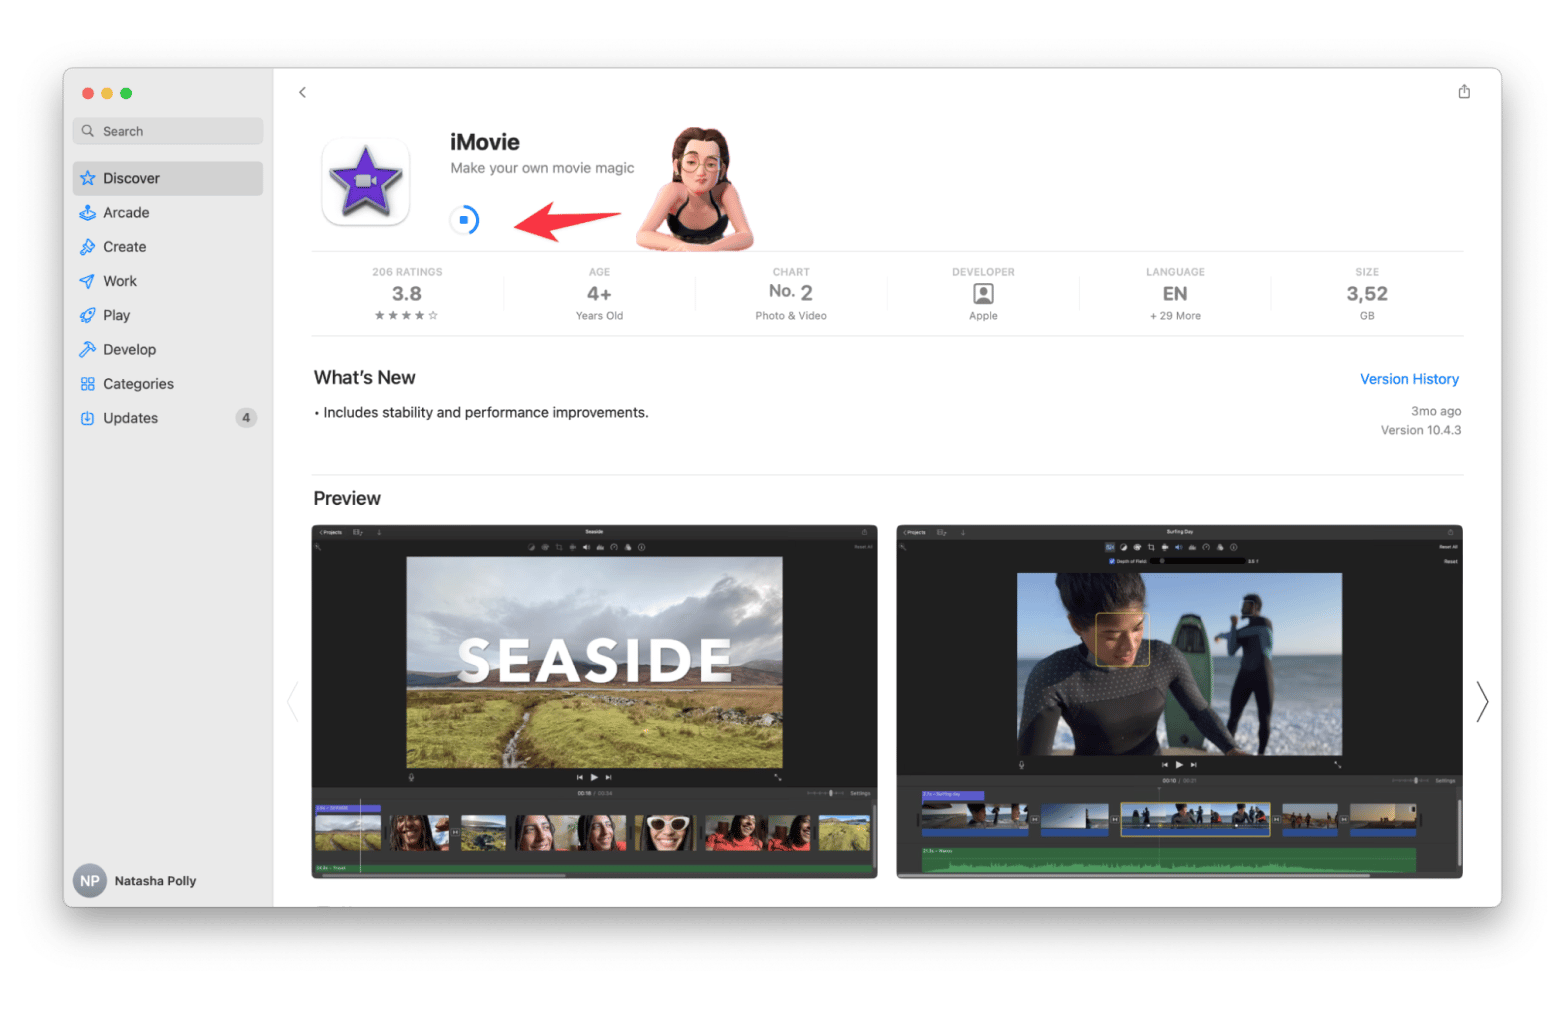
Oh, finally, the download is done. Now, I can show you how to use iMovie on Mac and start creating your own mini-masterpieces. Let’s get started!
How to create a new movie project
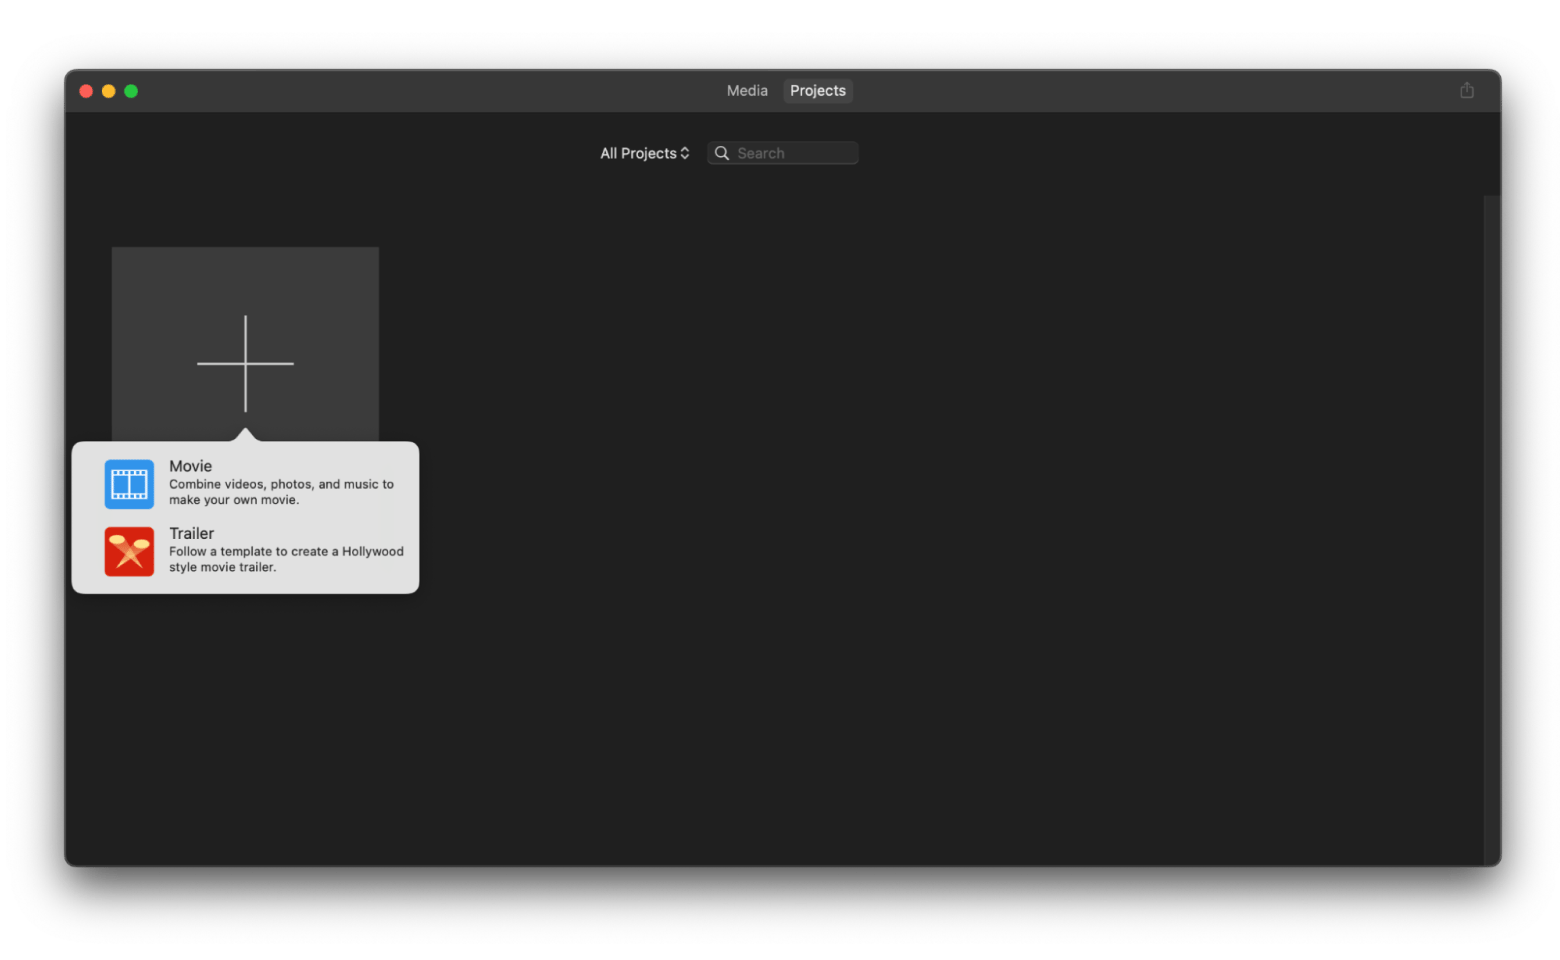
Starting fresh with Apple iMovie, huh? Then do the following:
- Open iMovie and click on Create New.
- Choose Movie and, for those who like a bit of thematic drama, maybe even pick a theme.
- Name your masterpiece.
How to add video clips to your movie
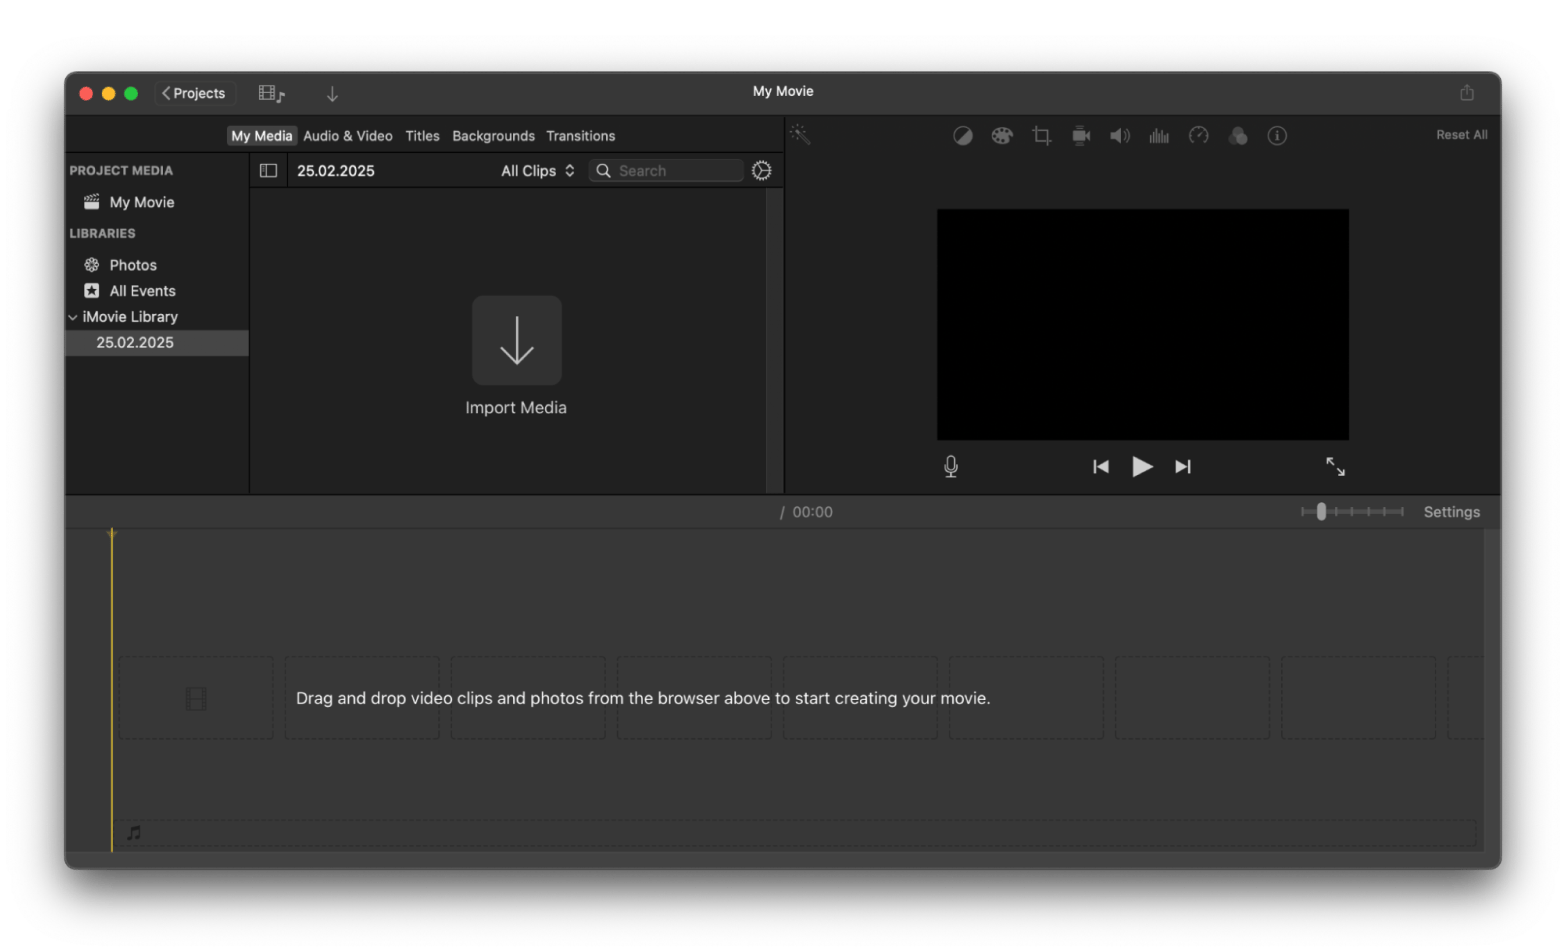
Here’s where the fun begins. Click Import Media and unleash the merry chaos that is organizing your clips. Drag them into a narrative order — feel free to get artsy with it. After all, every great film starts with the right first scene.
Editing your movie in iMovie
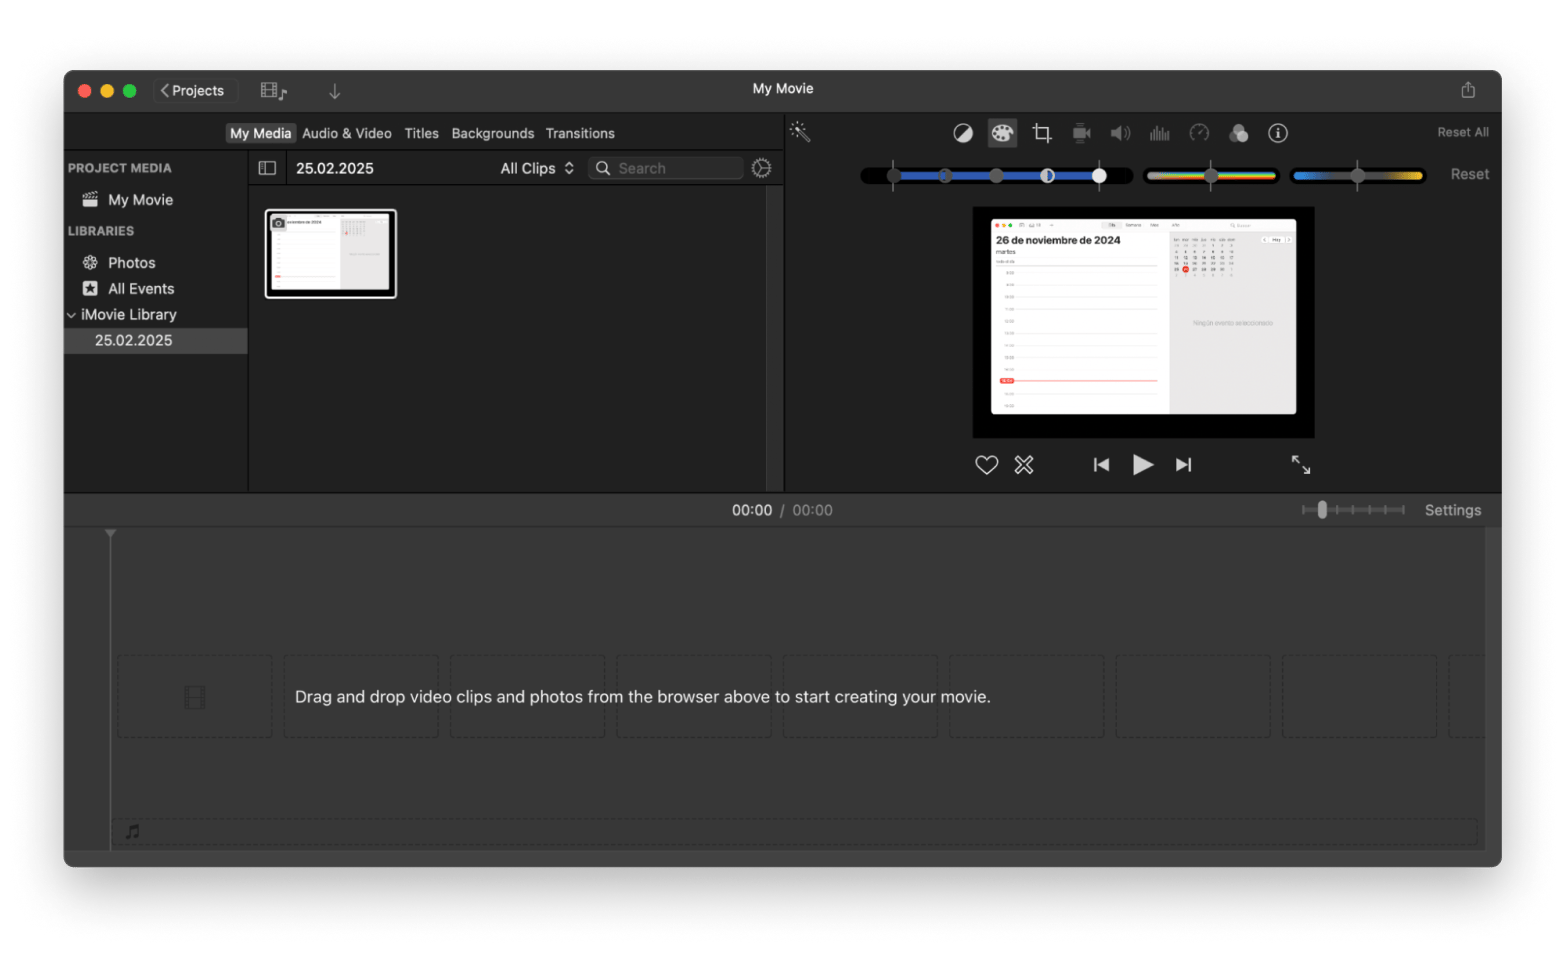
This is the closet-organizing zen of video crafting. Trim, split, and combine your clips with the same tact and care as choosing a brunch outfit — every decision matters.
How to trim a clip in iMovie
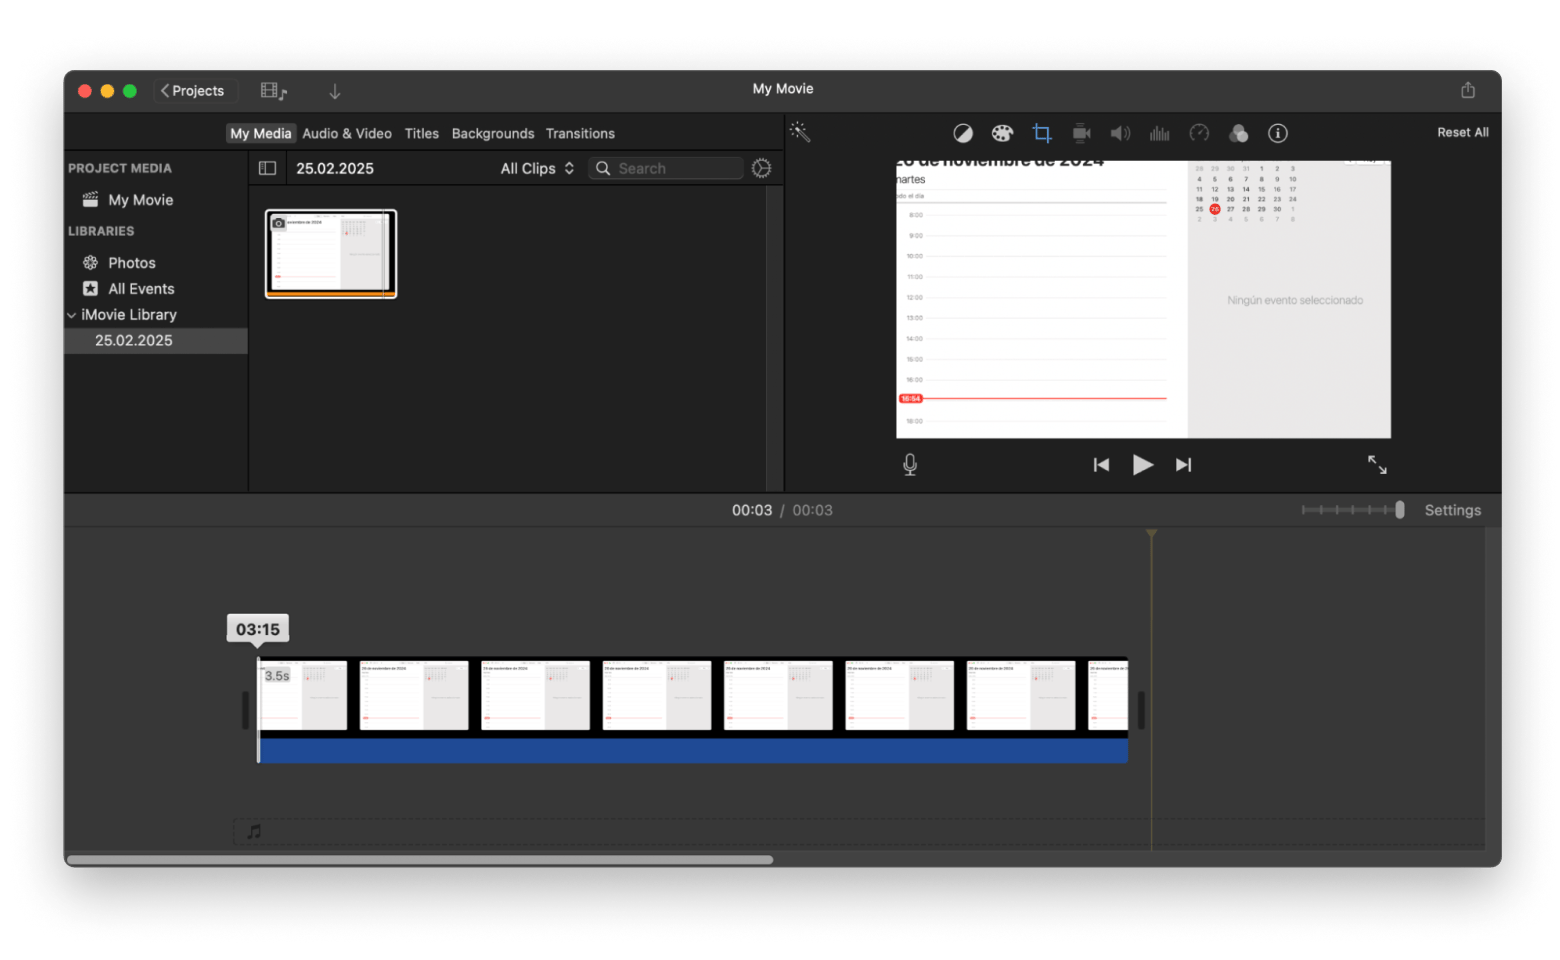
Want to cut out that awkward moment at the start of a clip?
- Select the clip on the timeline and simply drag its corner inwards. Watch as unnecessary moments vanish, leaving only golden shots behind.
- When done, click somewhere else to save the cut. Your changes remain adjustable until you click them off (you can still use the undo command, though).
How to split a clip easily
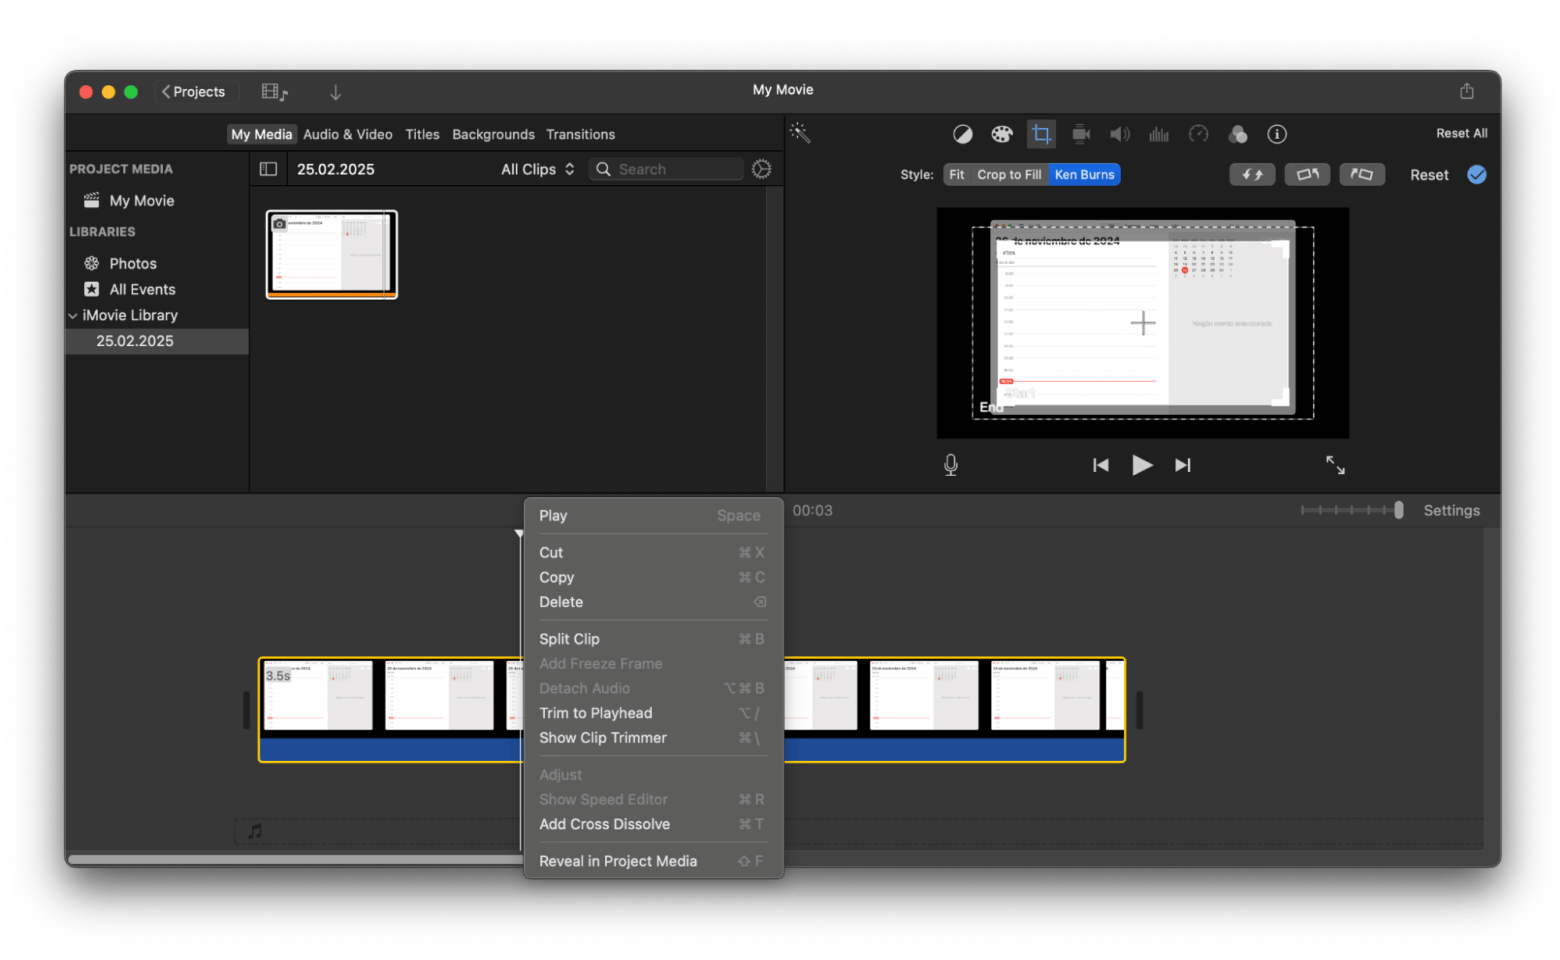
In the process of making a movie, quite often, you’d find yourself needing to split a clip into multiple sections (e.g., when creating a timelapse). Luckily, it’s very easy to do:
- Double-click the cursor in the place where you’d like the clip to split.
- Click Command + B or right-click and choose Split Clip.
How to combine clips together
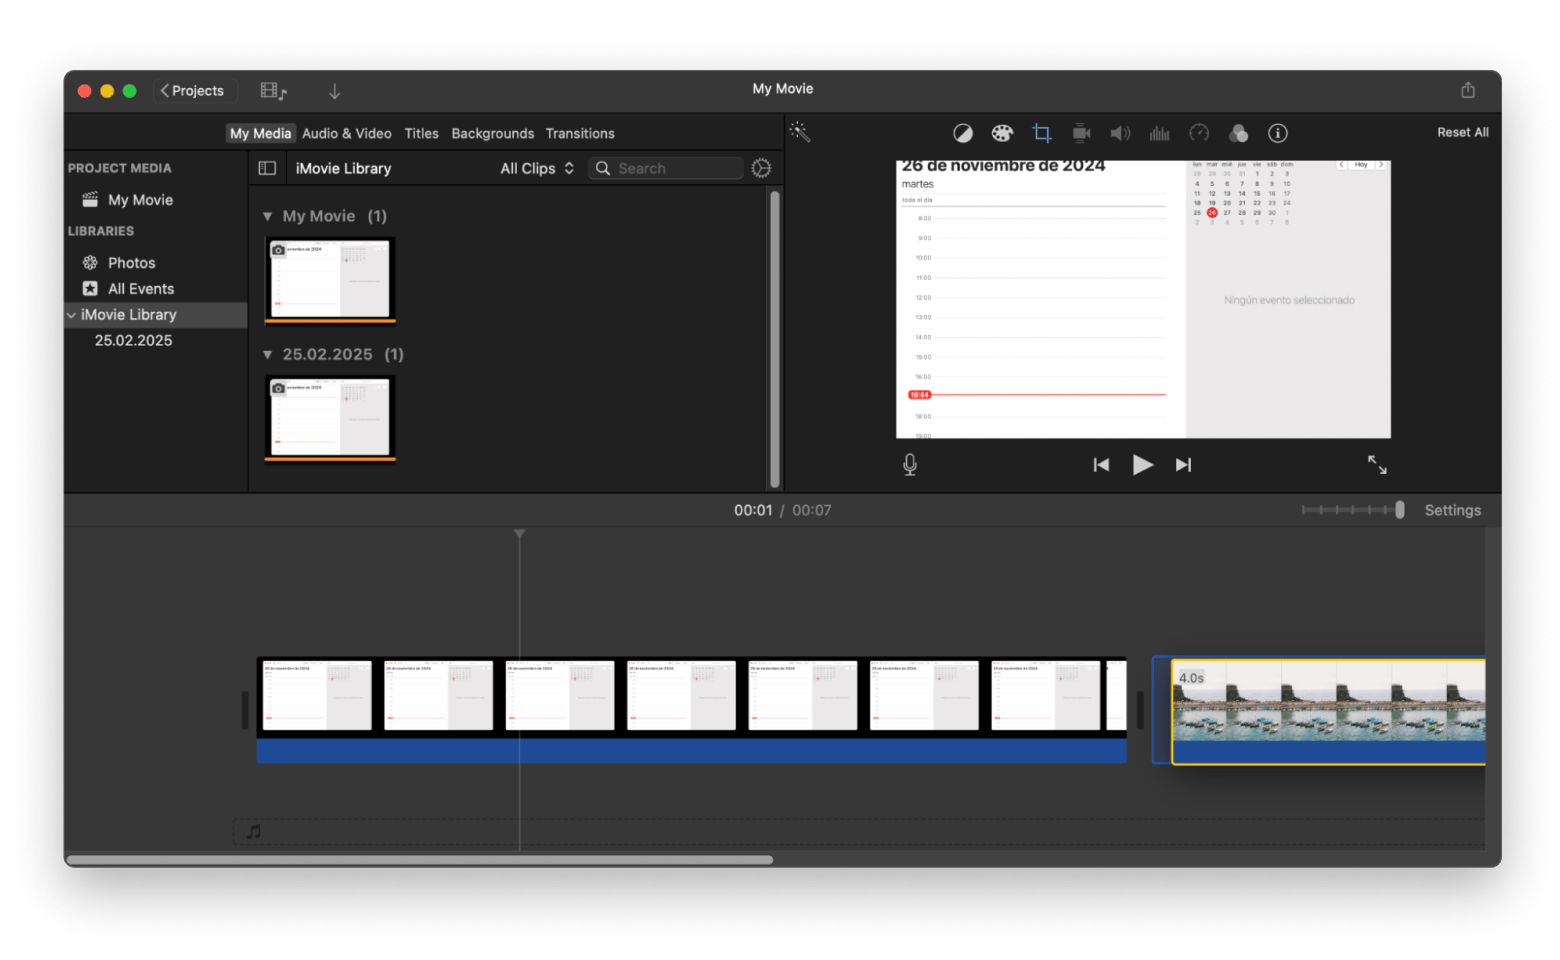
The big picture requires unity. iMovie makes combining two separate clips into one for editing and seamless playback effortless. Just drag the clips onto the timeline and make sure they are positioned back to back.
Add transitions between clips
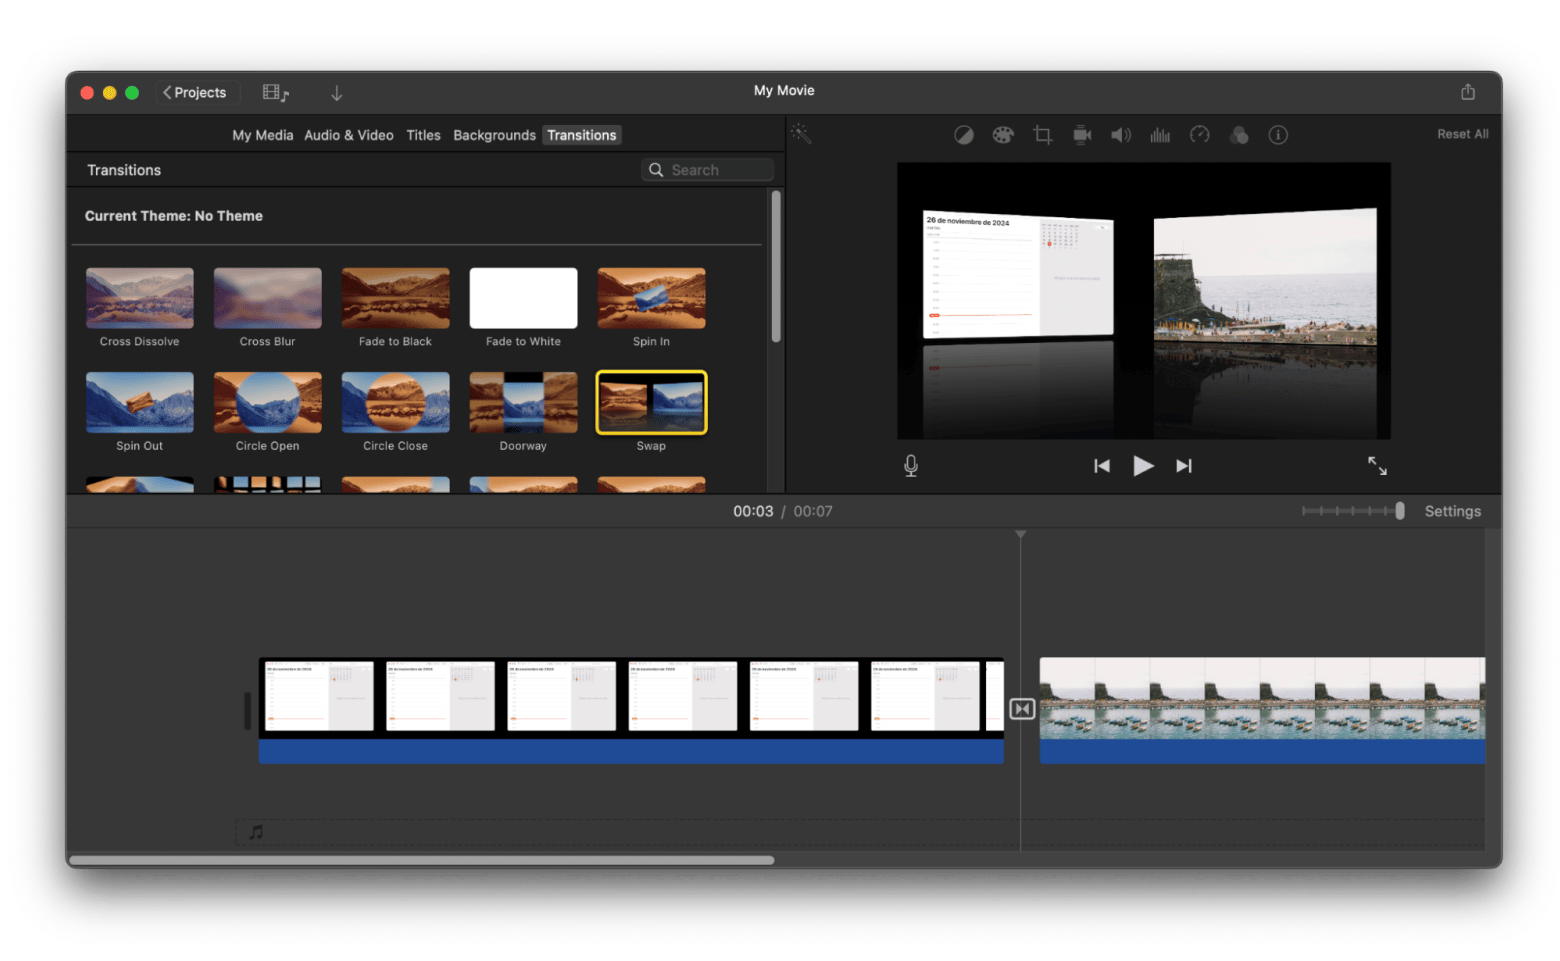
If you look closely, you’ll notice that no movie just plainly changes its scenes — there’s always a smooth transition in place. How is it done?
- In your iMovie app, choose Transitions in the top menu.
- Preview a few options by clicking on them.
- When you find the right one, drag it to position just between the clips.
Enhancing your video in iMovie
This is the spice and seasoning part — adding those extras that make your movie, well, yours.
How to add text to iMovie
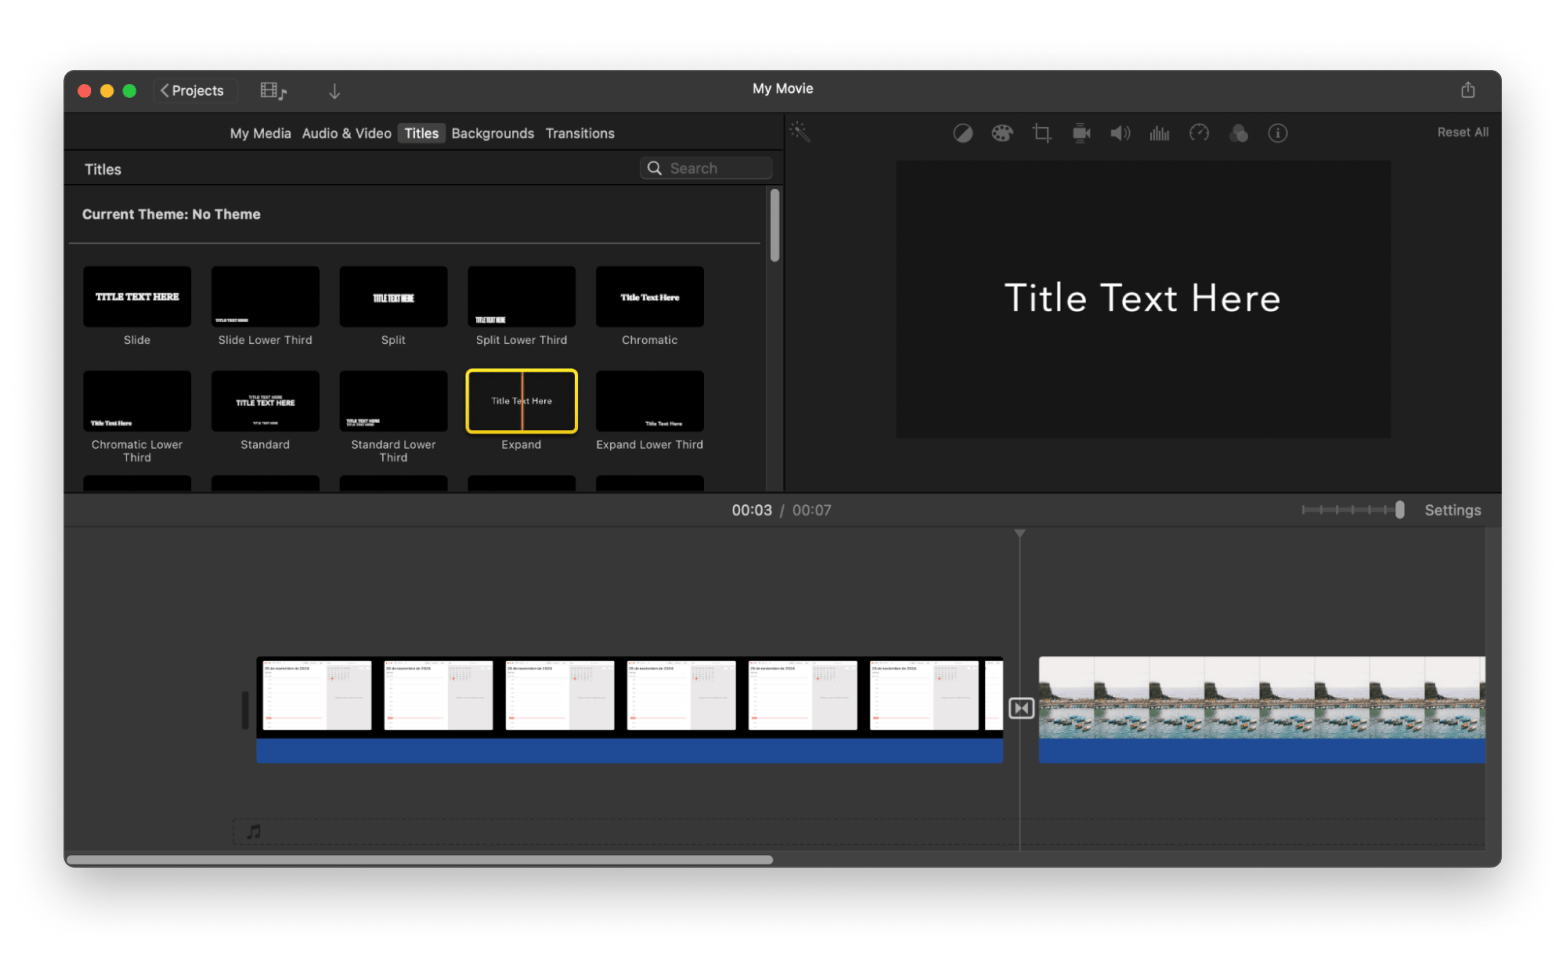
If you’re about to make your own iMovie tutorial, you need to know how to add text to the iMovie project, such as titles or subtitles. Luckily, it’s much more simple than it sounds:
- While in your project, select Titles in the top menu.
- Go through all that are available, watch previews, and pick the best one.
- Edit the title if such an option is presented.
- Drag it onto your timeline and place it in the right spot.
Add background music to your project
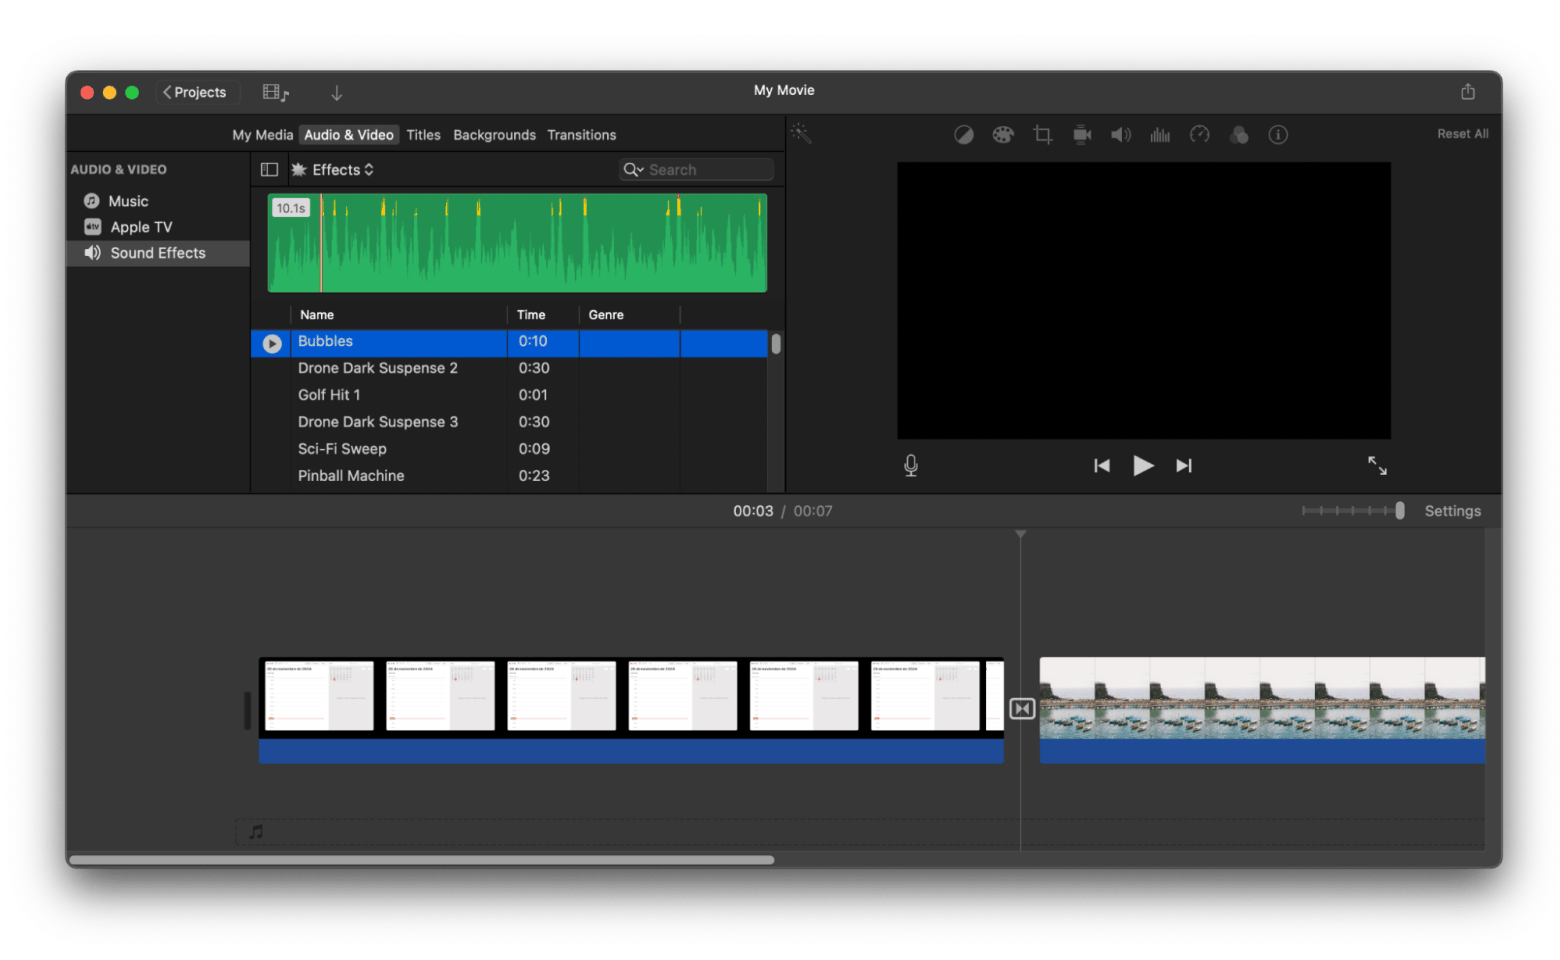
Background music helps set the mood, define a character, mark a climax, or introduce a transition. No wonder the days of silent movies are long gone. Let’s see how to add music to iMovie to liven your project up:
- With iMovie open, click Audio & Video at the top menu.
- You can upload some audio from your Mac there. Alternatively, switch to Sound Effects in the sidebar if you’re looking for something more ambient.
- Drag the audio file you like right onto the timeline and put it where you’d want the tune to start.
How to add a background image to your movie
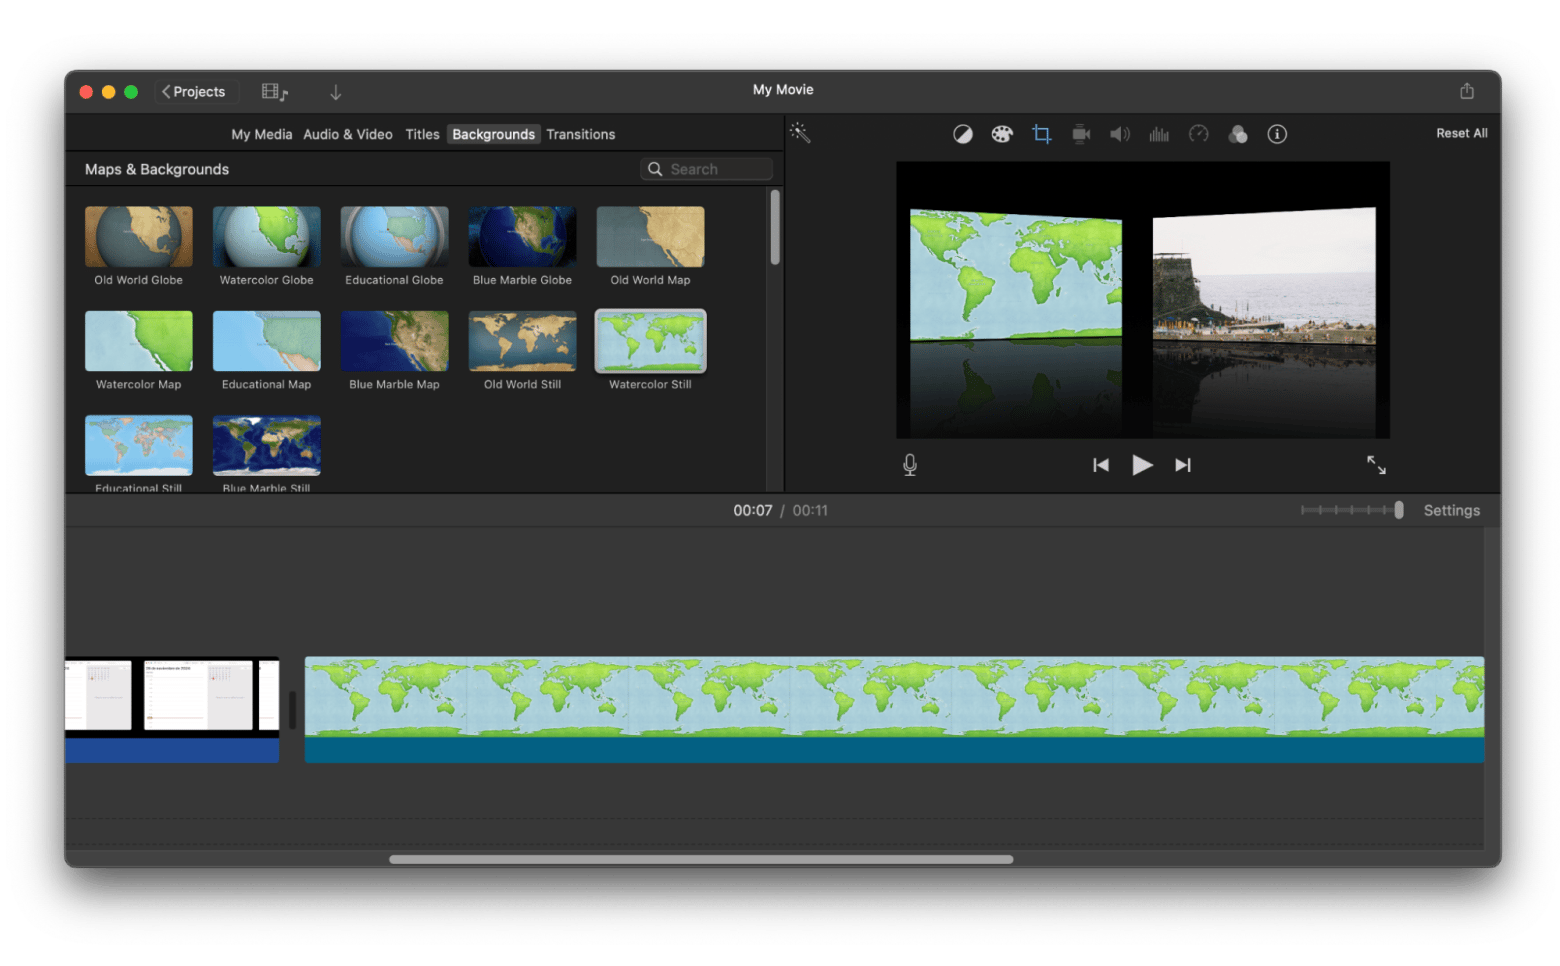
Incorporate a background image to add texture and depth. Adding images to the background of your iMovie project is a breeze:
- Switch to the Backgrounds tab in the top menu.
- Go through the previews of all samples.
- When you see the perfect one, just drag it onto the project’s timeline.
Finalizing your iMovie project
You’ve curated your movie. Now it’s time to make sure it’s safe and ready for the big screen — figuratively speaking.
Read also:
How to save iMovie projects
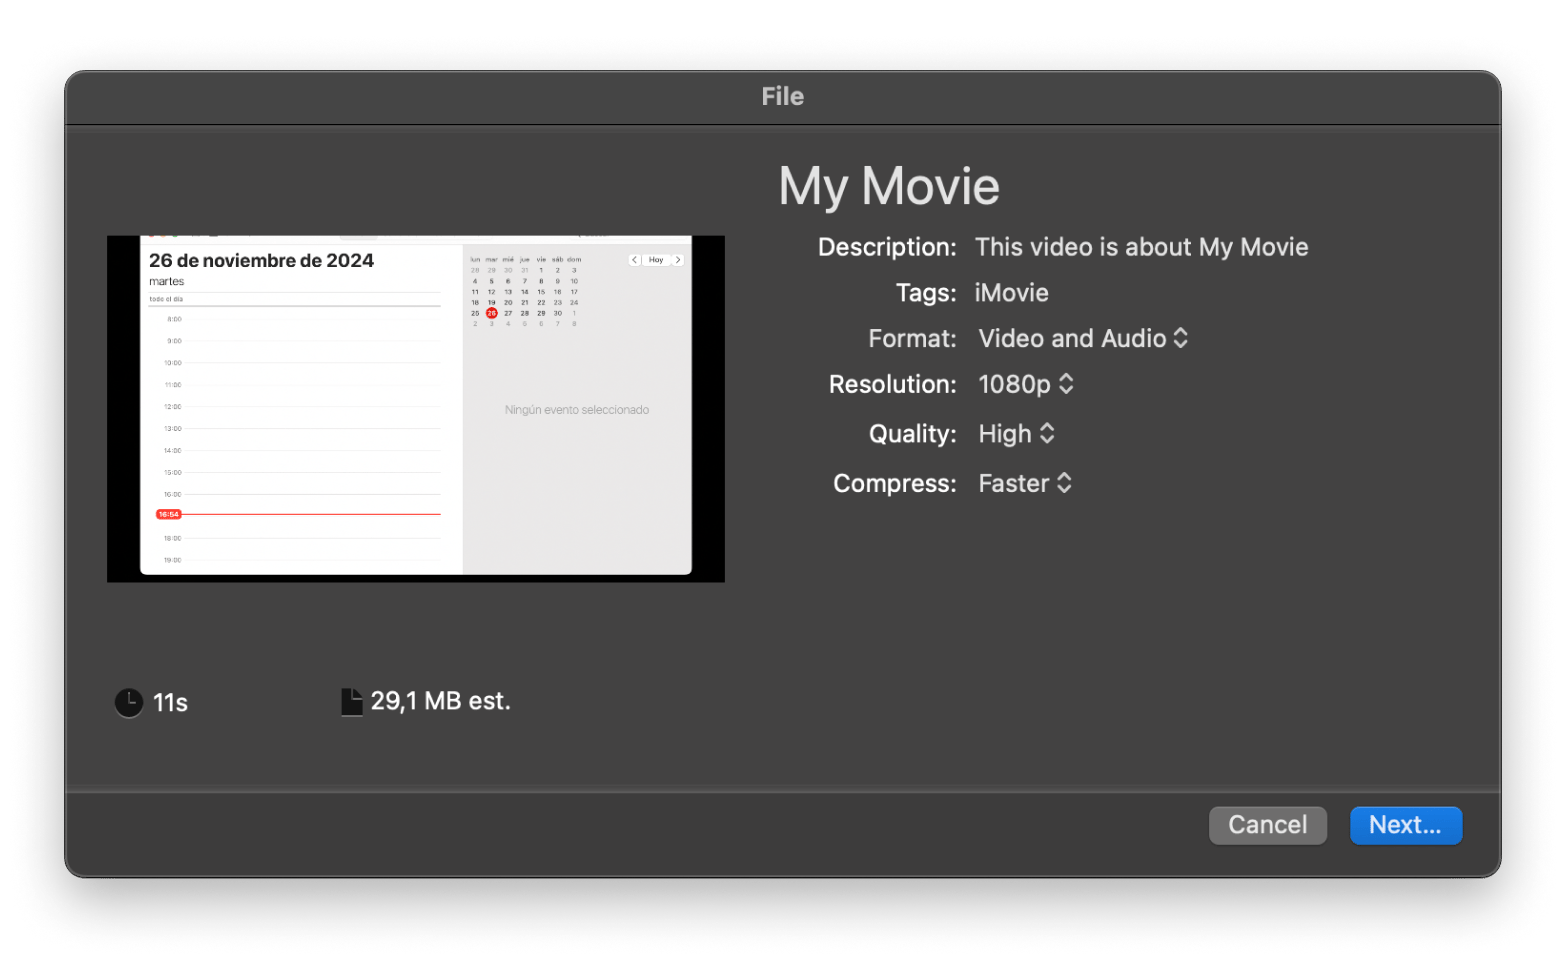
Saving progress as you go is easily the most important thing you can do. As movie projects are often quite heavy and demand lots of processing power, you’re always a glitch away from losing everything you didn’t save in time. Make sure to know how to save iMovie projects:
- Click File in the menu bar > Share.
- Choose File.
- Customize the default video information.
- Click Next.
- Select the destination folder and click Save.
Alternatively, you can press Command + S.
Here’s also a quick guide on how to save iMovie as MP4.
How to export iMovie projects
To share your iMovie projects on the internet, you can export them to YouTube, iTunes, Facebook, Vimeo, or email with a simple share feature:
- Click the Share icon in the top-right corner of iMovie.
- Choose where you’d like to export your movie.
- If you just want to save your movie to Mac, choose File and follow the process from the section above
If you're looking to enhance your videos further, check out the video tutorial on converting MOV to MP4.
How to use iMovie on Mac: Making movie magic
Crafting the perfect movie with iMovie on Mac doesn’t require a blockbuster budget — just your creativity and a dash of everyday magic. From organizing clips to adding those finishing touches, each step transforms moments into memories worthy of sharing. I hope this tutorial helps you get your movie done quickly.
And if you want to devote a bit more time to content creation, I recommend you try the following apps:
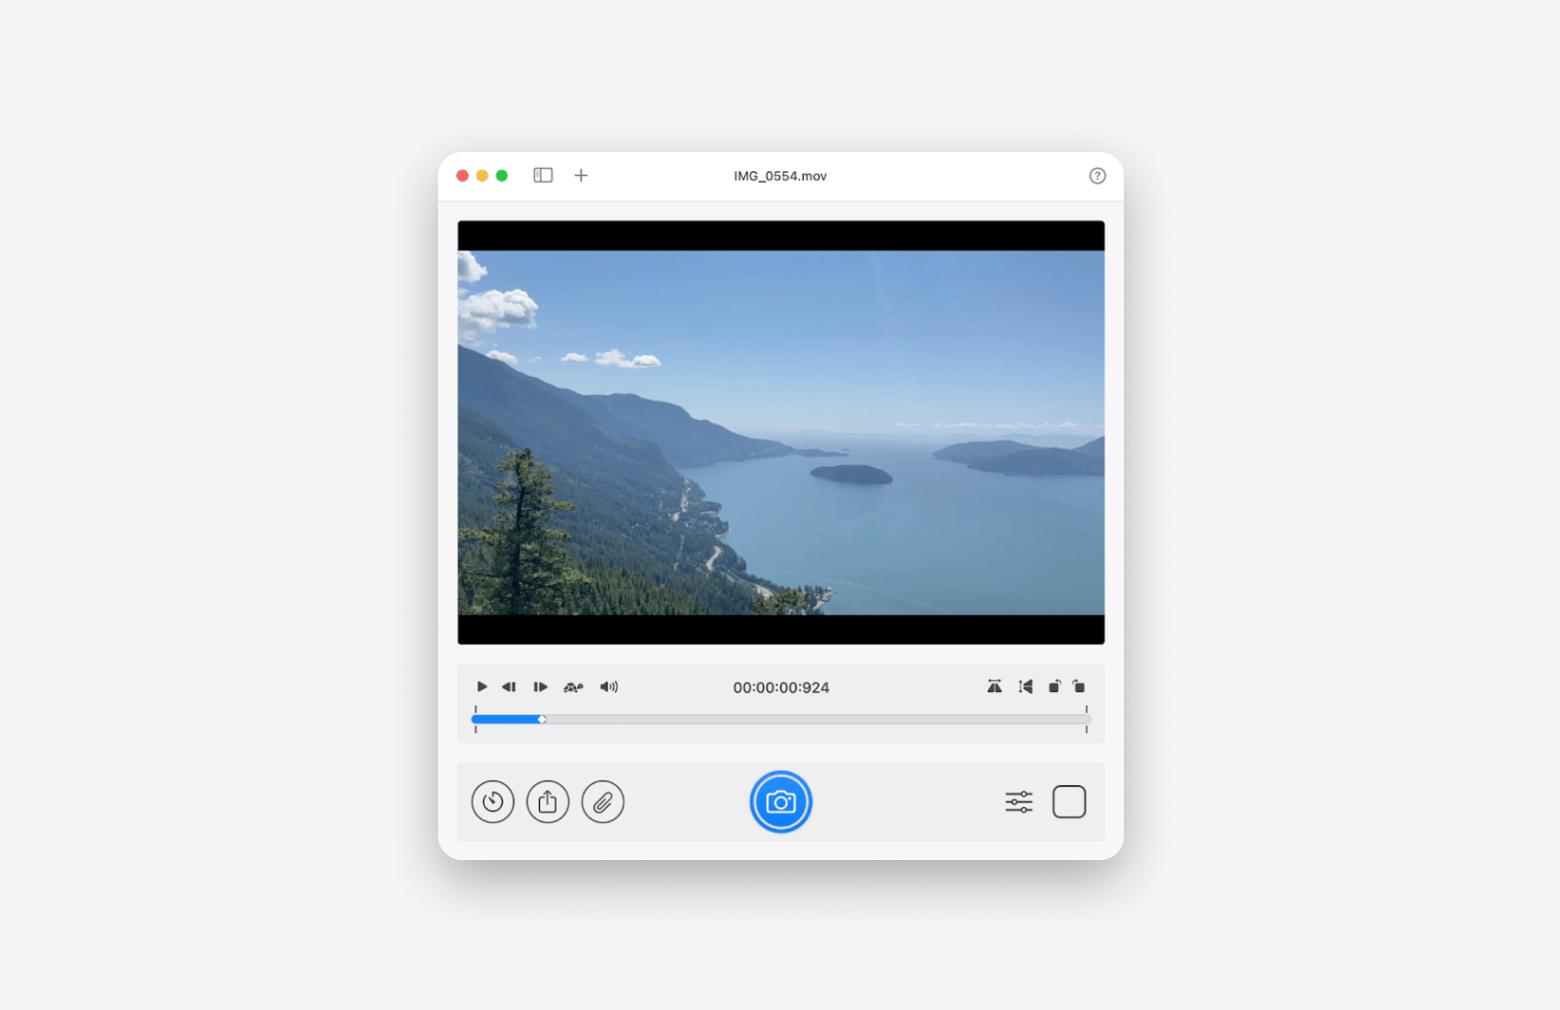
- Filmage Editor for editing videos like a pro.
- Capto for recording tutorials.
- SnapMotion for capturing quality snaps from your videos.
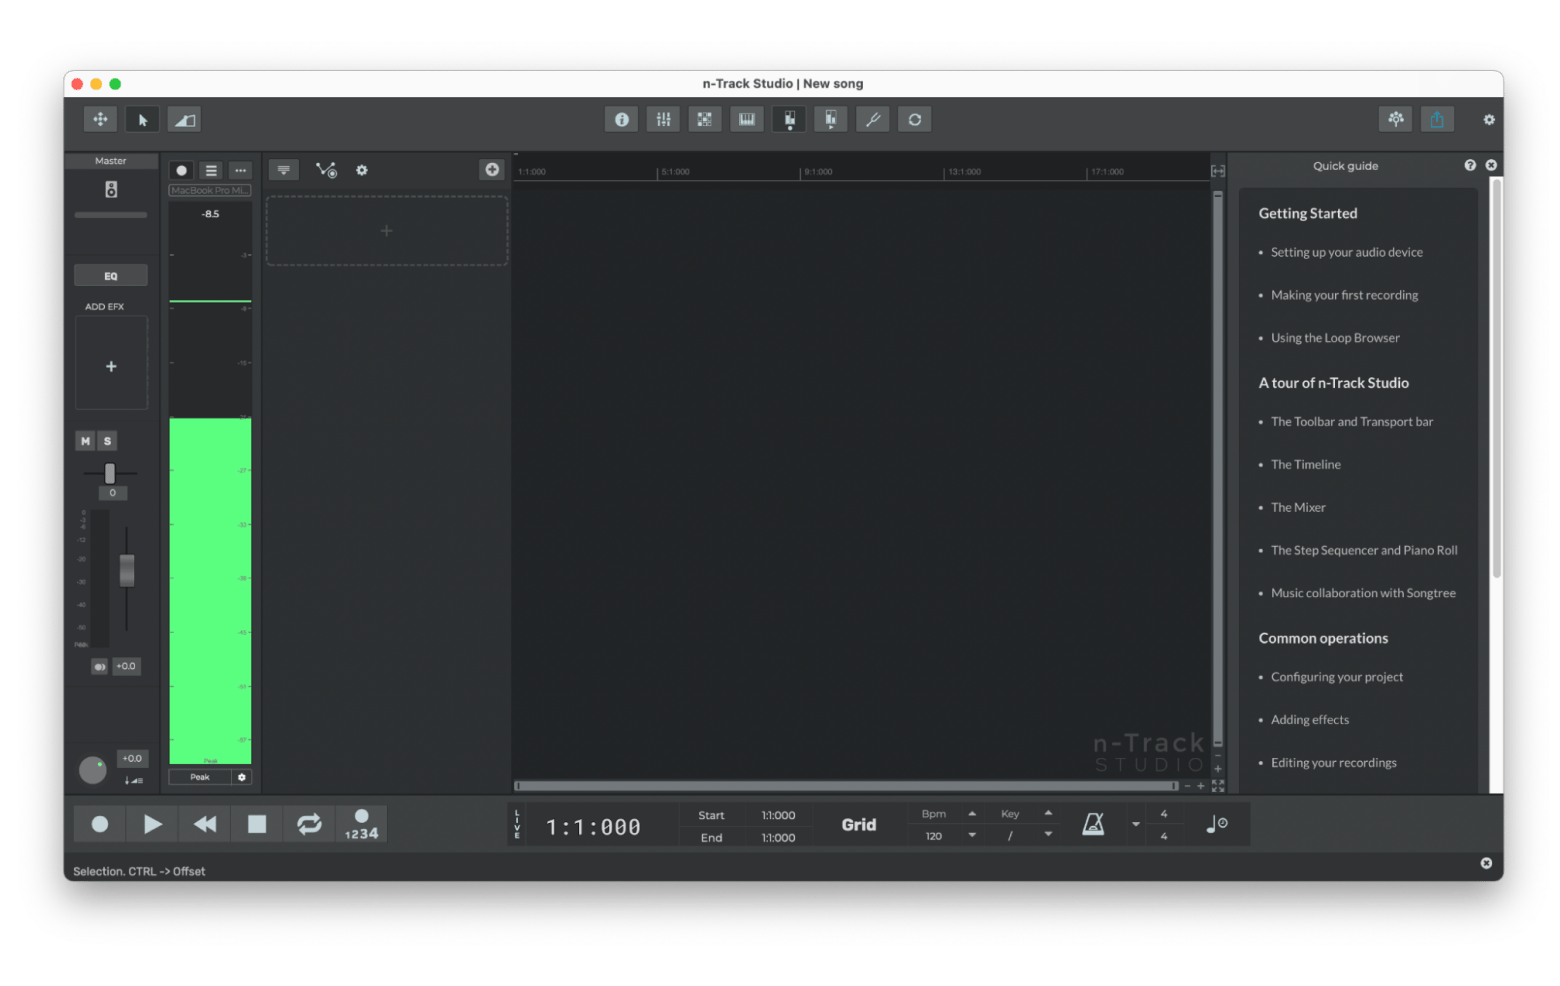
- n-Track Studio for recording your own music for videos.
Note that all these tools are available via a free trial of Setapp, a platform with more than 250 Mac, iOS, and web apps that inspire creativity and help you get your work done faster and better. Give them a try, explore, create, and unveil stories that are truly yours. After all, life is a series of scenes waiting for the right edit — so why not make every moment memorable?
