Stage Manager: organize apps and windows in an easy way
Apple makes it easy to work with multiple apps and files at once on your Mac, but that doesn’t mean there isn’t room for improvement. The tech giant is always looking for ways to make it more convenient for us to use their devices. As a result, macOS Ventura adds Stage Manager, which organizes your open windows so you can find the one you need faster. Let’s take a closer look at what Stage Manager does and how you can use it to your advantage.
What is Stage Manager?
One of the finest new features in macOS Ventura is undoubtedly Stage Manager. This feature enables you to arrange your windows in a clear, straightforward layout so that you can concentrate on one app with little interruption. Stage Manager accomplishes this while enabling easy app switching. As you might anticipate, it also allows you to overlap windows, making it easy to view information from multiple apps.

The app you want to use will be in the center of your screen, while the other apps you have open will move to the left.
Pros and cons of Apple Stage Manager
Before we get to the question “How to enable Stage Manager?”, let’s first try to understand if you need to use it in the first place.
Let’s start with the pros.
There are a lot of Mission Control fans out there. However, compared to Mission Control, Stage Manager provides organizational elements that the good old Mission Control lacks. On the left side of the screen, windows are arranged as thumbnails by individual apps, and clicking on the thumbnail activates the window. If an app has numerous windows open, they appear as stacked thumbnails, and you can click on one at a time to select it.
Even more conveniently, you can create groups of windows that go together for your workflow. For instance, if you’re writing a research paper, you can have Pages, Safari, Dictionary, and the Notes apps open and group them together by dragging each thumbnail to the center of the screen. Stage Manager automatically creates the group when all the appropriate windows are on the screen. Then, when you click the group thumbnail, those app windows appear on the screen, and all other windows disappear.

Stage Manager also has a great “Hide Recent Apps” option that users can set in the Stage Manager Control Center module. This is a huge improvement over Mission Control because you don’t have to waste time and energy looking for a window.
If you’re an active Mission Control user, you might want to try Mission Control Plus for easy window management. This small app extends Apple’s native tool for displaying open windows. No reinventing the wheel, just adding a very useful feature to the existing app. With Mission Control Plus, you can view open windows and instantly close the ones you do not need – the app adds the “X” button to Mission Control. You can also use quick shortcuts to close all windows, quit apps, or hide them.

Stage Manager pros
- Everything you don’t use is out of sight.
- Everything you use is grouped together.
- It’s very fast to get into.
Now, let’s look at the cons of the Stage Manager multitasking feature.
Stage Manager shows up to six thumbnails, determined by the most recently used. And you can’t rearrange or resize the thumbnails. On top of that, if you right-click on a thumbnail, you won’t see any options. This could be useful, for example, if you have more than one Safari window open and want to close the top one. You might also want to quit apps via a Stage Manager thumbnail. However, it’s impossible.

Stage Manager cons
- It currently takes twice as many clicks to exit Stage Manager as it does to enter it.
- When you exit Stage Manager, apps tend to be dumped in the center of the screen.
- It’s best suited for smaller monitors.
The above limitations, though, are more a matter of convenience than obstacles that prevent you from using Apple Stage Manager.
Which Macs get stage managers?
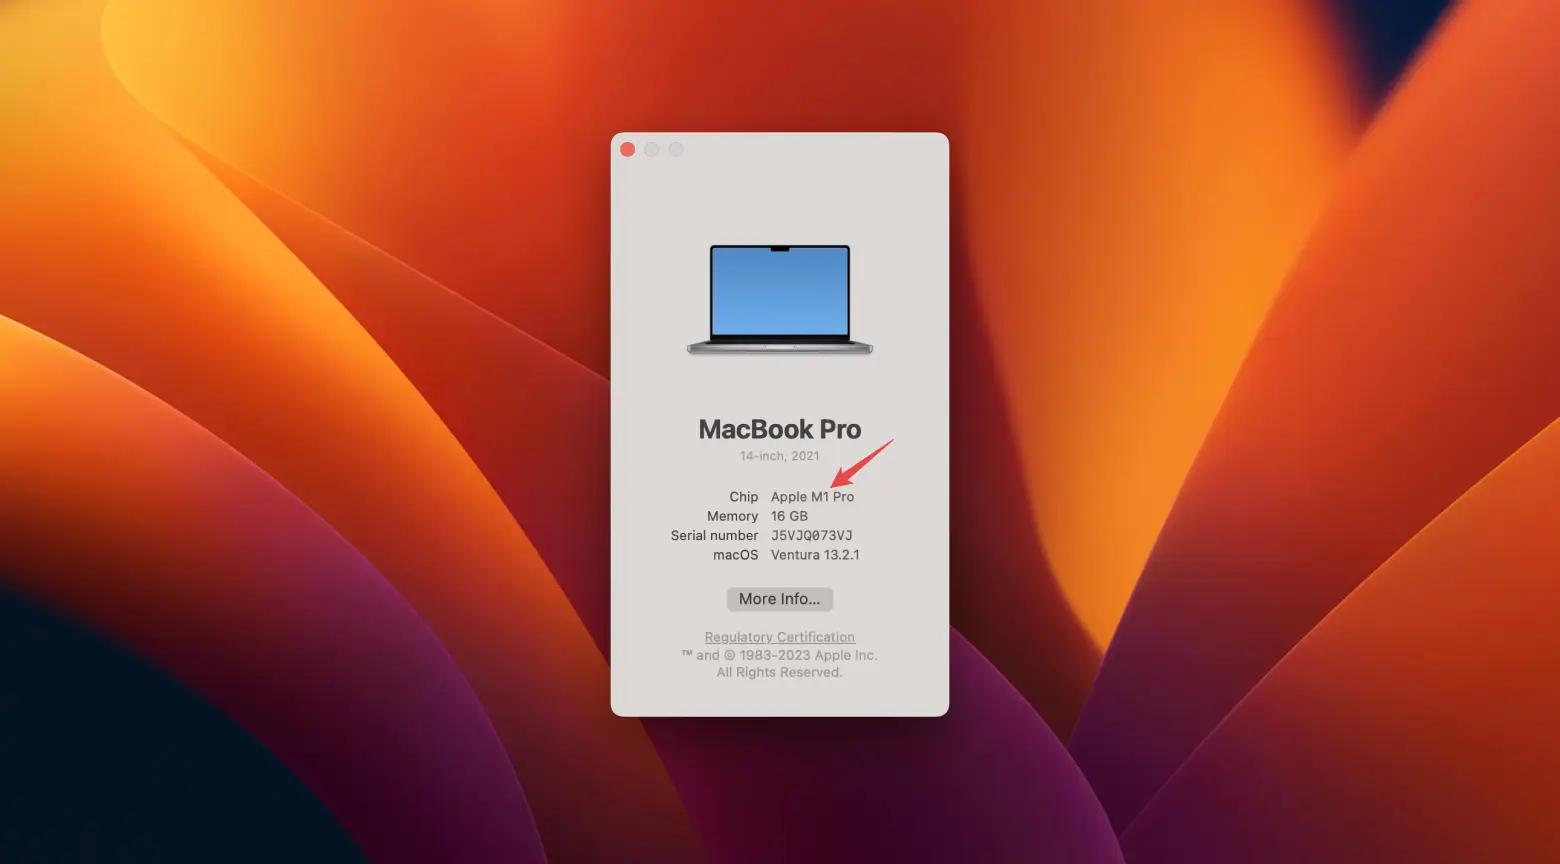
To use Apple’s Stage Manager interface, you’ll need a Mac or iPad running macOS Ventura or iPadOS 16. And while the feature is compatible with any Mac capable of running macOS Ventura, it’s only available on iPads with an Apple M1 processor. This limits it to the current iterations of the iPad Pro (11-inch and 12.9-inch) and the recently introduced iPad Air.
Macs that support macOS Ventura:
- iMac (2017 and newer)
- MacBook Pro (2017 and later)
- MacBook Air (2018 and later)
- MacBook (2017 and later)
- Mac Pro (2019 and later)
- iMac Pro
- Mac mini (2018 and later)
So keep in mind that if your iPad doesn’t have an M1 chip or your Mac isn’t listed above, Stage Manager won’t work.

How to use Stage Manager to organize apps and windows on Mac
Finally, let’s see how to use Stage Manager on Mac.
How do you activate Stage Manager? You can turn on or turn off Stage Manager with a switch in Control Center.

Stage Manager displays the app you’re using in the center of the screen. Other apps you’re using appear as thumbnails on the side.
- To switch between windows, you need to click a thumbnail. And to access files and folders on your desktop, click the desktop.
- Thumbnails are automatically arranged based on recent use, with up to 6 thumbnails displayed, depending on the size of your desktop. Each thumbnail shows a live view of its window, so you can see updates like incoming messages without having to switch to that window.

- To create a group of windows in the center, drag a thumbnail onto the window in the center, or press the Shift key while you click on the thumbnail.
- To remove a window from a group, drag it to the thumbnail’s pane.
- To drag an item to a different window, hold the item you are dragging over a thumbnail until its window moves to the center, and then drop the item into the window. If multiple windows are centered, you can hover over a rear window until it moves forward, then drop the item.
- To send a window sideways as a thumbnail without switching windows, click the Minimize button in the window corner. Alternatively, press Command + M.
- To hide the thumbnail and windows of an app, press Command + H. If you can’t see an app because it’s hidden or hasn’t been used recently, you can switch to it in other ways, such as from the Dock or by pressing Command + Tab.
- You can also change which apps are shown in Stage Manager, but you only have two options: Show Recent Apps and Hide Recent Apps. Show Recent Apps shows recently used apps on the left side, while Hide Recent Apps hides them until you move your mouse to the left side.
How to use Stage Manager and Spaces together
If you aren’t familiar with macOS Spaces, let us quickly explain the advantages of the feature. In short, the feature gives you a second desktop so you can leave all the clutter where it is and start over with a new desktop that has no icons or windows.
Then, if that one is full, Spaces can give you another one. Basically, you can have up to 16 different desktops. You can also choose which windows to open on each one. However, the idea behind the feature is not that you can open a hundred apps and have a thousand document windows fill them all up. The Spaces feature should just help you get more organized.

As you can see, both Spaces and Stage Manager are designed to clear your mind of everything but the task at hand. They also both aim to get you back to another task almost immediately.
So here’s how you can use Stage Manager and Spaces together:
- In your first Space, open the apps and documents you want to use
- Click the Control Center icon
- Next, click Stage Manager
- Now swipe up on a trackpad with three fingers
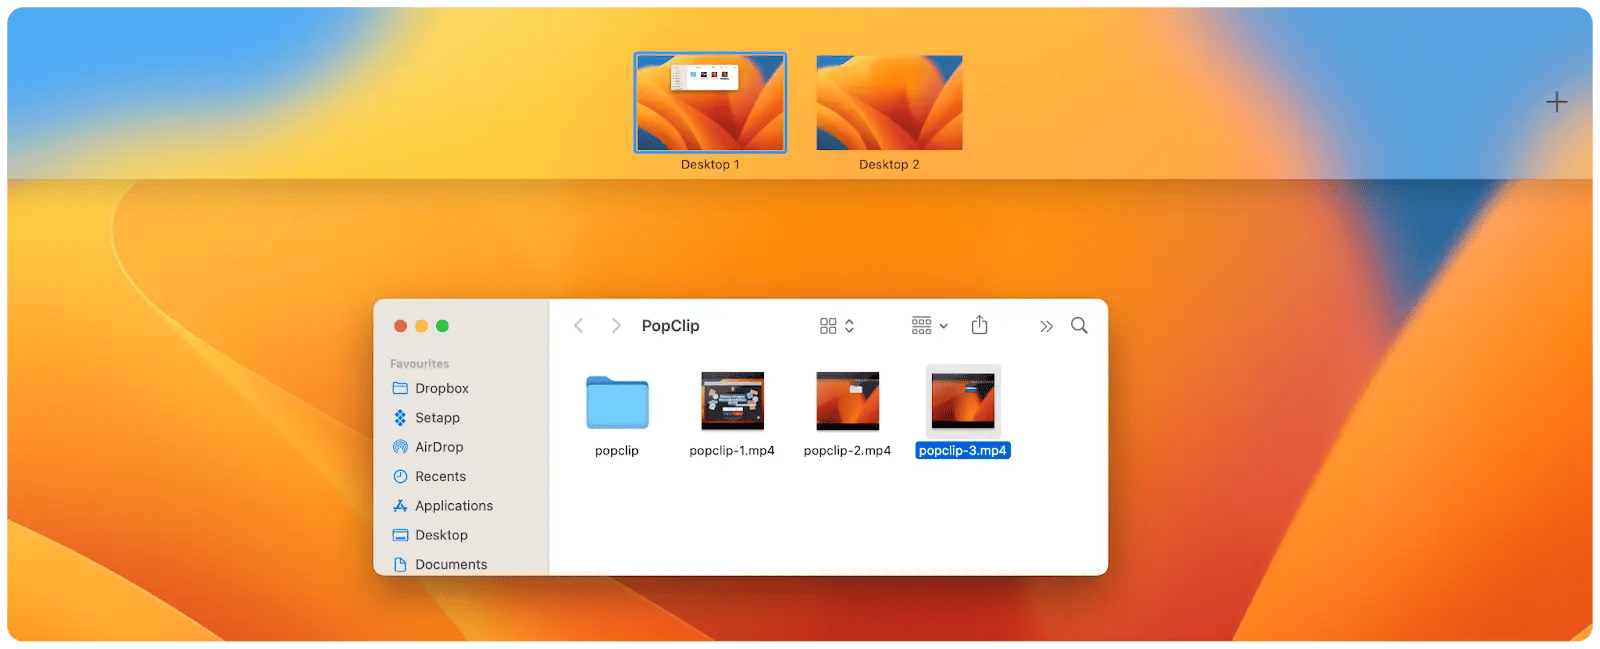
- Click the Plus sign in the upper-right corner of your screen
- Now click the thumbnail for the new Space
- In your second Space, open the apps and documents that you want to use
- Because you’ve already selected Stage Manager in your first or regular Space, it’s on for all of them. And when you turn it off, you turn it off for all of them.
So you end up with a Mac desktop that lets you focus on only the apps and documents you need to do your current task. Most of the other things you use are there in the Stage Manager column of icons, just a click away.
And a whole new set of apps and documents is just a swipe away in a second Space. Easy, right?
Stage Manager alternatives and helpers
Stage Manager, Mission Control, and Spaces aren’t for everyone. If you’ve tried using the features and you don’t like them, there are some alternatives to try. For instance, you can set up a great decluttering routine. And we’ve got a few tips for you:
- Try Workspaces to organize your files, email, and apps into “folders” in the menu bar. With one click, you can then launch all the resources you need to complete a task.
- Check out Spotless. It’s the perfect tool for automatic desktop cleaning. You can just drop all your files and screenshots into Spotless and it will automatically organize them into folders.
- And finally, perform regular cleanups with CleanMyMac X. This tool will help you to save disk space and remove unnecessary files from your desktop.
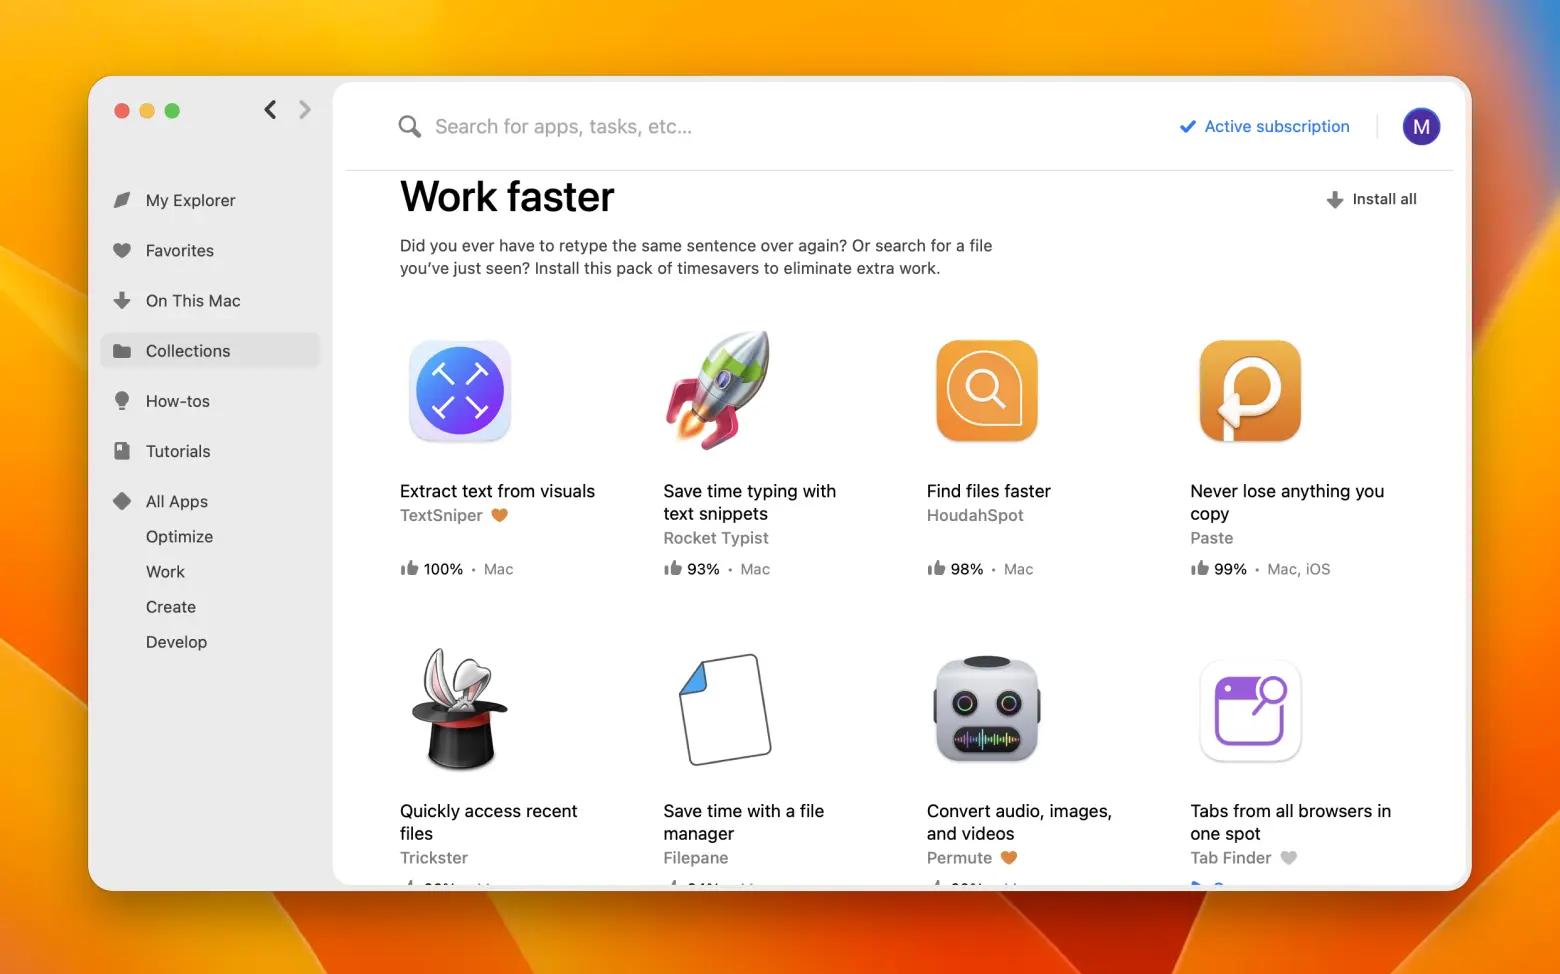
Keep in mind that with Setapp membership, which is one-stop access to 240+ apps, you can get Mission Control Plus, WorkSpaces, Spotless, and CleanMyMac X, so you can experiment and choose what works best for you. Try Setapp for seven days free to get started with the tools you’ve liked most.

Now that we walked you through some basics of macOS window management, we hope you understand how to use Stage Manager to your advantage. Also, we discussed the pros and cons of Stage Manager and even covered some alternatives and helpers if you don’t like Stage Manager for some reason. Stay tuned for more tips in the next articles.


