How to hide all icons on Mac [+Video tutorial]
When I noticed how cluttered my Mac desktop had become, I realized it was really affecting my focus and productivity. With so many apps and files scattered around, it felt overwhelming. A messy desktop doesn’t just slow you down — it can also be stressful and look unprofessional when sharing your screen or taking a screenshot.
In this guide, I’ll show you how to hide all those icons without deleting anything, and I’ll share some tools to help keep your Mac organized and distraction-free.
The 8 best tools to hide desktop icons on Mac
I value your time, so I have systematized all the solutions in this article to help you find the best tools quickly and easily.
- One Switch, Almighty, and iBoysoft MagicMenu for hiding icons with one click (literally!) from the menu bar or right-click menu.
- CleanShot X and Xnapper for hiding icons when taking screenshots.
- PliimPRO for distraction-free presentations (the app removes desktop clutter and active apps, disables notifications, and more).
- Spotless and Unclutter for automatically sorting files from your desktop and temporarily storing things to keep the desktop from cluttering up.
Hide icons and tidy your desktop easily on Mac [Video tutorial]
Is your desktop starting to give you a headache? I know the feeling — icons everywhere, cluttering up your screen, slowing down your workflow, and making presentations look anything but professional. It’s definitely time for a tidy-up. Let me show you the best one-click solution to clear up that desktop chaos.
What is the video about?
If you want to keep our desktop clean, I recommend you to try One Switch.
One Switch is the ultimate switchboard app for your Mac that lets you hide desktop icons with just one click and toggle between a ton of other features, too. Take dark mode, for instance: in the video, you will see how to instantly toggle light settings without the hassle of going through all your preferences manually.
Likewise, if you’re a content creator, One Switch’s handy “keep awake” tool will temporarily prevent your screen from sleeping while you record your videos. Cool, right?
To explore how you can make your Mac work for you with One Switch and to try it for free, head over to Setapp.
If you’d like to learn more about hiding desktop icons on your Mac, keep reading this article.
How to hide all desktop icons with one click
If you prefer reading rather that watching videos, here is how you hide desktop icons in a click.
Get One Switch. It lets you access all the key Mac features from one neat control panel, so you can adjust popular but hard to find settings and hide icons on Mac menu bar in a flash. Beautify your interface, connect your favorite Bluetooth device, turn on Dark Mode, keep your Mac awake, weed out distractions and much more. One Switch is designed to fit your flow, making all your most frequent Mac actions one click away.

If you’re a fan of using shortcuts and customizing your Mac features, check out Almighty.
Almighty is a powerful tool that can help you adjust much more than just the way your desktop looks. This app has handy switchers for anything, from clearing out your clipboard contents to scheduling a shutdown. Click any app icon in your menu bar and select the respective menu option to remove icon from desktop Mac. Start configuring your most-used features with Almighty to have an even more seamless interaction with your devices!
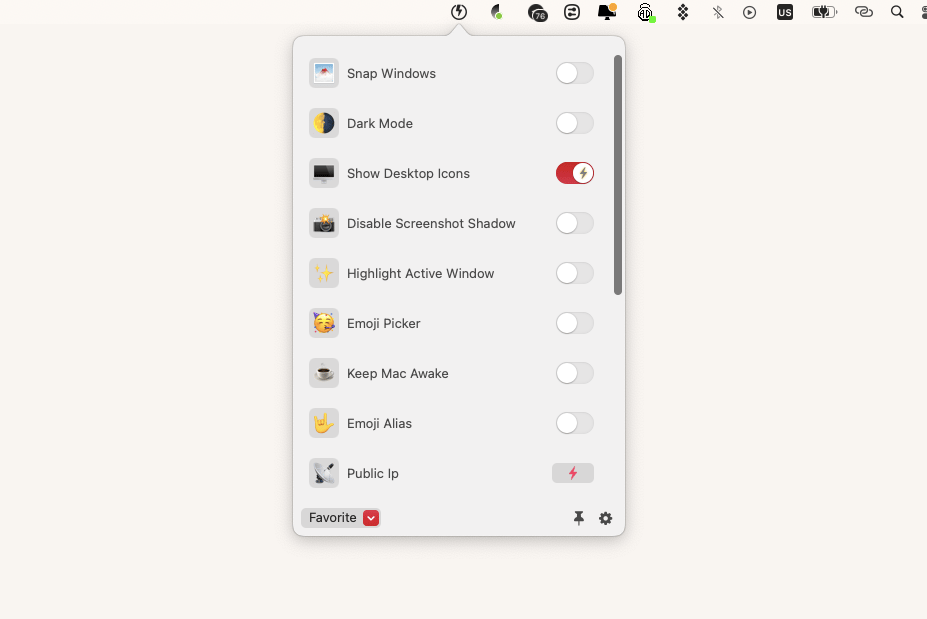
Another tool that can enhance your daily workflow is iBoysoft MagicMenu.
iBoysoft MagicMenu adds extra functionality to your right-click, letting you create, copy, and move files, access apps quicker, and, of course, hide desktop icons Mac. Available on machines running macOS High Sierra or later, iBoysoft MagicMenu guides you to clean and organize all data on your Mac in seconds.
Here’s how to hide apps on Mac desktop using iBoysoft MagicMenu:
- Launch the app.
- Right-click the blank space on your desktop.
- Select Common and choose Hide All Items.
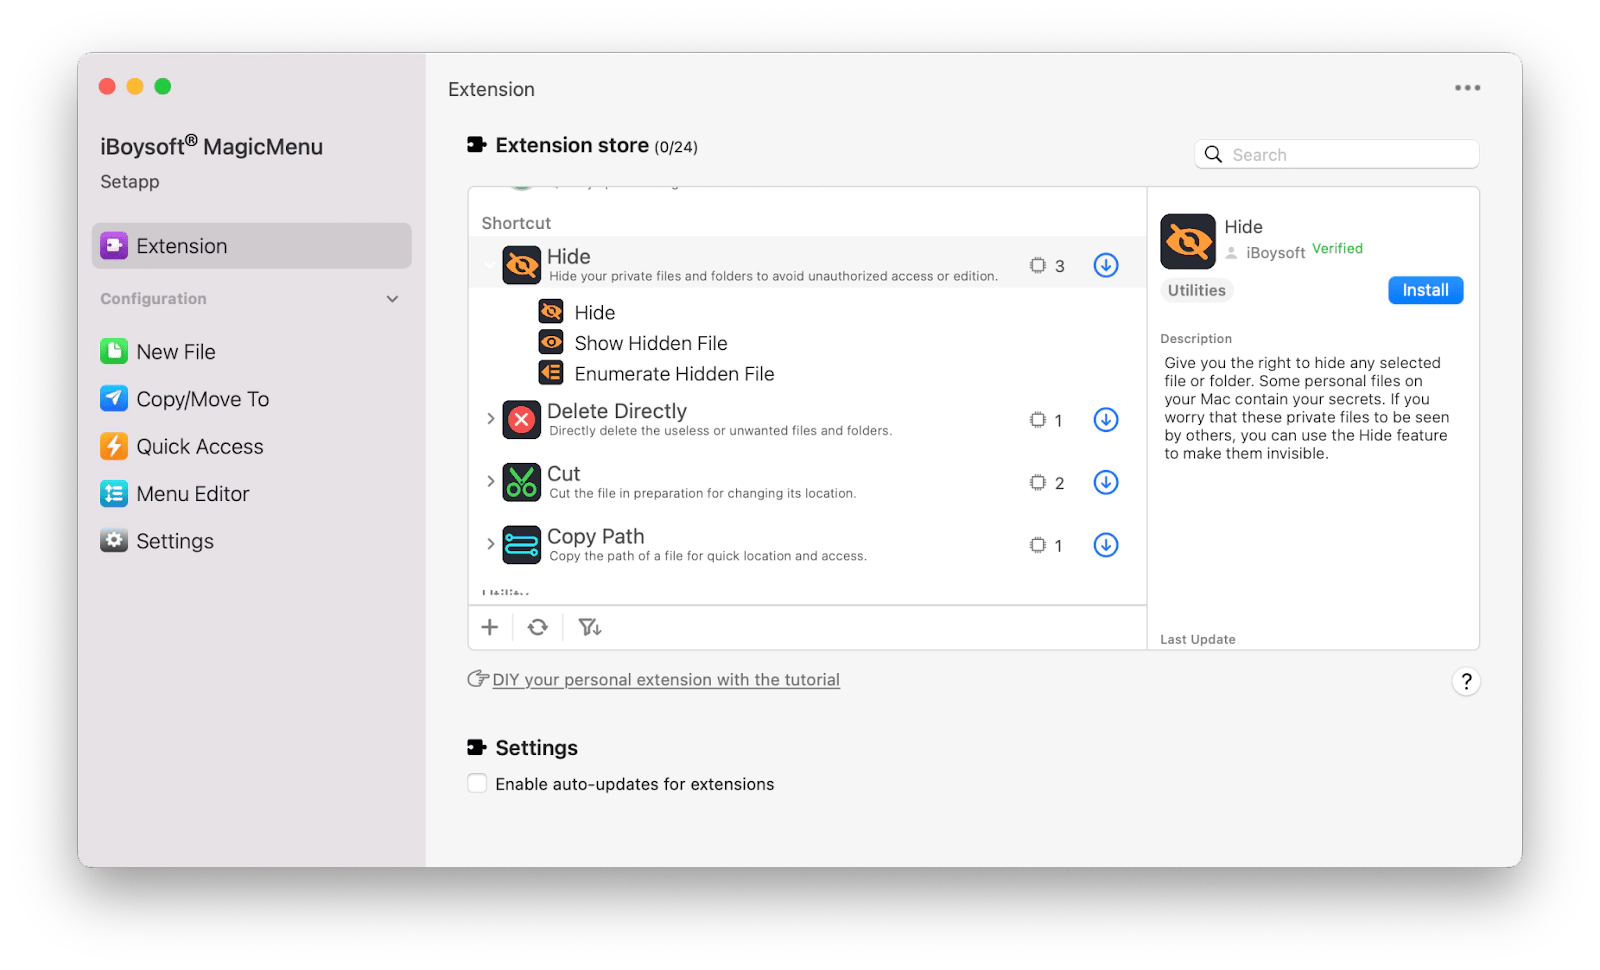
Now if you need to show desktop icons again you can take all the same steps and choose to Unhide All Items.
Hide desktop icons using Terminal
Terminal is probably the most powerful app on your Mac, since it lets you control all aspects of your device with various commands. If you’re an advanced user, running strings of command lines in Terminal won’t sound challenging, but if this is your first time using this utility it may feel confusing.
Nevertheless, Terminal is an effective native macOS tool to completely remove icons from Mac desktop. It works by disabling the desktop altogether, so while the desktop folder and the files it contains will still exist, the desktop itself will look empty and you won’t be able to drag and drop or create new files or folders by right-clicking on it.
Here’s how to hide icons on Mac with a Terminal command:
- Go to Applications ➙ Utilities.
- Open Terminal.
- Type or paste this command:
defaults write com.apple.finder CreateDesktop false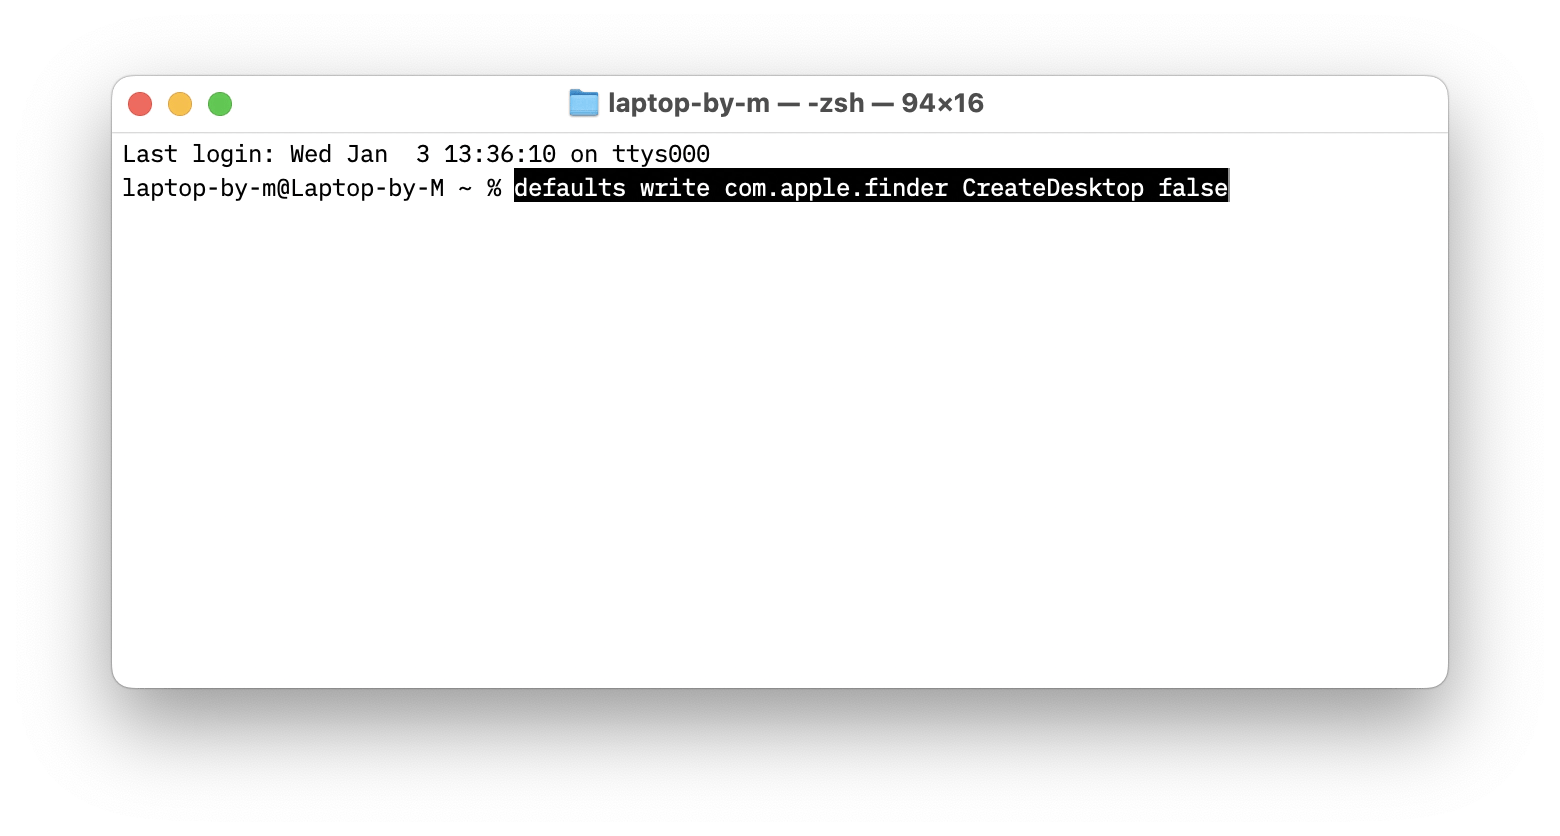
- Press Return.
- Type the following command:
killall Finder. - Press Return.
Now the Finder will restart and when it does, the only thing on your desktop should be the lower toolbar where you can open apps and files. Once you want to restore the icons and re-enable your desktop, open Terminal and type the following commands: defaults write com.apple.finder CreateDesktop true; killall Finder
Control and remove icon from desktop Mac using commands
The command line for hiding a single icon is different from the one above which temporarily erases all icons from your Mac screen. If you need to remove icon from Mac desktop one at a time, there are three different Terminal functions you can use.
To hide icon from desktop on a Mac, you can add a period to a file or folder’s name. To do so using Terminal, follow these steps:
- Go to Applications ➙ Utilities.
- Open Terminal.
- Type
mv [filename] .[filename]([filename] is the name of the file you want to hide, including its extension).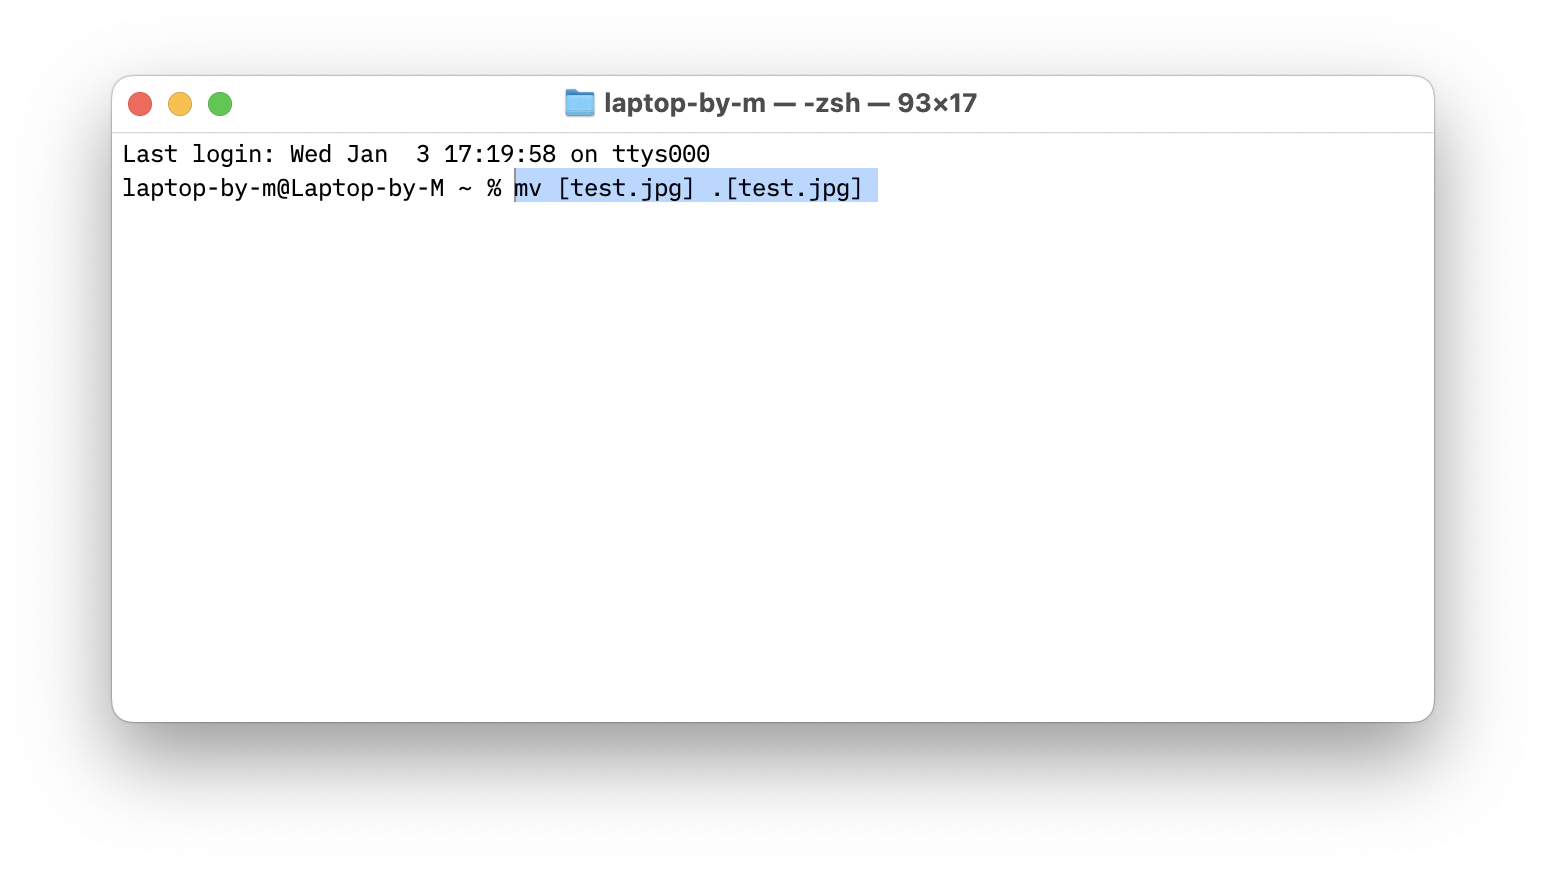
- Press Return.
To reverse this change, go back to Terminal and type mv .[filename] [filename]
Another option to remove select icons from the desktop is by setting a hidden flag. Here’s how to hide icons on Mac using this command:
- Go to Applications ➙ Utilities.
- Open Terminal.
- Type
chflags hiddenwith a space at the end.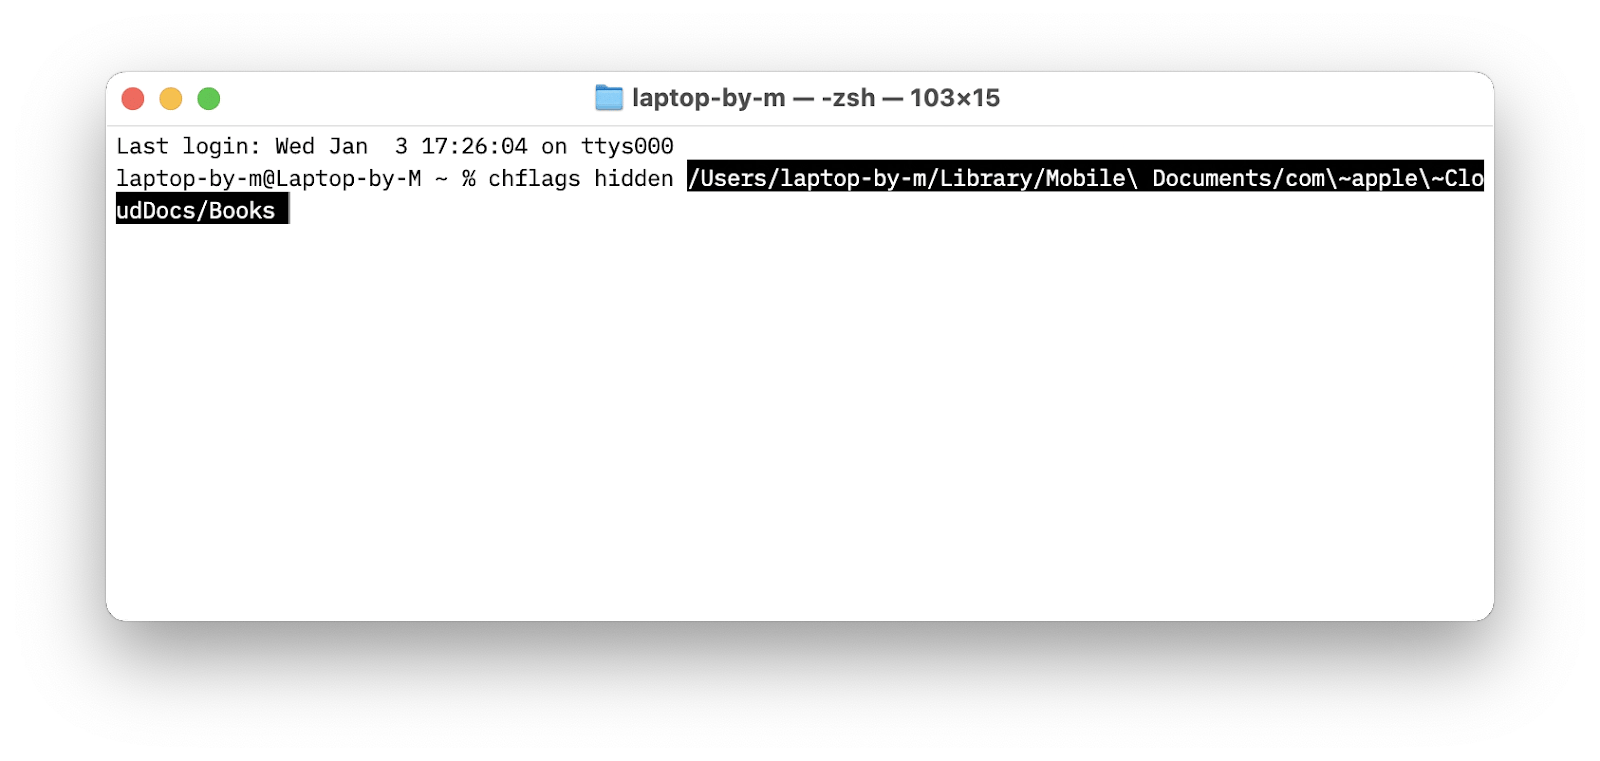
- Drag and drop the file you want to hide into Terminal.
- Press Return.
Take note of the file path that appears in your command line after you drop your file into Terminal as you’ll need it when you decide to remove the hidden flag. To do that, type chflags nohidden followed by the file path you noted, and press Return.
And the final option to remove icon from desktop Mac temporarily using Terminal is by changing its visibility attribute to invisible. Here’s how:
- Go to Applications ➙ Utilities.
- Open Terminal.
- Type
setfile -a Vwith a space at the end.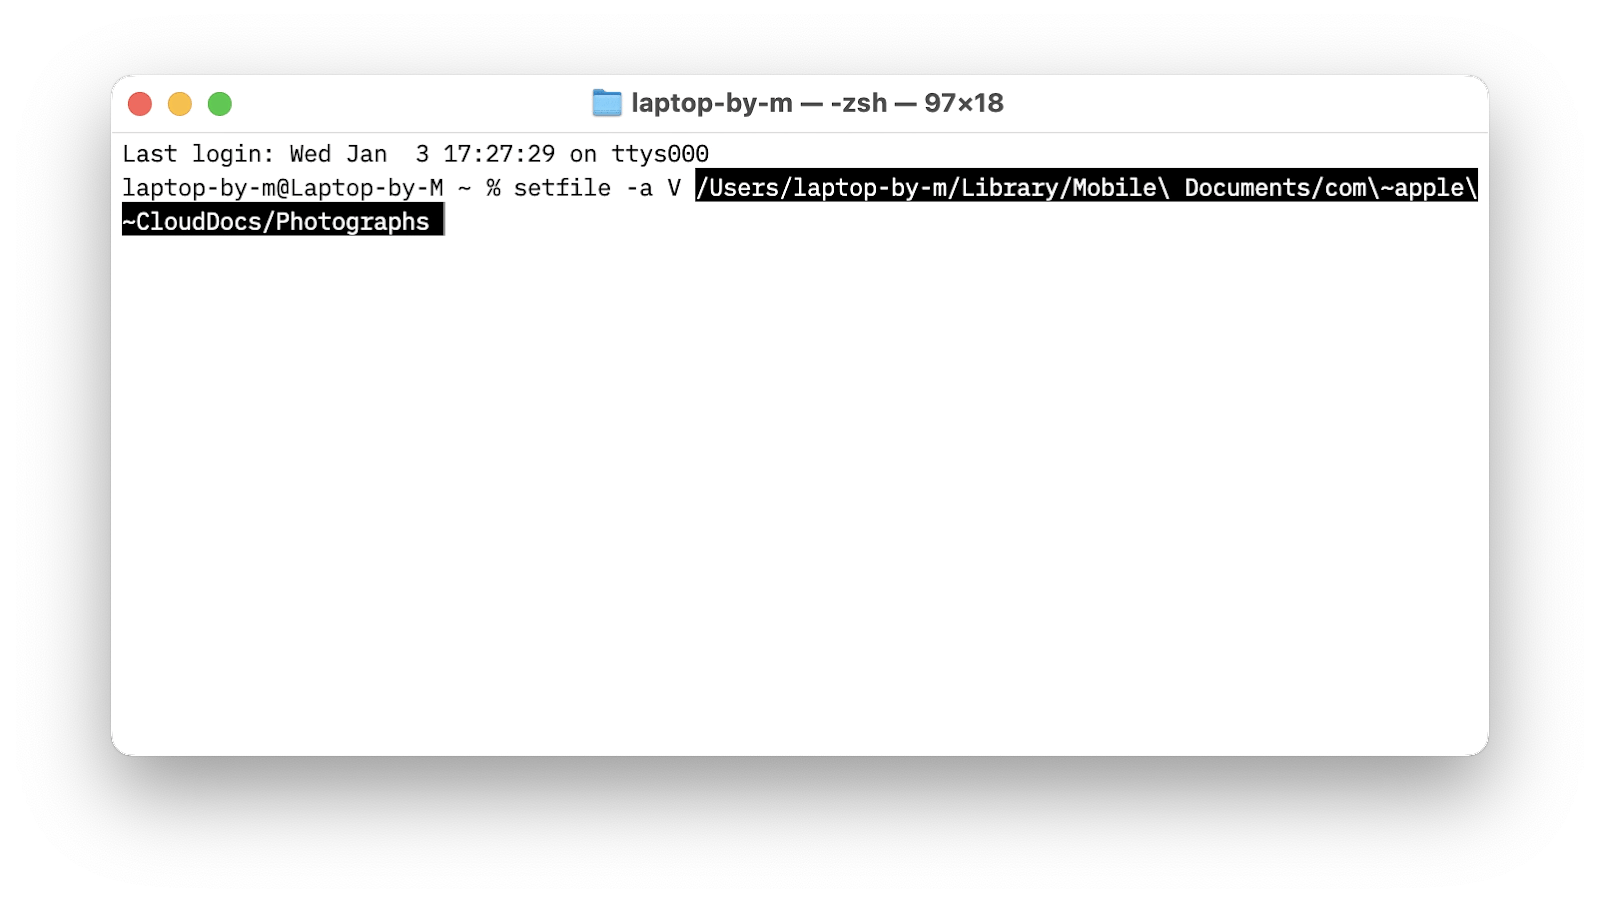
- Drag and drop your file into Terminal and note the file path.
- Press Return.
To undo this change and set your file’s visibility attribute back to visible use the setfile -a v command.
How to hide your desktop icons during a presentation
Most commonly, the moment you need to quickly hide desktop icons Mac’s showing is when you need to present something or share your screen during a video call. But if it’s an important meeting or demonstration, you might want to eliminate other distractions as well, like push notifications and active apps. How? You need a tool like PliimPRO.
PliimPRO is a unique presentation solution to rule over anything that may interrupt your workflow. This utility lives in your Mac menu bar and, with just one click, can hide all applications and show a clean desktop, disable notifications, remove active apps, mute speakers, and even change your wallpaper for a more neutral background.

Turn on presentation mode with a simple toggle, avoiding multiple manual adjustments ahead of every call. PliimPRO works with any meeting platform, giving you a clean workspace tailored for sharing!
How to use Finder settings to hide desktop icons
Finder is the default file manager for macOS, so if you’d rather avoid Terminal and want a simpler solution to remove icon from desktop Mac Finder will be your native go to option.
Here’s how to hide icons with Finder:
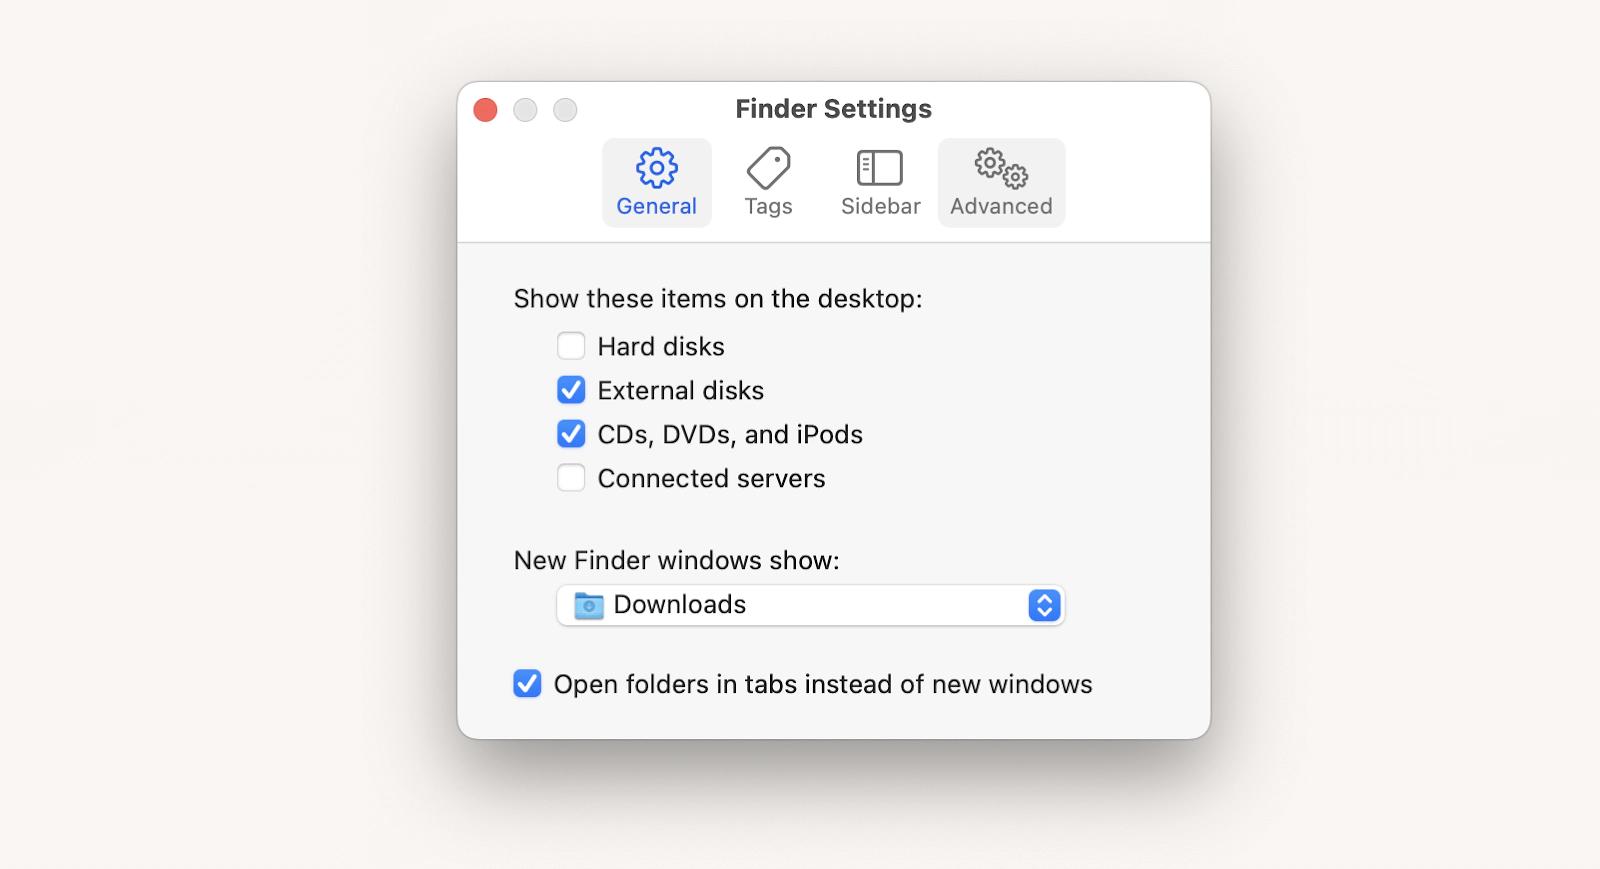
- Go to Finder ➙ Settings.
- Open the General tab.
- Uncheck all items under “Show these items on the Desktop” menu.
Note: If you hide icons with Finder this way, this won’t hide all icons, but only those that associate with external devices like hard disks, external disks, CDs, DVDs, iPods, and connected servers.
Hide all desktop icons when creating screenshots
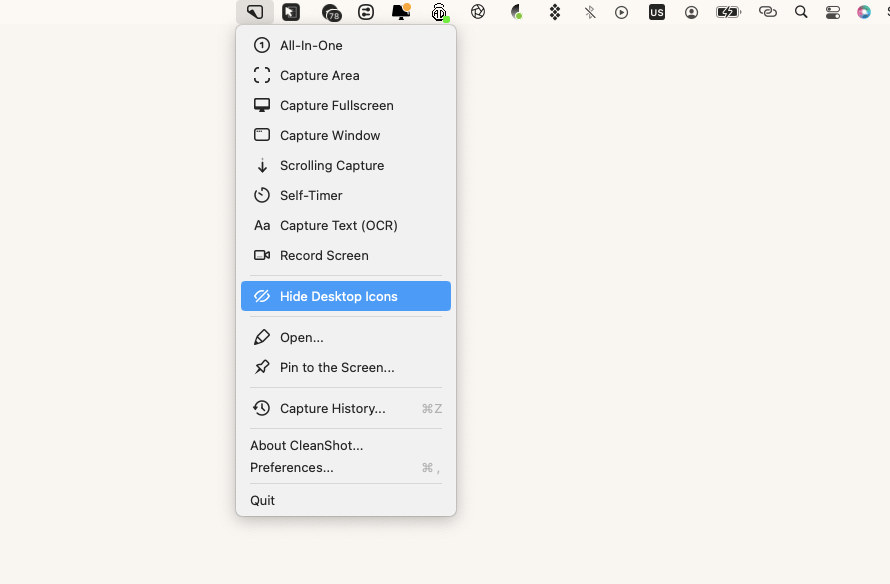
You probably won’t want to use Terminal or even get into Finder settings to remove icons from Mac desktop every time you just need to take a quick screenshot. In this case, you have a couple easy and functional tools. The first one being CleanShot X.
CleanShot X can help you both hide desktop icons Mac is showing and capture a great screenshot or GIF. With a rich toolkit, CleanShot X can take a long scrolling picture or a timed shot apart from simply snapping a given area on your screen. CleanShot X is one of the most powerful utilities for various screen recording. Choose to Hide Desktop Icons at any time, take automatic screenshots, blur, annotate, and upload your results to the cloud — all done easily from your Mac menu bar!
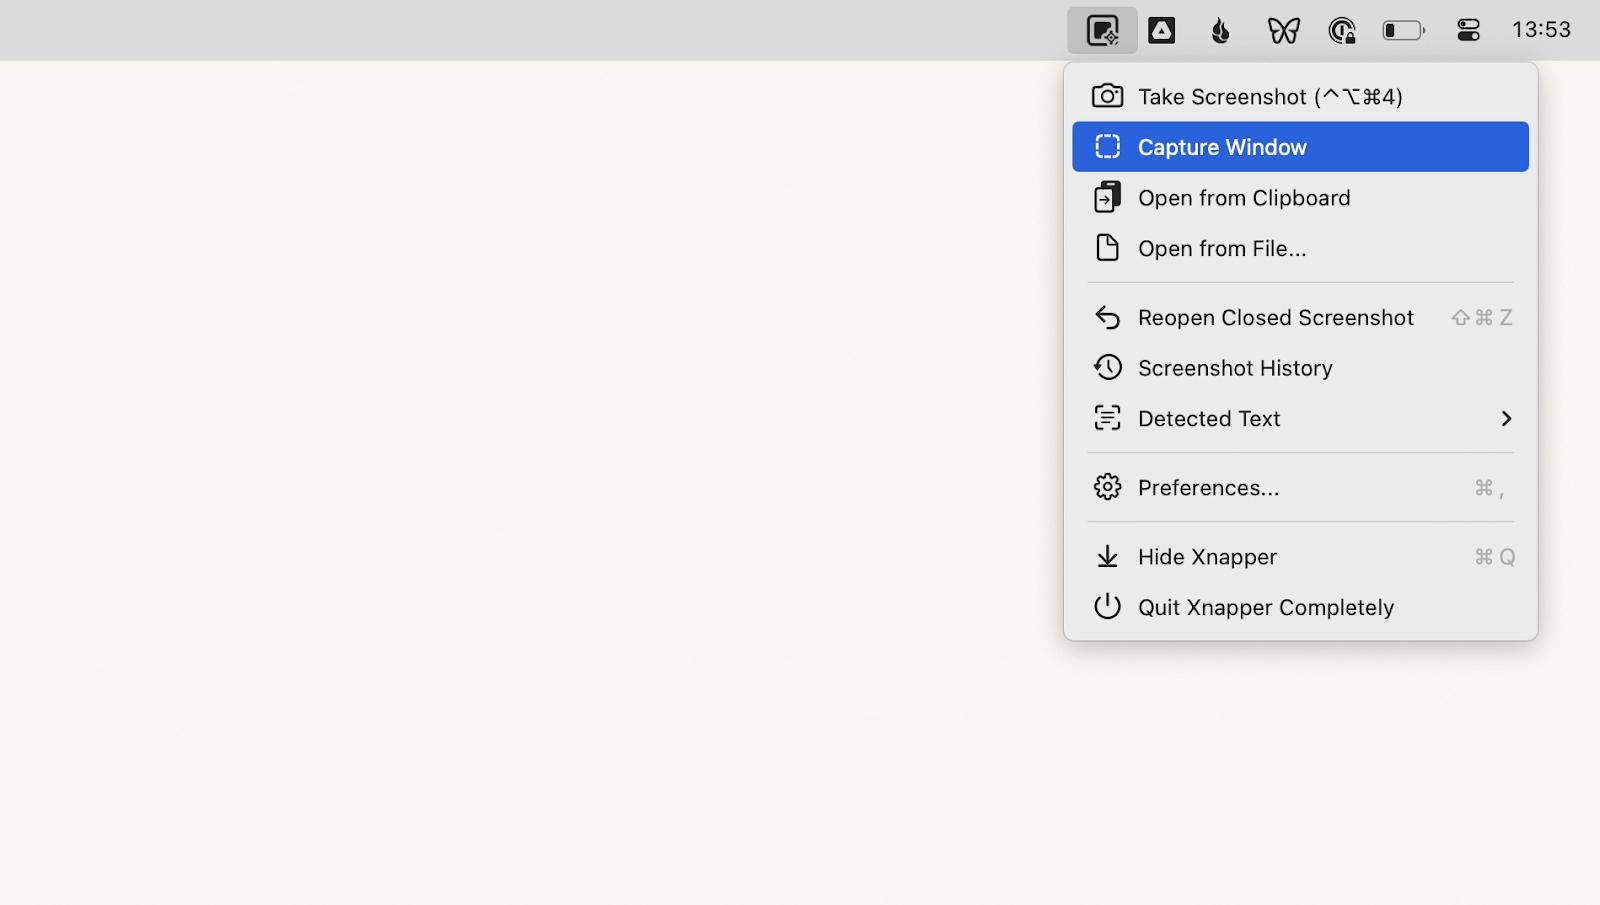
Another screenshot utility that definitely deserves attention is Xnapper.
Xnapper is a neat app that allows you to create instantly shareable screenshots that look exactly as you want them to. Use a set of customization options to center your desktop snaps, change their background, add a watermark, redact personal information, select and copy text, and much more. Xnapper makes it quick to create perfect screenshots you can then drag and drop to share with the world.
Bonus tips: Best declutter solutions
Learning how to hide apps on Mac desktop doesn’t actually solve the problem of having a cluttered workspace. Often, we resist cleaning up the clutter solely because of the time it takes, but there are faster ways to do it!
Macs have a basic native feature to help organize your desktop called Stacks. Once activated, this tool groups icons either by kind, data added, date modified, tags, or other distinguishers. Stacks work especially well if you have a lot of screenshots or documents floating around your Mac screen, as it can help reduce dozens of icons to just a couple. To enable Stacks, simply right-click anywhere on your desktop and select Use Stacks.
In case you find Stacks limited in functionality, there are more advanced apps out there to help you keep things organized.
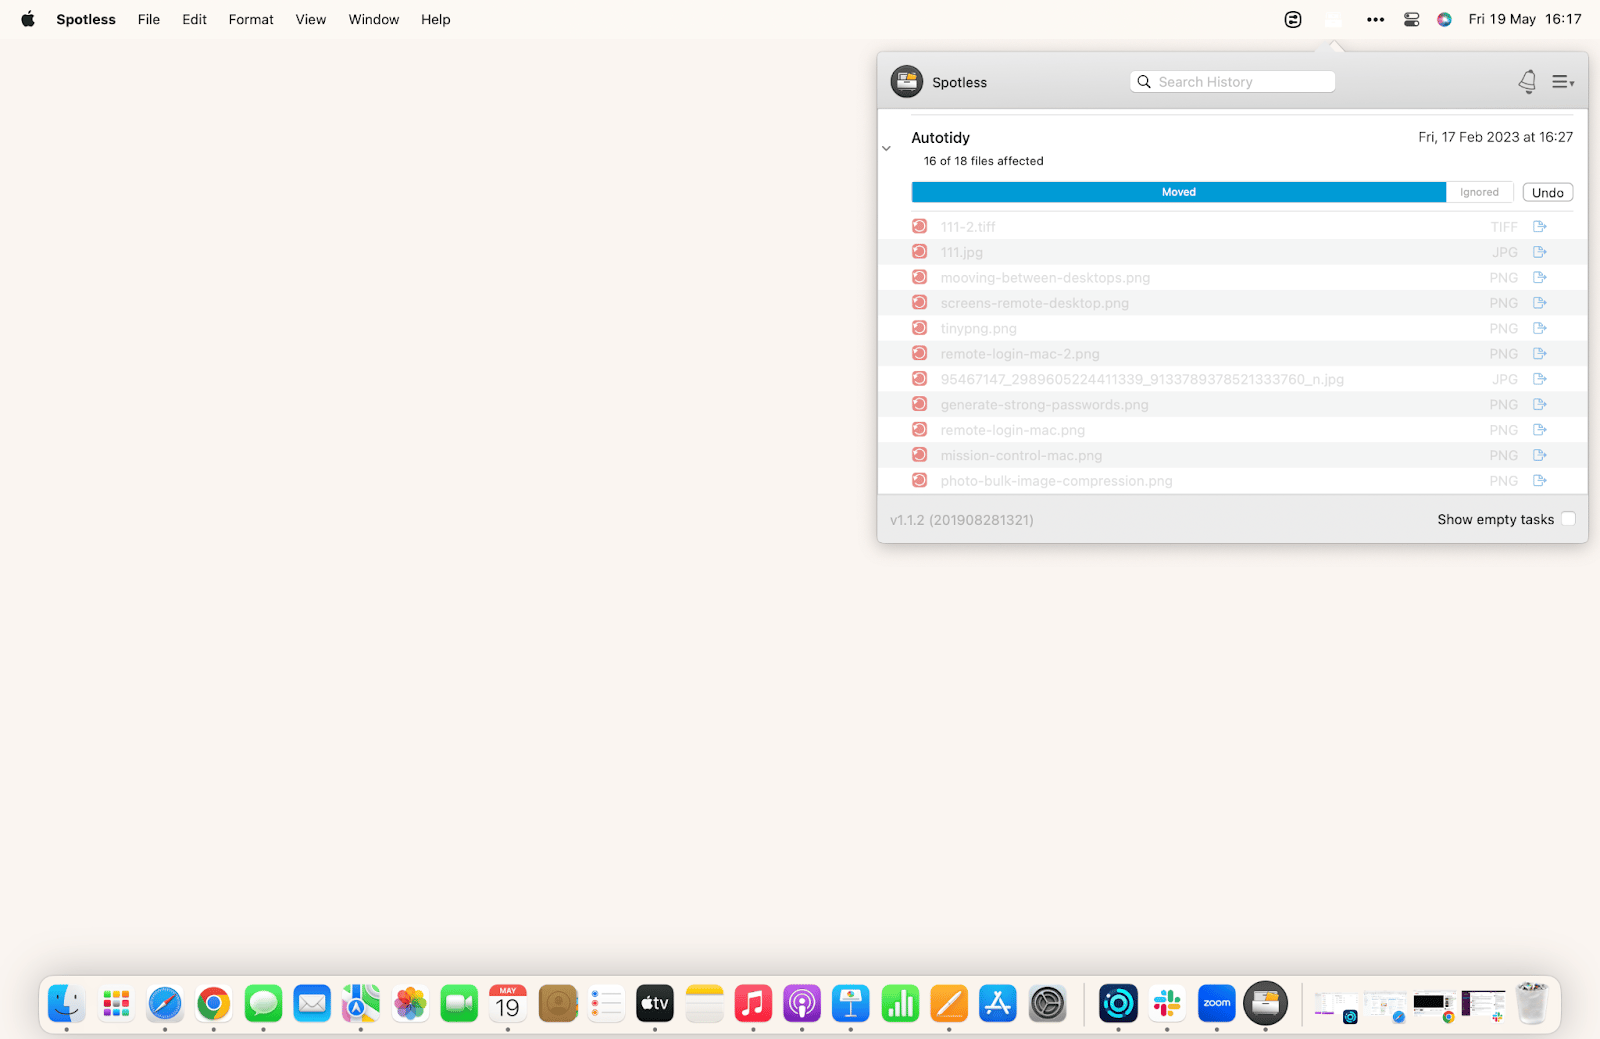
Spotless is an auto-tidy utility that sorts your files via rules. Use the app’s task manager to customize rules, so every time you drag and drop a selection of files onto the app’s pop-up drawer in the menu bar, your files get organized and placed into their designated folder. You have to once show Spotless how you want your files and folders to be maintained for the app to then perform automatic, scheduled cleanups so you can focus on more important tasks at hand.
Want to go even further and easily manage your files, notes and clipboard data in one place? Try Unclutter.
Unclutter is a robust desktop sticky notes app that also acts as a temporary storage for your files and other seemingly random items. Unifying a set of useful tools in one handy window, Unclutter slides down from the top of your desktop and offers a space to hide any files or jot down a note for later reference. It can even sync files across multiple Macs via Dropbox, including anything you’ve copied to your clipboard!

Remove icons from Mac desktop with ease
As you now know, there are multiple ways how to remove things from a desktop without deleting them using both native macOS apps and third-party tools with added functionality.
- Use One Switch, Almighty, and iBoysoft MagicMenu to control the look of your desktop with one click.
- If you present often, PliimPRO will be your best assistant.
- CleanShot X and Xnapper will help beautifully capture your screen.
- And if you want to organize your desktop once and for all, give Spotless and Unclutter a try.
Ways to hide icons | Here’s how to do it |
Use One Switch | Install and open the app > Turn on Hide Desktop Icons. |
Use Almighty | Install and open the app > Turn off Show Desktop Icons. |
Install and open the app > Right-click on your desktop > Choose Common > Hide All Items. | |
Erase all icons in Terminal. | Go to Applications > Utilities > Terminal > Type defaults write com.apple.finder CreateDesktop false > Return > Type killall Finder > Return. |
Hide a single icon in Terminal | Go to Applications > Utilitie> Terminal > Type mv [filename] .[filename] > Return. |
Set hidden flag in Terminal | Go to Applications > Utilities > Terminal > Type chflags hidden with a space at the end > Drag and drop file into Terminal > Return. |
Change the icon’s visibility to invisible in Terminal | Go to Applications > Utilities > Terminal > Type setfile -a V with a space at the end > Drag and drop the file into Terminal > Return. |
Use PliimPRO | Install and open the app > Switch to Presentation mode to show a clean desktop. |
Use Finder | Go to Finder > Settings > General tab > Unselect all items under Show these items on the Desktop menu. |
Use CleanShot X | Install and open the app > Choose Hide Desktop Icons from the top menu. |
Great news! All eight apps — One Switch, Almighty, iBoysoft MagicMenu, PliimPRO, CleanShot X, Xnapper, Spotless, and Unclutter — are available to you for free along with 240 other essential tools. How? Through a seven-day trial of Setapp, a platform of macOS and iOS utilities created by professionals for every kind of user. Try any and all Setapp apps today at no cost and enhance your devices’ functionality!
FAQ
How to hide all icons on a desktop on Mac?
To quickly hide all icons on your Mac desktop without deleting anything, you can use One Switch. It allows you to clear your desktop clutter with just one click, making it easy to keep your workspace distraction-free.
What is the shortcut to hide all apps on Mac?
To quickly hide all open apps and display a clean desktop, press Command + F3. This will minimize all windows, allowing you to see your desktop, but it won’t hide the desktop icons. For that, you can use CleanShot X.
How do I hide all programs on my Mac?
PliimPRO is a great tool for hiding all programs and creating a distraction-free presentation environment. It can hide all active apps, mute notifications, and even change your wallpaper for a more neutral background.


