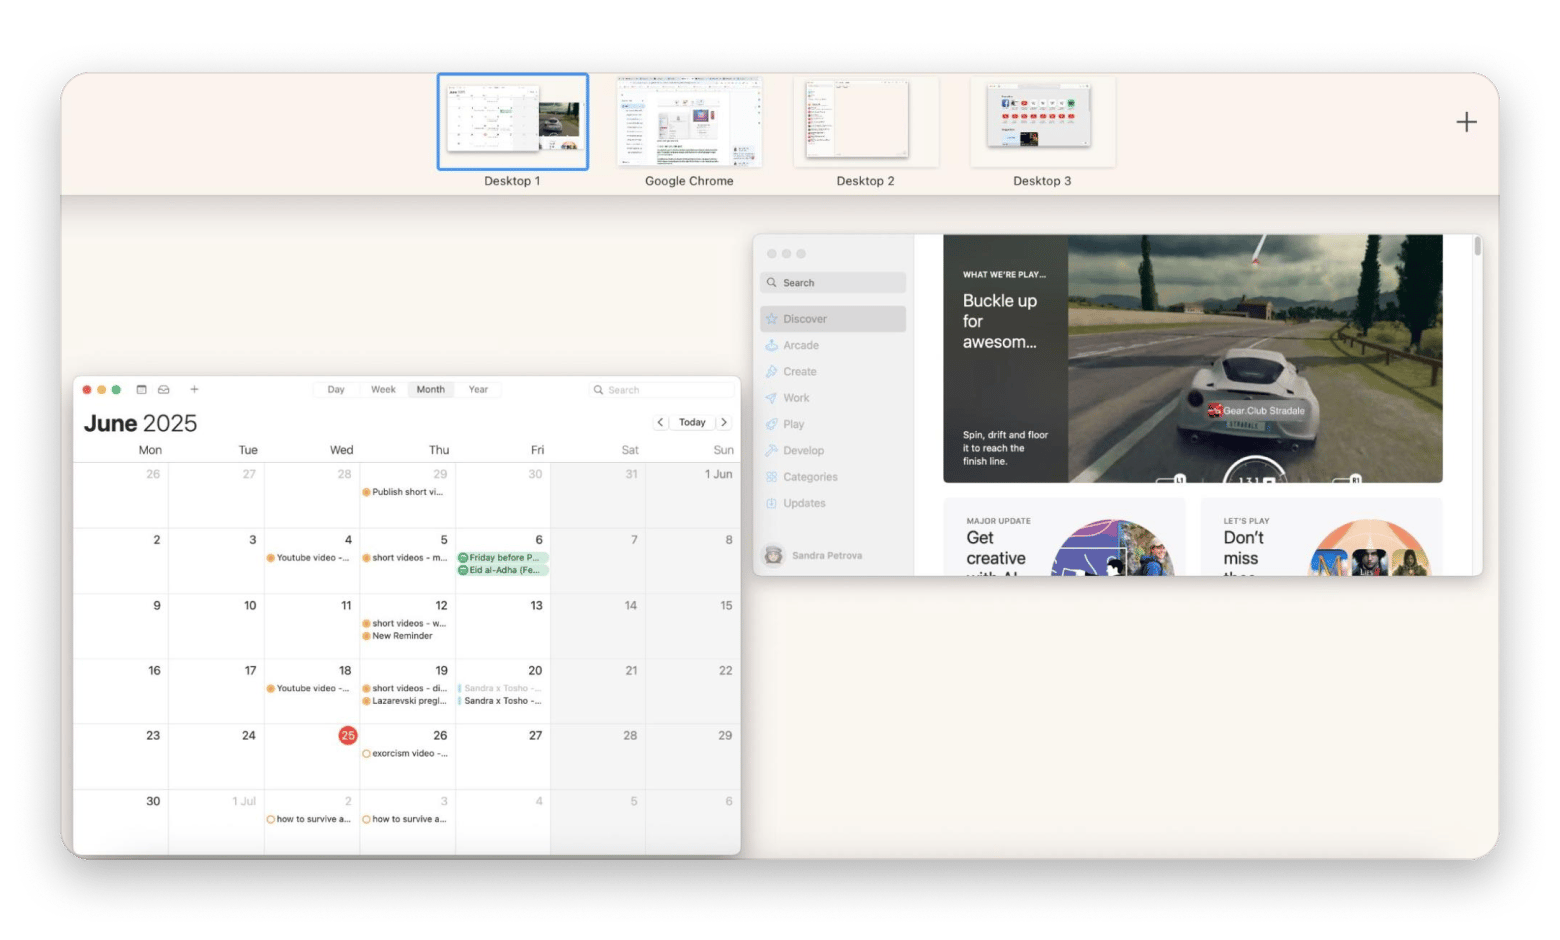
How to use multiple desktops on a Mac: 2026 update
- Create and switch between multiple desktops with Mission Control
Use Mission Control to add new desktops by pressing F3, swiping up with your trackpad, or using Command + Space and typing Mission Control. Switch between desktops by swiping with four fingers or pressing Control + Left/Right arrow. - Visually organize desktops for clarity
Assign unique wallpapers or layouts to each desktop to distinguish work, personal, or creative spaces. Open System Settings > Wallpaper to customize backgrounds. - Move apps between desktops efficiently
Drag app windows in Mission Control to different desktops to keep tasks separated. For quicker window management, try Mission Control Plus to add close buttons directly in Mission Control. - Extend your workspace with a second monitor
Connect an external monitor or access a remote Mac to expand your desktop setup. Enable Remote Login in System Settings > Sharing for remote access, and make sure Displays have separate Spaces enabled to avoid full-screen conflicts. - Keep desktops clutter-free with apps
If multiple desktops feel overwhelming, apps like Spotless, Workspaces, and CleanMyMac help organize files, apps, and clean junk. All these tools are available on Setapp, giving you a full productivity toolbox for Mac, iPhone, and iPad. Try over 250 tools for free for seven days.
Using multiple desktops on a Mac can make your desktop experience infinitely better without much effort. But why would you need multiple virtual desktops on your Mac, and won't this make working on your device more confusing?
It might feel that way at first, but with the tips I’ll share on how to set up and manage multiple desktops, you’ll be more organized and productive in no time.
How to create and customize virtual desktops on a Mac
You can customize your Mac by organizing desktops visually. Try giving each desktop its own wallpaper to tell them apart at a glance. You might have one for writing, one for video calls, and another just for fun.
And the best part? macOS lets you create up to 16 of these spaces, so there’s plenty of room to make it your own.
Before learning how to switch between desktops, here’s how to create a new desktop using Mission Control and the Spaces feature:
- Open Mission Control (pick one):
- Swipe up with three or four fingers on your trackpad.
- Swipe up with two fingers on your Magic Mouse.
- Press F3.
- Press Command + Space, type Mission Control, and press Return.
- Click the + at the top-right of the screen.
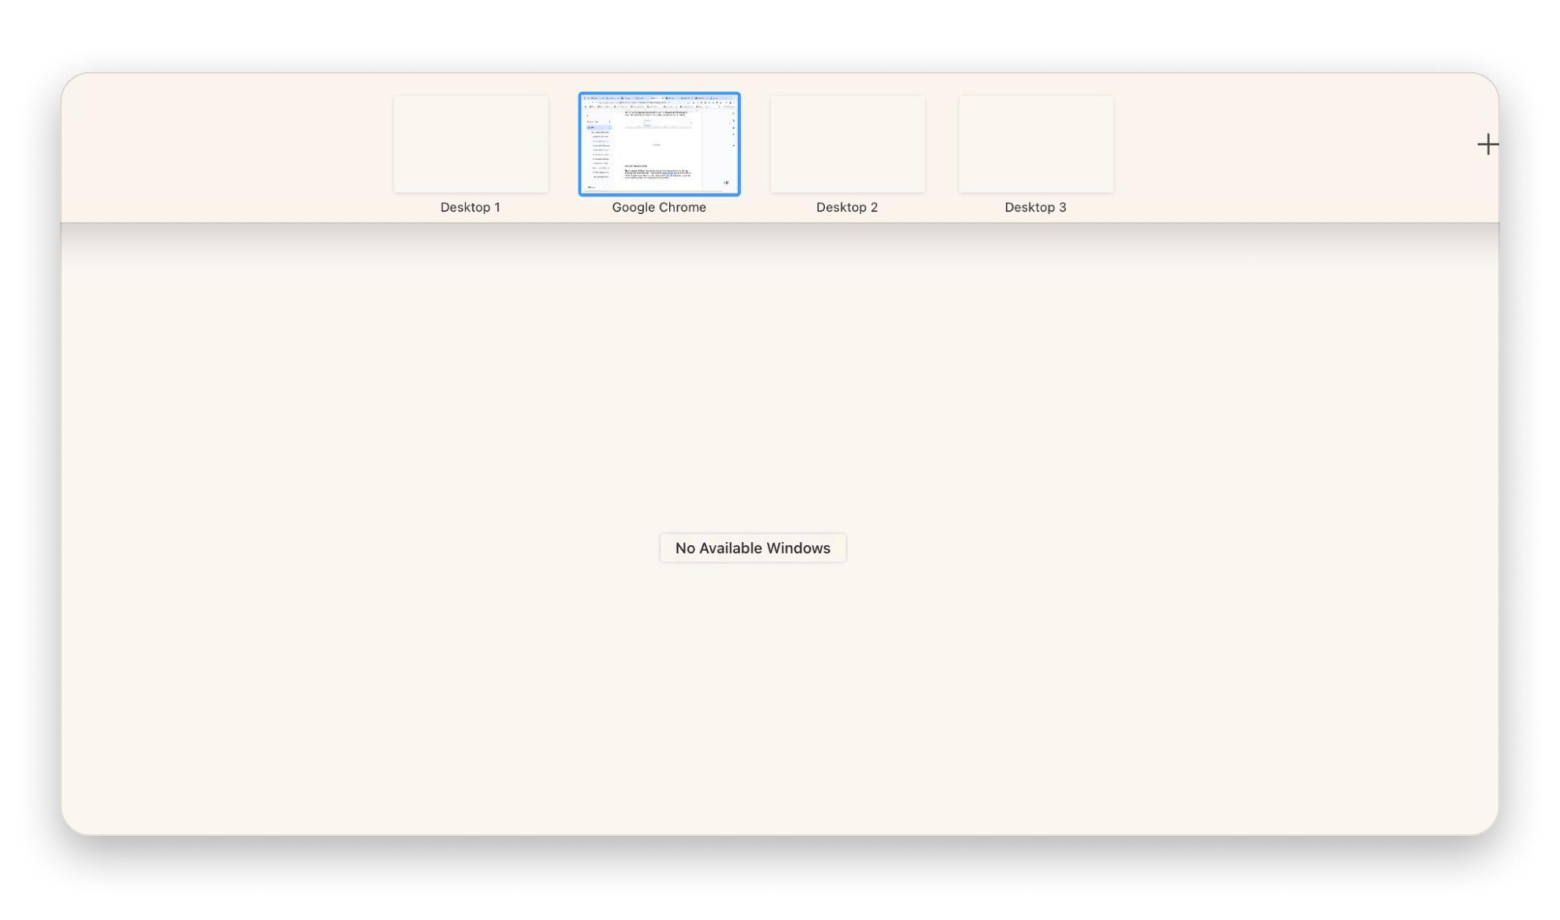
That’s it! Your fresh desktop (Space) is ready to use! You can switch between desktops by swiping left or right with four fingers on your trackpad or pressing Control + arrow keys.
Tip: One limitation of Mission Control is that you can’t close windows directly from the view, something Apple hasn’t addressed. That’s where the Mission Control Plus app helps: it adds an X button to each window, letting you quickly close unused apps and declutter your spaces. And it works seamlessly within the existing Mission Control interface.
|
How to rename or visually organize macOS desktops
macOS doesn’t let you rename desktops, but you can visually separate them using unique wallpapers or layouts. Assigning different backgrounds to tasks helps you easily distinguish between work and personal spaces.
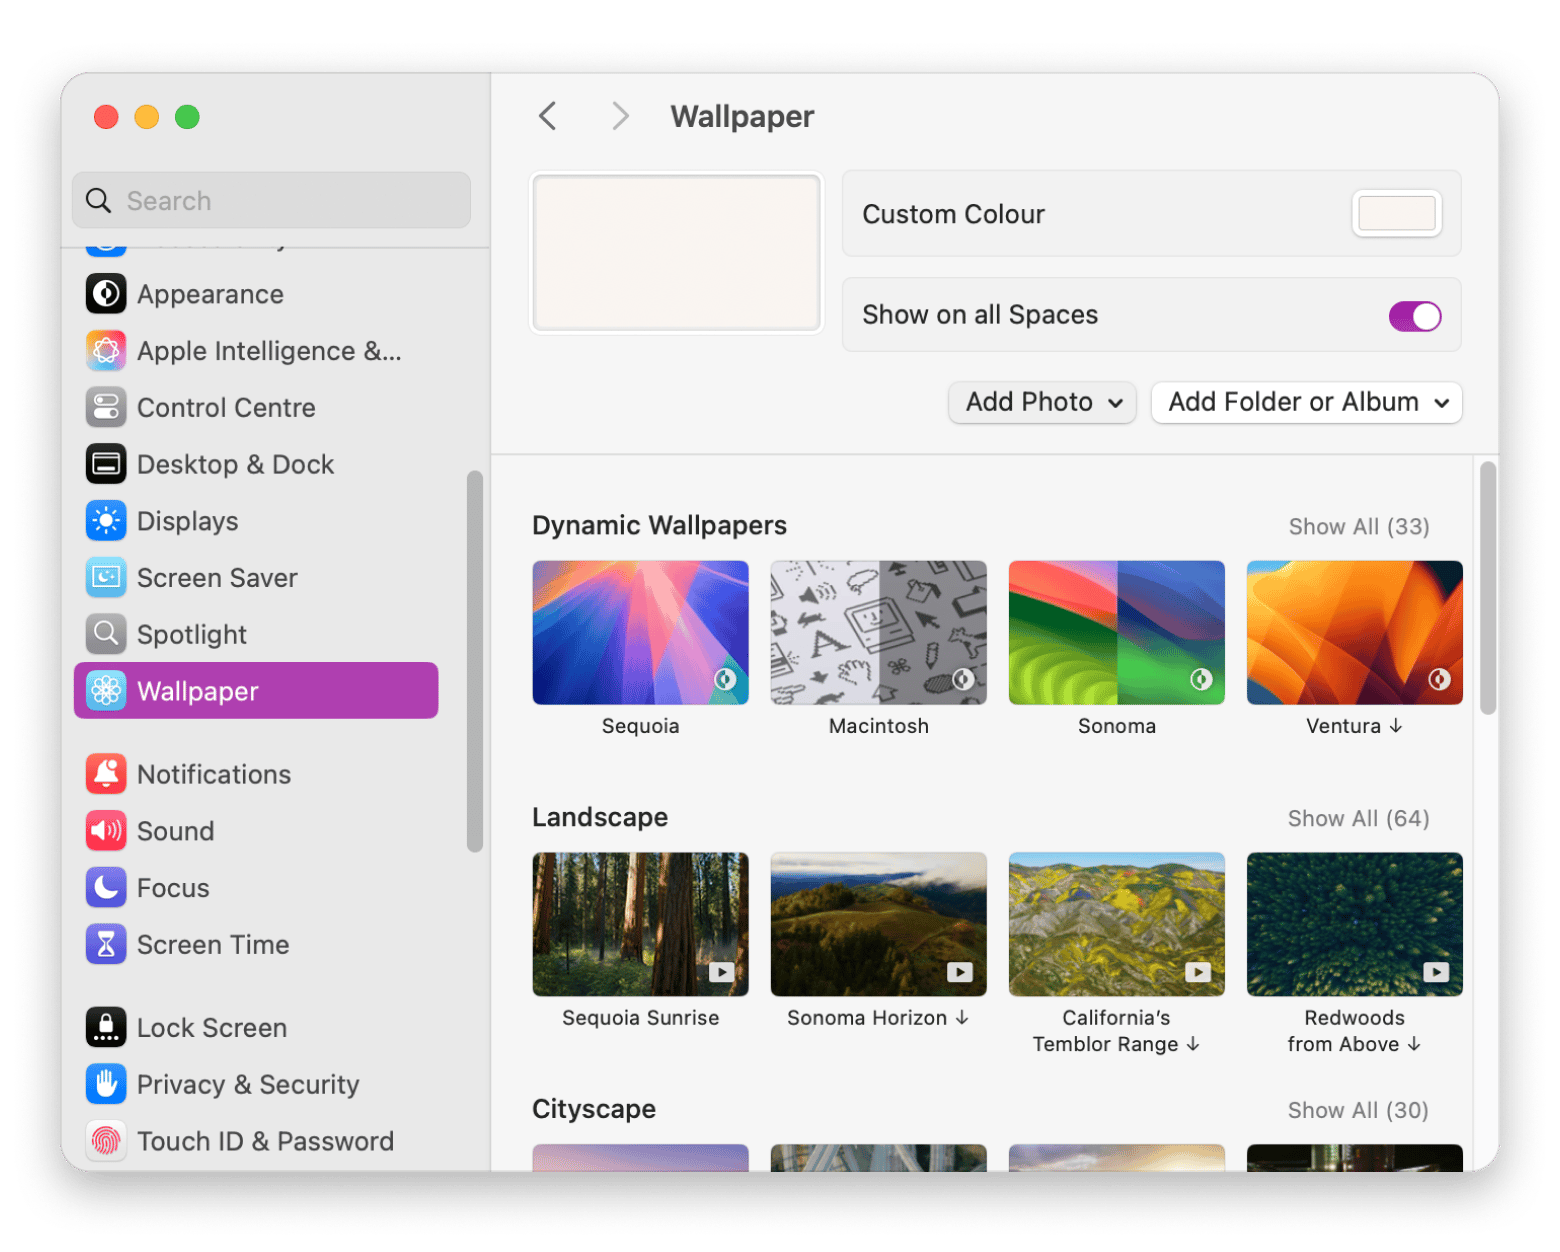
To create a custom desktop background on your Mac:
- Open System Settings on the Apple Menu from the top left-hand corner or the dock.
- Click on Wallpaper.
- Choose your image from the Mac wallpapers or select a personal photo.
- To use an Apple wallpaper, scroll through the available categories (Dynamic, Light & Dark, etc.) and click the one you like.
- To use your own image, click Add Photo > From Photos, or select Add Folder or Album to use a specific photo album or Finder folder.
- Apply your wallpaper.
Also, check out the guide on how to change the desktop background and screensaver on Mac.
How to add and use a second monitor as an extended desktop
Connecting a second monitor to your Mac is simple; just plug the display cable into the correct port or adapter for your model. A second screen expands your workspace, and you can also connect to a remote Mac to access your office setup from home.
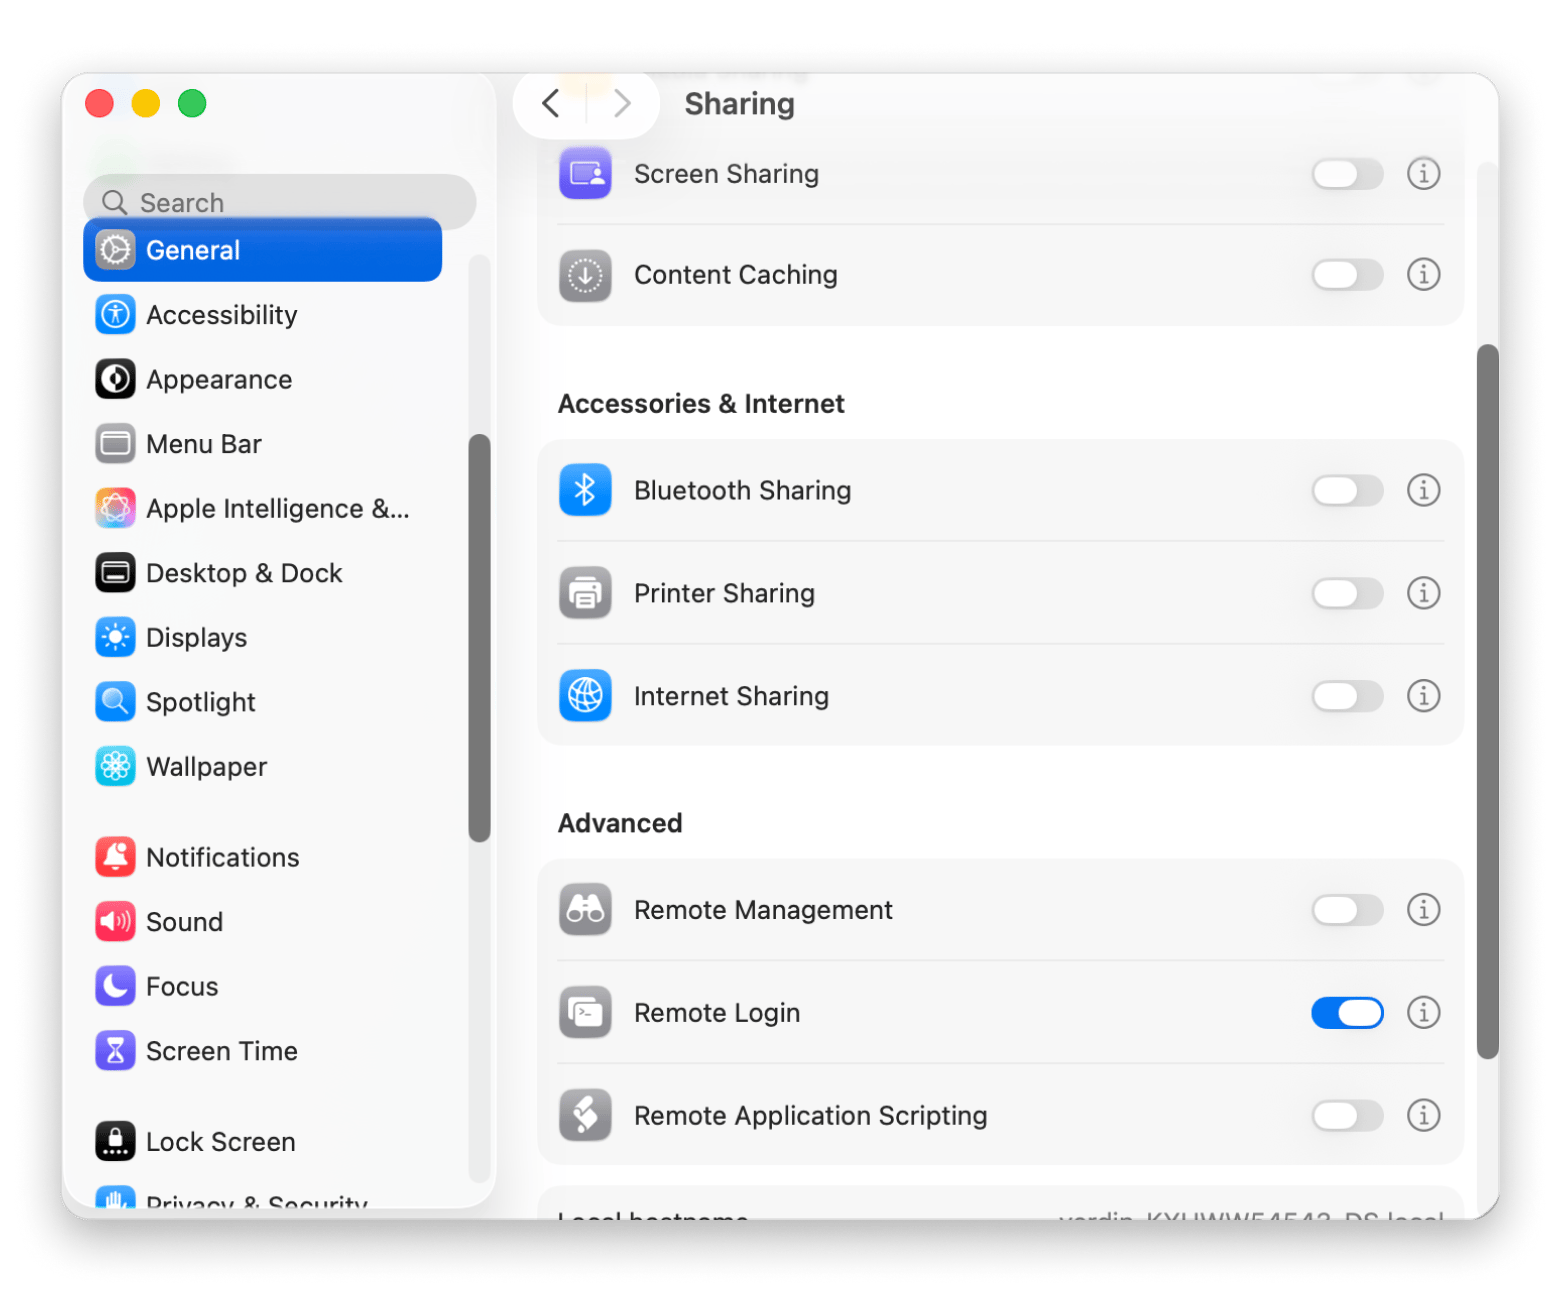
To allow remote login to a Mac from another computer, follow these steps:
- Go to the Apple menu > System Settings.
- Click General in the sidebar, then select Sharing.
- Turn on Remote Login.
- Click the i icon next to Remote Login to choose which users are allowed to access your Mac remotely.
To log in to your Mac from another computer, follow these steps:
- Open the Terminal app on the other computer.
- Enter the SSH command in this format: ssh username@hostname, then press Return.
- Replace username with your Mac’s username and hostname with its IP address or domain name. For example: ssh [email protected]
- Type your password when prompted and press Return.
- Access your Mac remotely via the command line.
Check out the best ways to remotely access and control your Mac from any device and location.
How to switch desktops
Navigating between Mac desktops is easy. You can do this with one of the following methods:
- Swipe left or right with three fingers on a trackpad or two on a Magic Mouse.
- Press Control + Right/Left arrow.
- Open Mission Control (via F3, swipe up, or gesture), then click a desktop (Space) in the top bar to switch.
- On Touch Bar Macs, enable Spaces view in Keyboard settings and tap to switch.
To move apps between desktops, open Mission Control, then drag the app window to the desired space.
How to remove desktops when you’re done using them
Desktops aren’t permanent. In fact, you can remove them anytime. In Mission Control, hover over the desktop you want to delete and click the X in the corner. Any open apps in that space will move to your current desktop.
Note: If a desktop has full-screen apps, you’ll need to minimize them first. Also, while you can delete desktops this way, Mission Control doesn’t let you close individual windows. Mission Control Plus adds that missing feature.
Read also:
- Mission Control Plus walkthrough
- Hide icons on Mac
- Split screen on Mac for extra productivity
- Organize Mac menu bar with Bartender
Tips on how to declutter your workspace
Spaces aren’t for everyone, and that’s okay. If multiple desktops aren’t your thing, try a decluttering routine instead. Here are a few tips:
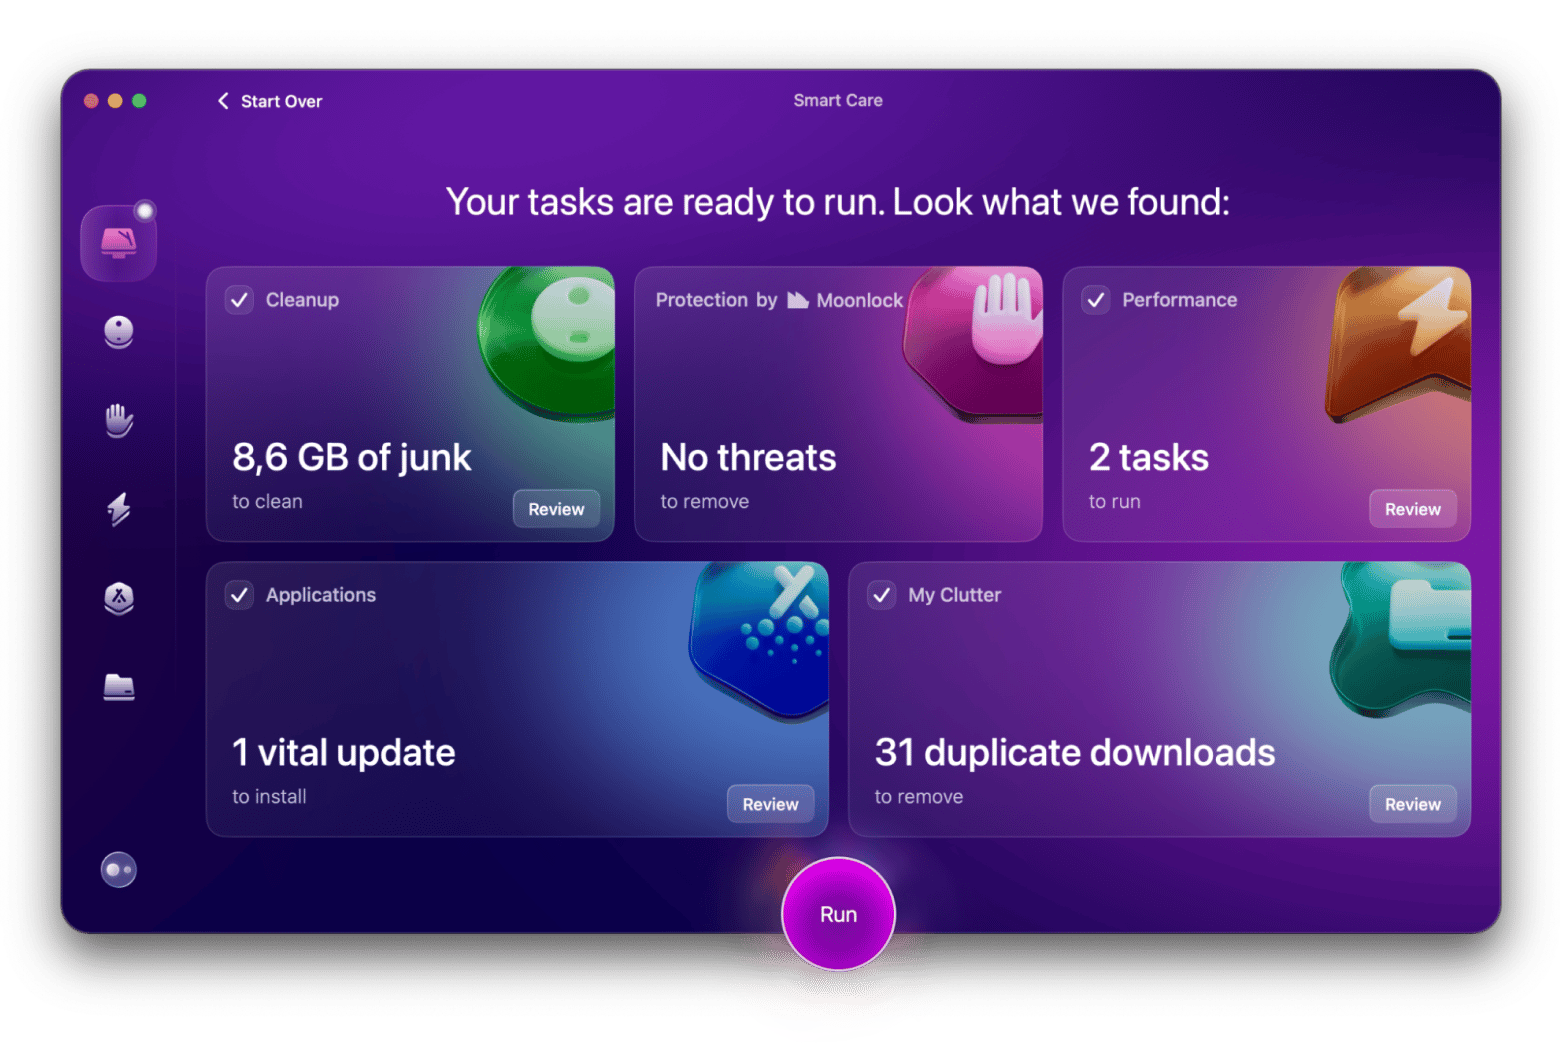
- Run weekly Smart Care scans with CleanMyMac to clear junk and free up space.
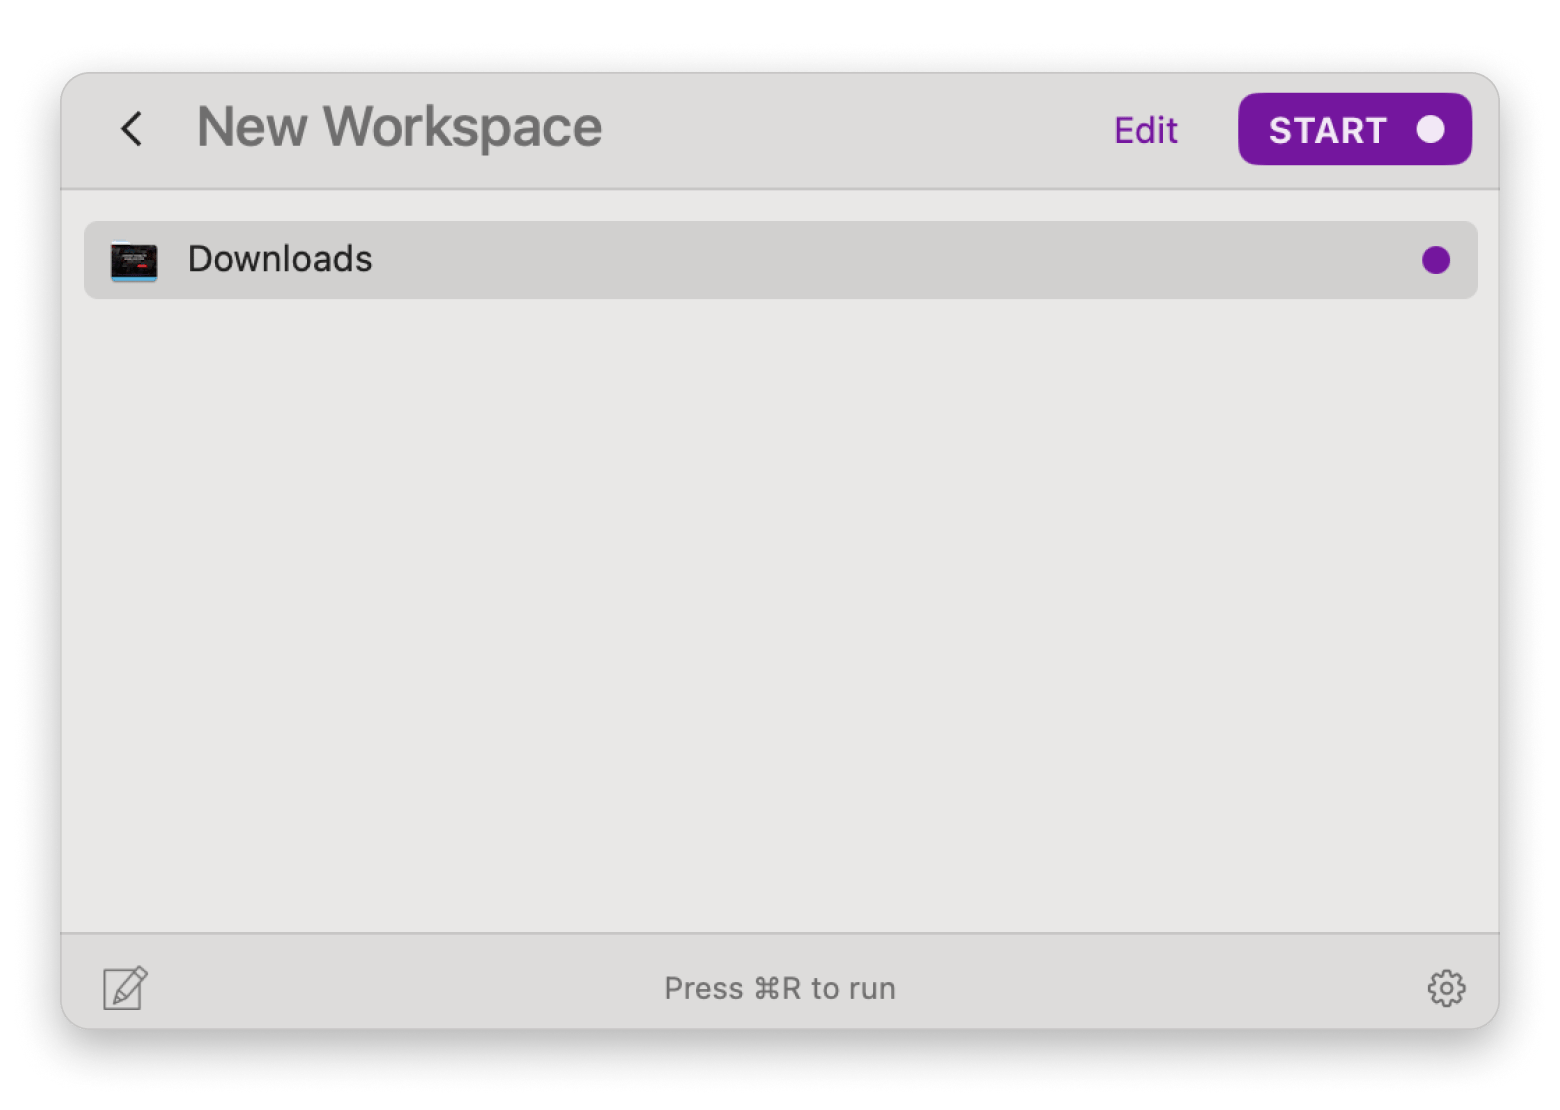
- Use Workspaces to group files, emails, and apps into task-specific folders in your menu bar.
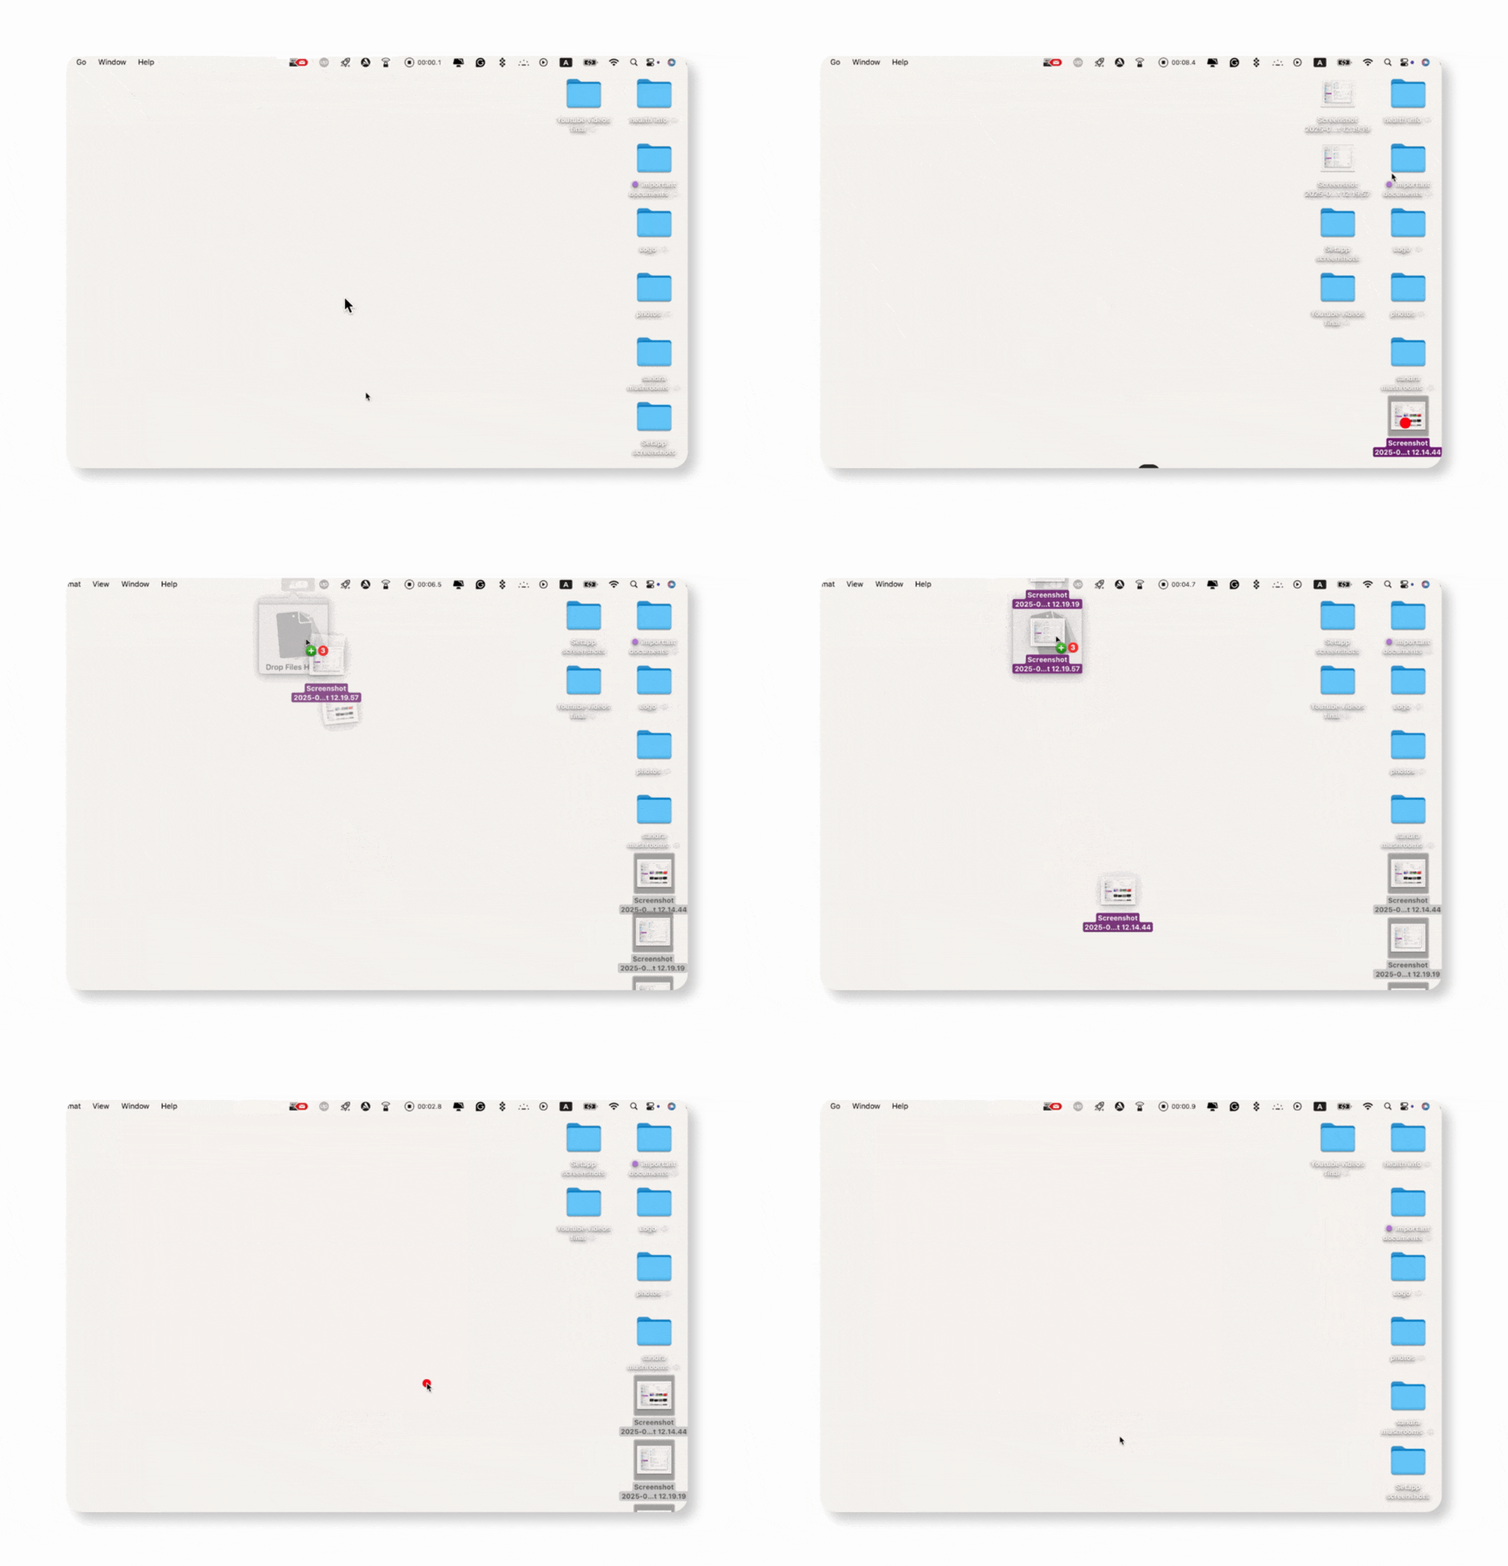
- Try Spotless for automatic desktop cleanup; just drop your files in, and it organizes them into folders for you.
How to troubleshoot common issues with Spaces on macOS
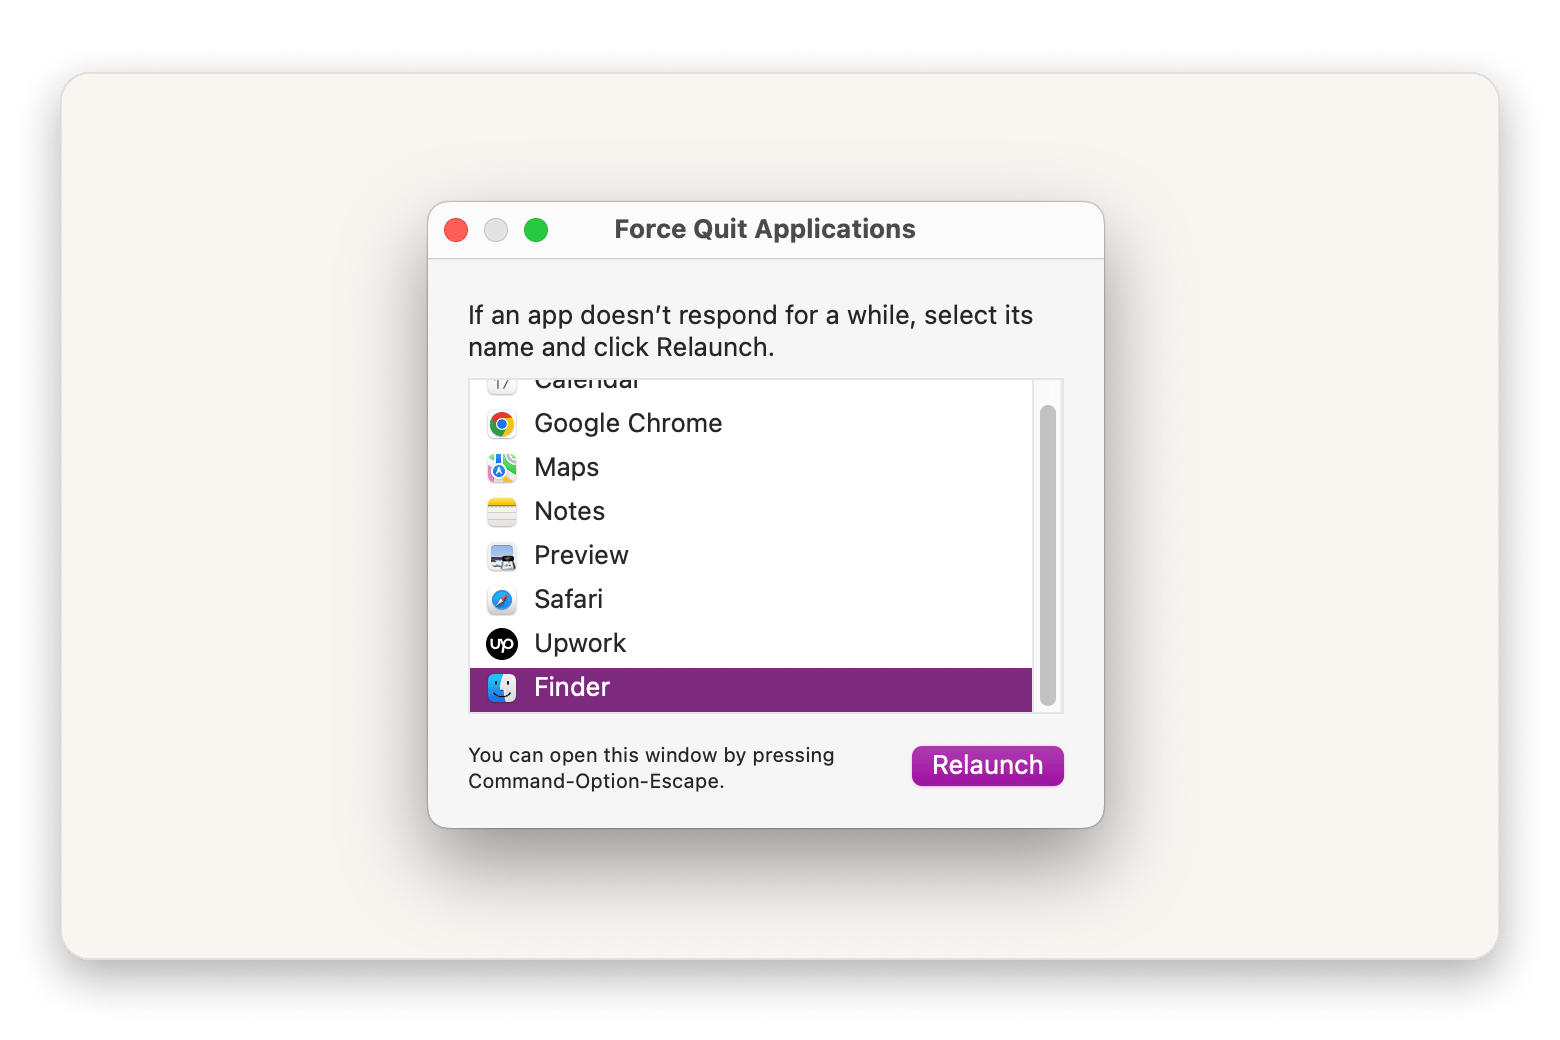
One common problem with Spaces is that your desktops might disappear after a restart. Don’t worry, it’s usually easy to fix. Try force-quitting and relaunching Finder, or reboot your Mac in safe mode to reset things.
To Force Quit and relaunch Finder:
- Press Command + Option + Escape.
- Click Finder from the list of unresponsive applications.
- Click Force Quit, then Relaunch to restart Finder.
Apps jumping between desktops
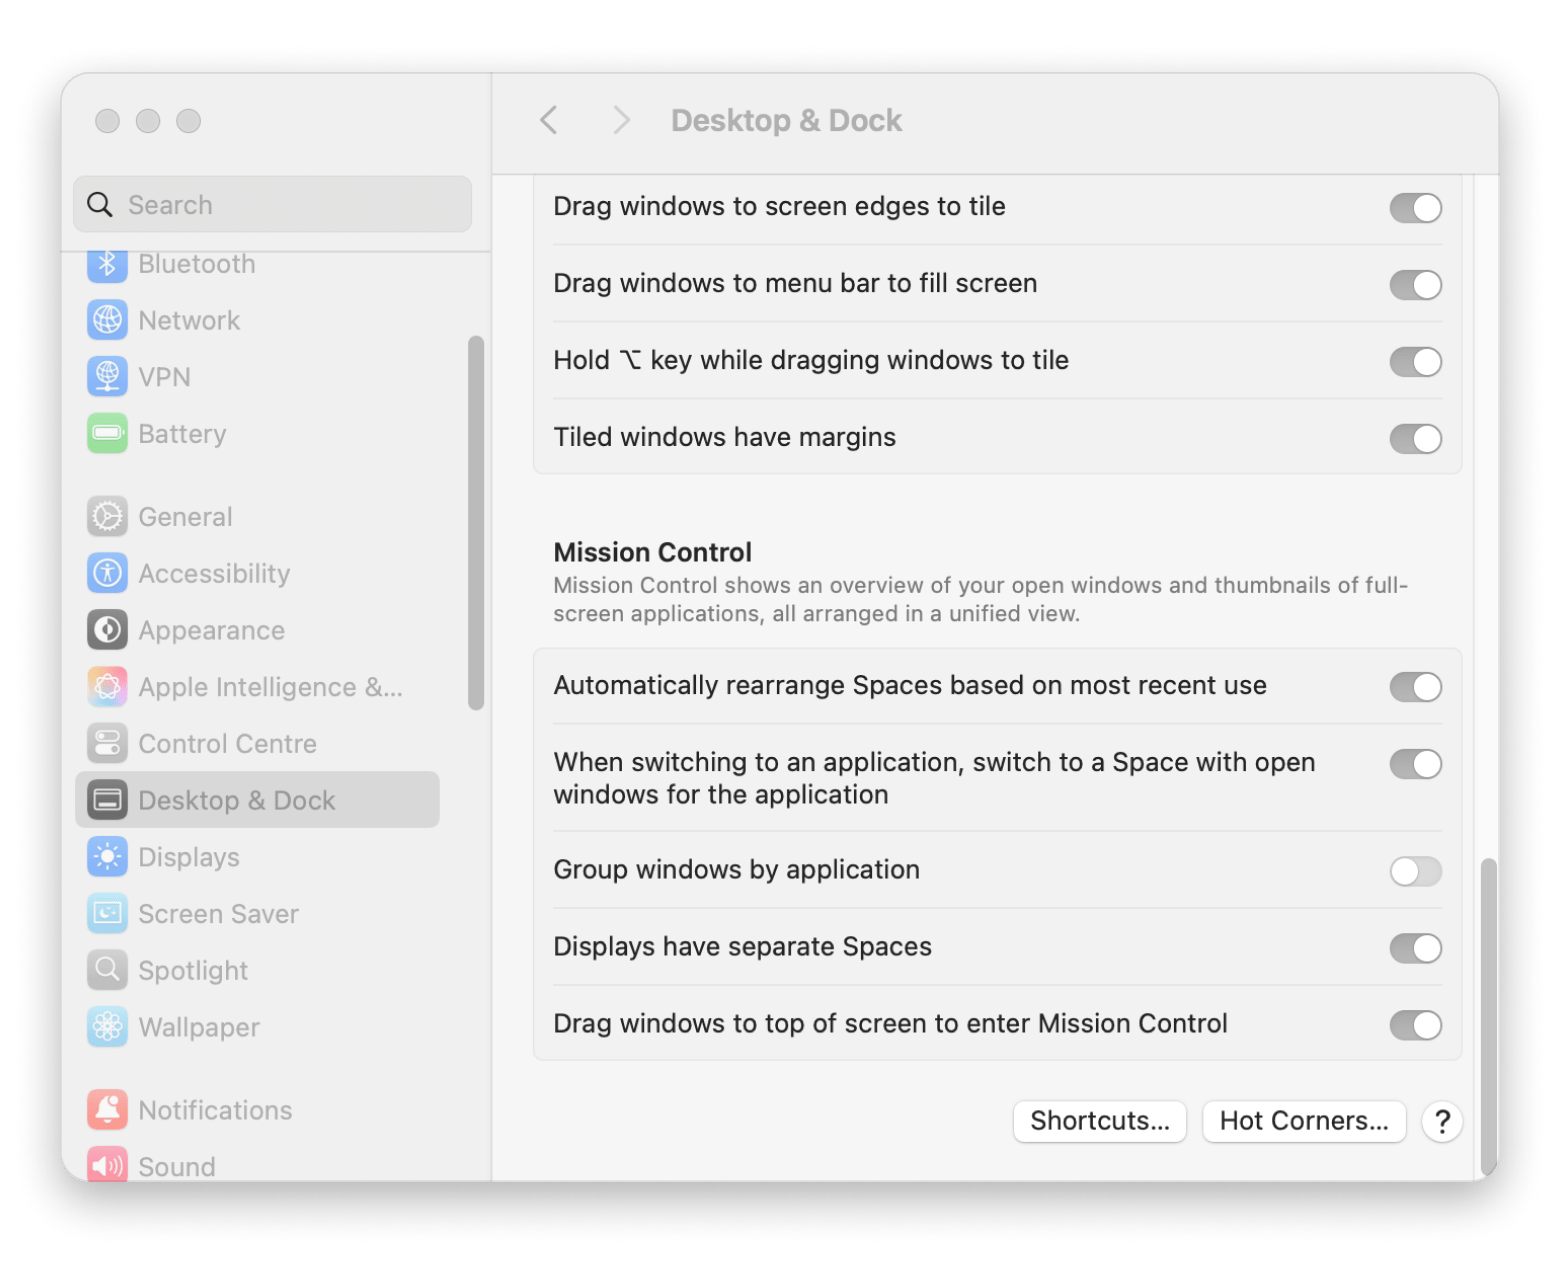
If apps are jumping between different desktops, the solution is pretty straightforward. All you need to do is disable a certain setting within System Settings.
Here's how:
- Open System Settings.
- Go to Desktop & Dock, then scroll down and select Mission Control.
- Turn off the option: When switching to an application, switch to a Space with open windows for the application.
Conflicts caused by full-screen apps or external displays
If your external screens go black when you enter full-screen mode, make sure the Displays have separate Spaces turned on (System Settings > Mission Control). This keeps each monitor independent, so full-screen apps won’t affect other displays.
Keep in mind that enabling this setting can sometimes cause minor issues like flickering or resolution changes, depending on your setup.
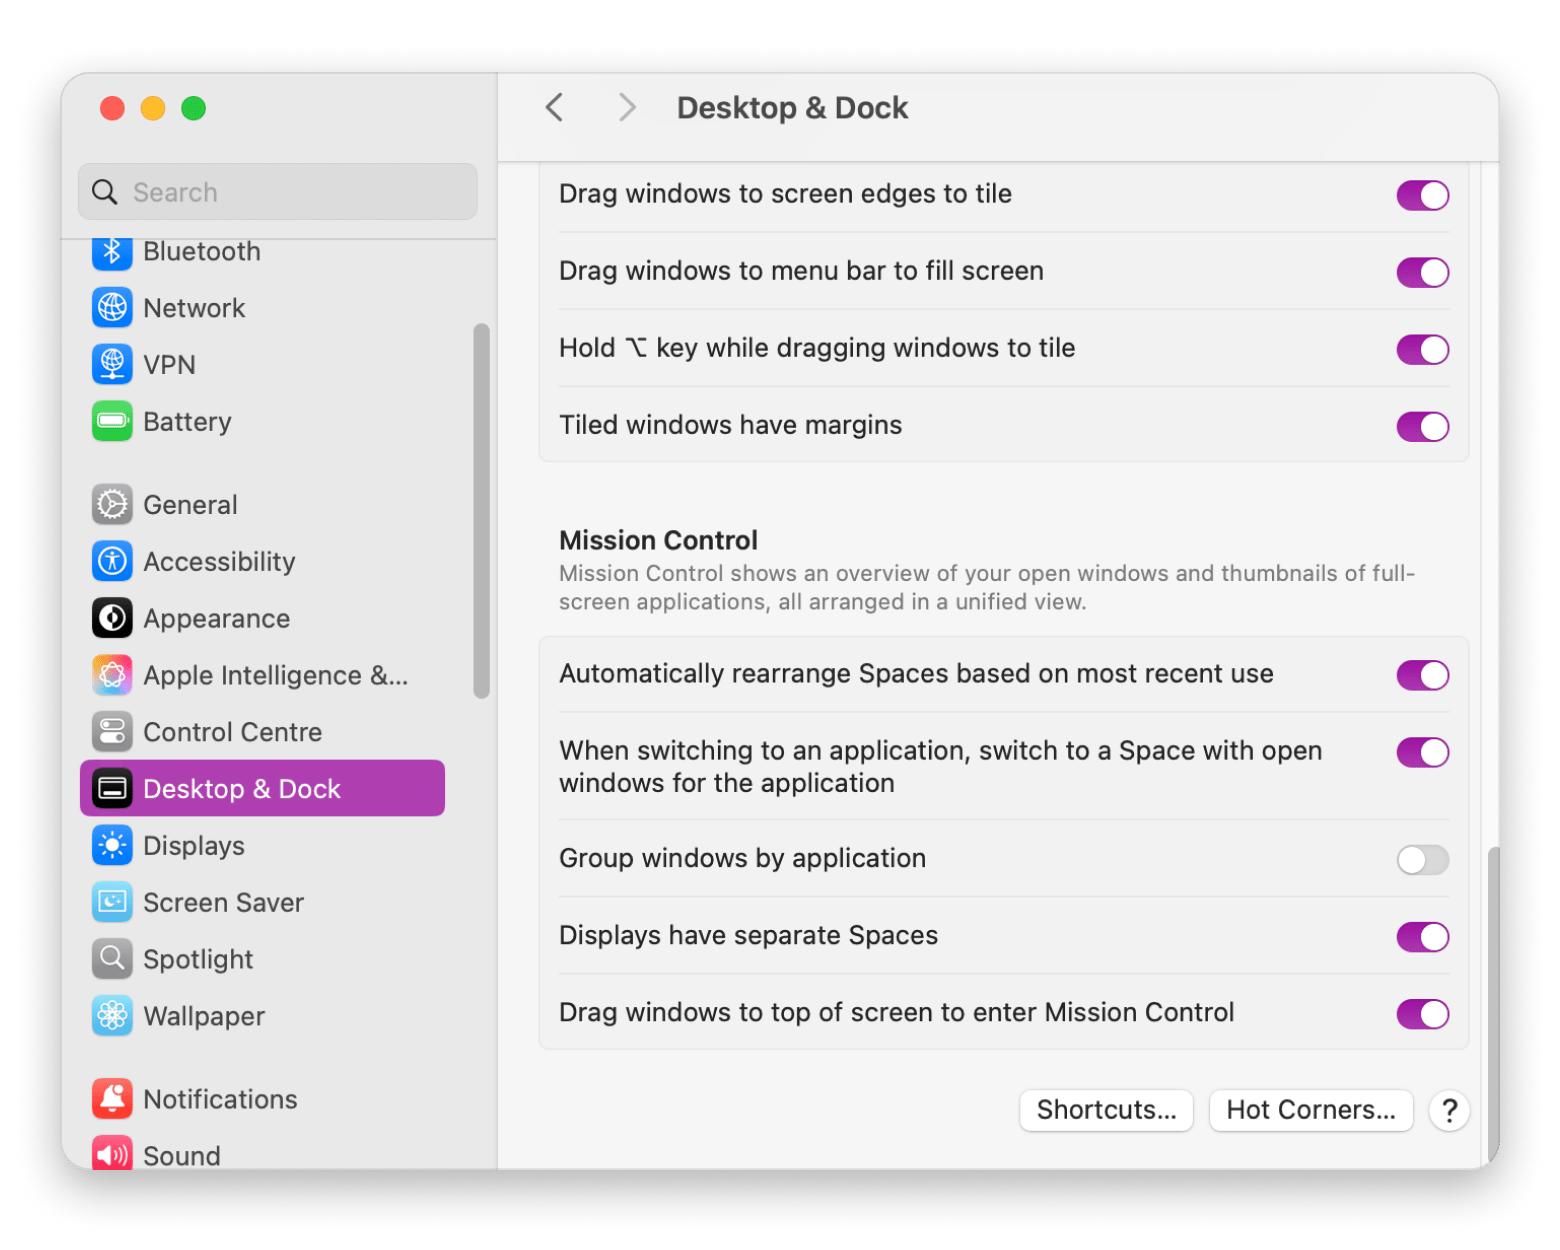
If your external display isn’t recognized, try unplugging and reconnecting it. Check that cables and adapters are secure and correct. You can adjust Mission Control settings at System Settings > Desktop & Dock > Mission Control.
Why do you need more desktops?
Using just one workspace on your Mac might feel fine until you realize how many apps are open, minimized, or forgotten in the background. Managing multiple desktops helps streamline your workflow. Instead of constantly minimizing and reopening apps, you can simply swipe between desktops, stay organized, and boost focus.
Final thoughts on how to use multiple desktops on a Mac
Using multiple desktops is a simple way to stay organized and boost your productivity. Once you get the hang of swiping between spaces, you’ll likely find it much faster than digging through windows or minimized apps.
To make desktop management even easier, tools like Mission Control Plus add helpful features like window closing in Mission Control. If multiple desktops aren’t your thing, apps like Workspaces, Spotless, and CleanMyMac offer other ways to streamline your setup and reduce clutter.
All of these apps are available with a 7-day free trial of Setapp, a subscription platform that gives you access to 250+ high-quality Mac, iPhone, and iPad apps. With Setapp, you get a curated toolbox for work, creativity, and everyday tasks, all in one place. Give it a try and see what works best for your workflow.
FAQ
How do you use multiple desktops on a Mac?
You can use multiple desktops on a Mac via Mission Control. You'll be able to switch between desktops, move windows, and assign specific apps to particular desktops for clarity and ease of use in everyday tasks. You can also use a third-party app like Mission Control Plus for additional functionalities.
How to use multiple desktops at once?
Open Mission Control (swipe up with three or four fingers on your trackpad, or press F3), then click the + button in the Spaces bar at the top of the screen to create a new desktop. Once you’ve created multiple desktops, you can switch between them by swiping left or right on your trackpad or using Control + Left/Right Arrow.
How do I switch between parallel desktops on a Mac?
There are a few different methods for switching between parallel desktops on a Mac:
- Swipe left or right using three or four fingers on your trackpad to move between different desktops.
- Press and hold the Control key. Then press the left or right arrow key to switch to the previous or next desktop.
- Go to Mission Control, then click on the desired desktop in the Spaces bar.
How do I split my Mac screen into two desktops?
To split your Mac screen into two desktops, open Mission Control. At the top, you'll see the Spaces bar, which shows a thumbnail of your current desktop. To create a new one, click the + button in the Spaces bar. Once you have more than one desktop, you can switch between them by clicking their thumbnails in the bar.
