How to create a folder on Mac: My most used methods
When you are just starting out on a new Mac, with its huge storage and untouched desktop, it feels like the sky's the limit and you can let screenshots pile up on the desktop, downloads — in your Downloads folder, and leave your Documents folder empty.
But as days, weeks, and months go by, you start to drown in files, dozens and dozens of files. This is when a little bit of organization can be a lifesaver for your productivity.
How to make a new folder on Mac using Finder
If you want to venture anywhere beyond your desktop or specific apps, Finder is the tool to use. This built-in Mac file manager lets you browse folders and find files on your Mac.
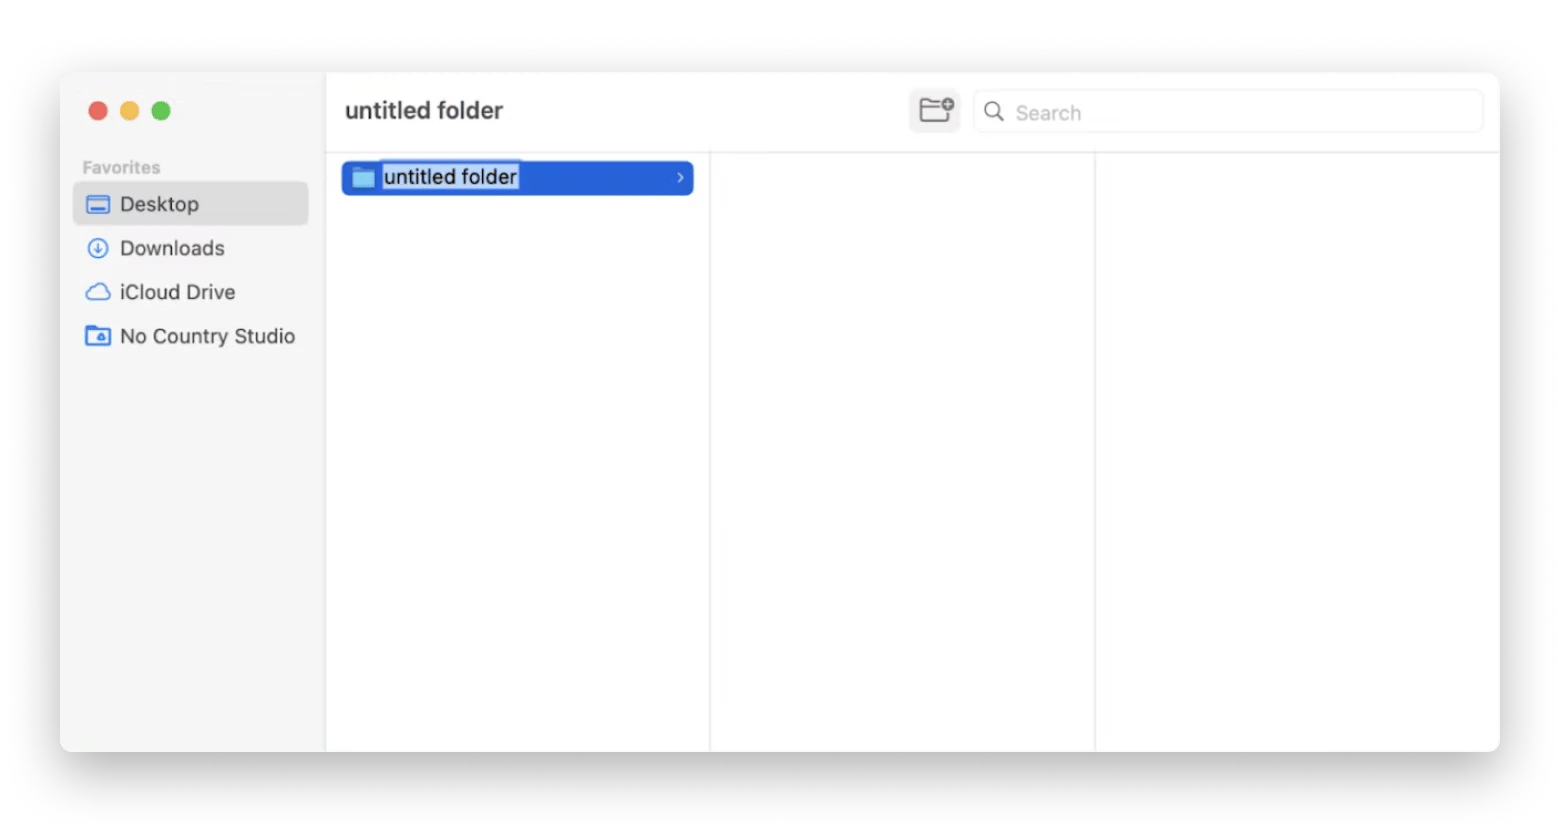
Here's how to add a folder on Mac using Finder:
- Open Finder from the Dock.
- Go to the location where you want to create a new folder (Documents, Desktop, Downloads, iCloud Drive, etc.).
- Click File in the top left corner or your screen and select New Folder. Alternatively, you can use the keyboard shortcut Shift + Command + N.
- Type in the name of your folder and hit Enter.
How to create folders with a mouse or trackpad shortcut
You can also quickly create a new folder using your mouse or trackpad.
Here's how to do it:
- Open the folder you want to add your new folder in (you can stay on your desktop too).
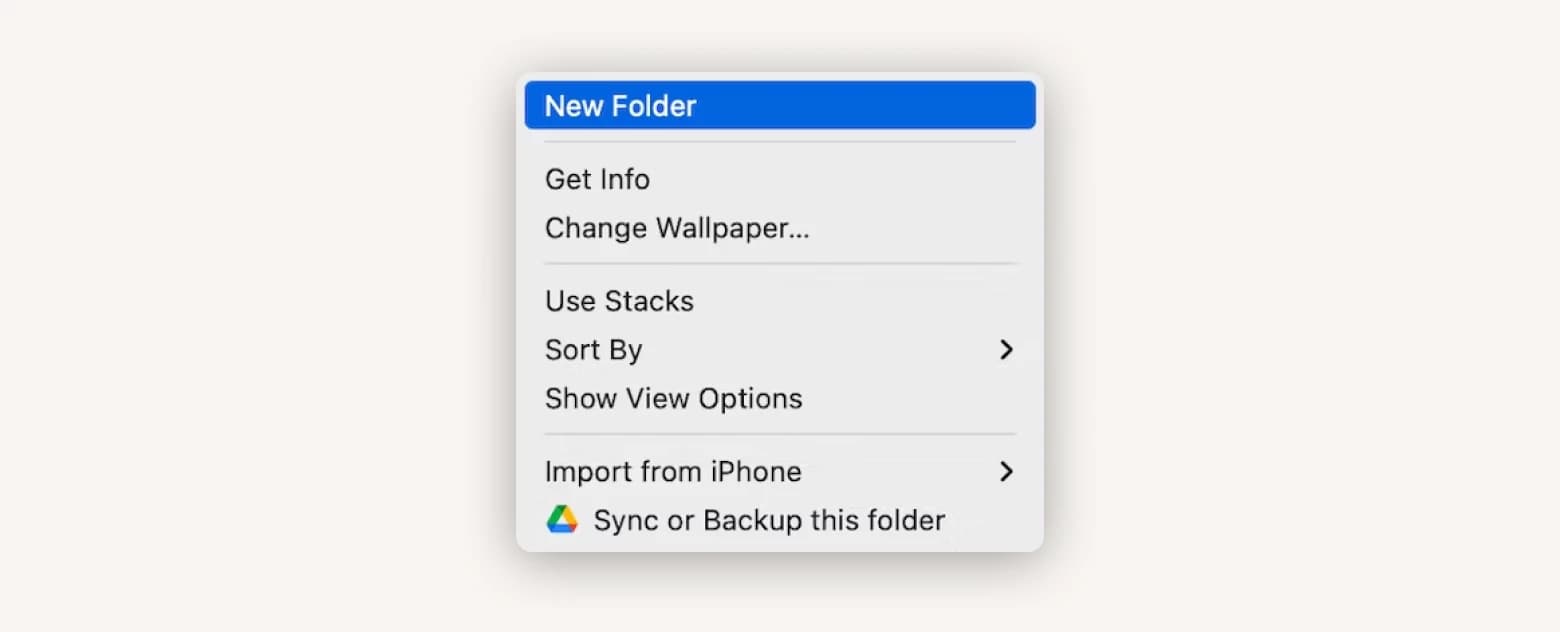
- Right-click (double-finger-click on trackpad) and select New Folder.
- Type in the name of your folder and hit Enter.
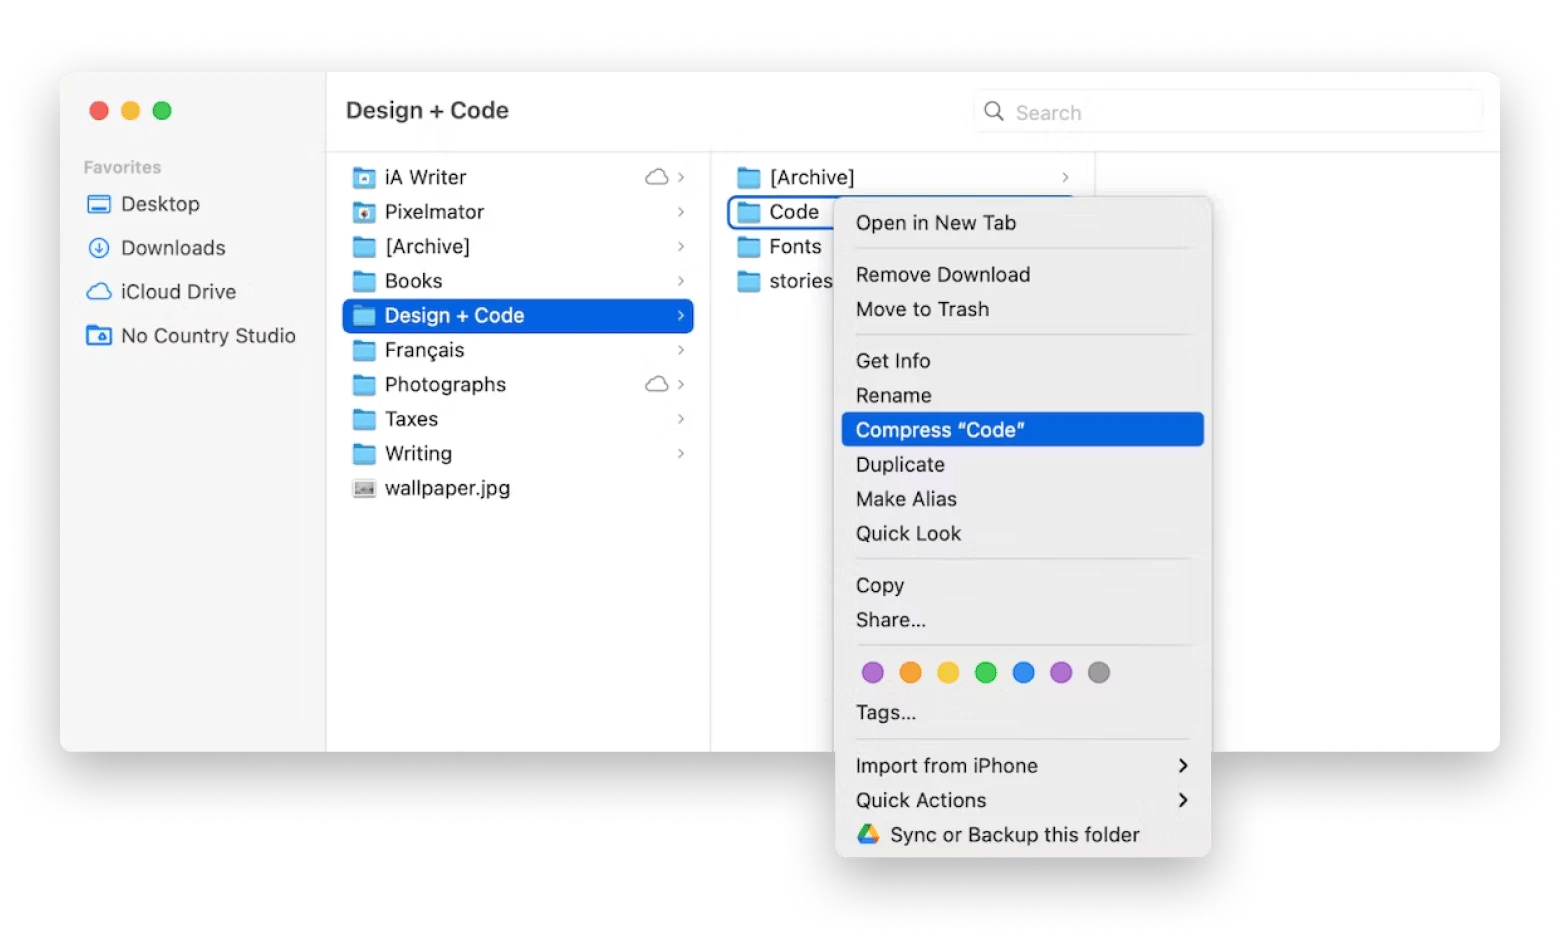
Want to quickly archive your folder to decrease its size or make it easier to email it? No problem, simply right-click on your newly created folder and select Compress. Your folder will be turned to a ZIP file in no time!
How to create a folder on Mac via File selection
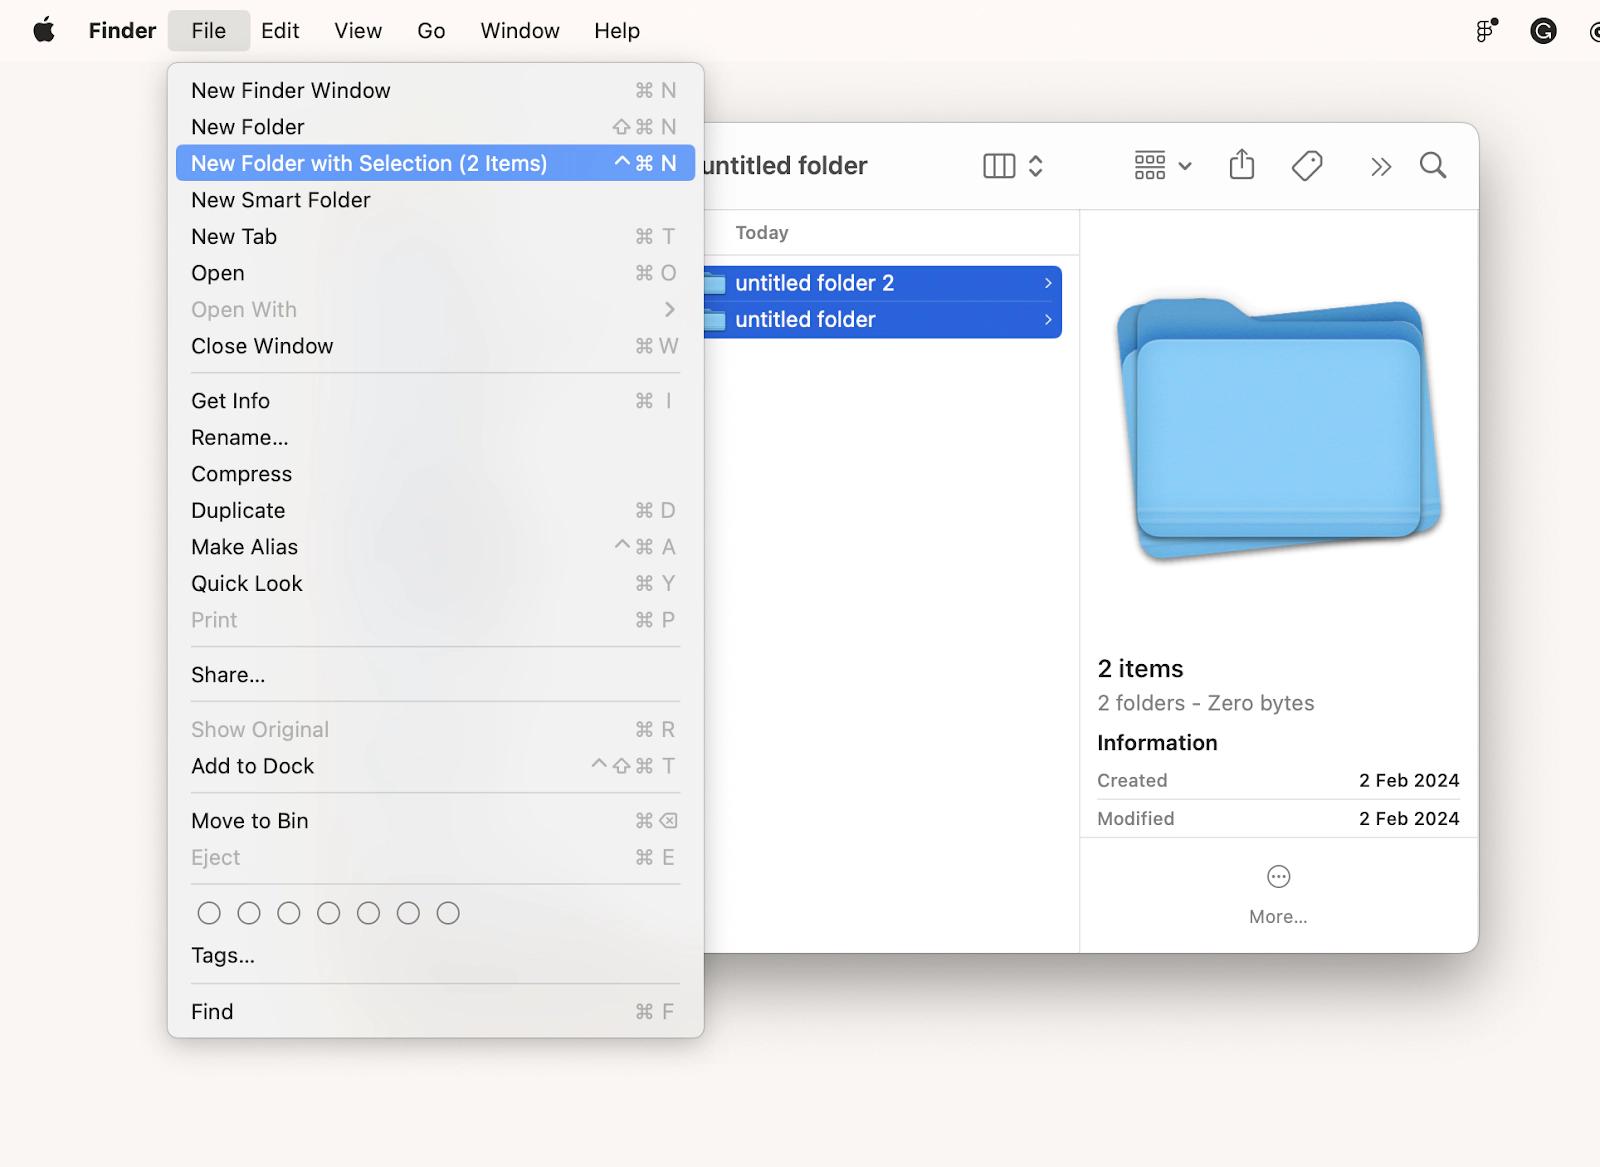
Did you know that you can create a new folder and place a set of files in it automatically? All you have to do is select the files you want to move into their own folder, click File in the top left side of your screen, and select New Folder with Selection.
How to create a new folder on Mac via Terminal
You can also create a new folder on your Mac using Terminal. We recommend trying the tools outlined in the previous sections if you are not confident with Terminal, but if you have a grasp of how this utility works, creating new folders with Terminal can be easy and save you some time.
Here are the steps to create folders with Terminal:
- Open Terminal by going to Finder > Applications > Utilities > Terminal.
- Move to the location you want to create a new folder in — type in cd and space, then drag and drop the folder you want to create a new folder in onto the Terminal window. Press Enter.
- Type command mkdir + the desired name of your new folder (e.g. if you want your folder to be named "new-books", type "mkdir new-books") and hit Enter. Your newly created folder will appear in the selected location.
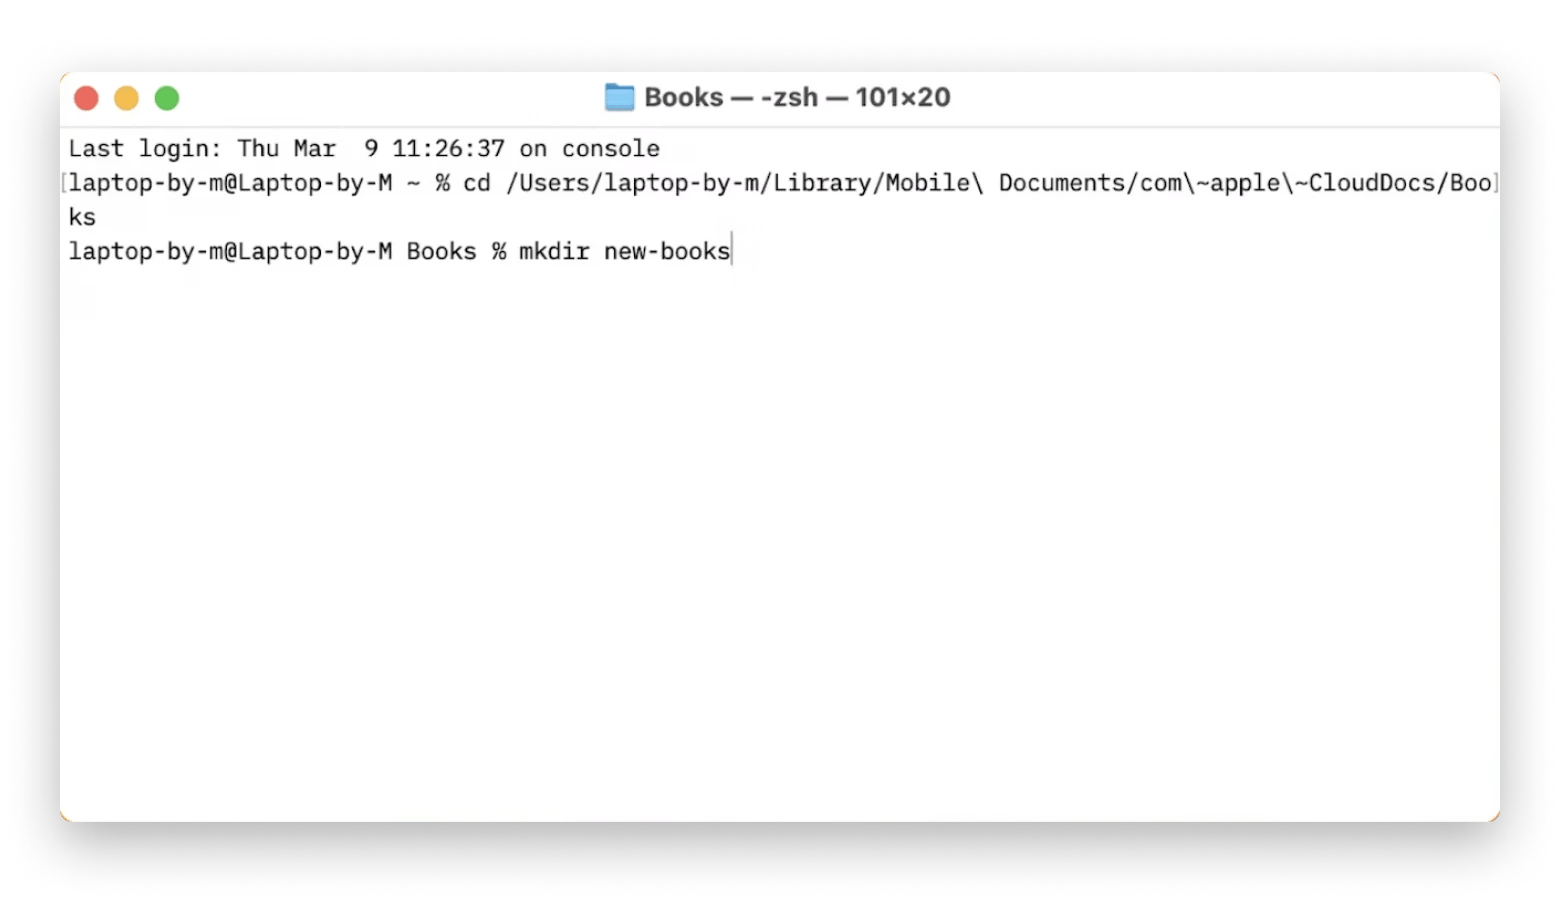
Terminal is an extremely handy tool if you want to create multiple folders fast. All you have to do is move to your desired folder as described above, then execute command mkdir followed by the desired names of your new folders.
For example, command "mkdir classes projects homework" will create three folders with names "classes", "projects", and "homework". If a folder with your desired name already exists in that location, Terminal will notify you.
How to organize and clean up Mac Desktop
Once you create all of your folders, what are the tools to manage them faster?
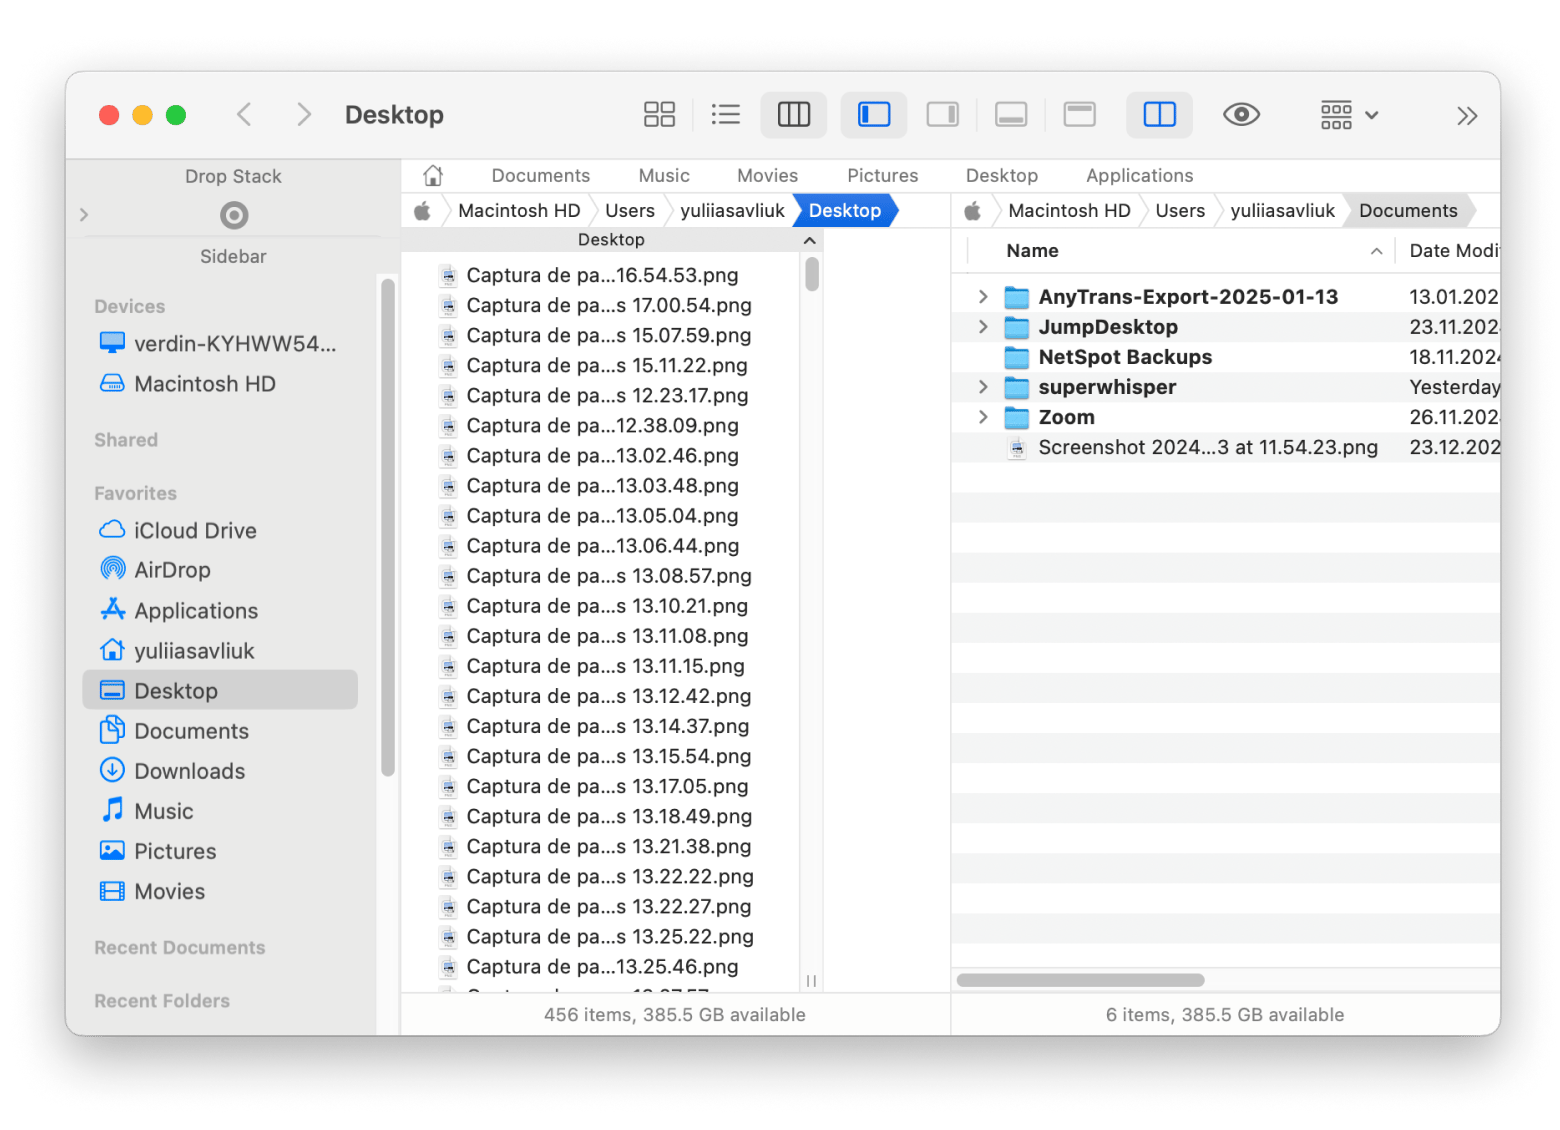
Path Finder is the helper you didn't know you needed. Get a bird's eye view of your files and folders with this classic file manager. Turn on the double pane view for easy navigation or dragging and dropping files to move them between folders. Easily preview files, calculate folder size, and much more with this handy app.
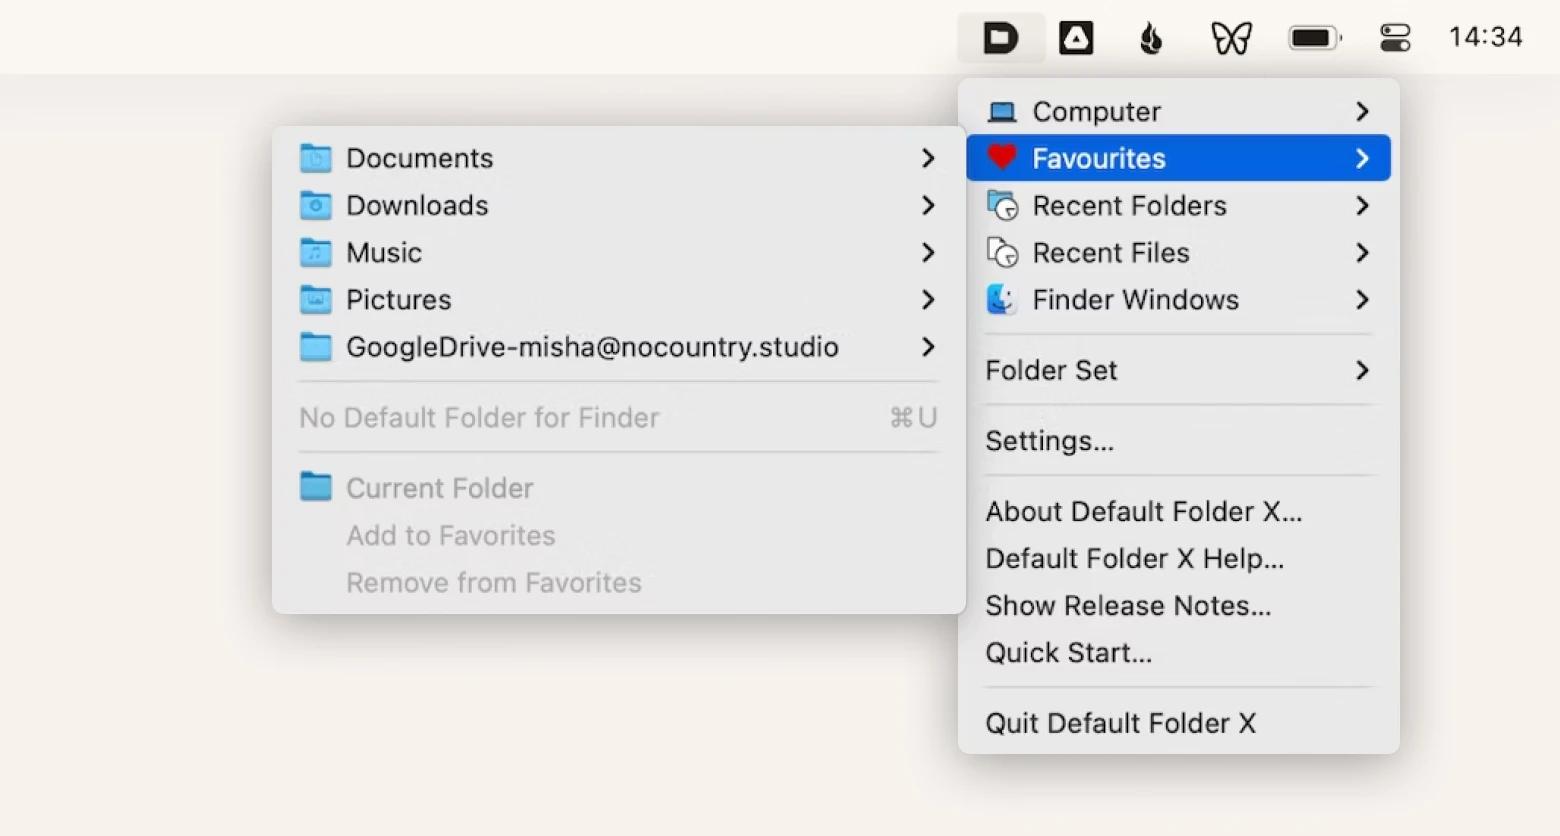
Default Folder X is an app that helps you access various locations on your Mac seamlessly from your menu bar. Just click the app's icon and navigate to folder locations in moments.
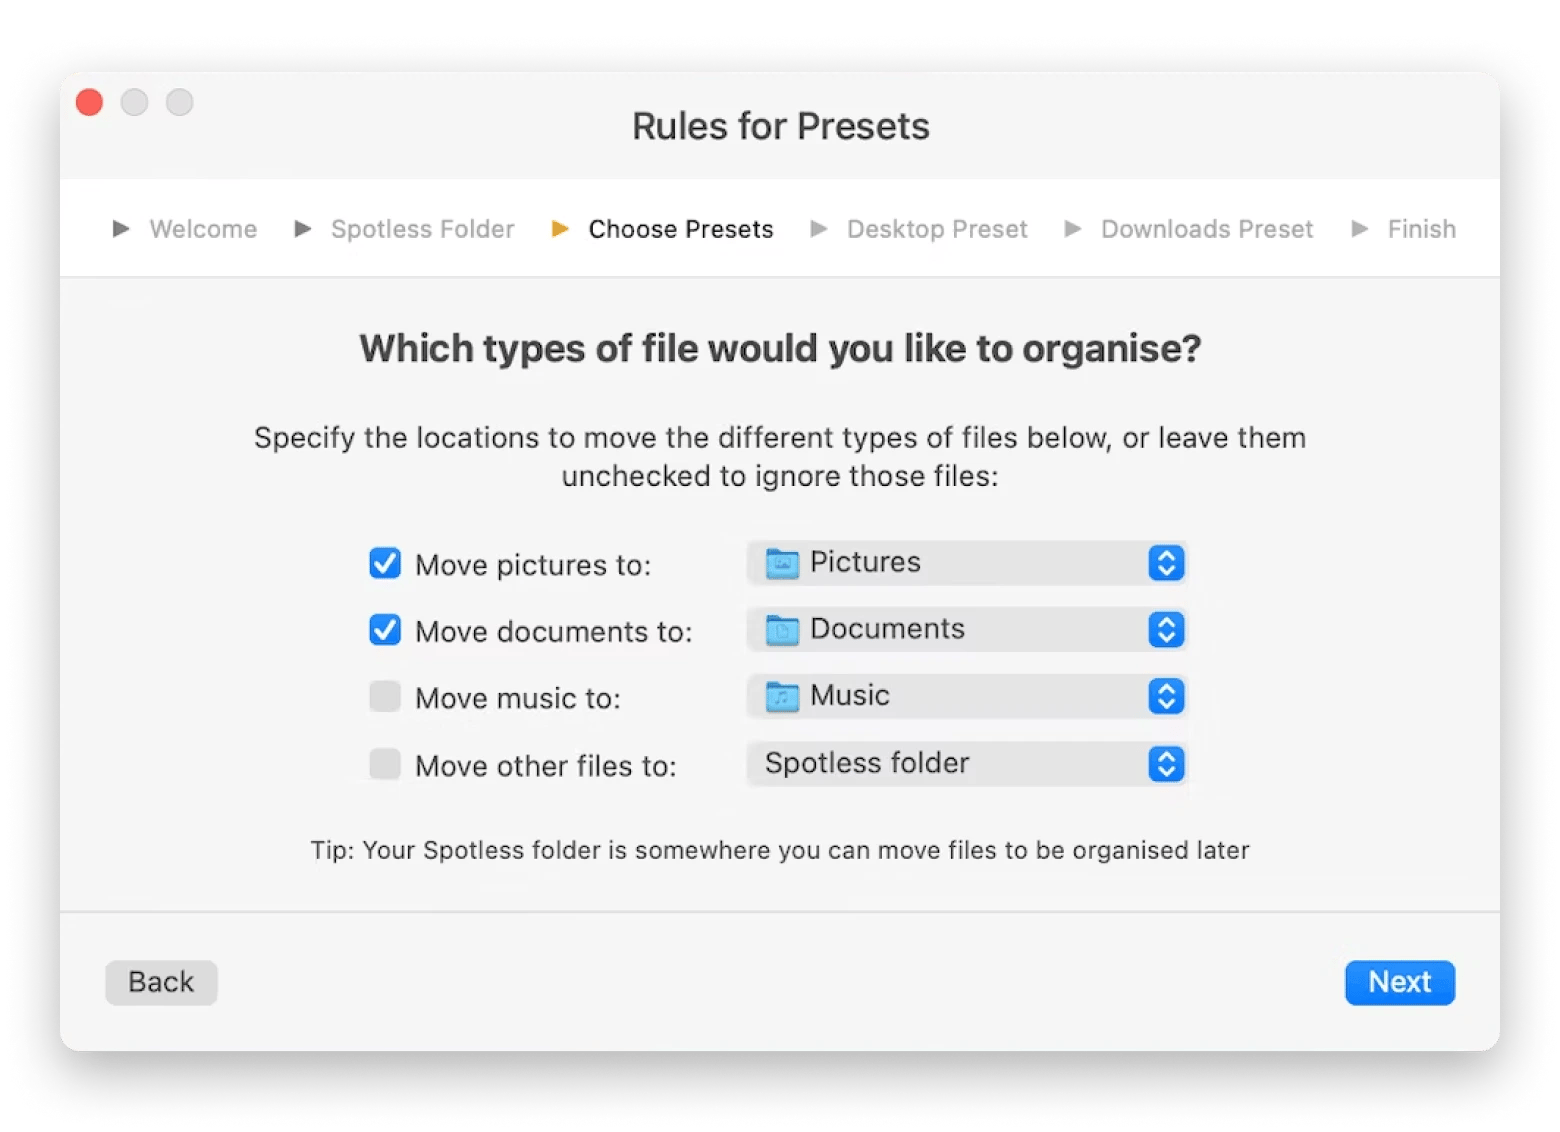
Want to save time organizing files on your desktop? Spotless is one tool we love for automatic tidying up. The app allows you to create customizable rules on how to sort your files. Just drag and drop a file or several onto the app and let it do all the work for you!
You can also create an automated schedule for your cleanups to happen at certain times.
To make your important files stand out, customize their icons.
Image2icon is the app for the task. Use it to turn an image into an icon and assign it to a file or folder. Simply drag and drop the image, customize your desired icon, and drag and drop your file or folder that you want to customize. You can also browse presents in the app for easy customization.
![]()
How to make folder on Mac: Final words
As you can see, there's more than one way to deal with the growing number of files and folders on your Mac. From filing your files into numerous folders and sorting them manually, to using third-party apps like Path Finder, Spotless, Default Folder X, Image2icon and Commander One to help you manage them.
Want to try the mentioned apps? The apps are available via Setapp, an app subscription to dozens of apps for Mac and iOS. You'll find tools for Mac maintenance and customization, security, monitoring battery and other device vitals, as well as tools for handling day-to-day tasks like brainstorming, design, coding, managing databases, writing, planning, working with email, and many more.
You can try the apps for free with Setapp's 7 day free trial.


