How to use TeamViewer on Mac – Complete guide
▼ Key Takeaways:
- TeamViewer makes remote access simple on Mac. Install the app, share your ID and password with a partner, and you're connected. It works across Mac, Windows, iOS, Android, and Linux—perfect for helping friends or accessing your files remotely.
- Use unattended access for anytime connections. Set up a personal password in TeamViewer's settings to connect to your Mac even when no one's there. Great for maintenance, updates, or working across time zones.
- Clean up properly when you're done. TeamViewer can leave behind configuration files after uninstalling. CleanMyMac finds and removes these leftovers automatically, so your Mac stays clutter-free.
- Check your connection before starting a session. A weak Wi-Fi signal can interrupt remote sessions. WiFi Explorer scans your network to show signal strength and helps troubleshoot issues before they become problems.
- Build a complete remote work setup with Setapp. From remote access to file sharing and VPN protection, Setapp combines tools like CleanMyMac, Dropshare, and ClearVPN — all working together. Try it free for 7 days.
TeamViewer has been a popular tool for remote access, file sharing, and tech support for over 20 years. Whether you’re helping a friend, working with a creative team, or accessing your files from another location, TeamViewer makes it easy to securely connect to another device.
In this guide, I’ll walk you through what TeamViewer is, how to get it set up on your Mac, and share some practical tips for using it effectively.
Need help sorting through productivity tool options? Try the Productivity tool finder GPT assistant. It asked a few questions about my workflow and suggested tools I hadn't considered, which saved me from downloading yet another app I'd never actually use.
How to download TeamViewer on Mac
To download TeamViewer on Mac, follow these steps:
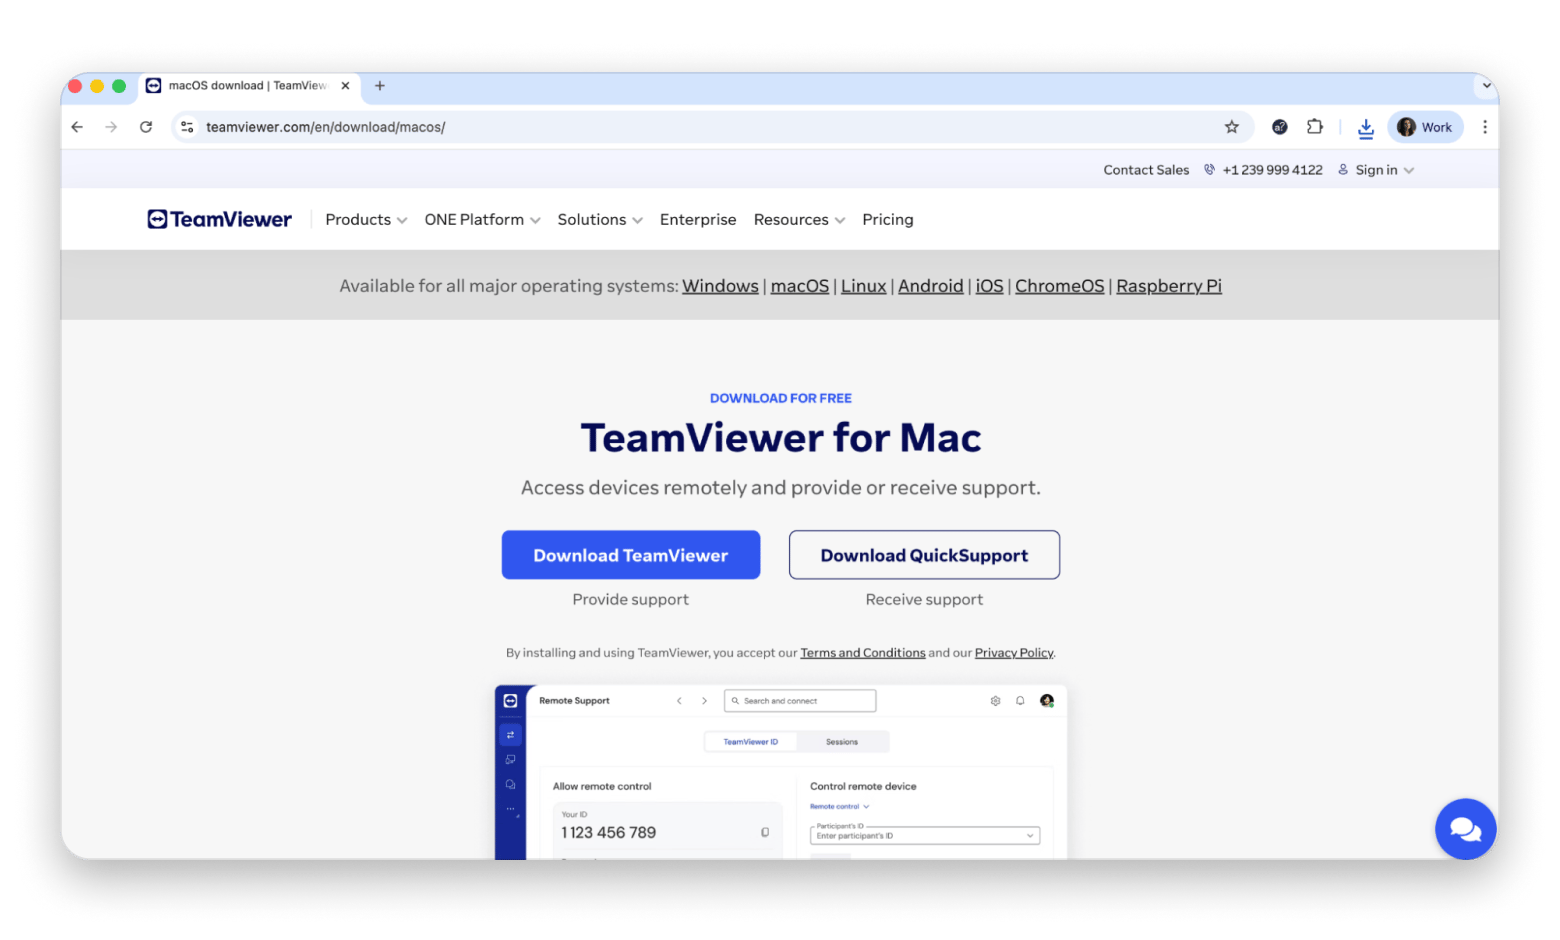
- Go to the TeamViewer website.
- Click Download TeamViewer.
- The installer is about 110 MB, so if you’re on a slower connection, it might take a few minutes. I always check my connection first to avoid any frustrating interruptions.
How to install TeamViewer on Mac
To install TeamViewer on your Mac:
- Open your Downloads folder and double-click the TeamViewer.dmg file.
- In the window that opens, double-click Install TeamViewer.
- If prompted, click Open to confirm you trust the source.
- Review and accept the license agreement.
- Click Install to begin. You’ll see the required storage space before proceeding.
- Wait for the installation to finish. This usually takes less than a minute.
How to uninstall TeamViewer on Mac
If you only need TeamViewer for one-time help, like showing someone how to use FaceTime, you’ll want to uninstall it afterward. There are 2 options on how to uninstall TeamViewer on Mac:
- Uninstall via Finder
- Uninstall from within the TeamViewer app
Option 1: Uninstall via Finder
- Quit TeamViewer (right-click the app icon in the Dock and select Quit).
- Go to Finder > Applications.
- Drag the TeamViewer icon to the Trash.
- You may be prompted for your password or fingerprint to confirm.
- Empty the Trash to complete removal.
Option 2: Uninstall from within TeamViewer
- Open TeamViewer.
- Go to TeamViewer > Settings.
- In the pop-up, click Advanced and scroll down to the Uninstall button.
- Optionally, select to delete configuration files.
- Click Uninstall and confirm your choice.
Remove leftover files with CleanMyMac
Traditional uninstalling sometimes leaves files behind on your disk. Tools like CleanMyMac can help you remove leftover files with one click.
To remove leftovers:
- Install and open CleanMyMac.
- Click Applications > Scan.
- Click Manage My Applications > Leftovers.
- Find TeamViewer leftovers. Select and click Remove.
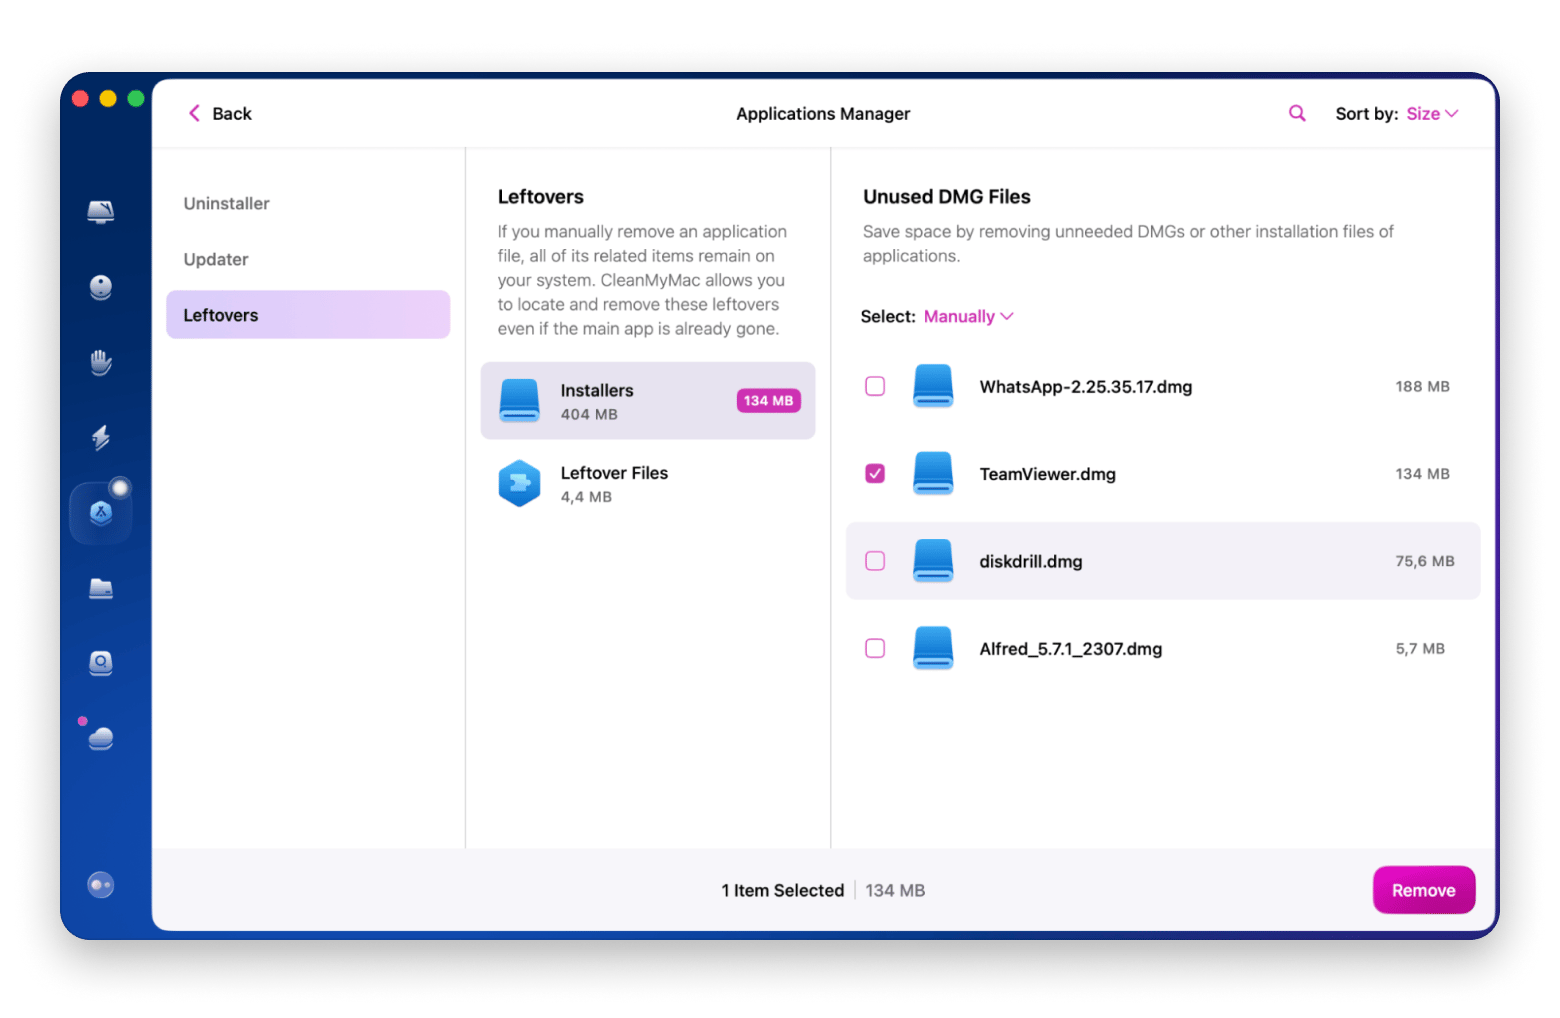
There’s also the Uninstaller tab here, which lets you uninstall apps directly from the app. So, I usually use this method because I can remove everything connected to the app I no longer need to reclaim space.
Using TeamViewer on Mac
Using TeamViewer on Mac is pretty easy, and it allows you to do the following:
- Remote device control: Work on another computer as if you’re using it directly. Set up apps, manage files, and offer tech support.
- Cross-platform access: Connect between Mac, Windows, iOS, Android, Linux, and ChromeOS devices.
- File sharing: Send files securely, even large ones, with end-to-end encryption.
- Secure unattended access: Set up remote access to devices even when no one is there.
- Remote printing: Print documents from a remote computer to your local printer.
Next, let me show you how each feature works in detail.
Using remote device control
To control the device remotely:
- Install and open TeamViewer on both devices (your Mac and the remote device).
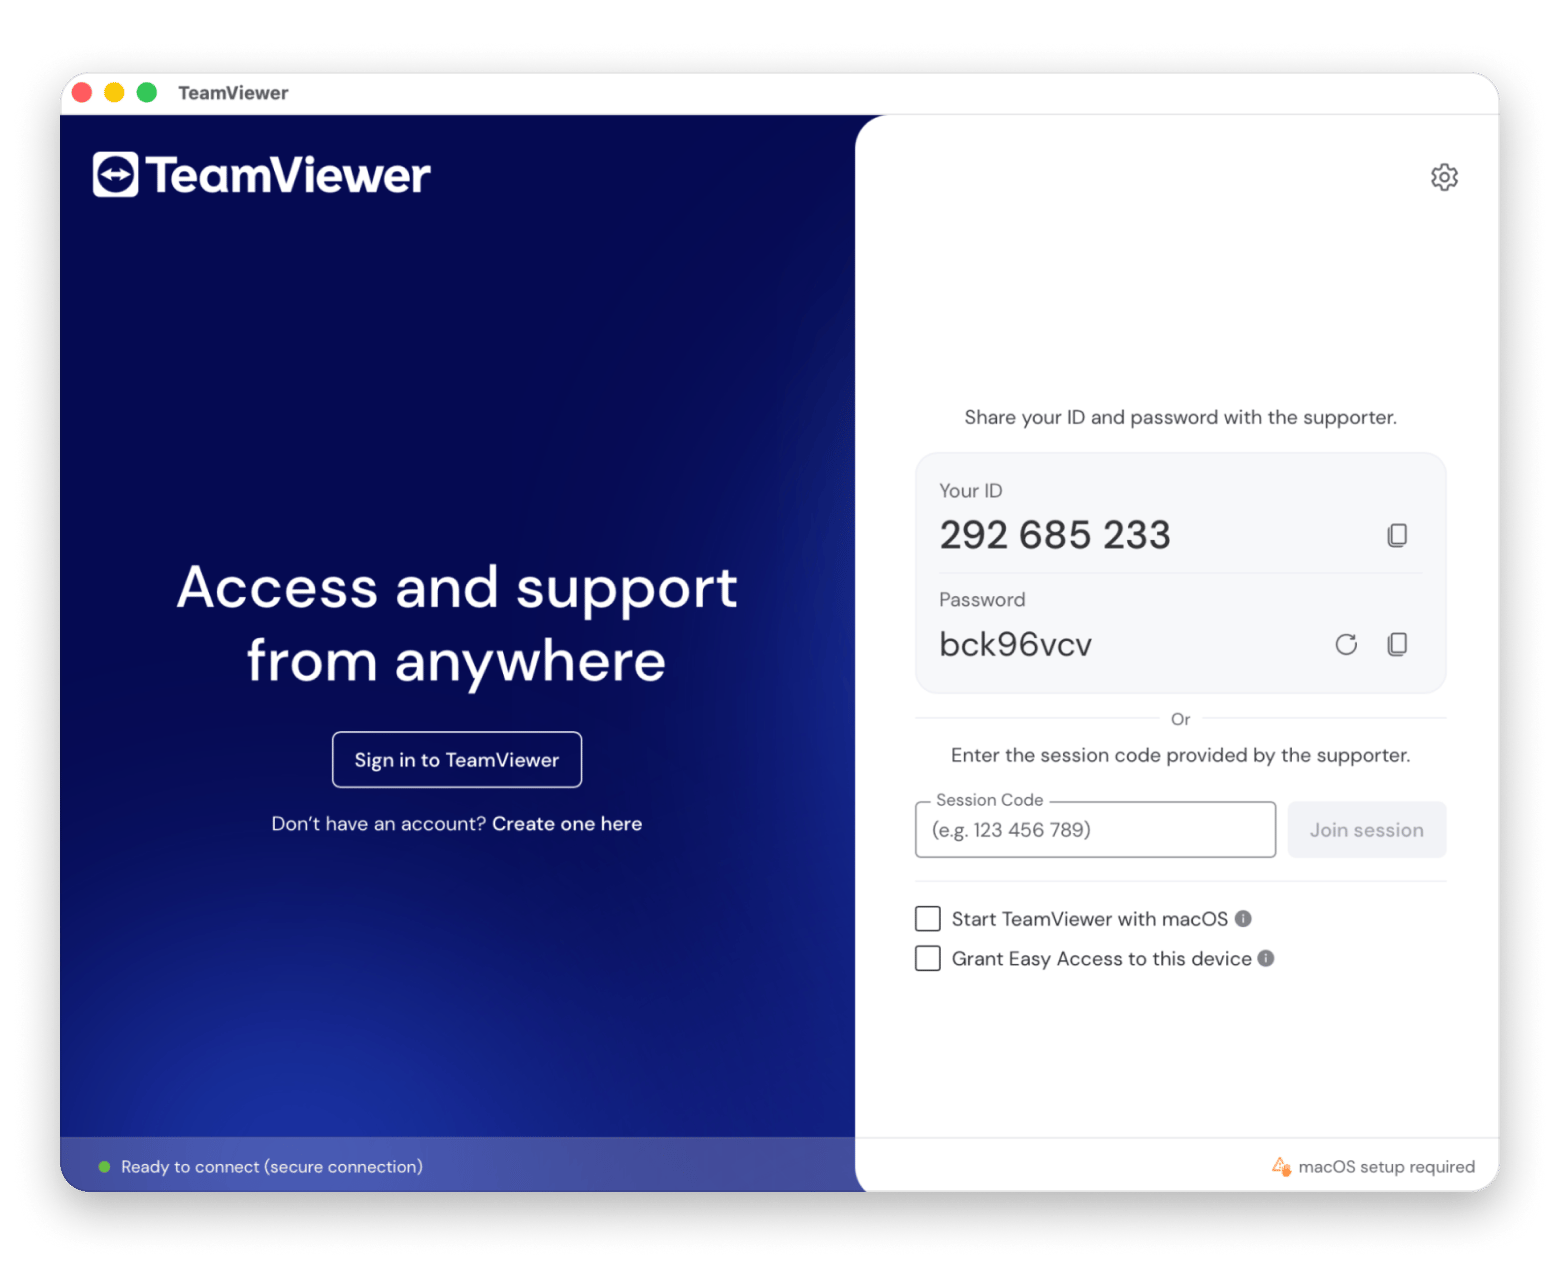
- On the remote device, open TeamViewer and note its ID and password shown under “Allow Remote Control”.
- On your Mac, in TeamViewer, go to the Remote Control section and enter the partner’s TeamViewer ID in the field under “Control Remote Computer”, then click Connect.
- Enter the password from the remote device and confirm.
- Once connected, you can control the remote device (or choose a different mode like File Transfer, depending on the TeamViewer version and settings).
Also, check out the best ways to remotely access and control your Mac.
Cross-platform access
You can connect from your Mac to devices running Windows, Linux, Android, or iOS. This is helpful if you need to access files or offer support across different systems.
Use TeamViewer as a VPN alternative
TeamViewer offers a VPN alternative, but this feature is currently only available on Windows devices. You’ll need to install the VPN driver on both computers for it to work.
Check out the comparison of the best VPNs for Mac.
Secure unattended access
Unattended access lets you connect to a device without someone on the other end. This is useful for maintenance, after-hours updates, or helping someone in a different time zone.
Top alternatives to TeamViewer
If TeamViewer doesn’t quite fit your needs, there are other options worth considering:
Splashtop allows remote access for personal, business, and IT support. Create an account, install the app on your devices, and manage them from your online dashboard.

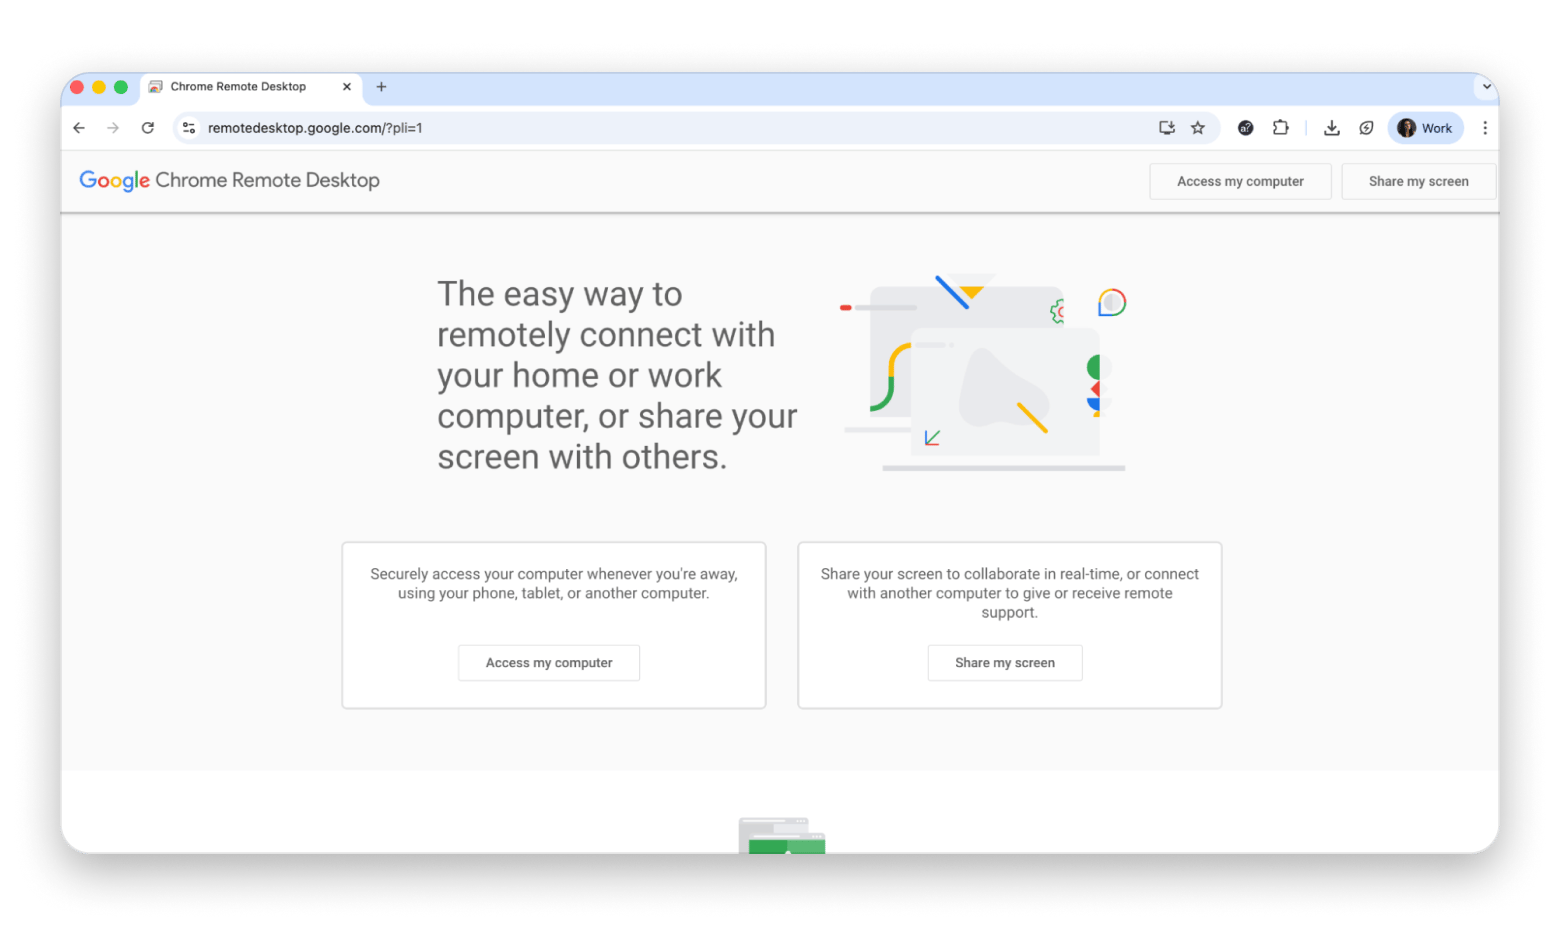
Chrome Remote Desktop is a free tool from Google. Access your computer or share your screen with others using the Chrome browser. For full remote control, you’ll need to install the Chrome Remote Desktop Host software.
LogMeIn Pro provides remote control, 1TB of cloud storage, remote printing, and antivirus protection. Create an account, download the installer, and start connecting.

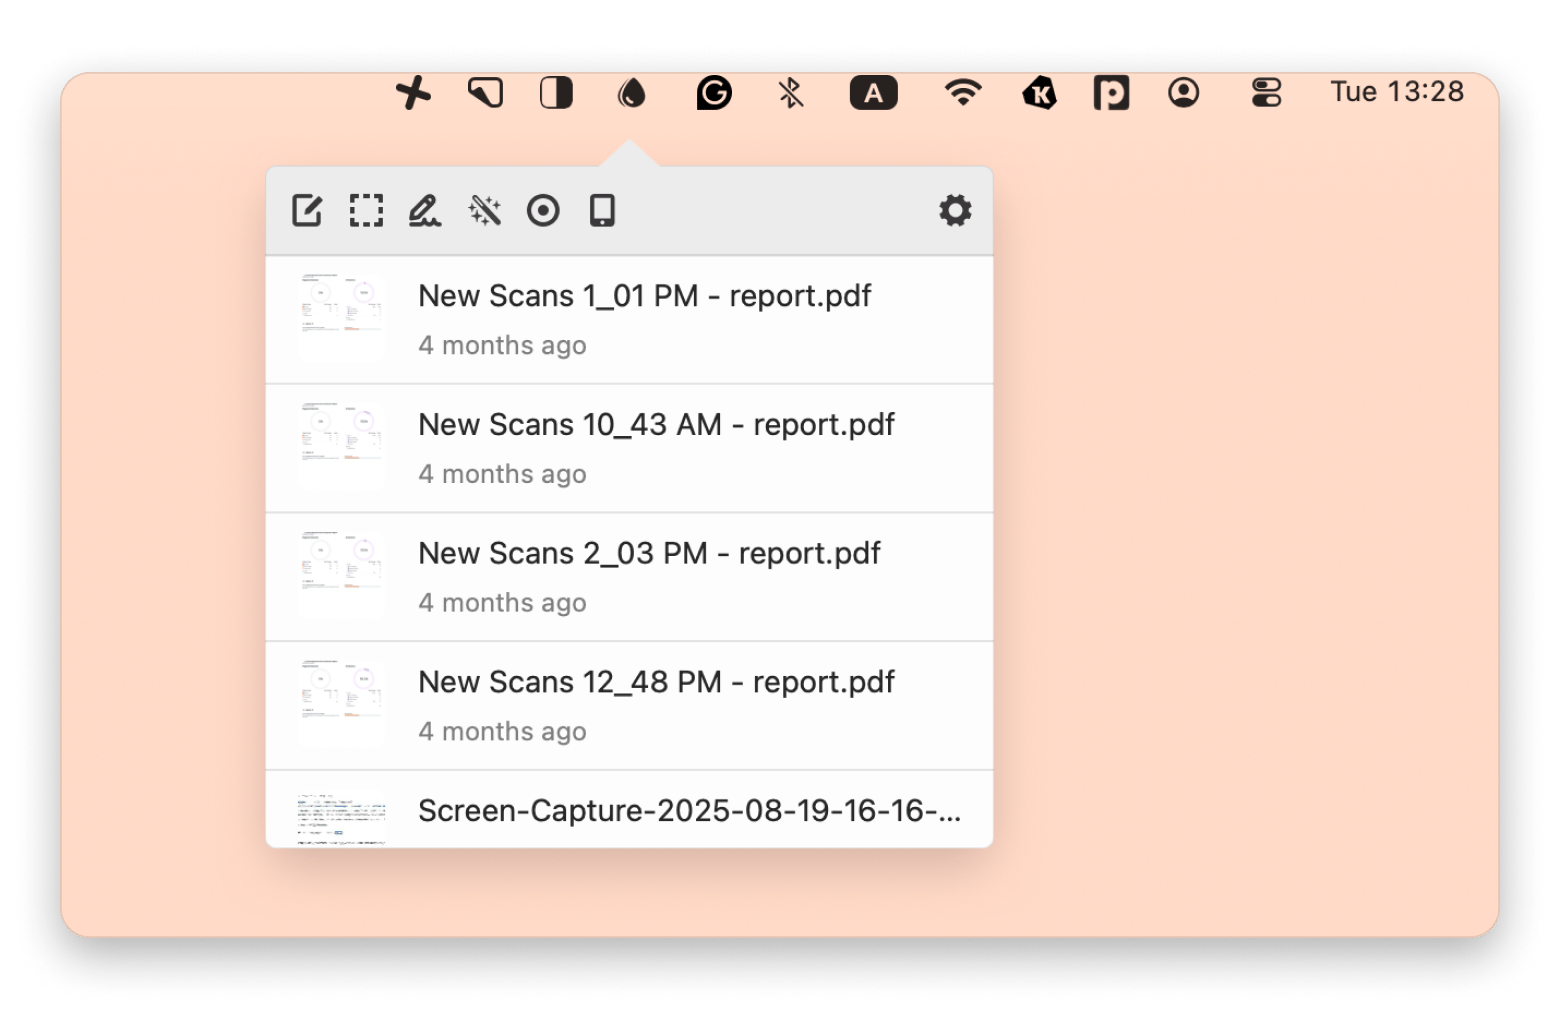
If you’re mainly interested in secure file sharing, Dropshare is a handy drag-and-drop tool for Mac.
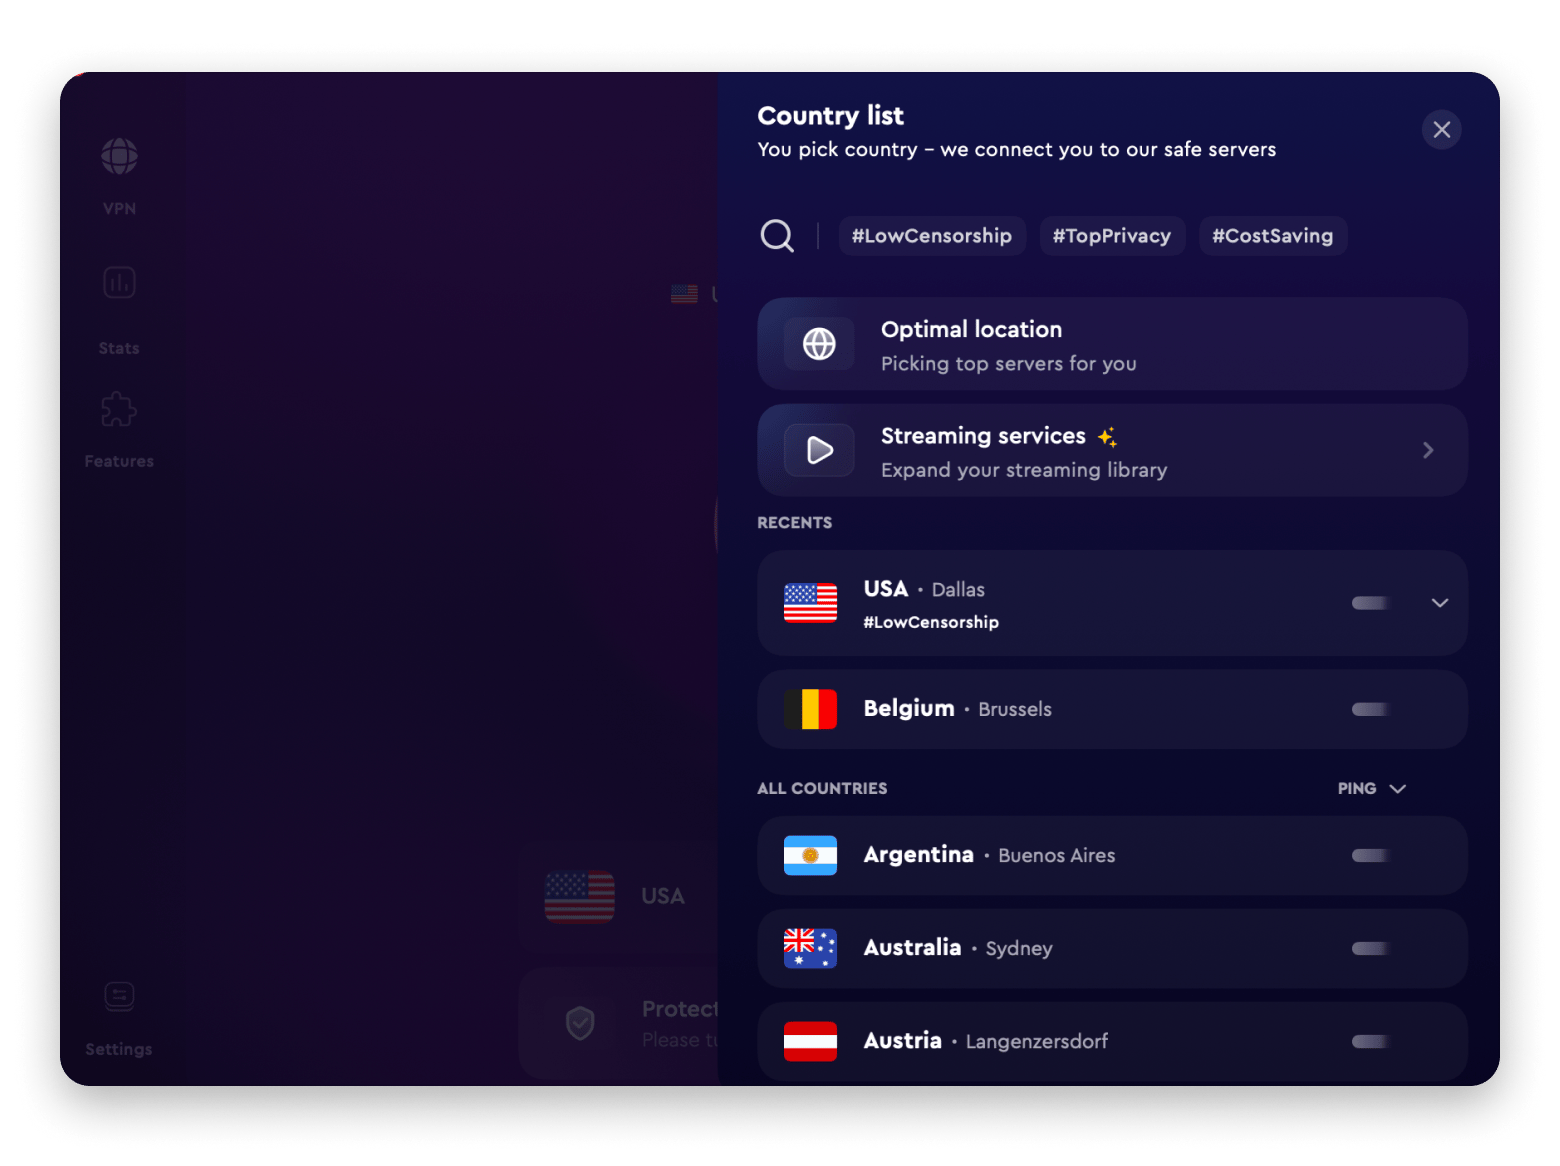
For VPN needs, ClearVPN offers simple, secure connections and lets you change your virtual location.
What is TeamViewer for Mac?
TeamViewer is software that lets you control another computer remotely, share files, and even offer tech support without being in the same room. It’s perfect when you need someone to help you with a task or set up something on your computer — like when you’re stuck installing an app or can’t figure out why something isn’t working.
TeamViewer is free for personal use and requires a license for commercial or business use. The app supports cross-platform connections between macOS, iOS, Windows, Linux, Android, and ChromeOS devices. For more details, see theofficial TeamViewer features page.
Fact check: TeamViewer reports over 2.5 billion device installations as of 2024.
Final words on how to use TeamViewer and its alternatives
TeamViewer makes remote access straightforward, whether you're helping someone troubleshoot or accessing your own files from another location. And if you need complementary tools, Setapp has you covered:
- WiFi Explorer helps ensure your connection is solid before you start a session.
- CleanMyMac removes leftover files when you're done.
- Dropshare handles quick file sharing.
- ClearVPN secures your connection when you're working remotely.
Try these apps on Setapp for 7 days free to build a complete remote work setup (including 250+ other Mac and iOS apps) that actually works together.
FAQ
How do I use TeamViewer for Mac?
To use TeamViewer on a Mac:
- Download and install TeamViewer from the official website.
- Open TeamViewer on your Mac.
- Share your TeamViewer ID and password with the person you want to connect with, or enter their ID to connect to their device.
- Choose your connection mode (Remote Control or File Transfer).
- Enter the password when prompted.
- You’re now connected! You can control the remote device, transfer files, or offer support.
To set up unattended access, configure a personal password in TeamViewer’s preferences so you can connect without needing someone on the other side.
Is TeamViewer free for personal use on Mac?
Yes, TeamViewer is free for personal, non-commercial use on Mac. If you plan to use it for business or professional purposes, you’ll need a paid license. For details, see the TeamViewer licensing FAQ.
How do I set up unattended access with TeamViewer on my Mac?
To set up unattended access with TeamViewer on my Mac:
- On the remote Mac, open TeamViewer and sign in with your TeamViewer account.
- Assign the Mac to your account (e.g., “Assign to account” / “Manage this device”) and, if desired, set a personal password under Settings > Security.
- From your other device, sign in with the same account, pick the Mac from your device list, and click Connect for unattended access.
Can I control my iPhone or Android phone from a Mac with TeamViewer?
Yes, you can control or view mobile devices using TeamViewer QuickSupport:
For iOS:
- Install TeamViewer QuickSupport on your iPhone/iPad.
- Open the app and share the ID with your Mac.
- Open TeamViewer on your Mac and enter the mobile device’s ID.
For Android:
- Install TeamViewer QuickSupport on your Android device.
- Follow the same steps as above.
Note: Some features (like full remote control) may be limited on iOS due to Apple’s security restrictions.


