How to test VPN connections and fix any issues
All VPN claims to hide your IP address and provide a secure connection. But not all VPNs can live up to their promise.
As a precaution, I always check if my VPN is securely connected before doing anything else online. If you suspect there’s something wrong with your VPN, quickly perform a VPN check.
Otherwise, anyone intentionally snooping on you can locate your IP address. Or worse, intercept your data and see what you’re browsing online. Let’s find out whether your VPN is working properly or not.
Is my VPN always on?
But is my VPN working?
Now, that’s an interesting question. Don’t assume that the VPN is masking your IP address. If your VPN is not working right, you could be seen even if the app says you’re protected. To be safe, test the VPN to make sure it does not show your IP address, slow your device, or install bad software on your Mac. Do this, especially when you use the VPN for the first time.
So, better to use a VPN that can auto-connect, such as ClearVPN. I’ve been using ClearVPN on my Mac to stop hackers, advertisers, and my internet service provider (ISP) from snooping.
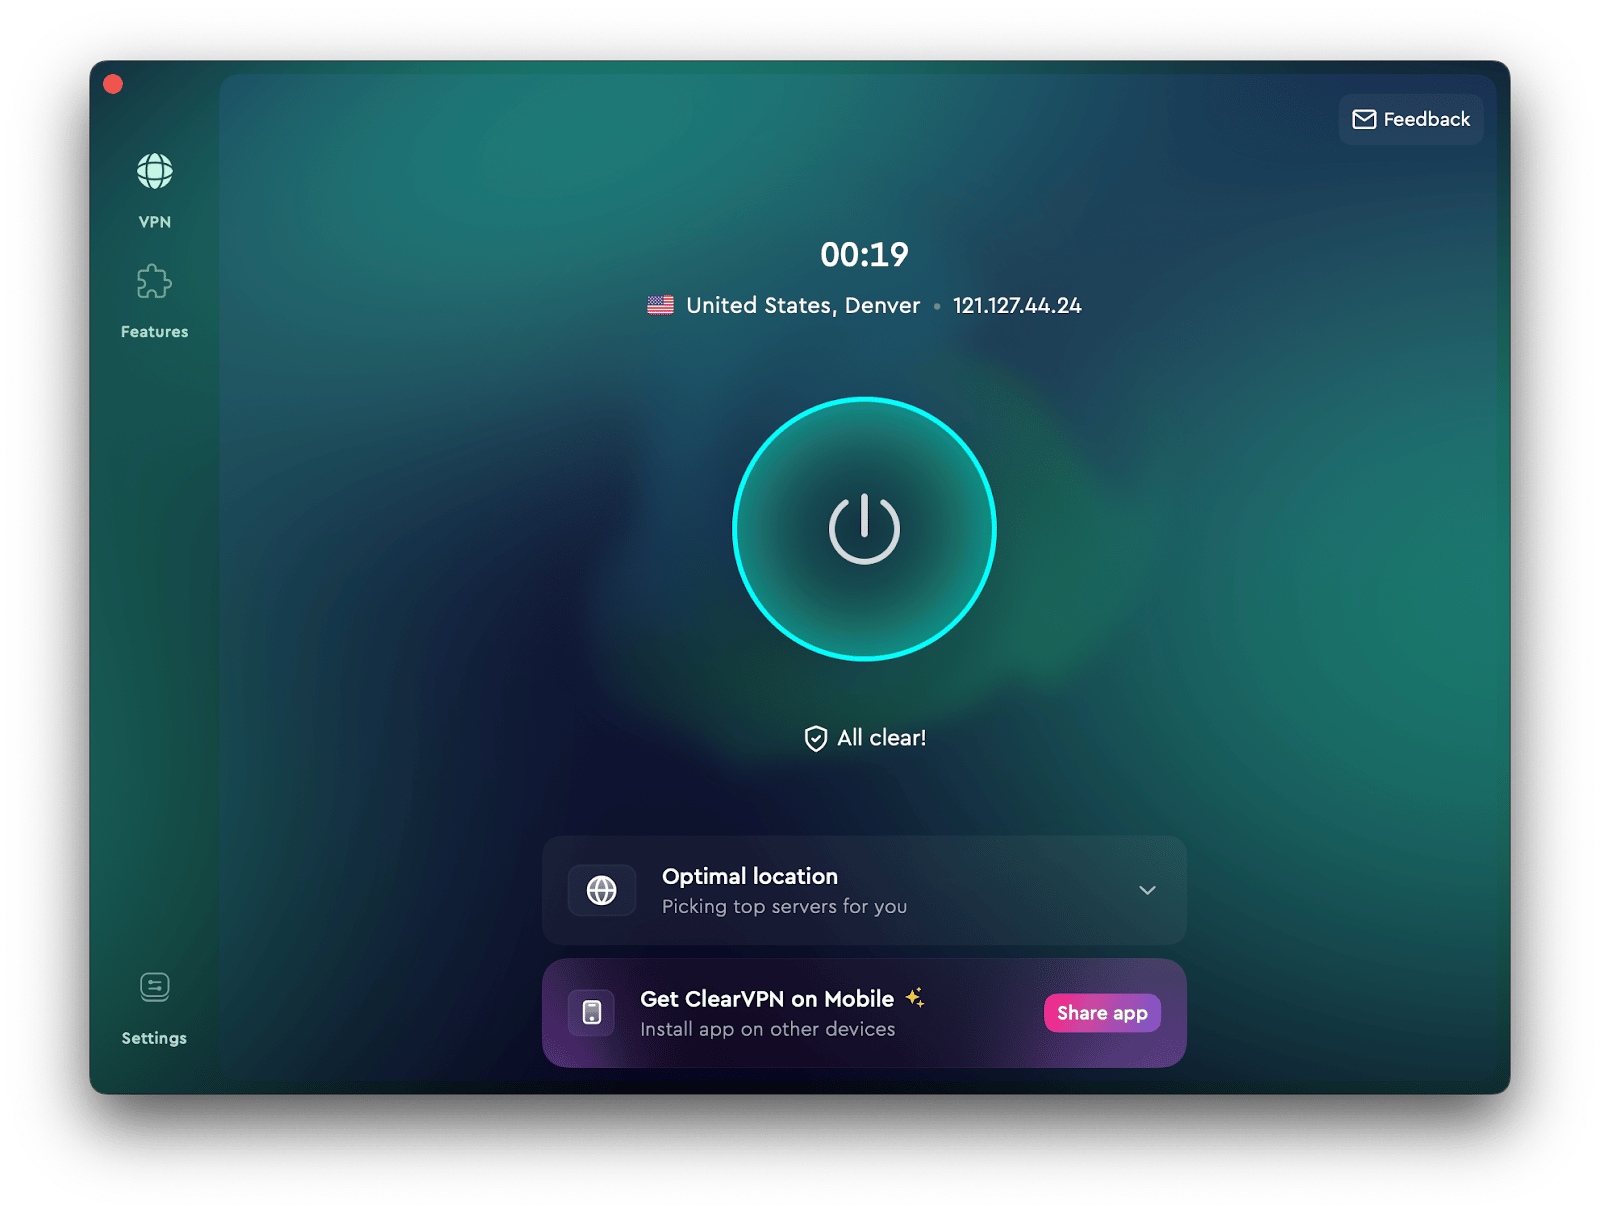
Call me obsessive, but that’s where I stand with privacy. Nowadays, all I have to do is open the app and tap the Connect button. Once ClearVPN connects to a server, it will remember that connection. The next time I start up my Mac or wake it up from sleep, ClearVPN will automatically reconnect to the same server. So easy!
Why is my VPN not working?
Even though using some VPNs right now seems to be as easy as clicking a button, there’s a lot of advanced technology that supports their work under the hood. That is to say, there’s a lot that can go wrong when you find your VPN not connecting properly.
For example, here are just some of the reasons that should make you ask yourself “Is my VPN working?” and do a VPN check accordingly:
- Slow internet speed
- Slow VPN protocol
- Slow TCP (transmission control protocol)
- Slow internet ports
- Slow DNS server
- Overly active antivirus software
- Frequently crashing VPN app
The challenge is that whether your VPN is working or not, you might still have internet connection and thus not even notice that something has changed.
A good indicator of a poorly functioning VPN is IP, DNS, or WebRTC leaking. So conducting a VPN leak test is where you should start.
How to test VPN for leaks
A VPN leak can give away your IP, DNS address, or both. Your IP (Internet Protocol) address shows where your device is located. And a DNS (Domain Name System) address works like an IP address, but it goes to your ISP’s server, which can also show your device’s IP address. To know if your VPN is giving away your IP address, run these VPN leak tests.
Check for IP leak
When you use a VPN, your device's real IP address is supposed to be hidden from others.
Here's how to verify it:
- Turn off VPN.
- Go to ipleak.net or whatismyipaddress.com.
- Note down the IP address. It should reflect the city you're residing in.
- Connect to a VPN server.
- Refresh the IP detector page.
- Compare the new IP address with your original one.
Your new IP address is given by the VPN server. Hence, it shouldn't be the same as your original IP. Otherwise, you're experiencing an IP leak.
Check for DNS leak
Keep in mind even if you pass the IP test, you must still check your VPN for DNS leaks.
Here’s how:
- Connect to a VPN server.
- Go to BrowserLeaks.com. Under More Tools, click DNS Leak Test.
- Wait for the tool to run the test. Check the server’s IP address and location in the results.
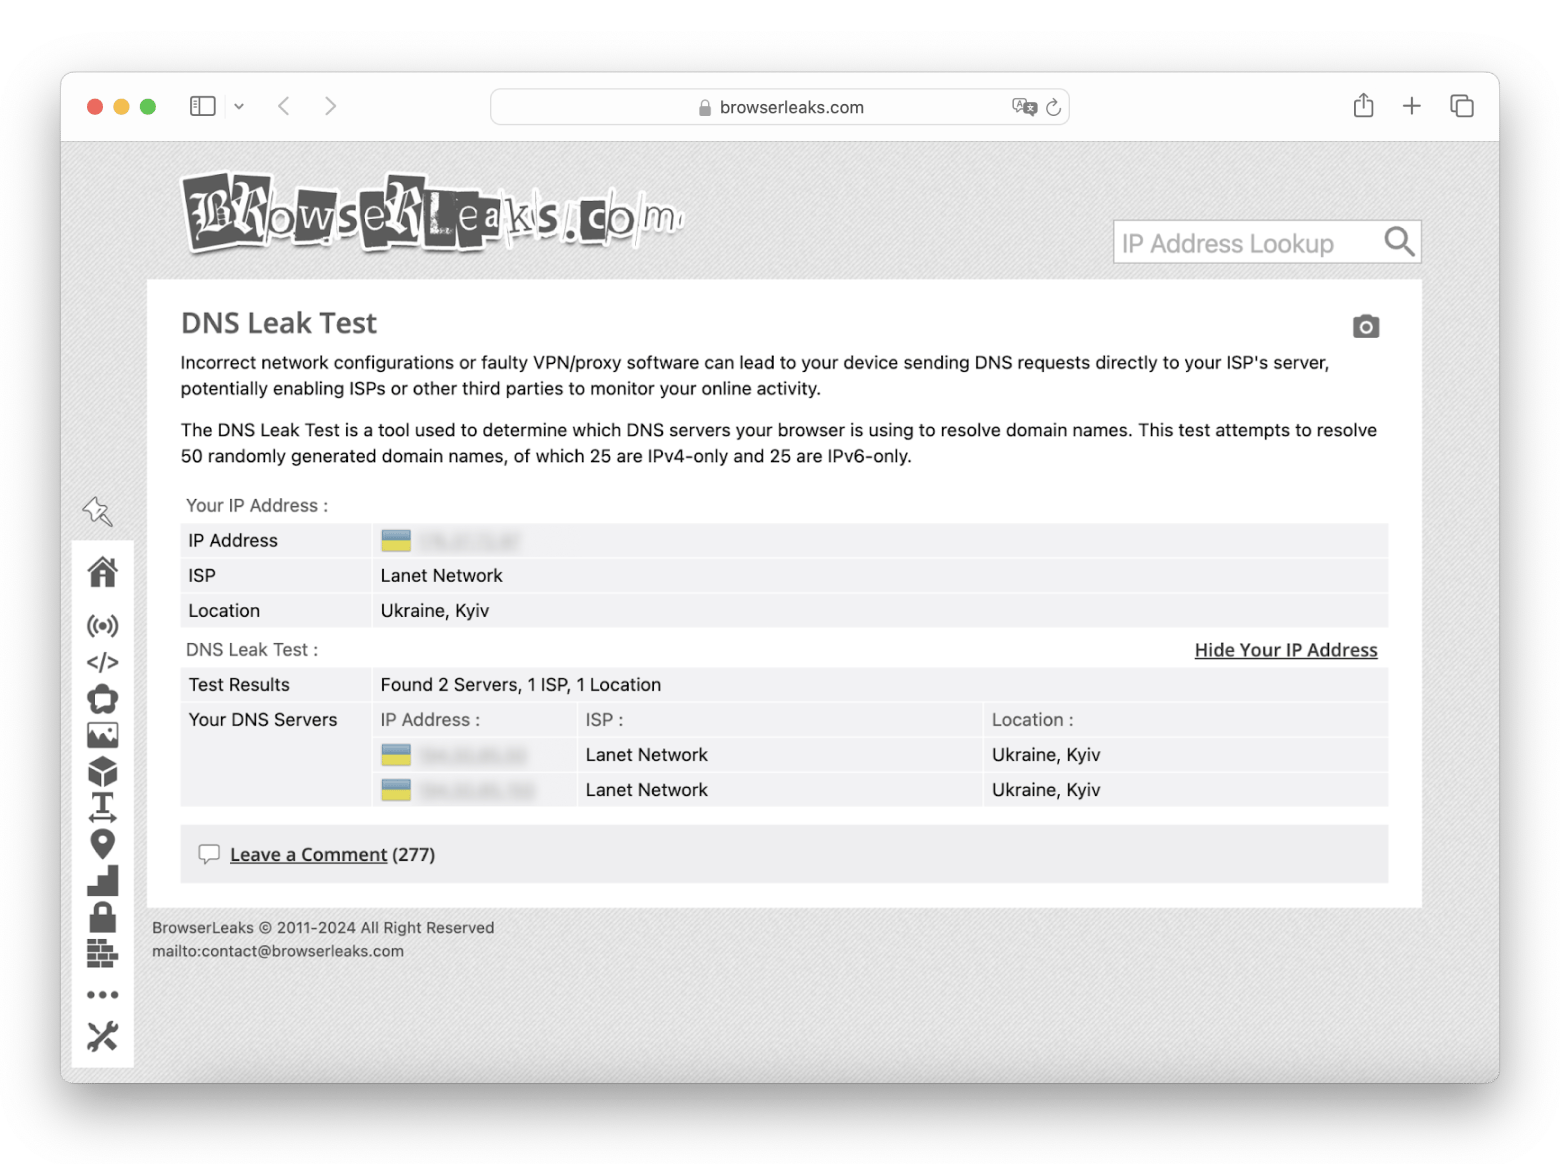
If any of the DNS servers listed belong to your ISP, your VPN suffers from a DNS leak.
Check for WebRTC leak
WebRTC is a protocol that lets browsers talk straight to each other to share files or make video calls. When this happens, your browser shows its IP address, but a good VPN will hide it.
A simple test can reveal if WebRTC is giving away your IP address, even with the VPN turned on.
To do that:
- Turn the VPN on.
- Go to Browserleaks.com and click WebRTC Leak Test.
- Wait for the results.
If you use a good VPN, you should pass the test. Otherwise, you need to fix WebRTC leaks. One way is to turn it off on your browser, but I doubt that's a good idea.
If you shut off WebRTC, you can't use video call apps like Zoom. Instead, use a VPN that doesn't have such issues. Here's a list of the best VPNs for Mac to try.
Run a VPN kill switch test
A kill switch automatically disconnects your internet if the VPN connection drops. It prevents your IP address from being exposed before the VPN reconnects again. A delay, even the slightest, allows others to see your IP address.
Performing a kill switch test is complex. To do that, you’ll need to simulate a VPN drop without cutting off the internet connection and detect any changes in the IP address.
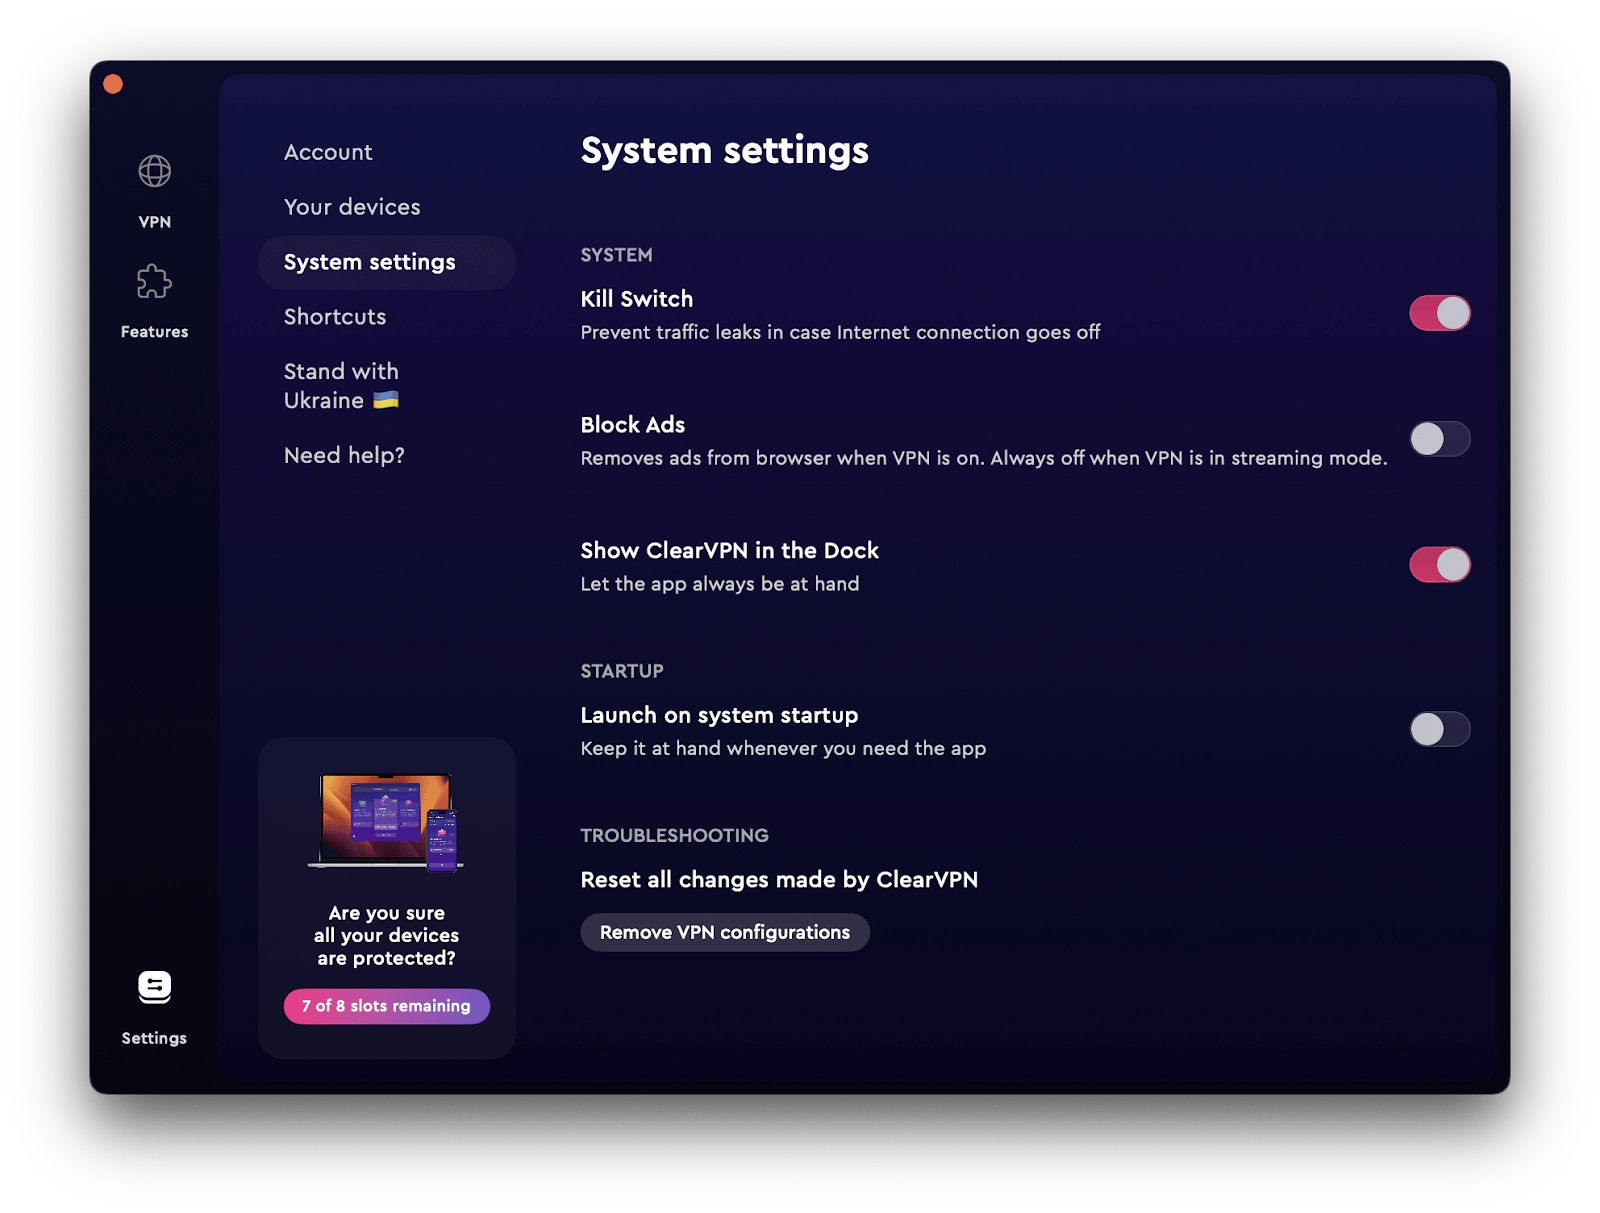
Fortunately, ClearVPN has the Kill Switch feature already installed, so you can use it for the test, but before starting it, check your current IP address.
Here’s how to do it:
- Install and open ClearVPN > Click Connect
- Click Settings > System Settings.
- Turn on Kill Switch.
- Simulate VPN drop by disconnecting the tool manually.
- Check your IP address again to see if your real IP address is exposed.
How to fix VPN not connecting properly
If your VPN is not connecting, don’t panic. Try these methods and see if you can get it to work properly again.
Restart the VPN app
At times, a glitch in the VPN app is to blame. Your VPN might refuse to connect or behave weirdly. If this happens, close the app, then open it again. After that, try to connect to the VPN server once more.
Check your Wi-Fi network
If you're offline, your VPN won't function. Similarly, if you're experiencing Wi-Fi issues like a weak signal, you might encounter the same problem. I remember a time when I was traveling and kept having trouble with my VPN disconnecting all the time (pretty annoying). It turned out my Wi-Fi was weak, and that's why my VPN kept disconnecting. To address these kinds of problems, I started using WiFi Signal to diagnose and fix VPN not connecting issues. The app keeps track of your Wi-Fi signal in real-time and displays a convenient graph, which you can access instantly by clicking the icon in the menu bar.
Here's how it works:
- Install and open WiFi Signal.
- Click the app icon at the top menu bar.
- Check the Signal Quality.
Make sure that you get a good signal before you continue troubleshooting.
Check your Mac’s firewall
If your firewall is on, it might block the VPN from connecting to its server. To check, go to System Settings > Network > Firewall. Then, turn off the firewall and test the VPN connection again.
If it works, then the firewall is the problem. You can turn off it for a while to use the VPN, but this puts your device at risk. If you’re worried, check out this guide for more ways to secure your Wi-Fi.
Check your VPN’s split tunneling configuration
Some VPN offers split tunneling. This means you can skip some apps from linking to the VPN. If you don’t set it up right, you may think the VPN is off when you use some apps.
Here’s how to check it:
Launch your VPN.
Look for an option called Split Tunneling or similar. Not all VPNs offer this feature.
Check excluded apps.
Open the excluded app and check your IP address. If the app isn’t using the VPN, it will display your actual IP.
Turn on Split Tunneling for specific apps if you want to cover them.
Phew, now you can relax knowing there are no split tunneling issues on your end.
Test your VPN for malware
I hate to say this, but some VPNs carry malware, especially unknown VPNs offered for free. Instead of protecting your privacy, these rouge VPNs end up compromising it. So, if you install one of them, chances are, your device might be infected. It’s prudent to scan the VPN installer for malware before installing it.
Here’s how:
- Go to VirusTotal.com, a free online virus scanner.
- Click Choose file and upload the VPN installer.
- Check the result.
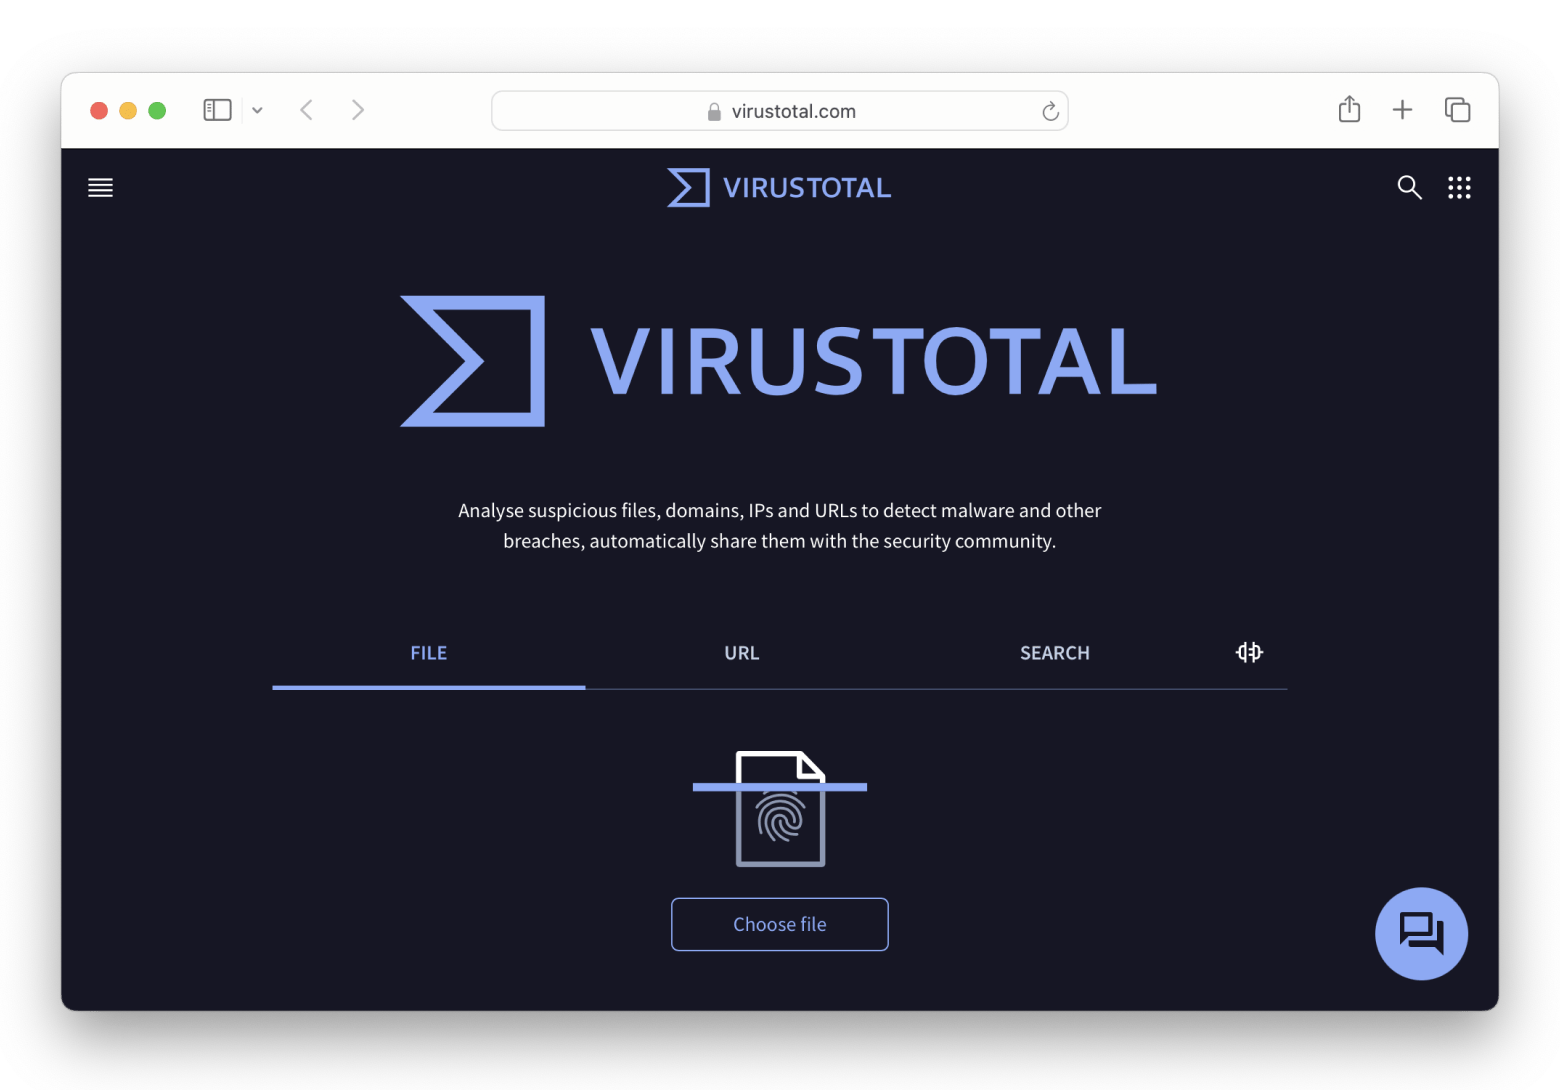
If a VPN contains malware, it’ll be picked up by some of the antivirus engines that VirustTotal uses.
Now, the steps I described are only useful before you install the VPN. If you start experiencing weird stuff after installation, run a scan with CleanMyMac.
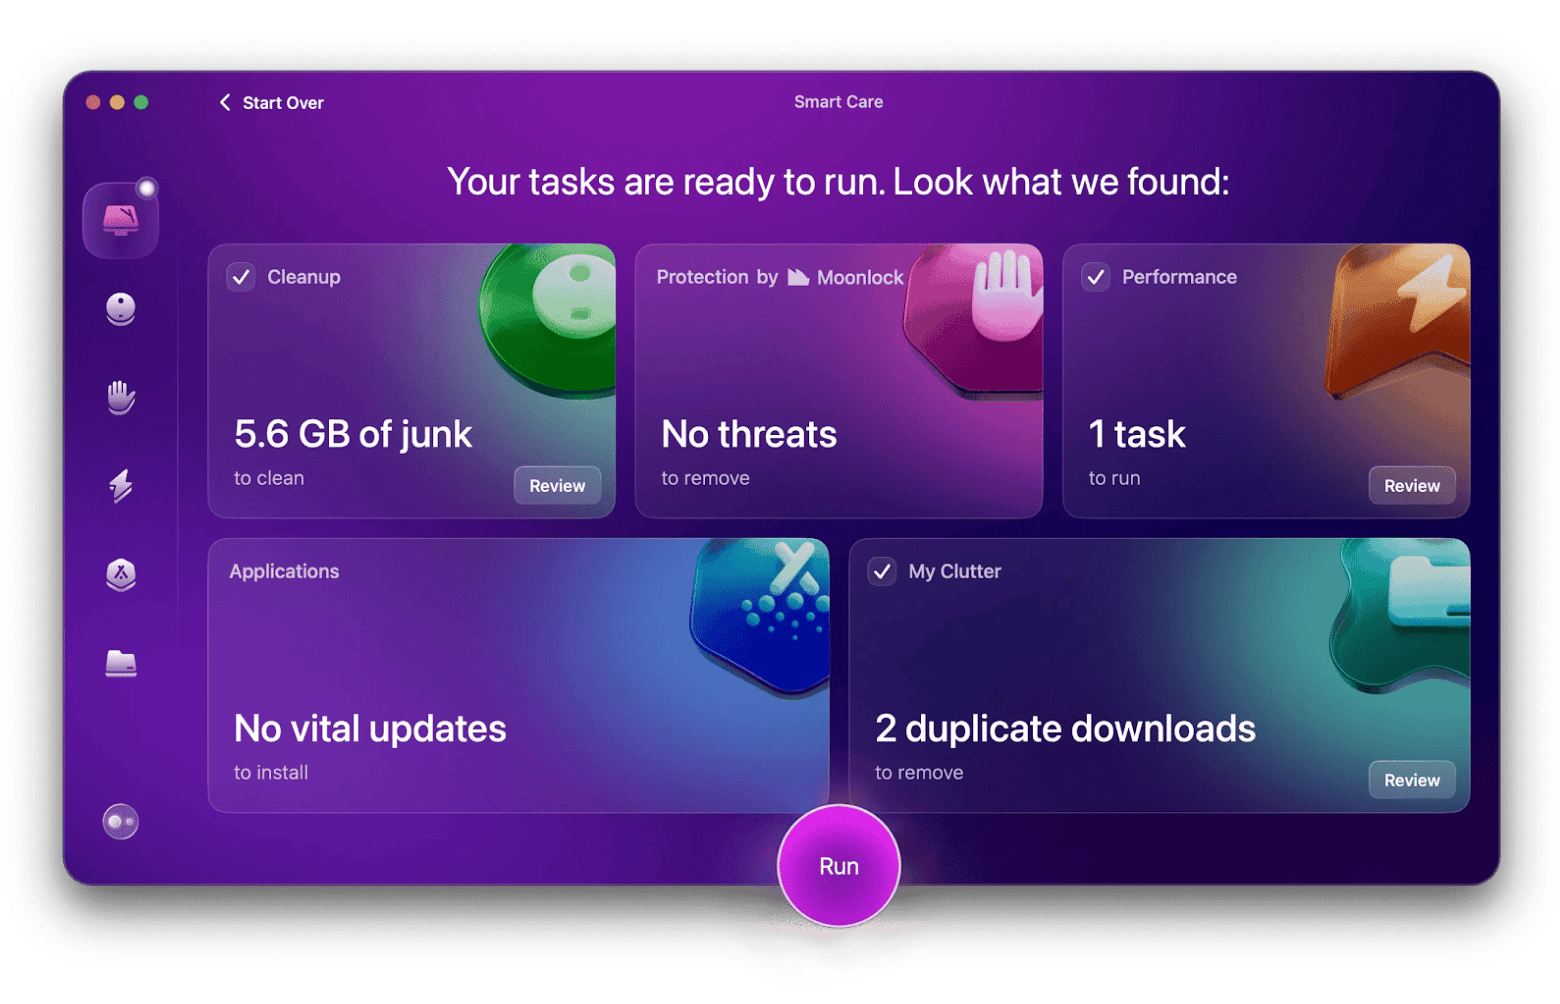
This tool lets you check your whole Mac for malware, whether it came from the VPN or other sites. And that’s not all. CleanMyMac will also get rid of any malware it finds!
Test your VPN speed
Many VPNs promise blazing-fast connection speed. But not all deliver. If you suspect your VPN is causing lags when streaming HD or playing a first-person shooter (FPS) game, do a speed test. Here’s how:
- Turn off your VPN.
- Go to Speedtest.net > Click Go.
- Note down the download and upload rate.
- Connect to a VPN server.
- Refresh the Speedtest page and run the test again.
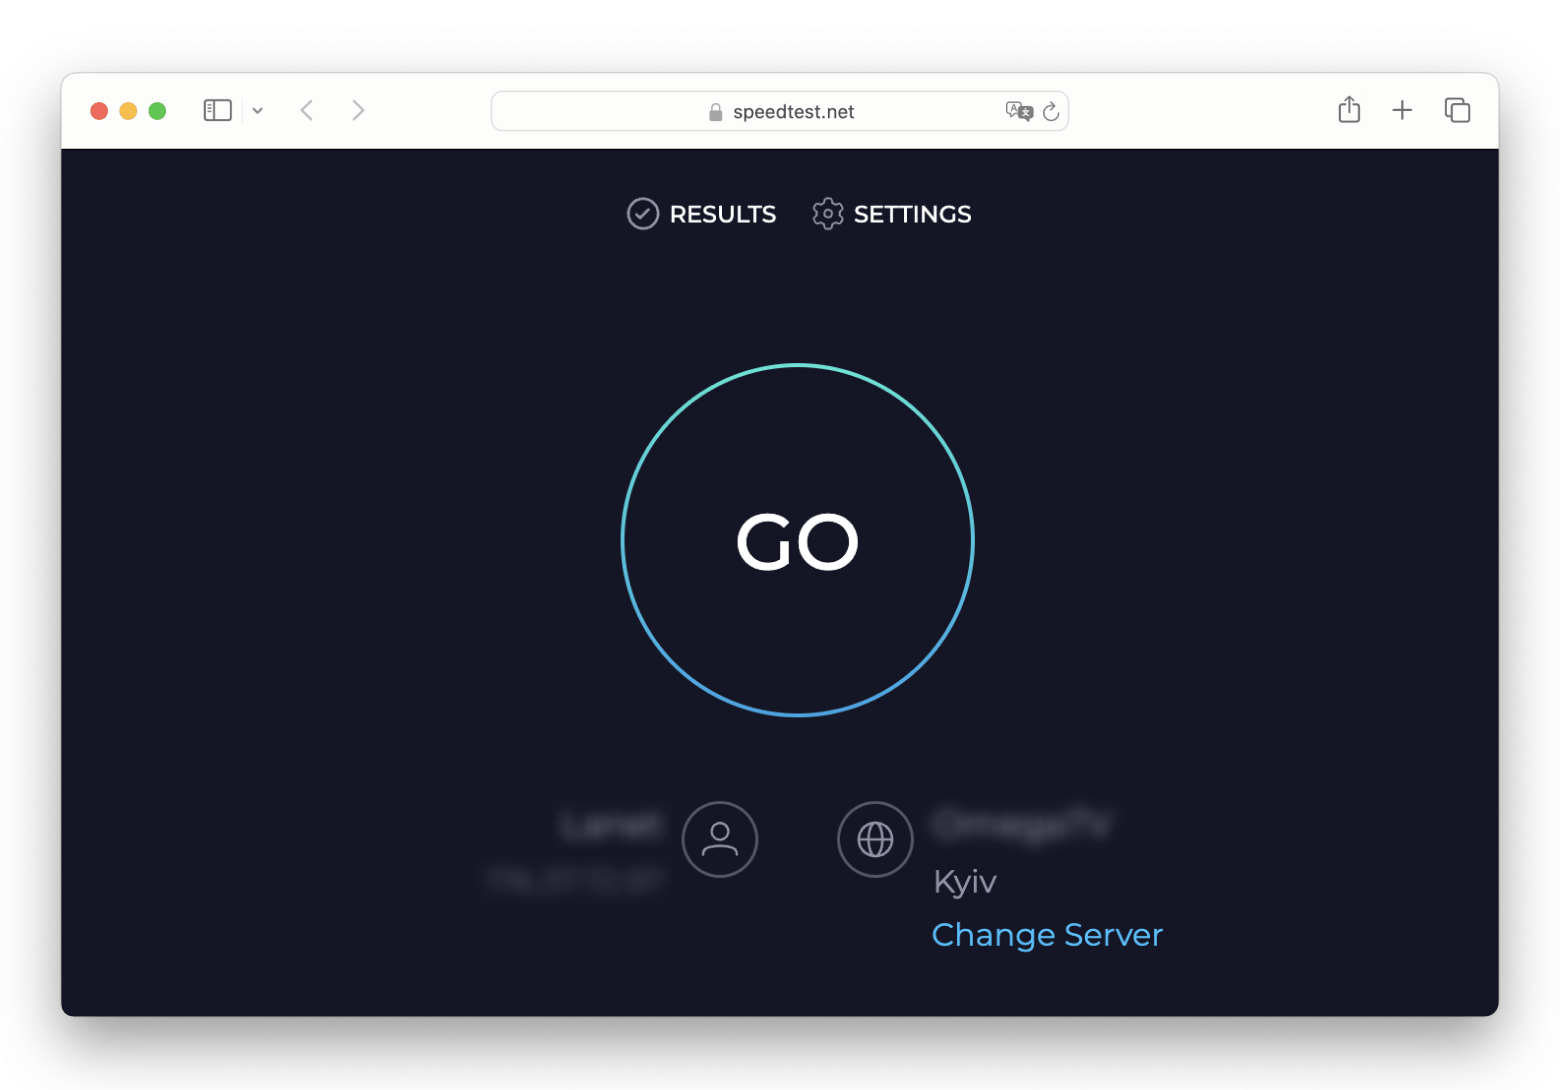
You shouldn’t get a huge drop in the speed. That said, VPN speed is dependent on traffic load, location, and VPN protocol you’re using. For example, if you’re in Australia but connect to a VPN server in the US, you will experience a bigger decrease in VPN speed.
How to keep VPN connected on Mac
Unfortunately, if your MacBook goes to sleep, your VPN will do the same. But the problem is your Mac may periodically receive incoming network traffic in sleep mode. Without a VPN connection, your IP address can be exposed. While you can’t connect to a VPN in sleep mode, you can prevent your Mac from connecting to the internet.
To do that:
- Click the Apple icon in menu bar > System Settings.
- Click Battery > Options.
- At Wake up for network access, choose Never.
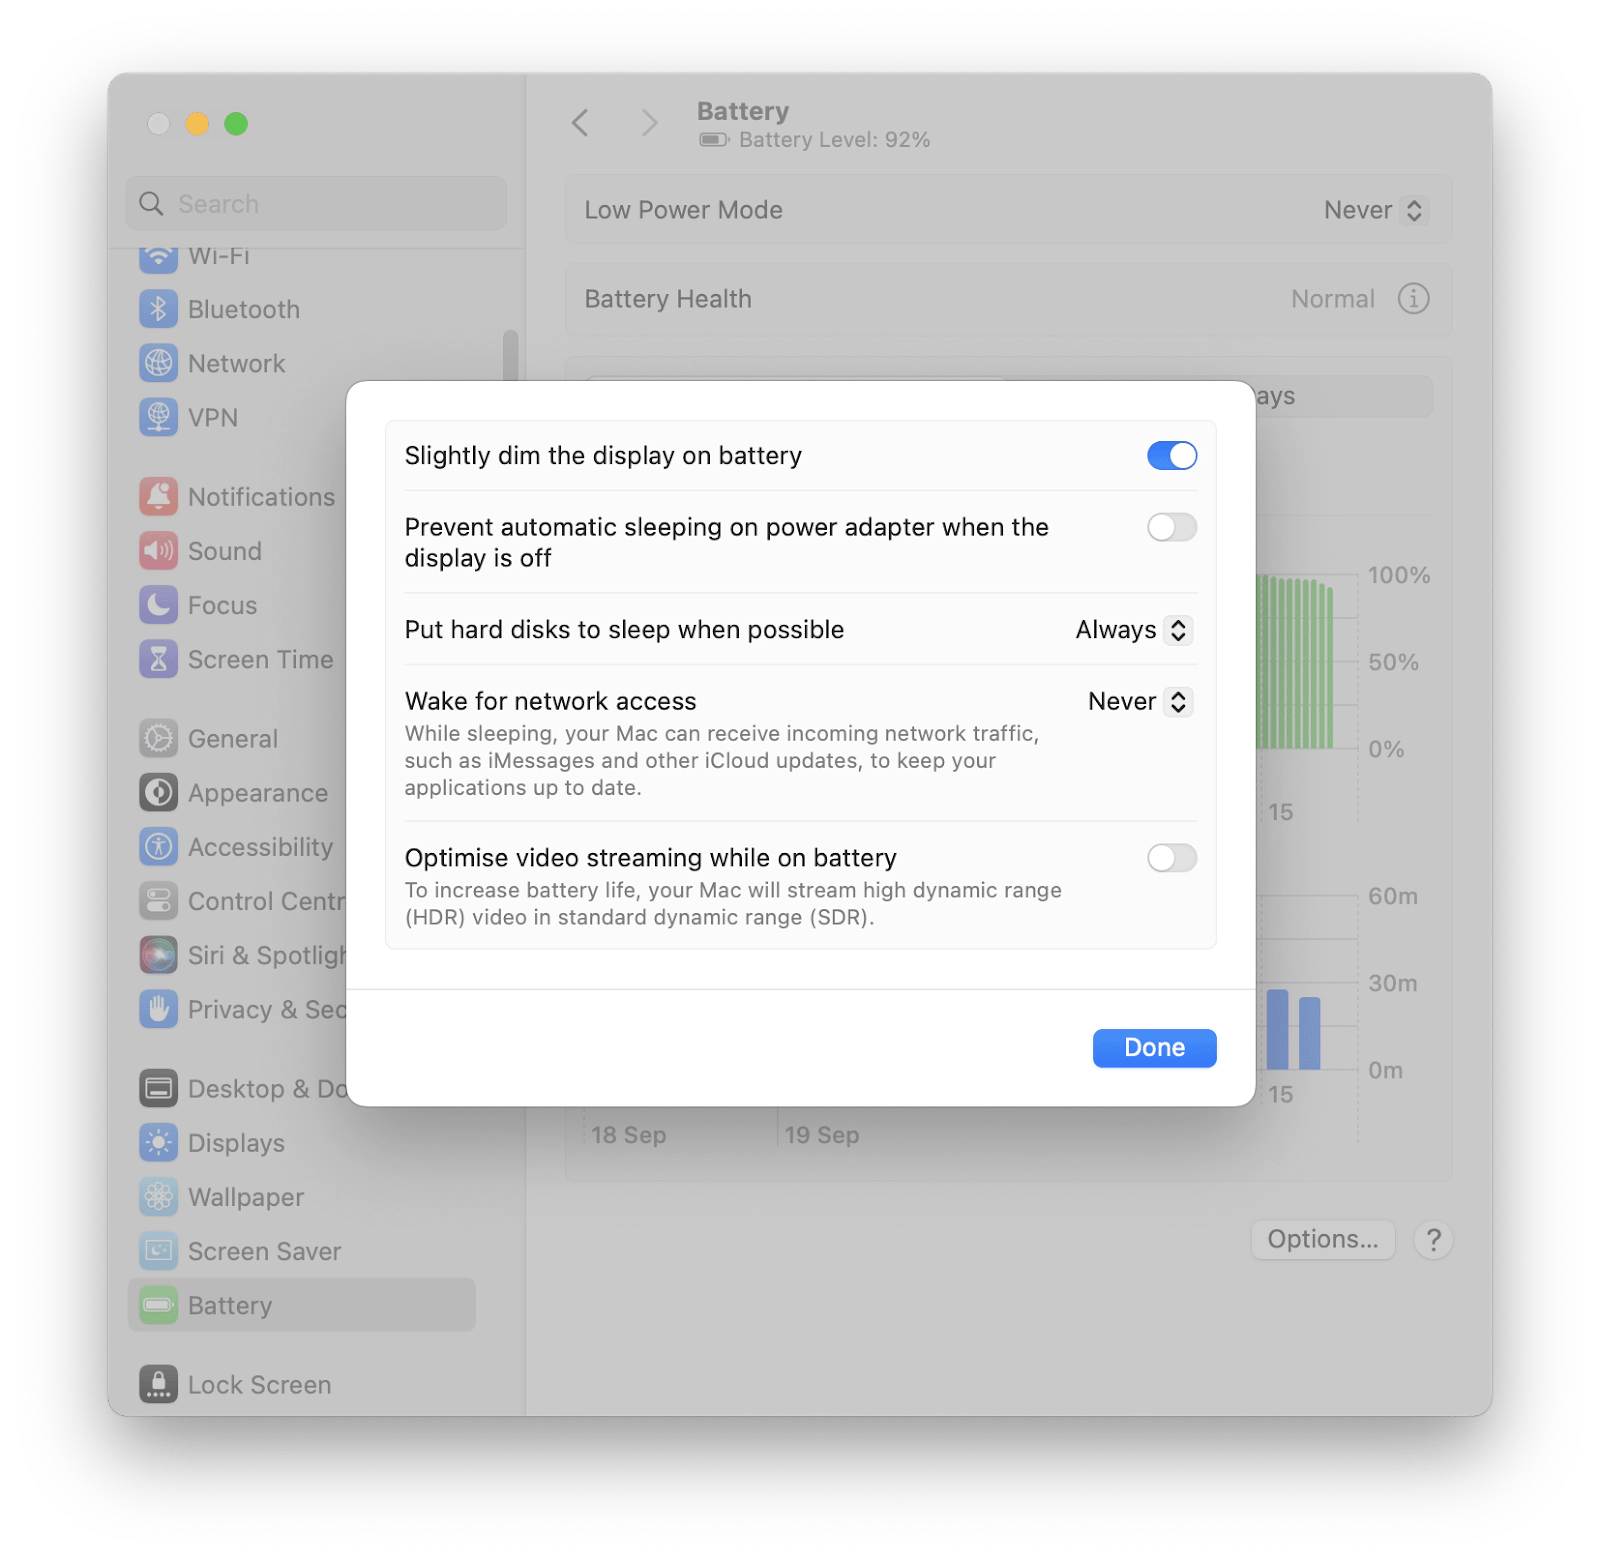
At the same time, check your VPN app to see if you can configure it to automatically launch at startup. By doing that, your VPN will maintain a gapless connection each time you shut down and power up the Mac.
Now you know how to make sure your VPN is working
Troubleshooting a VPN can be tricky because there are so many things to check. From IP leaks to hidden malware, most users will be overwhelmed. But it’s important to ensure your VPN works properly. Otherwise, you’ll be exposed.
In this guide, I showed you how to tell if a VPN is working. You can use the apps I mentioned to double-safeguard your privacy when going online.
Here’s a quick recap of what they do:
- ClearVPN is a secure and easy-to-use VPN software. And it works on macOS and iOS.
- WiFi Signal lets you check your Wi-Fi network for issues that might prevent a VPN connection.
- CleanMyMac allows you to scan VPNs and other apps to make sure they’re free from malware.
You can download these apps from Setapp with a single subscription, along with dozens of other tools designed for Mac and iPhone security. Try Setapp for seven days for free now!
FAQ
How to know if traffic is going through VPN?
Compare your IP address before and after connecting to a VPN.
Here’s how:
- Go to ipleak.net or whatismyipaddress.com.
- Note down the IP address. It should reflect the city you’re residing in.
- Connect to a VPN server.
- Refresh the IP detector page.
- Compare the new IP address with your original one.
Both IPs must be different, with the latter reflecting the location of the VPN server you’re connected to.
How to make sure my VPN is off?
Disconnect from the VPN server. Then, check your IP address on whatismyipaddress.com. If you see your original IP address (the one you had before using the VPN), you’ve successfully turned off your VPN.
Why is my VPN not connecting?
This can happen for a few reasons, like old VPN apps, weak Wi-Fi, or a busy VPN server. You can update your VPN app and check if your Wi-Fi is strong with WiFi Signal.
How to know if a VPN is safe?
Scan the VPN for malware with CleanMyMac. Instal and open the app > Click Malware Removal > Scan. If it doesn’t trigger any alarms, the VPN is safe to use.


