How to upgrade your Mac: The best go-to methods
Okay, so your Mac is, like, totally dragging its feet. Apps are loading way slower than a snail in a molasses race, and honestly, everything just feels kind of blah. Before you go full-on panic mode and start shopping for a brand-new machine, let’s see if a little upgrade might be in order. We’re talking about a serious Mac makeover. Well, this isn’t brain surgery, but it does require a little patience and possibly a strong cup of coffee.
In this article, I’ll walk you through upgrading your RAM, SSD, and even the graphics card (if you’re lucky enough to have a Mac that actually lets you upgrade that), plus a few apps that are total lifesavers.
Can your Mac even be upgraded? Let’s find out
Before you even think about cracking open your beloved machine, you need to make sure it’s actually possible to upgrade. Here’s what you need to check before your Mac upgrade.
Check your RAM
Before you go shopping for new RAM, let’s check if your Mac even allows you to add more. You’ll find out whether you have spare slots for new RAM modules by following these steps:
- Click the Apple icon in the menu bar.
- Go to About This Mac, then click More Info.
- Scroll down and click System Report.
- In the left column, click Memory.
- The details of your RAM modules and slots will appear on the right. Look for any “empty banks” — those are your free slots, and if you have them, you’re in luck! You can upgrade your Mac.
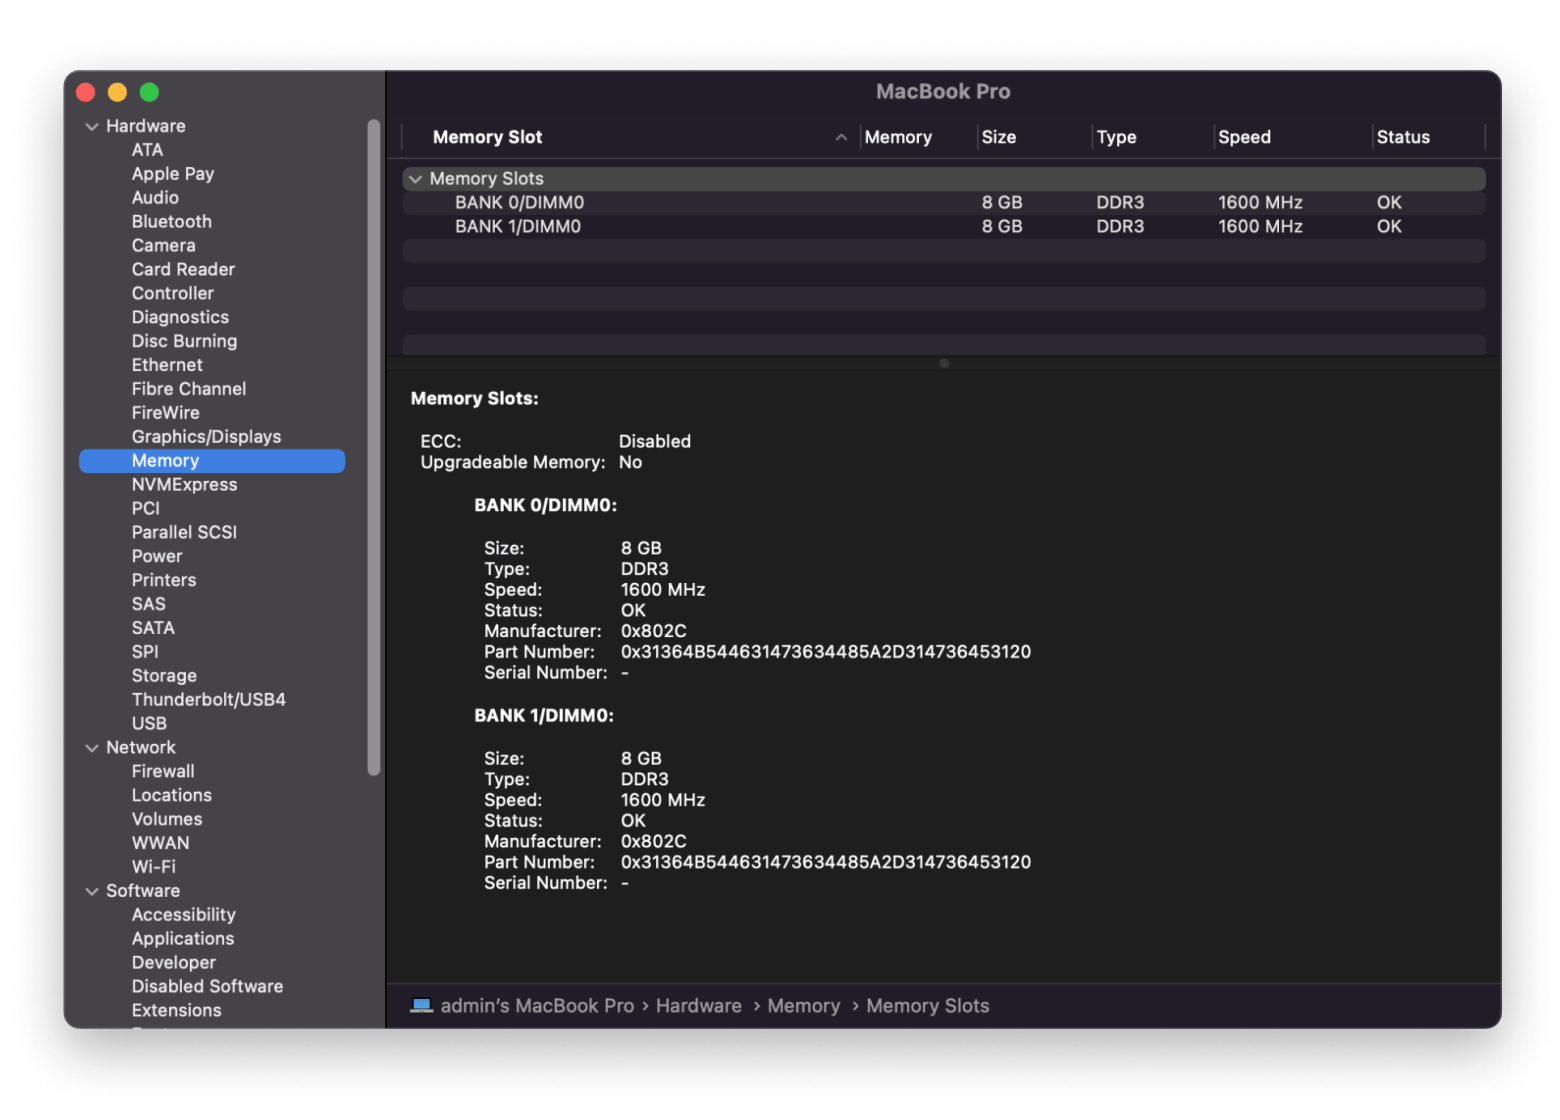
However, note that in newer Macs, you likely won’t be able to see these slots, and you will also need to upgrade RAM. But don’t despair. You might be able to upgrade the storage or speed up the Mac in other ways. More on this later.
Upgrade Storage (SSD)
Upgrading your SSD is, like, a total game changer. It’s the difference between waiting an eternity for your apps to load and having them practically teleport onto your screen. Keep in mind that Apple’s changes to the design and construction of its computers have made it virtually impossible to replace the Mac hard drive in Macs manufactured after 2016.
Check Graphics card
Graphics card upgrades are typically not possible on MacBooks and iMacs because the card is usually soldered to the motherboard. However, some Mac Pro models allow for these upgrades. If you own a Mac Pro, consult Apple’s support pages for your specific model to confirm compatibility.
How to upgrade your Mac’s RAM
Adding more RAM is often the simplest and most impactful upgrade you can do. It’s like giving your Mac a double shot of espresso! It’ll wake up quickly.
When upgrading your Mac’s RAM, consider your current and future needs:
- 8-16GB is fine for basic tasks
- 16GB+ is better for spreadsheets or office work
- 32GB+ is ideal for video editing or gaming
Think ahead — will your workload increase?
Here are your steps for RAM upgrade:
- Completely shut down your MacBook. Then, unplug everything: power adapter, USB drives, anything. Let it sit for 10 minutes or so to cool down. This helps avoid accidental burns or shocks.
- Flip your MacBook over. You’ll see a bunch of tiny screws holding the bottom cover on. Unscrew them carefully. I like to place them in a small container so I don’t lose track. And hey, pay attention to where those slightly longer screws go; you’ll need that info later.
- Before you start fiddling around inside your Mac, make sure to touch a metal part of the case or a grounded metal surface for a second. This helps get rid of any static electricity. It’s super important, so definitely don’t skip it!
- Inside, you’ll find the RAM module. It’s usually pretty easy to spot. It’s a small, rectangular piece.
- There are little clips on either side of the RAM module. Gently push these clips outward to release the RAM. Be gentle. These things are surprisingly delicate.
- Now, carefully remove the old RAM module. Hold it by the edges, avoiding the gold connectors. These connectors are sensitive, and touching them can cause damage.
- Take your shiny new RAM module and carefully install it in the same place. Make sure it’s seated correctly; it should click into place.
- Carefully put the bottom cover back on and screw everything in place. Double check you’ve put the longer screws in the right spot. Then, cross your fingers and power on your Mac.
I’m giving you instructions on the MacBook Pro RAM upgrade. If you want instructions on iMac or Mac Mini, check this guide.
How to upgrade your Mac’s SSD
As I mentioned earlier, RAM upgrades for Mac are considered to be the easiest improvements you can do on your own. But what should you do when it comes to the MacBook Pro SSD upgrade?
In newer models, the SSD is soldered to the motherboard and can’t be replaced. Please note that these instructions apply only to older Macs.
To upgrade MacBook Pro SSD:
- First, you’ll need to format your new SSD. I recommend you use Disk Utility (Applications > Utilities) to erase and prepare the new drive. You’ll also need a SATA-to-USB cable to connect the new SSD to your MacBook and a small Phillips head screwdriver and a Torx T6 screwdriver.
- Completely power down your MacBook. Turn it over and carefully remove the screws from the bottom cover. Set the screws aside in a safe place. Once the cover is off, briefly touch a metal part of the inside of your computer to discharge any static electricity. Locate the hard drive. You’ll likely need to remove a plastic bracket holding it in place (this usually involves removing a couple of small screws). Carefully disconnect the SATA data cable by gently wiggling the connector. Do not yank on the cable! Finally, remove the screws securing the hard drive itself.
- Install the new SSD. Carefully attach the SATA data cable to the new SSD. Using the screws you removed from the old hard drive, attach the new SSD to the mounting bracket. Secure the bracket to the computer.
- Carefully replace the bottom cover and screws. Turn on your MacBook. Go to System Settings > Startup Disk and select your new SSD as the startup disk. Restart your computer. Your Mac should now boot from the new SSD.
- You might have to reinstall macOS.
How to upgrade your Mac’s graphics card
How to upgrade your graphics card on your Mac? Upgrading it on most MacBooks and iMacs isn’t really an option since the GPU is usually soldered right onto the logic board. That means swapping it out is super tricky and needs a lot of technical know-how and special tools. But if your Mac has Thunderbolt ports, there’s a workaround: you can use an external GPU (eGPU) enclosure. This lets you connect a separate, upgradeable graphics card to your Mac through Thunderbolt, which can really help with demanding graphics tasks. Just keep in mind that eGPUs can be pricey, and their performance might not be quite as good as a built-in GPU.
How to know when to upgrade your Mac
Is your Mac sluggish, constantly freezing or crashing, or struggling to run newer software? Do applications take forever to load, or do you frequently see “low disk space” warnings? These are signs your Mac might need a significant upgrade.
Sometimes, upgrading individual components just isn’t enough. Your Mac might be reaching the end of its life.
If you face minor performance issues such as sluggishness, occasional freezes, or difficulty running certain apps, chances are a RAM or SSD upgrade might be enough. However, if your Mac frequently crashes, unexpectedly shuts down, or is simply too outdated to run modern software, maybe it’s time to invest some money in a new machine.
Consider a new Mac when you experience:
- Persistent slowdowns: Even after upgrades, your Mac remains consistently slow.
- Hardware failures: Frequent crashes, freezes, or unexpected shutdowns suggest underlying hardware problems that are costly to fix.
- Incompatibility: Your Mac can no longer run the latest operating system or essential applications.
- Outmoded technology: Your Mac lacks essential features (like a modern processor or sufficient RAM) that would significantly improve your productivity.
How to speed up your Mac without upgrades
Before you spend money on upgrades, try these easy fixes.
Manage applications
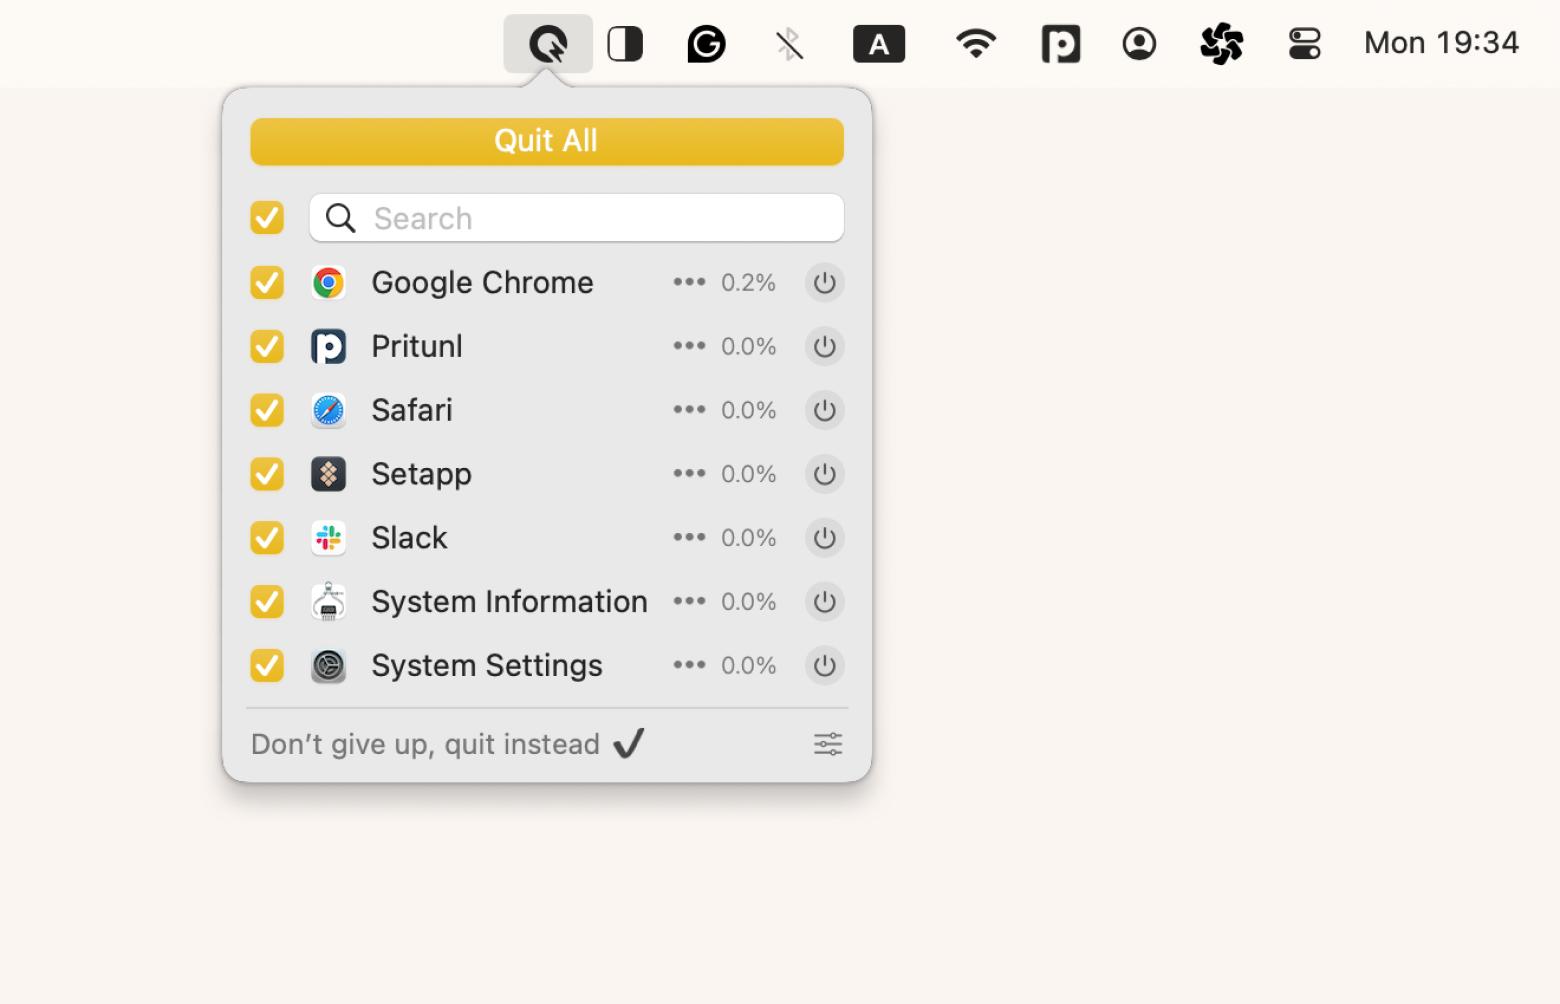
Identify and close resource-hungry applications using Activity Monitor, or get a visual overview with iStat Menus. Use Quit All to quickly close all unnecessary apps.
Optimize memory
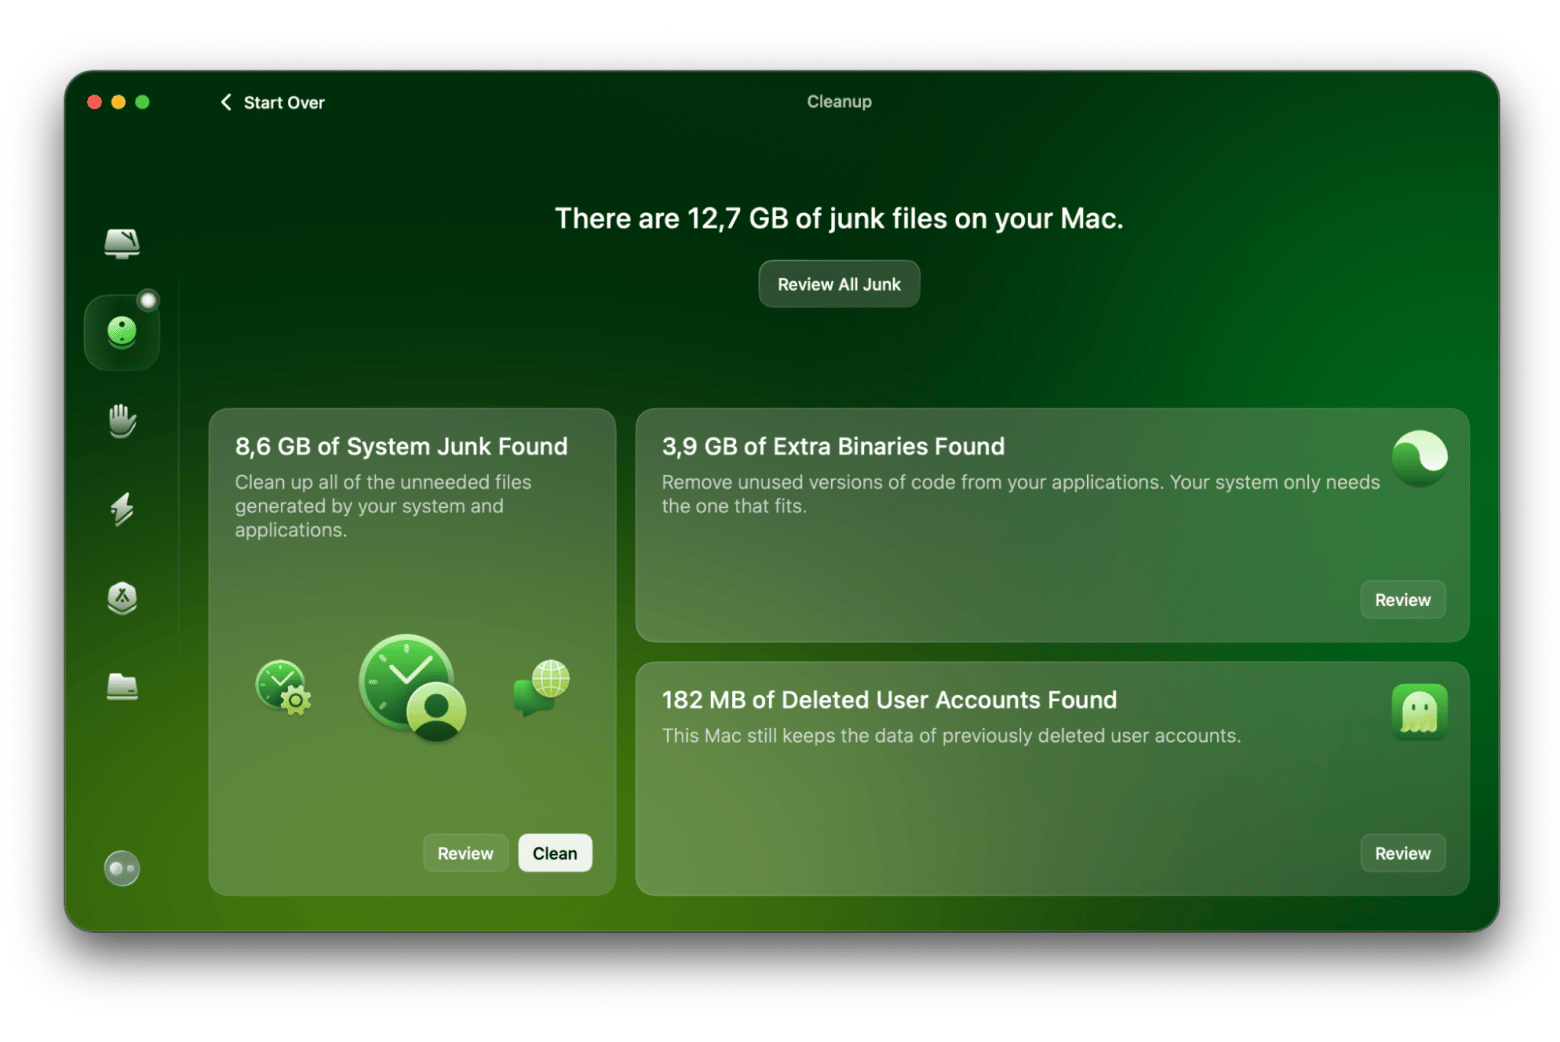
Free up RAM by closing background processes or employing the automated Cleanup feature in CleanMyMac
Clear clutter
Regularly clear cache files and manually delete large, unused files with the help of third-party apps. Check out how to clean storage space on Mac.
Deep dive with diagnostics
To determine if hardware problems are causing your Mac to slow down, I suggest you try Apple Diagnostics.
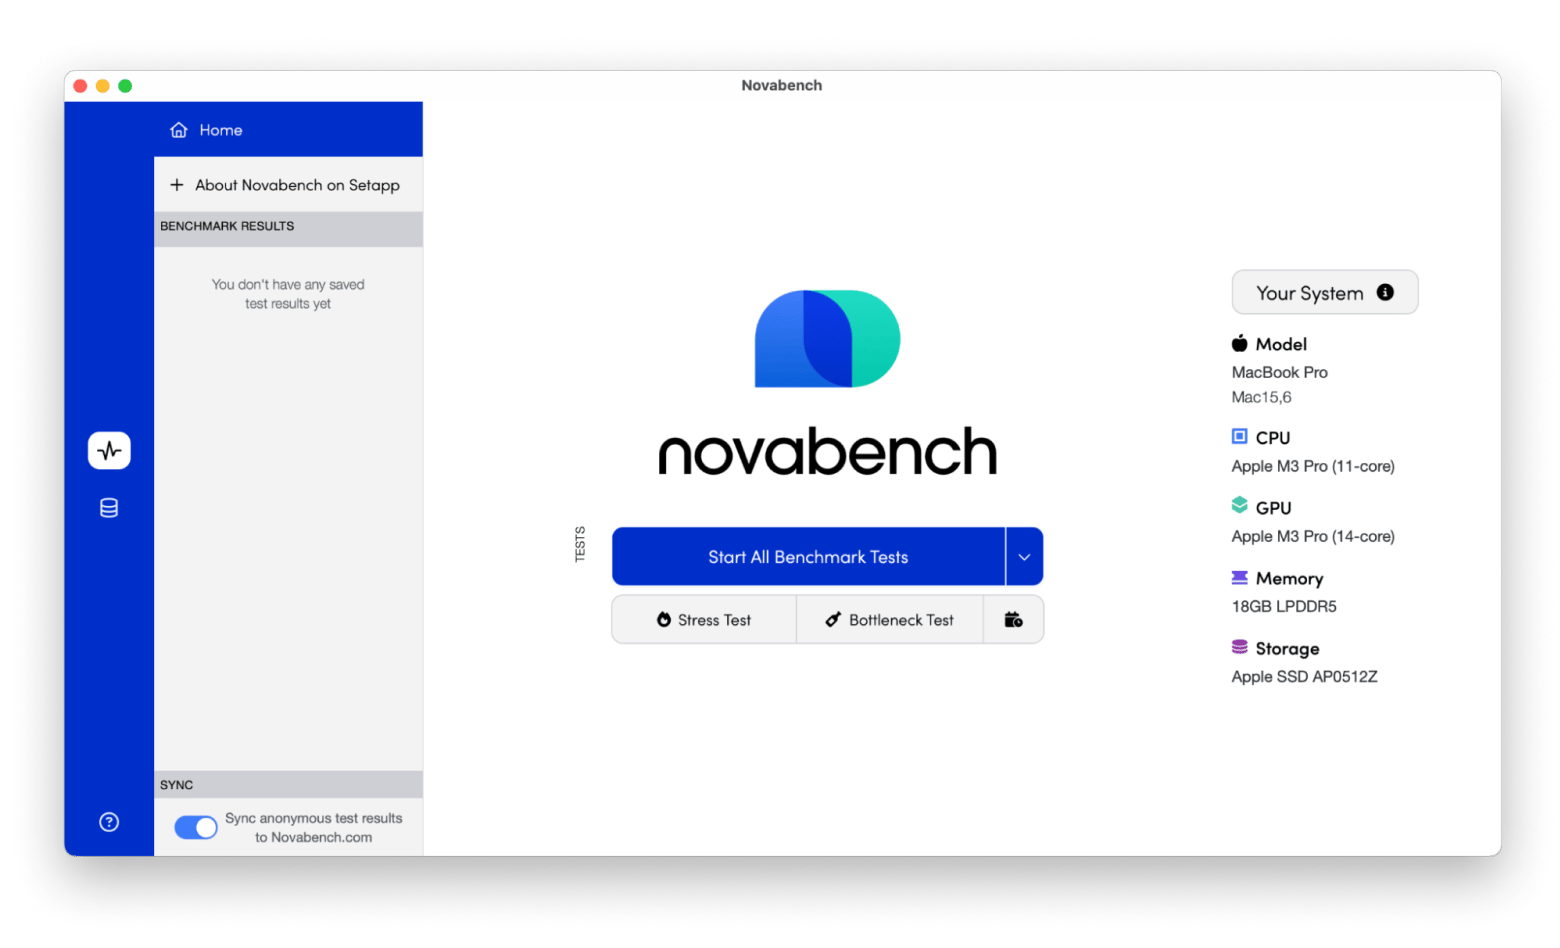
However, if you want to get a better idea of how your Mac is doing, check out Novabench. This app runs a bunch of tests to look at things like your computer’s CPU, GPU, RAM, and disk speed. Once the tests are done, the app gives you a detailed report that shows how your Mac stacks up against the baseline and other Macs.
Bonus: How to create a backup before service or upgrades
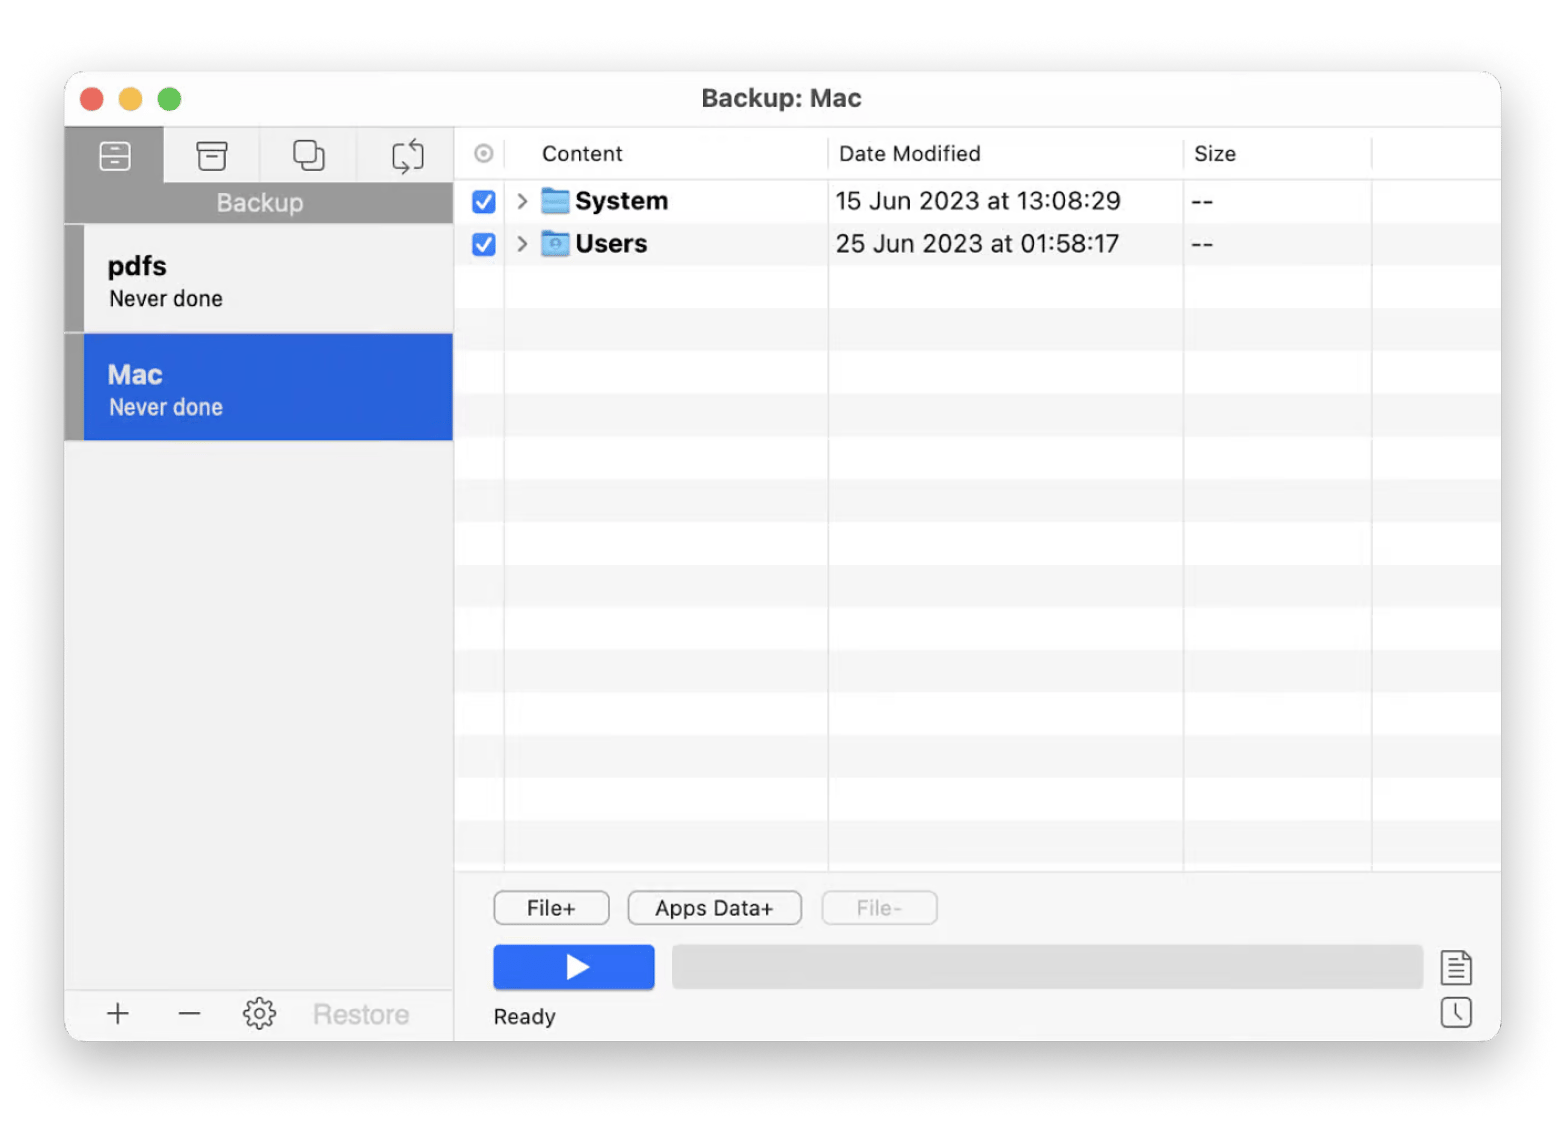
Before any upgrade, back up your data. It’s the absolute most important step. Time Machine is Apple’s built-in backup, but it can be a bit messy and create lots of extra copies of things you don’t need. For me, Get Backup Pro is a much better option. It’s super easy to use, lets you choose exactly what and when to back up, and you decide how many backups to keep.
Here is how to use Get Backup Pro to backup your Mac before you update graphics card or anything else:
- Install and open Get Backup Pro.
- Choose Backup at the left panel.
- Click + at the bottom left to add the project.
- Choose the backup destination and click OK.
- In the main window, click File+ and Apps Data+ to choose the data type you want to back up.
- Finally, click the start button to start backing up the selected files.
Get a small toolkit to upgrade MacBook Pro and other Macs smoothly
Ready to upgrade your Mac? Don’t rush in! First, optimize your Mac with CleanMyMac. Then, create a complete backup using Get Backup Pro — you don’t want to lose any data! iStat Menus will help you monitor your Mac’s performance during and after the upgrade, while Novabench provides a comprehensive benchmark test. Quit All will ensure all your apps are closed before you begin. These apps and many more productivity tools are available through Setapp’s 7-day free trial. Give Setapp a try and experience the difference!


