How to access iCloud on a Mac: Top methods
I first learned about iCloud when I began using Apple devices. Initially, I thought it would be simple to use and that I could rely on YouTube tutorials for guidance. However, as I spent more time navigating the service, I realized it wasn't as easy as expected.
Accessing iCloud Drive on Mac, the syncing process, managing iCloud storage, and more all felt like a complex puzzle in the beginning. That’s when I decided to master iCloud, learning all its features, managing the storage, and everything else. After lots of research work, discussions, trial-and-error, and practical use, I can now say I know how to use iCloud to be productive at work.
Here, I’ll walk you through key instructions to help Mac users understand things clearly and easily.
Let’s get started.
Review your iCloud drive on Mac
iCloud is Apple’s online service that can safely store all files, folders, and other synced data across all Apple devices connected to your iCloud account. You can access iCloud’s data from any device and even on the browser at iCloud.com.
How to sync your iCloud account on your Mac
If you haven't synced your iCloud account on your Mac yet, here’s a simple guide. When you sync iCloud, you can be sure that all important files, photos, contacts, and other stuff will stay updated on all your Apple devices.
Just follow these steps to set it up:
- Go to the Apple menu > System Settings.
- Click Apple ID > iCloud.
- Click iCloud Drive.
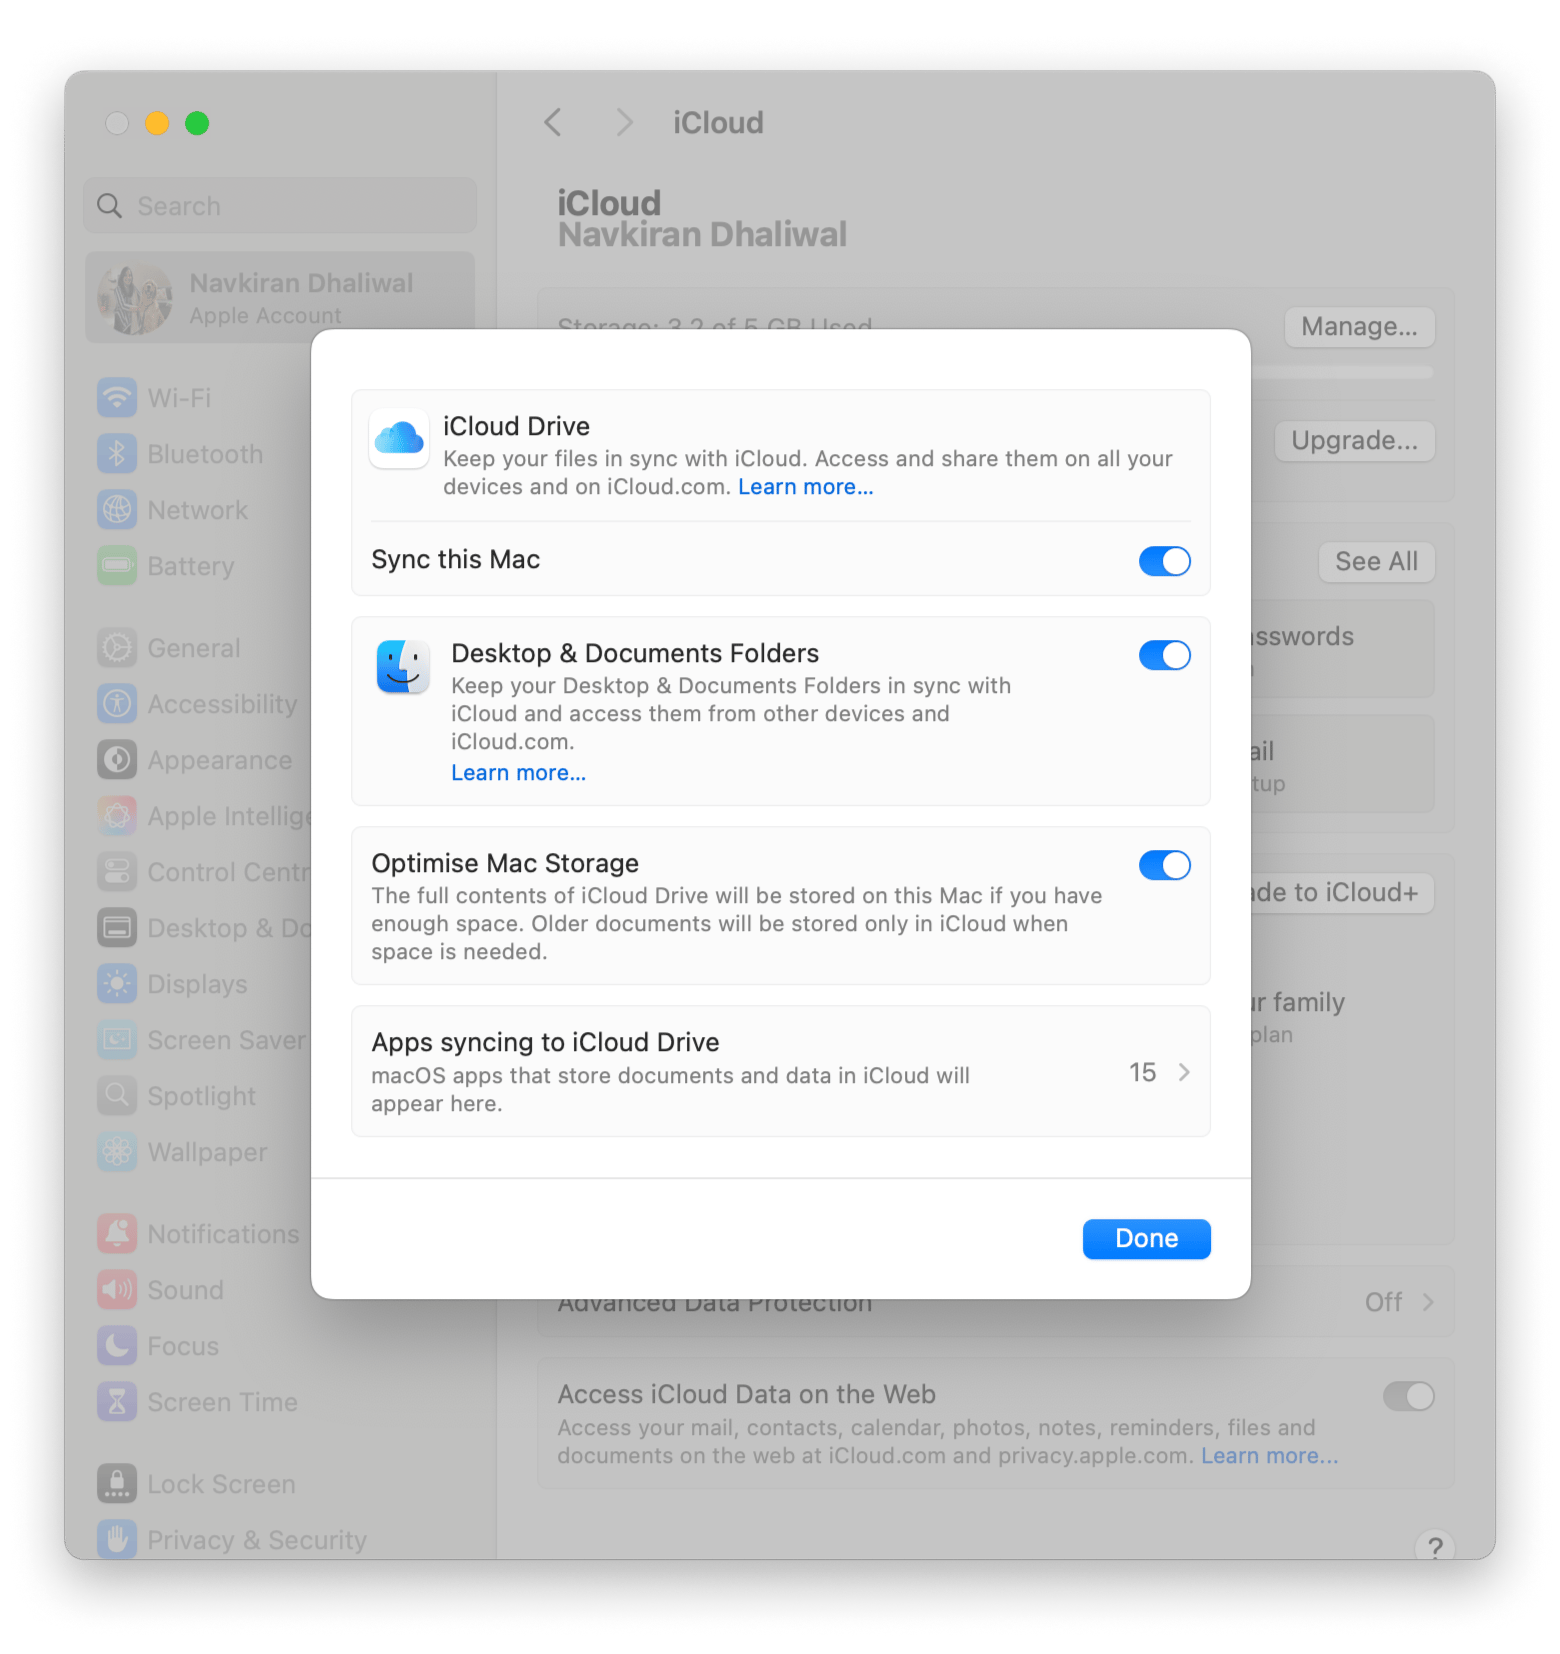
- Turn on Sync this Mac.
- Click Done.
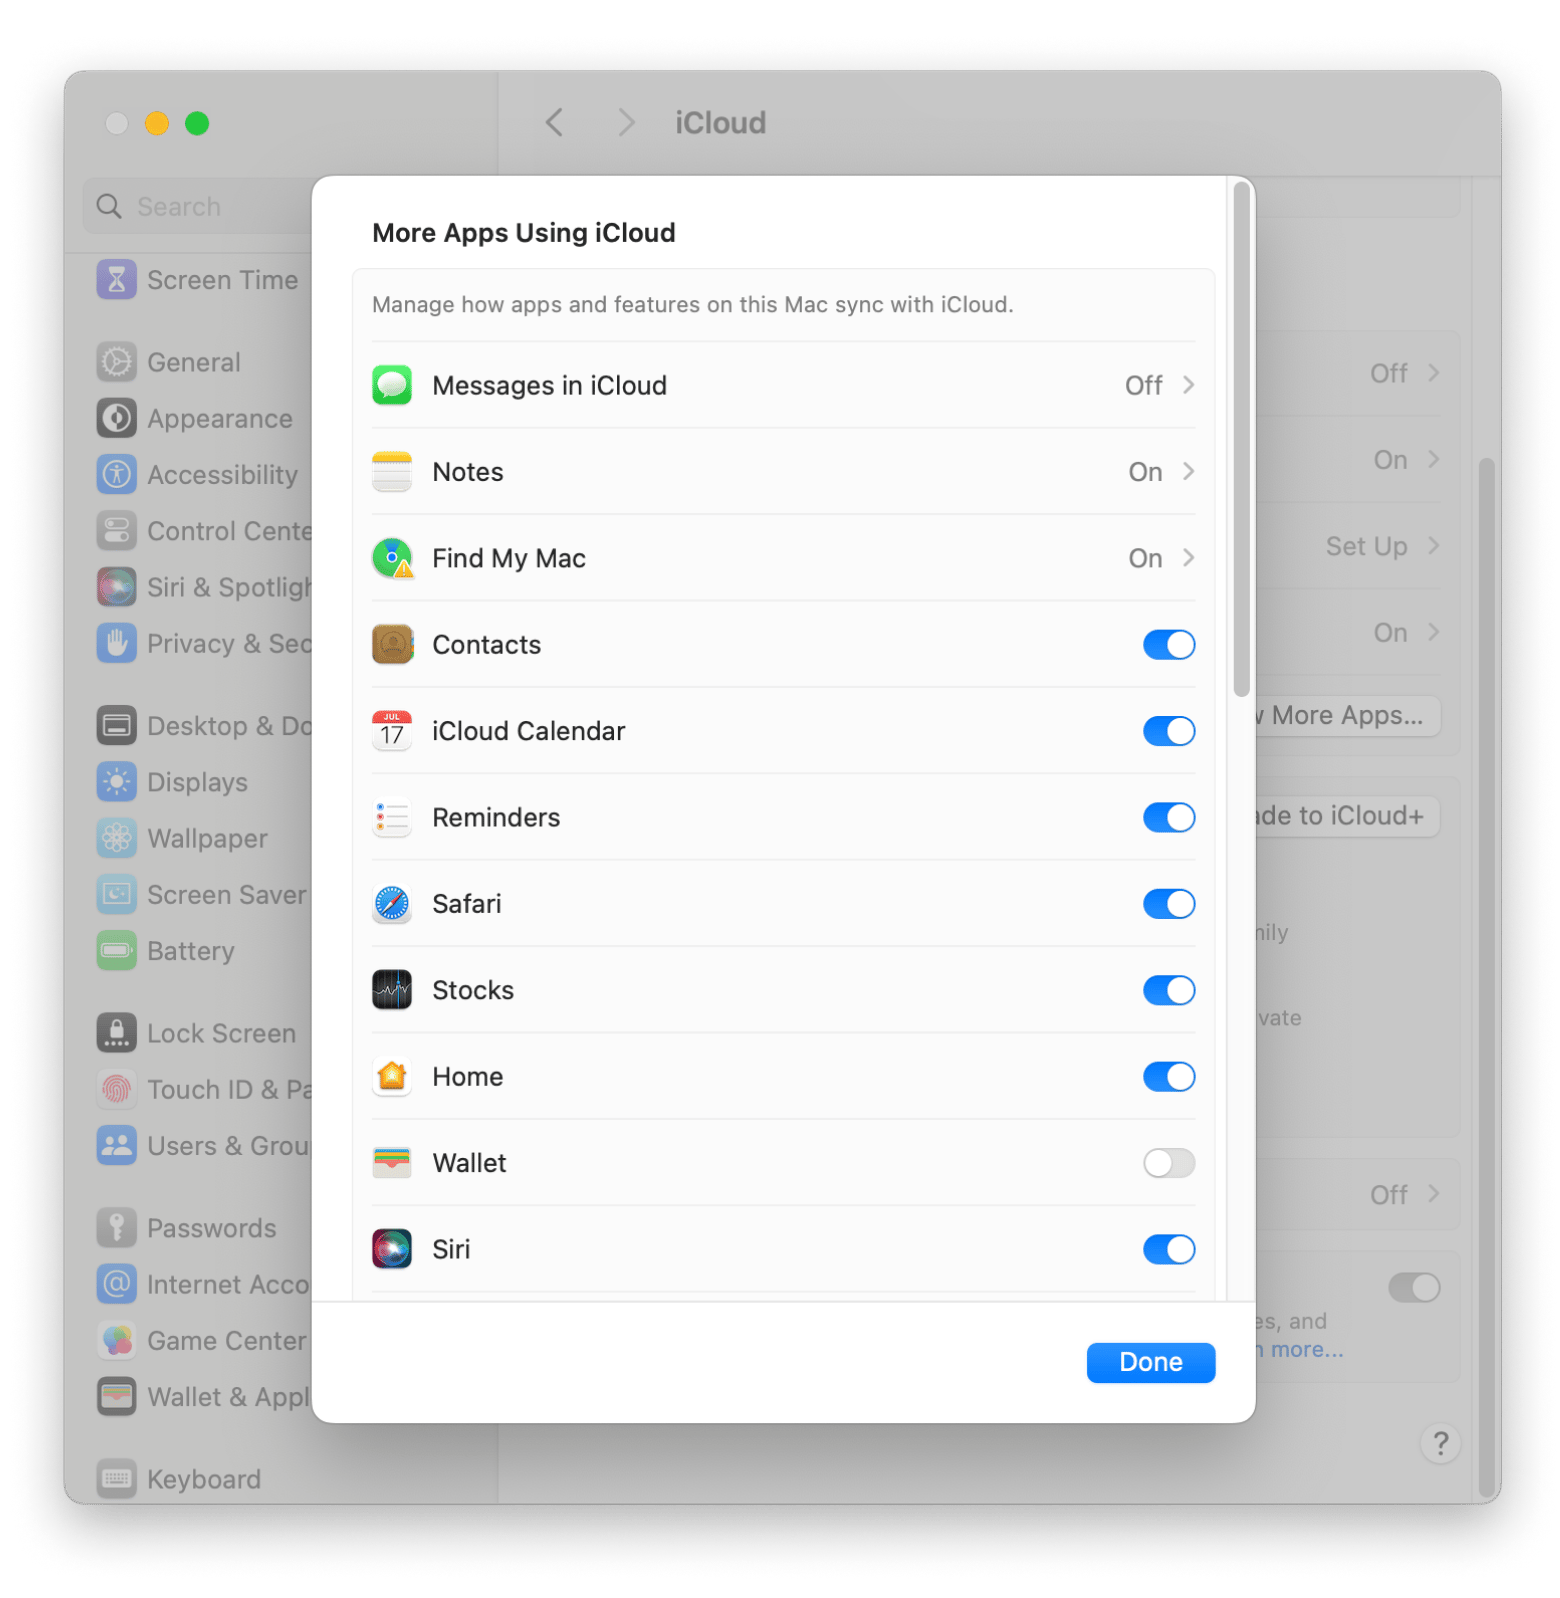
Once you've synced your Mac with iCloud, some of your data will automatically get stored in your iCloud account based on your settings. This usually includes stuff like iCloud Drive, Photos, Mail, Contacts, Calendars, Notes, Reminders, Messages, your Safari data, and content from Apple Music and the TV app, plus a few other things. In case your Mac is not connecting to iCloud, check out how to fix your Mac can’t connect to the iCloud issue.
Get access to all your iCloud Drives
To access all iCloud Drive, you have two main options: through Finder on your Mac or via a web browser. Here’s a clear, step-by-step guide for both methods.
How to access iCloud files on Mac using Finder
To access iCloud Drive via Finder, you need to:
- Open Finder on your Mac.
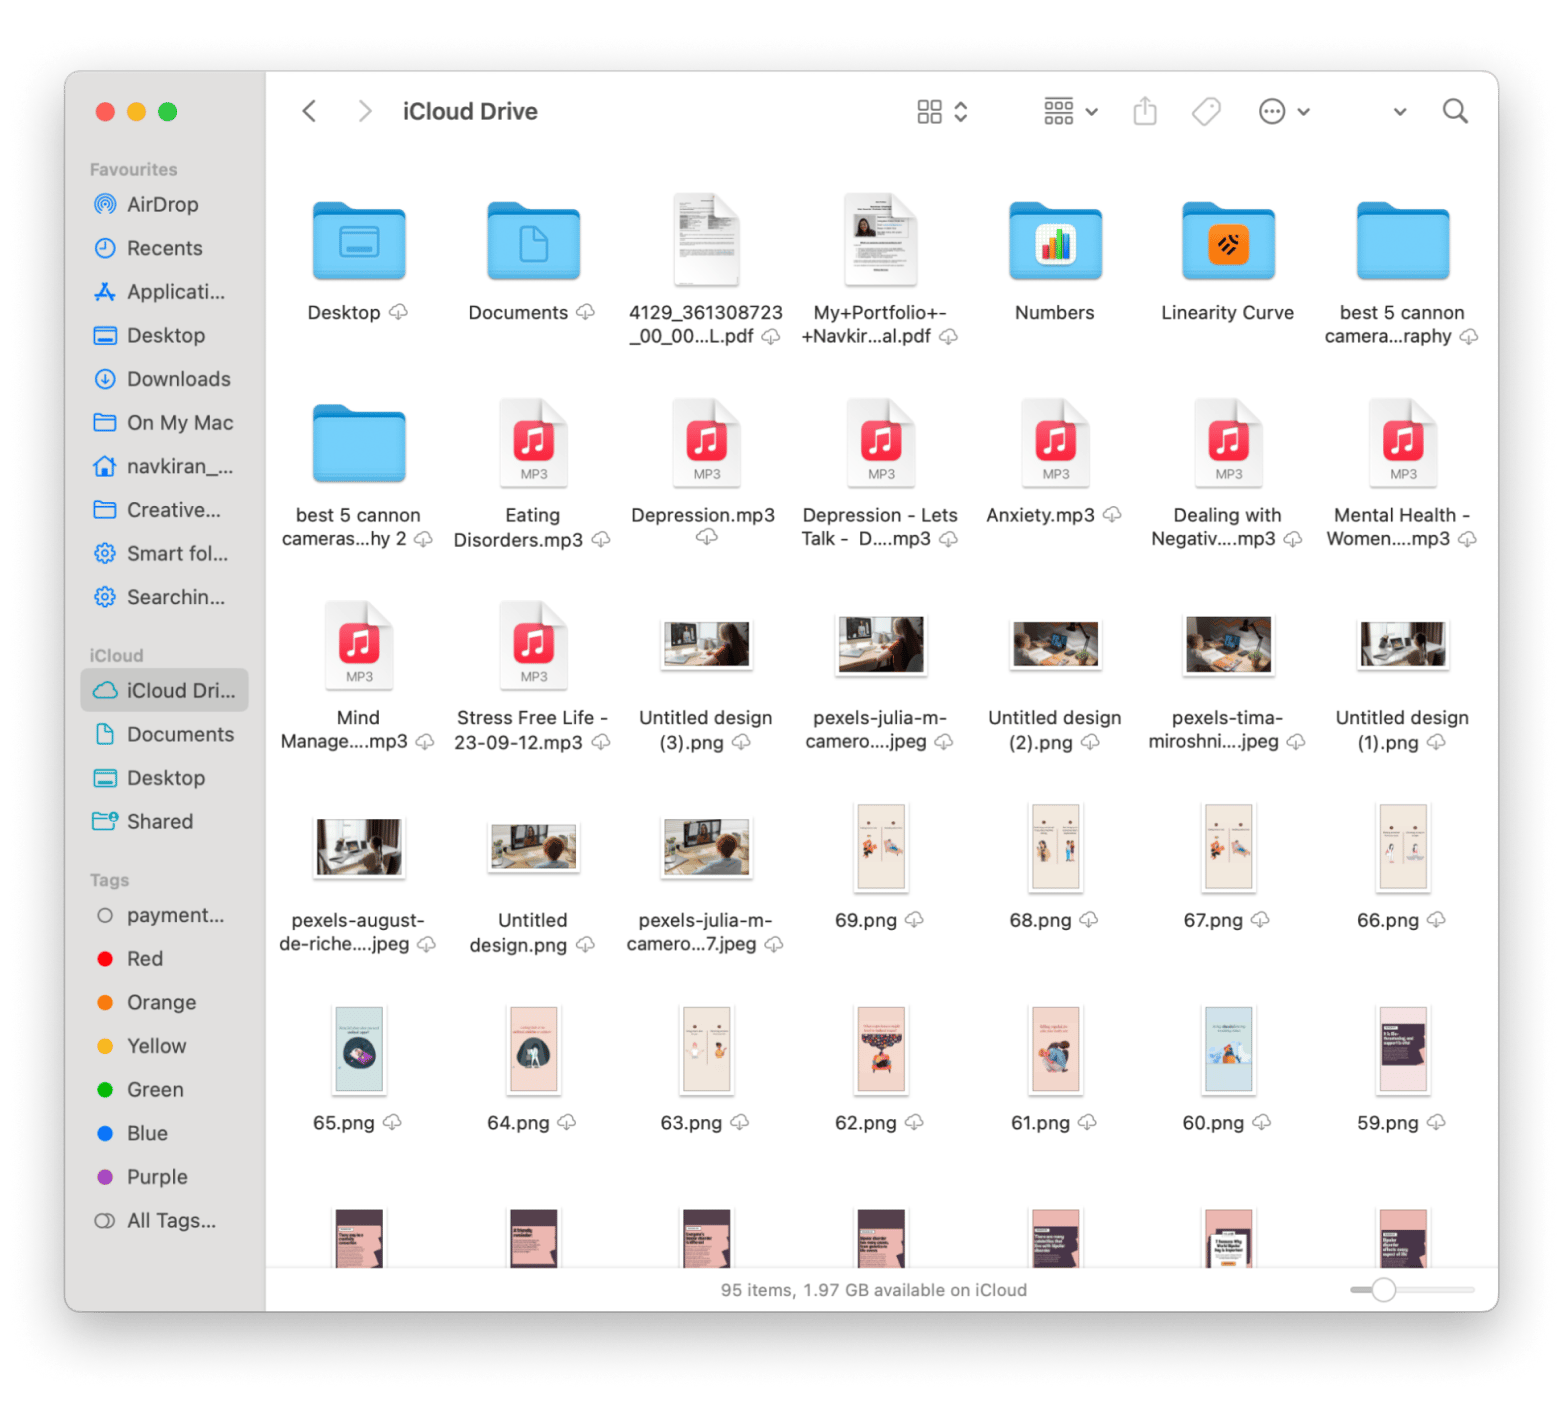
- Click iCloud Drive from the left sidebar.
- Browse through your folders and files stored in iCloud. From here, you can organize, delete, or open files directly from your Mac.
How to access iCloud Drive via browser
To access your iCloud Drive using a browser, open your preferred web browser on your Mac and follow these steps:
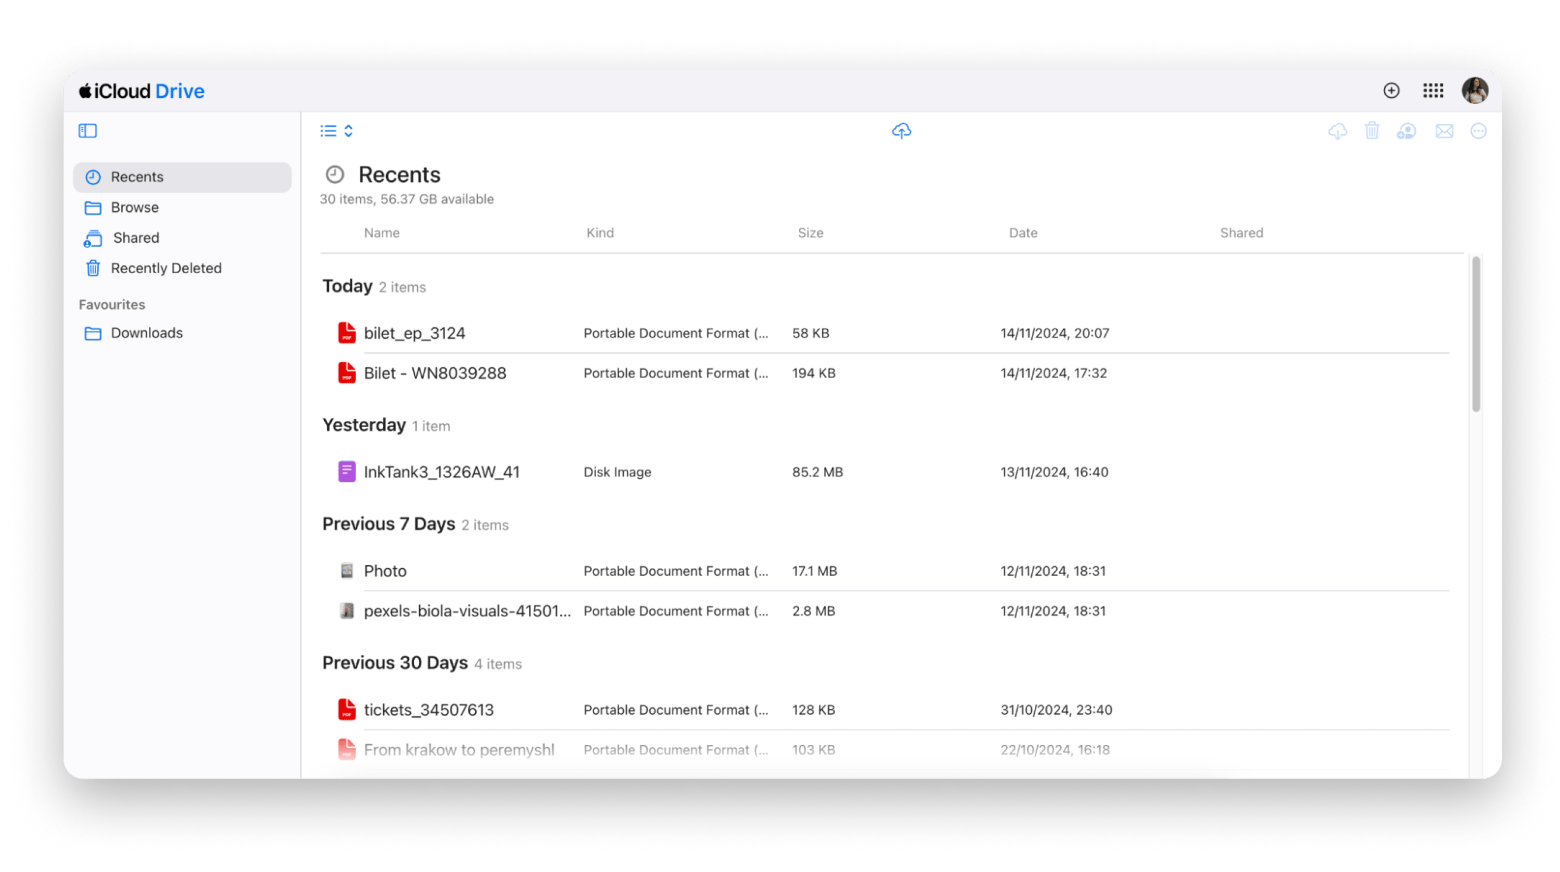
- Go to iCloud.com.
- Sign in to your account.
- Click the Drive window to access iCloud Drive.
How to access your iCloud backups on Mac
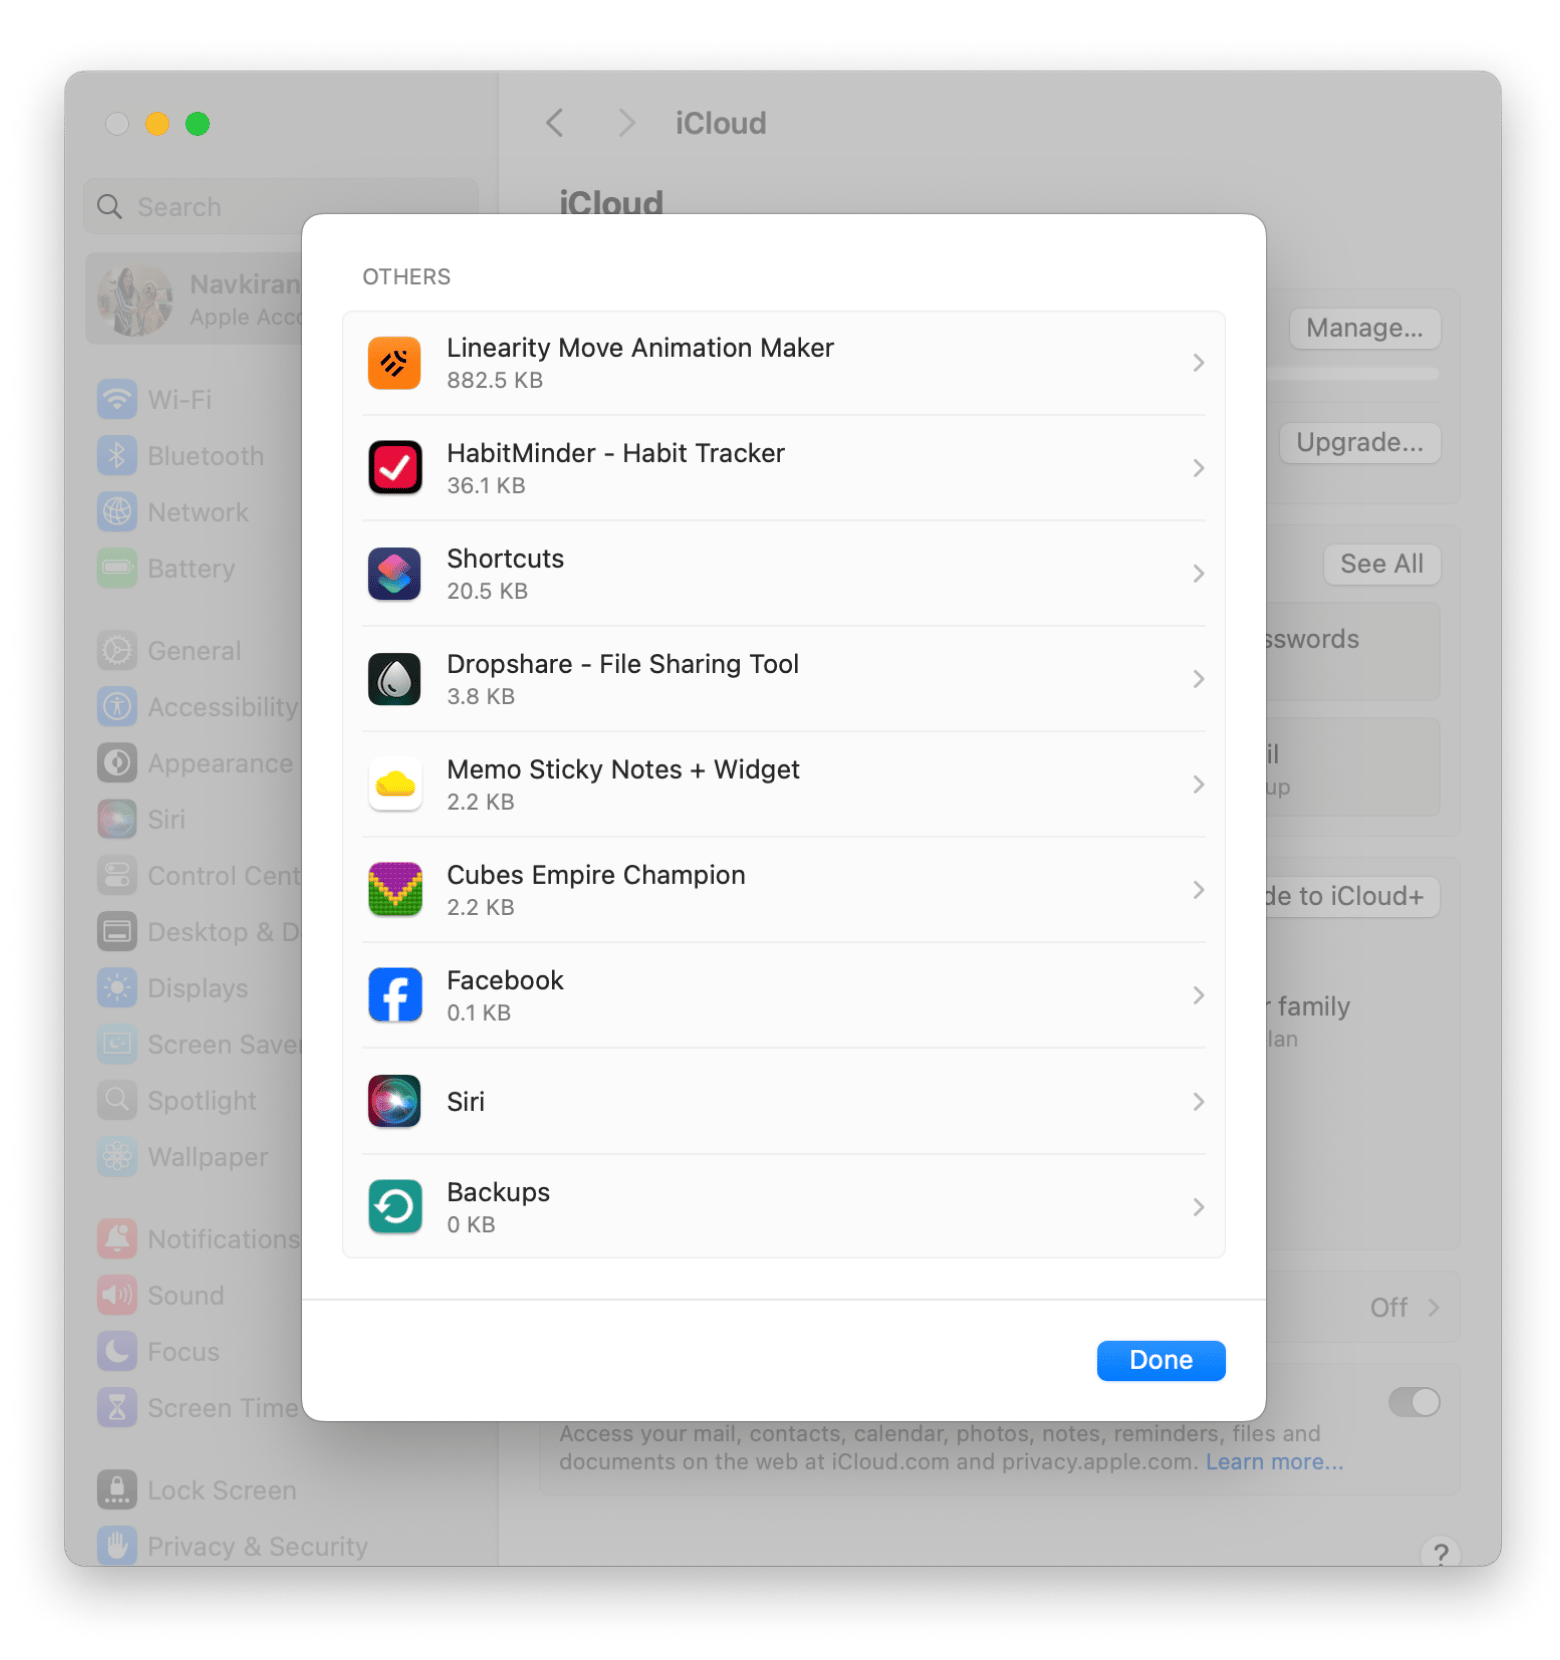
To access your iCloud backup files on a Mac, you've got two main options. You can check out System Settings to see and manage your iCloud storage, or you can use Terminal to get to your local iCloud Drive files.
Using System Settings
If you want to manage your storage via System Settings, you need to follow these steps:
- Go to the Apple menu > System Settings.
- Click Apple ID > iCloud.
- Click Manage > Backups.
Access iCloud Drive via Command Line in Terminal
If you need to explore iCloud Drive files stored locally on your Mac, you can use Terminal for more direct access.
Here’s how to do it:
- Go to Finder > Applications > Utilities > Terminal.
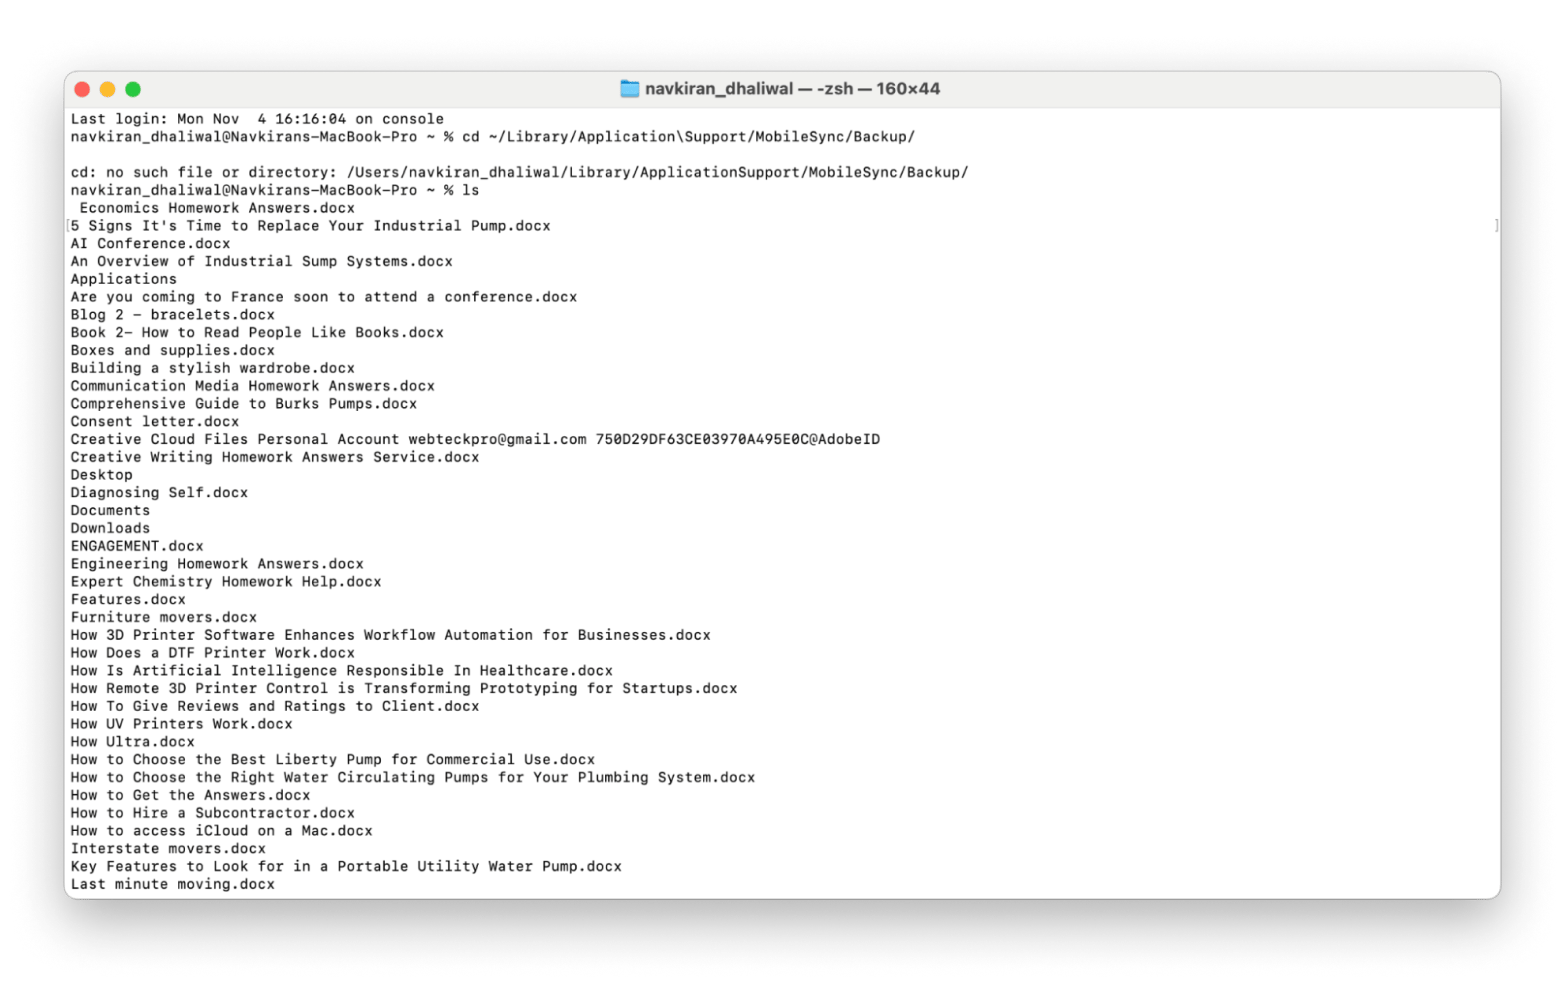
- Type cd ~/Library/Mobile\ Documents/com~apple~CloudDocs/ and press Return.
- To view the files within your iCloud Drive, type ls and press Return. This command shows you the contents of your iCloud Drive folder synced to your Mac.
By the way, if you’re running out of iCloud storage, checkout hacks on how to clear iCloud storage space.
Transfer data across iOS, iCloud, and Mac with iCloud manager
To make things clear, there is no separate application known as iCloud Manager. The term actually refers to iCloud itself, which synchronizes and manages data storage across your macOS and iOS devices when it is enabled.
Please note that to use this feature, you must make sure that iCloud is activated on each of your devices.
How to enable iCloud on iOS and Mac:
If you want to to manage your iCloud storage on all your Apple devices you need to know how to enable it but make sure all your devices are signed in under the same Apple ID.
On your Mac:
- Go the Apple menu > System Settings.
- Click Aoole ID > iCloud.
- Click Show More Apps > Turn on the apps you need.

- Click on iCloud Drive > Turn on Sync this Mac.
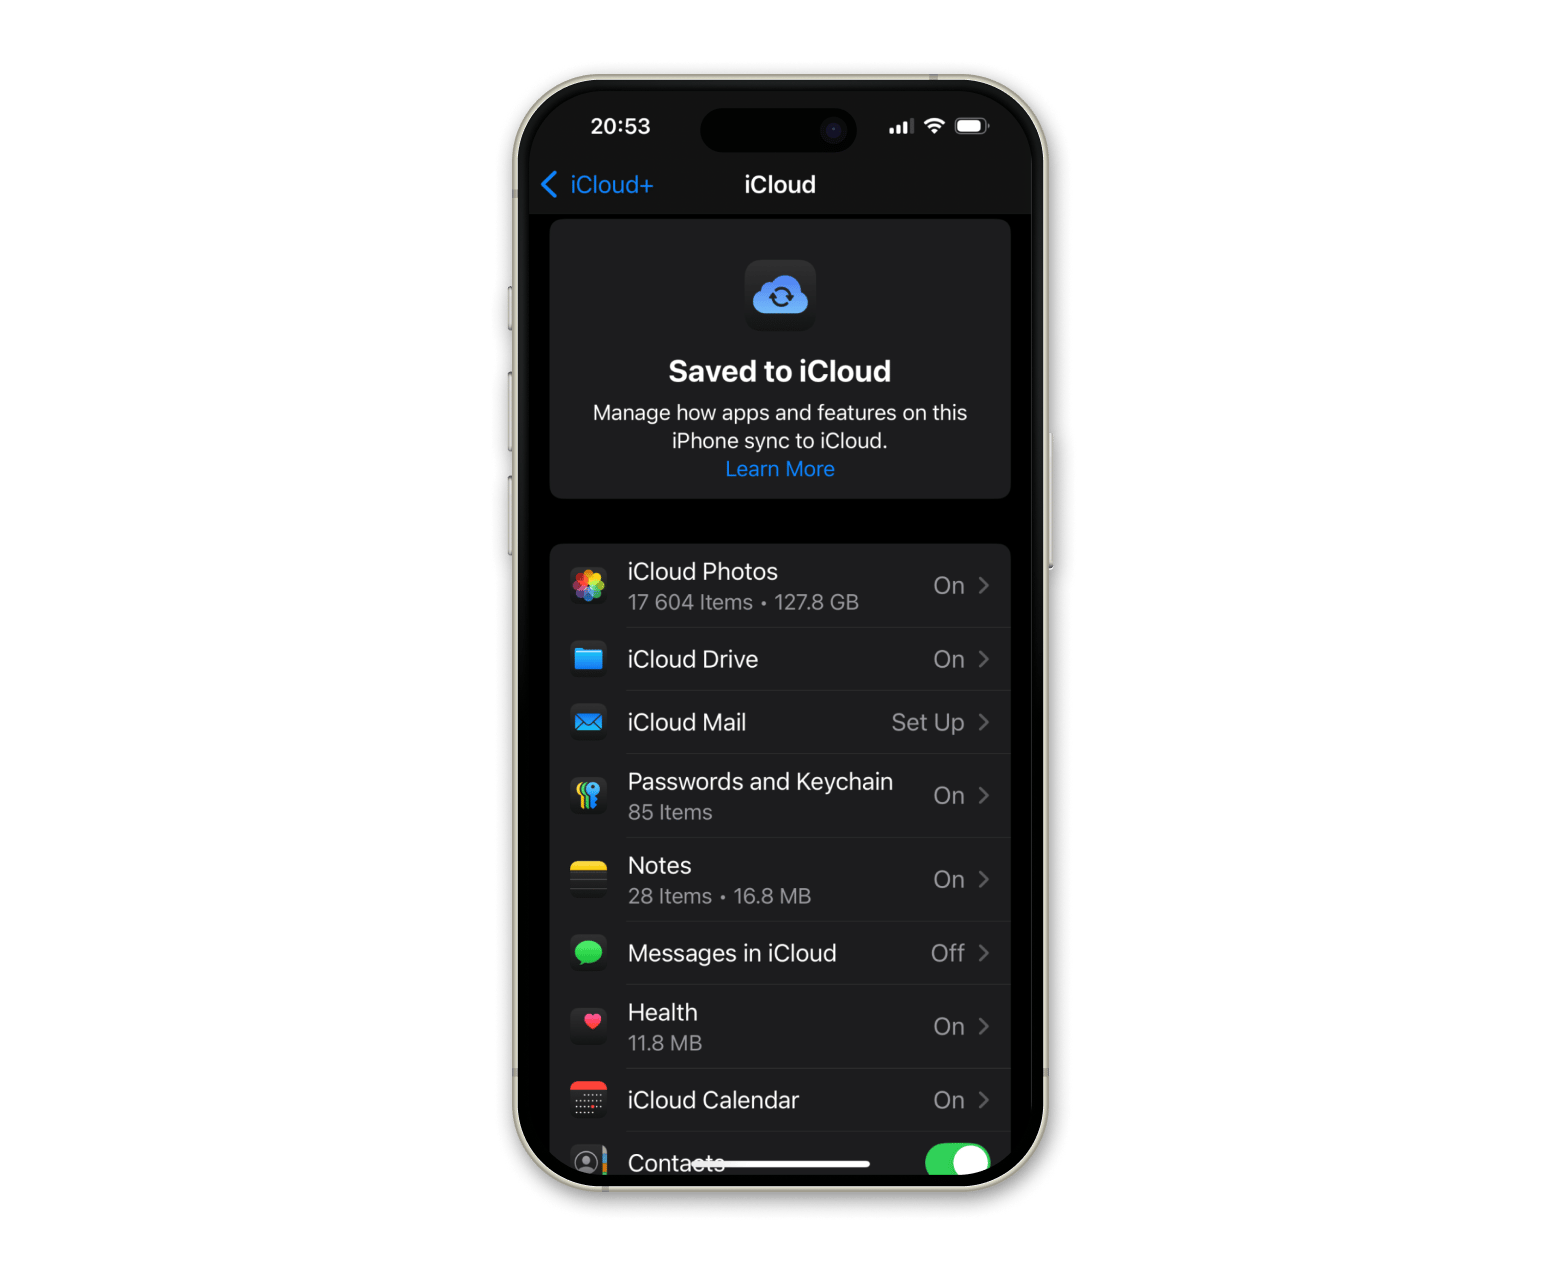
On your iPhone or iPad:
- Go to Settings > Apple ID.
- Tap iCloud > Saved to iCloud.
- Turn on apps to sync, including iCloud Drive.
Connect iCloud with file manager for Mac
If you’re on a Mac, your files can end up all over the place—some are saved on your computer, while others are in the cloud. Linking iCloud with Finder makes things way easier, letting you access everything from one spot.
Here’s how to connect with Finder:
- Go to the Apple menu > System Settings > iCloud.
- Make sure iCloud Drive is turned on.
- Next, open Finder. You should see iCloud Drive listed in the sidebar for easy access.
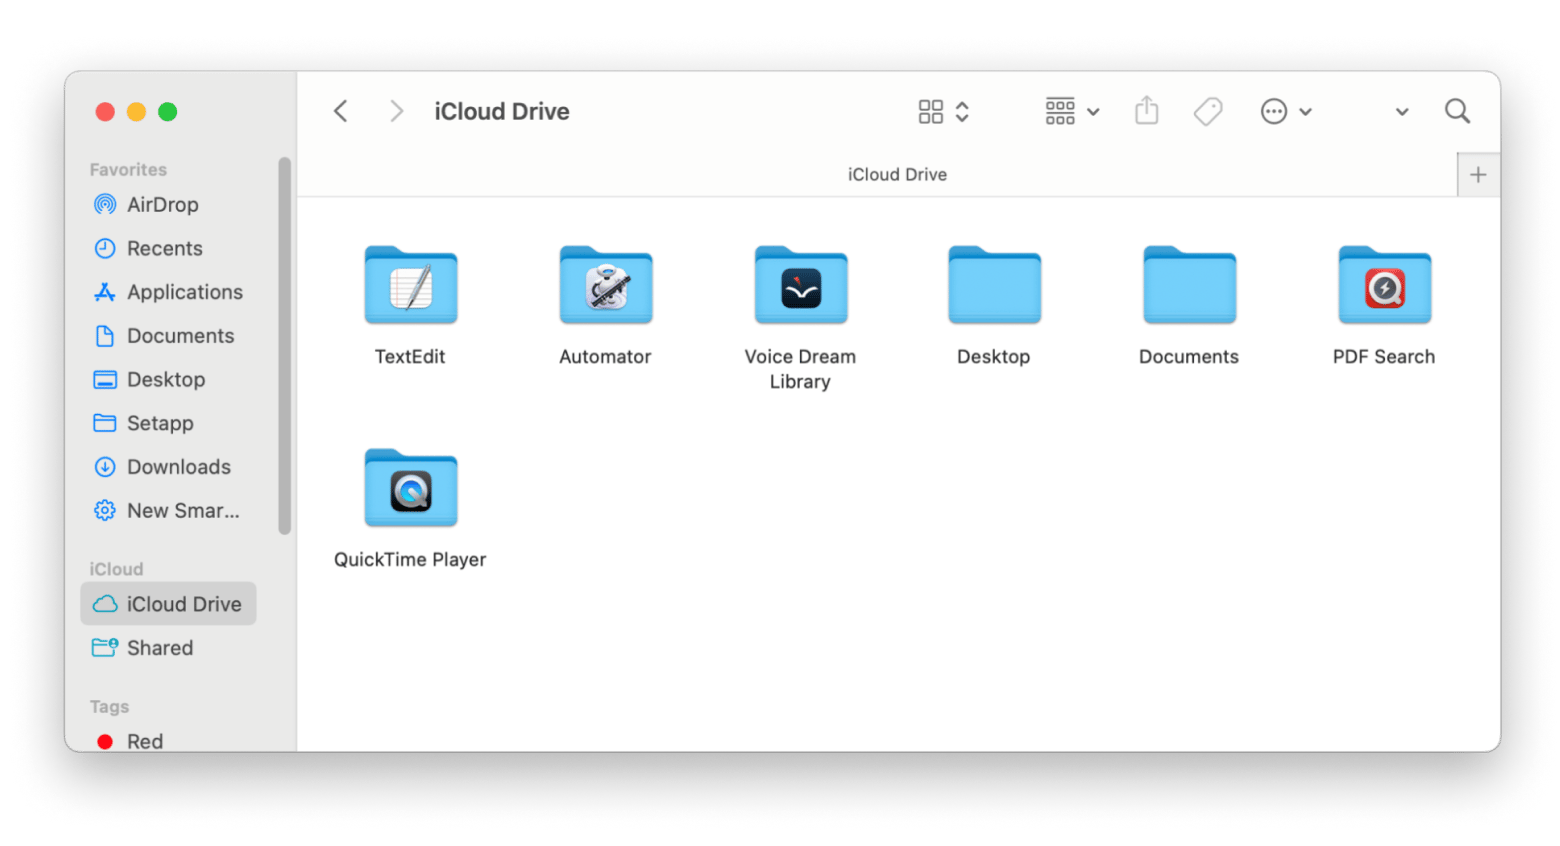
You can organize files in iCloud Drive directly from Finder, and they’ll automatically sync across all your devices with iCloud turned on.
How to access iCloud on Mac (Quick recap)
With all the methods to access iCloud Drive, you can choose one you like the most.
However I always thrive on productivity and better performance, that’s why CloudMounter is a great choice to not just access iCloud storage but manage all clou storages in one place. And AnyTrans for iOS makes file transferring across iOS, iTunes, iCloud, and Mac a piece of cake — because who wants to spend hours on transferring files? Definitely, not me.
Good news! All these apps are available with a 7-day free trial on Setapp. That’s not all — Setapp has dozens of useful macOS and iOS apps for almost every task. So, try now and get your favorite apps in one subscription.
FAQ
How do I access my iCloud from my Mac computer?
To access iCloud on your Mac computer:
- Open System Settings from the Apple menu bar.
- Click Apple ID, sign in, and enable iCloud features.
- Open Finder and select iCloud Drive to access your files.
Or visit iCloud.com in a browser and log in with your Apple ID.
How do I find my iCloud devices on my Mac?
To find your iCloud devices on your Mac:
- Click the Apple menu and choose System Settings.
- Click Apple ID at the top of the sidebar > iCloud.
- Under Saved to iCloud, you should see the list of devices linked to your iCloud account.
How do I access iCloud settings on my Mac?
To access iCloud settings on your Mac:
- Click the Apple menu and choose System Settings.
- Click Apple ID at the top of the sidebar > iCloud.
- Click Manage.


