How to drag and drop on Mac
Drag-and-drop is one of the most basic things you need to know to use your Mac to its fullest. You can move files, rearrange items, move content from one app to another, and do a lot more by dragging and dropping.
On a Mac, you can drag with one or two fingers, so experiment with both methods. Drag Lock and double-tapping can also be used to initiate a drag. Another option is to drag with three fingers. Even better: there are also methods for moving objects smarter and easier. Want to master every method? Keep reading.
How to drag and drop with trackpad or mouse
If you want to know how to drag and drop on Mac, here’s the answer. You can use a wired mouse or a trackpad. The process is almost the same no matter which way you choose. So here’s how to drag and move items on a Mac:
- Select an item you want to drag. This can be an image, a file, or a block of text
- Press and hold the trackpad or mouse button while dragging the item to a new place
- Release the trackpad or mouse button to drop the item in the new location.
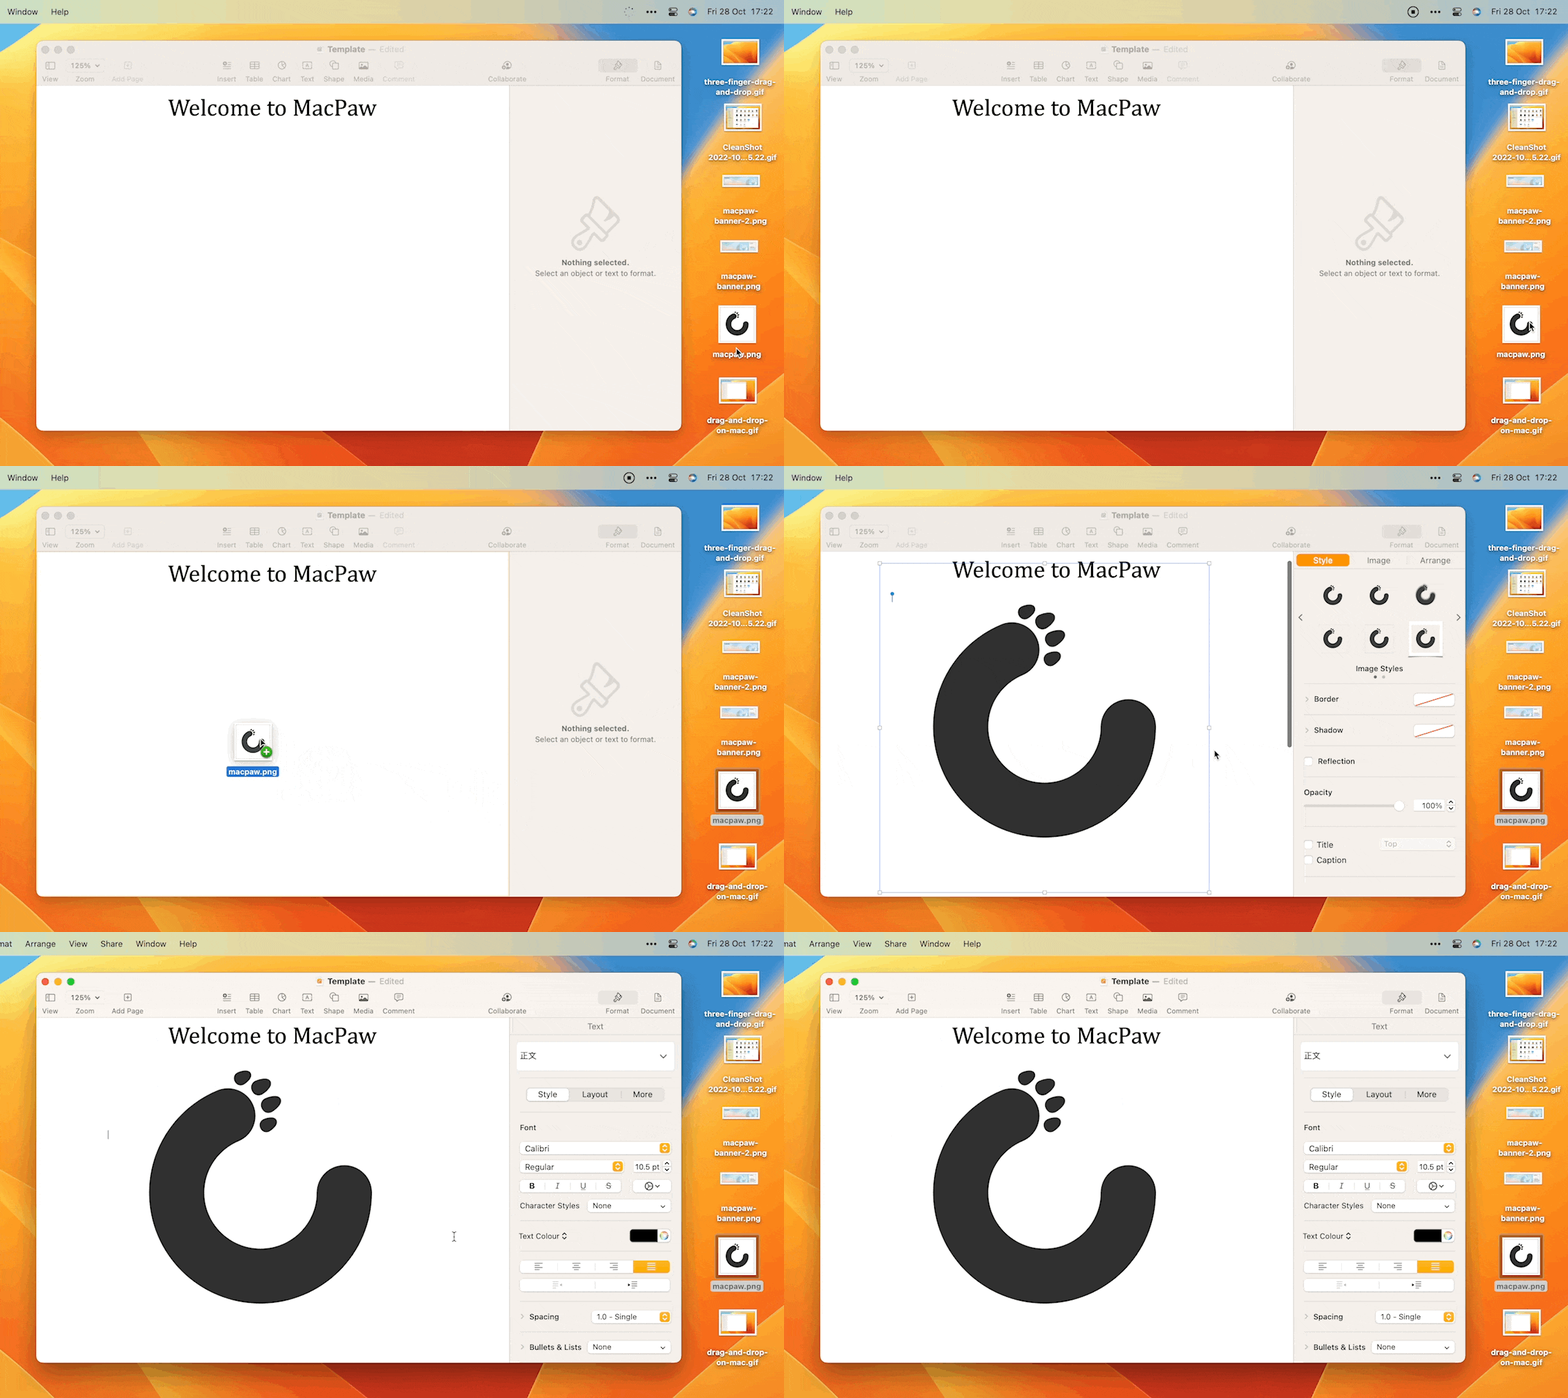
Sometimes, it’s not easy to drag and move items with a trackpad with one finger. So you can also use your first (thumb) finger to click and hold. And then drag with your second (index) finger. While your thumb is holding the click, you can move your index finger anywhere.
Drag and move items with ‘Three-Finger Drag’
If you want to move something in the Finder, on your Desktop, or even in a file you’re working on, you probably click and drag it. Most of the time, that’s fine, but clicking can be uncomfortable or even painful if you have carpal tunnel syndrome or another injury. So, you can use Mac’s Three-Finger Drag feature.
To enable Three-Finger Drag on your Mac trackpad, do the following:
- Go to the Apple menu > System Settings
- Choose Accessibility in the left sidebar
- Then Scroll down to Pointer Control and click on it
- After that, click the Trackpad Options button
- Turn on ‘Use trackpad for dragging,’ under Dragging style, choose Three-Finger Drag from the menu, and click OK.

How to drag and drop with Drag Lock
Now, let’s switch to dragging with Drag Lock. It keeps the dragging locked (the mouse button(s) pressed) even when all your fingers are off the trackpad. This is especially helpful if you can’t reach the drop target with your fingers.
To enable Drag Lock on your Mac trackpad, do the following:
- Go to the Apple menu > System Settings
- Choose Accessibility in the left sidebar
- Then Scroll down to Pointer Control and click on it
- After that, click the Trackpad Options button
- Turn on ‘Use trackpad for dragging,’ under Dragging style, choose With Drag Lock from the menu, and click OK.
Moving files and folders on a Mac with drag and drop
You might also look for a quick way to move files to different folders on Mac especially if you’re coming from Windows. So let’s take a look right away.
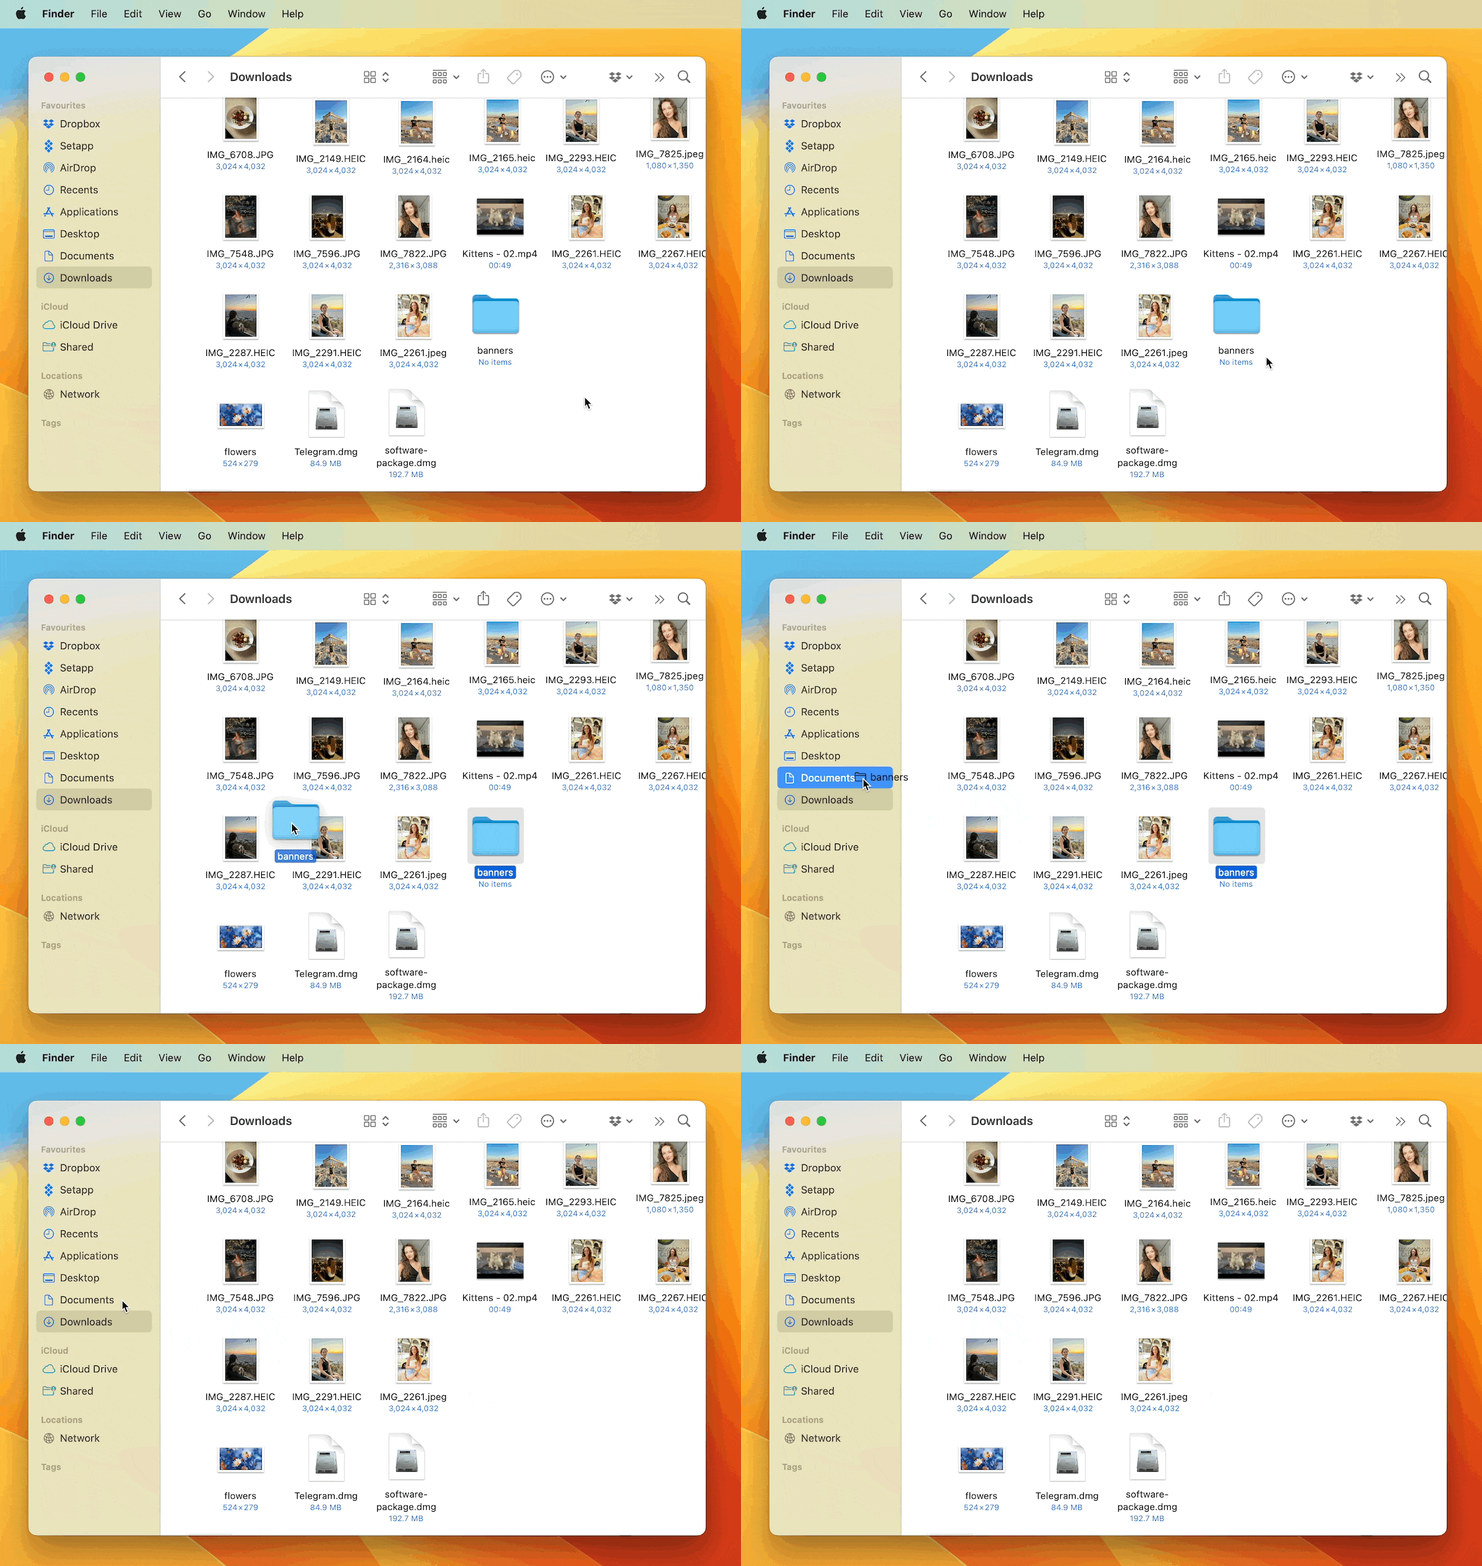
- Start Finder from the Dock and look for the file you want to move
- In Finder, the left pane shows the different places on your Mac. Just drag and drop the file or folder where you want it to go.
Read this article in our blog to know how to find the necessary file faster.
How to drag and drop items from Mac to iPhone or iPad and vice versa
You might wonder if there is a way to drag and drop items from a Mac to an iPad or iPhone. Did you hear about Apple’s Universal Control?
To use the Universal Control feature, sign into a Mac and an iPad or another Mac with the same Apple ID and then keep them close to each other. From there, you can move the cursor to the other device’s screen by using the trackpad on one of your devices. It should go from one screen to the next without any trouble so that you can drag and drop items from one device to another.
Here’s how to enable Universal Control:
On your Mac
- Go to the Apple menu > System Settings
- Click Displays in the left sidebar
- Then click the Advanced button at the bottom of the settings window
- After that, turn on ‘Allow your pointer and keyboard to move between any nearby Mac or iPad’ and click Done.
On your iPad
- Go to Settings
- Tap General, then tap AirPlay & Handoff
- Turn on Cursor and Keyboard. Please note that this setting is available only on iPad models that support the Universal Control feature.
Also, keep in mind that if you’re using an iPad and a Mac, you must have a suitable app open.
Open the Photos app on the iPad first before dragging a photo from the Mac to the tablet, for instance. Open the Files app on your iPad if you have a document you want to move.
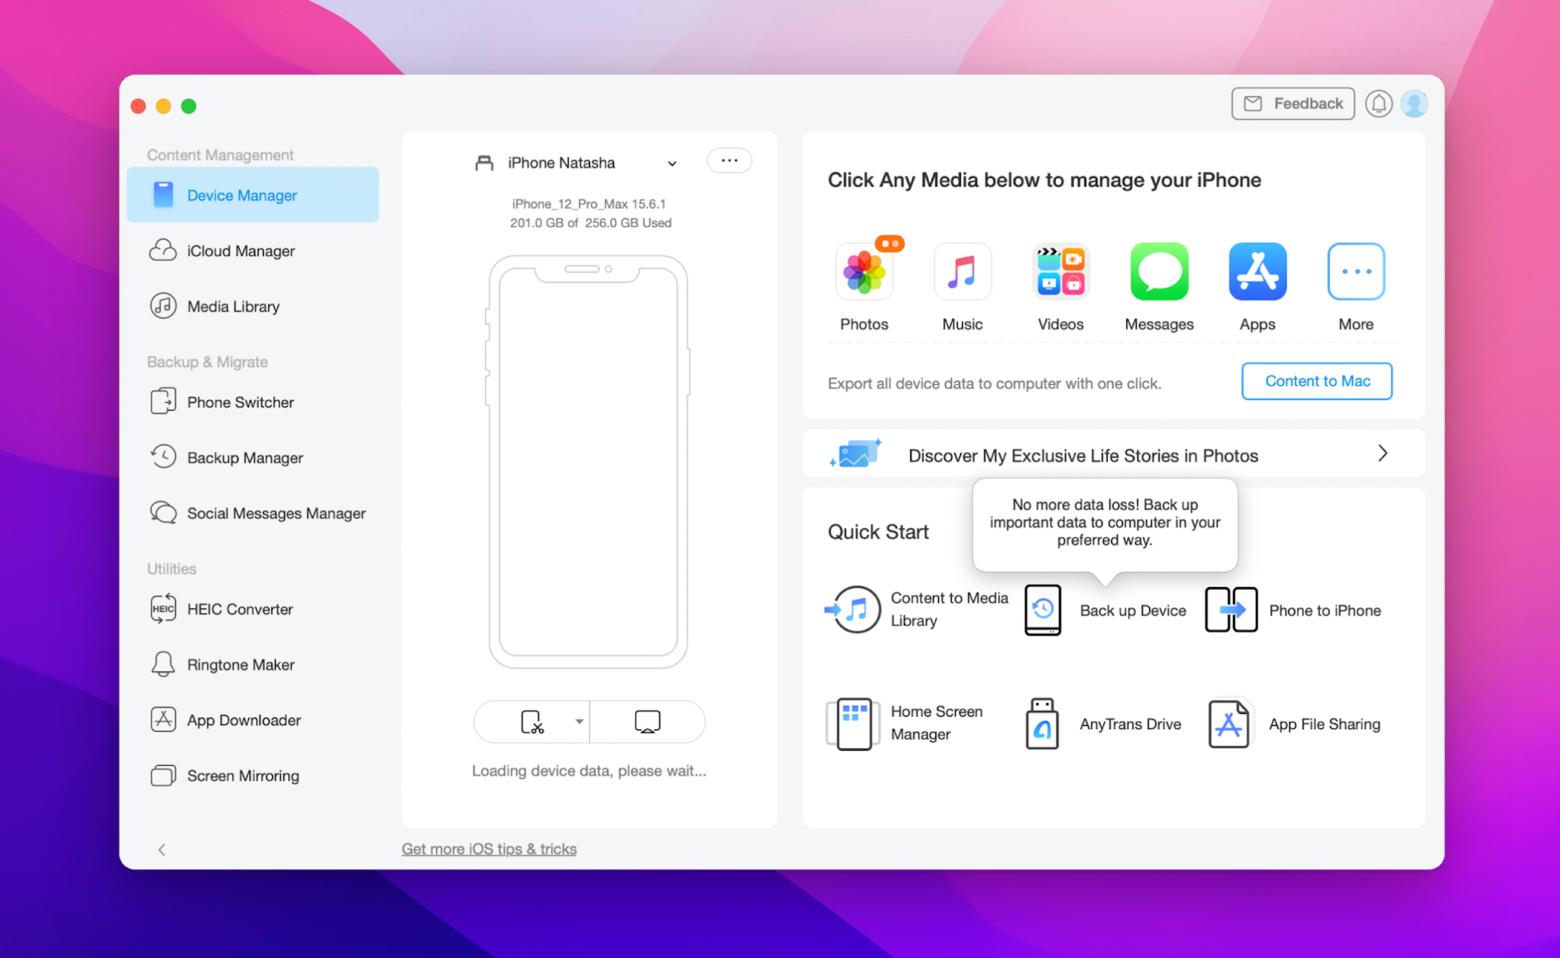
Unfortunately, the feature isn’t available on iPhone, but you can use AnyTrans for iOS instead if you want to move files between macOS and iOS easily.
How to drag and drop on a Mac with ease
Apple created skeuomorphic drag-and-drop, which allows you to move objects that look like documents, files, folders, and photos to new locations, including nesting them inside other folders. That physical/visual metaphor has stayed mostly unchanged in how it functions within the macOS Finder for about 40 years.
Undoubtedly, a drag-and-drop staging area for Mac would be fantastic. As of now, the closest option is to create a folder on the Desktop into which you may drag items, but macOS restricts the types of items you can quickly add to such a folder. Fortunately, under the Apple tree, there may finally be some new growth thanks to the Yoink app. It offers a temporary location to handle dragging objects from the Finder, the Clipboard, and other locations until you’re ready to use them.
When you drag an item or selection in the Finder or any other app, a new window pops up. You can move text from word processors that treat selections as draggable, drag and drop an image from a web page or within an app, and copy email messages from a mail app, among many other things.

Looking for more ways how to drag and drop on Mac with ease? Try Filepane, a handy file manager that will help you move your items quickly and easily to the place you want. As soon as you start dragging, a small window will pop up where you can drop your selection. The best thing: the Filepane app recognizes the types of items you’re putting in and provides you with a list of actions to take.

Drag with difficulty? If you have issues dragging and dropping, read ‘How to fix drag and drop not working on Mac.’
You can also use NotchNook. The app provides a multifunctional helper for your Mac’s notch (and it will work even if your Mac model doesn’t have a notch!) that you can also use as a drag-and-drop assist. NotchNook has a “Tray” where you can drag and drop files for easy access later.
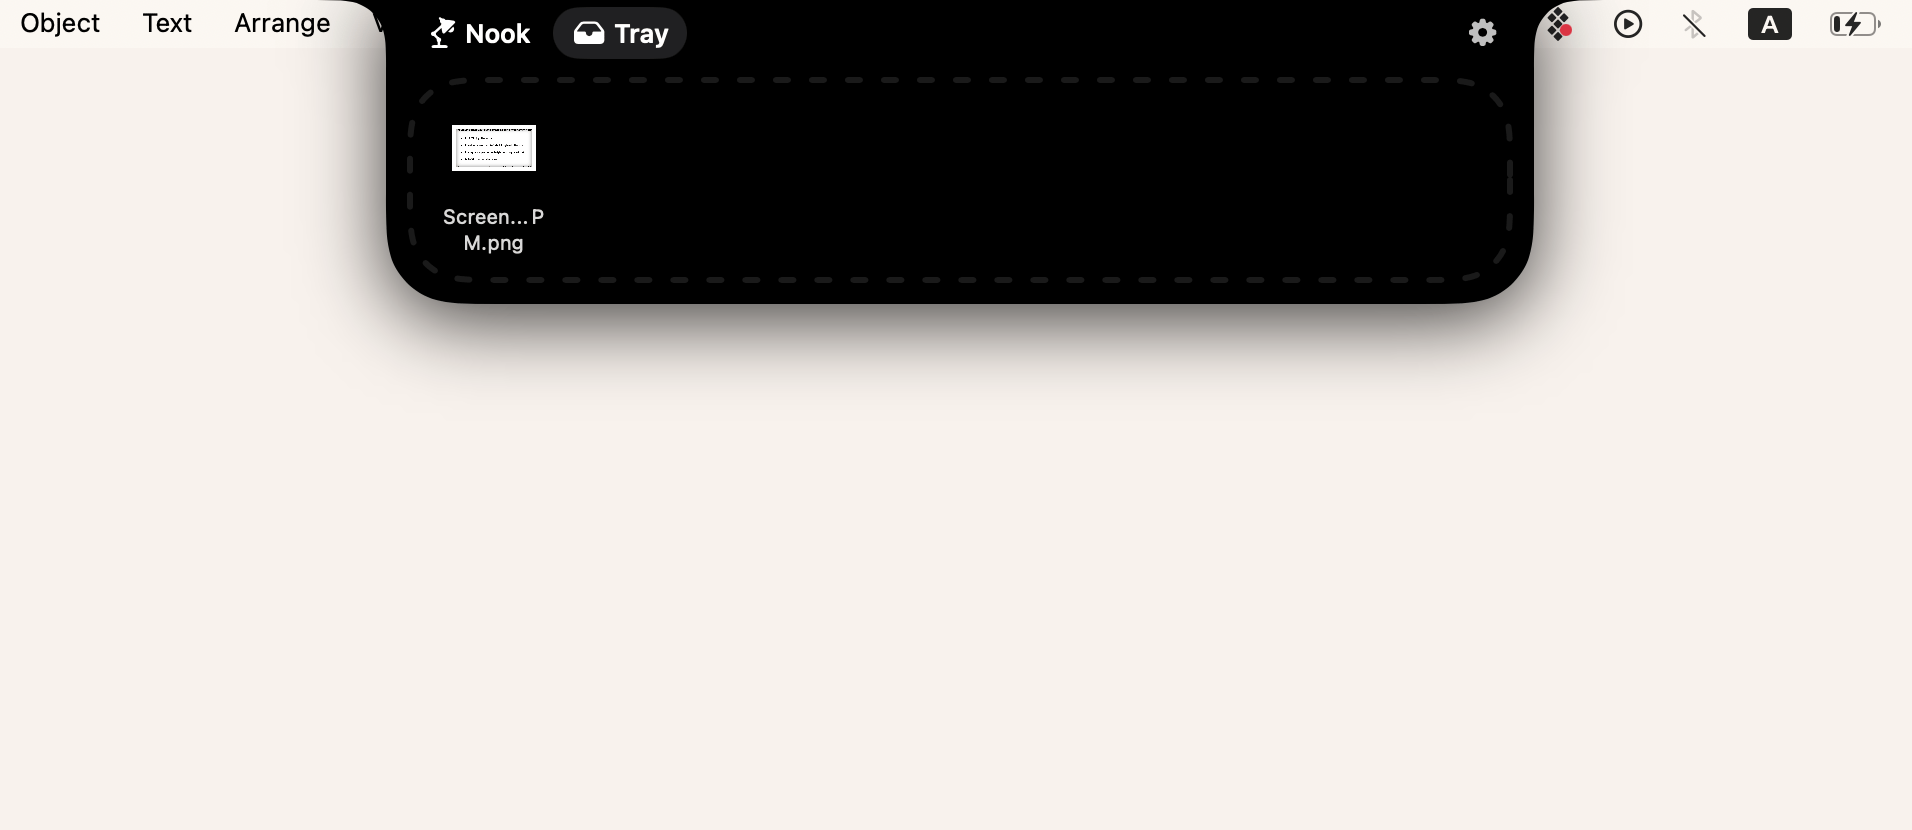
Here's how to AirDrop via NotchNook:

Now you know how to drag and drop on Mac with ease, as well as how to enable Drag Lock in case you can’t reach your drop target with your fingers.
Our advice, however, is to get Yoink, Filepane, and NotchNook to improve drag-and-drop on your Mac. Both apps are available to you at no cost for 7 days through the trial of Setapp, a platform with dozens of useful tools for Mac and iPhone across a variety of categories, from capturing GIFs from your screen (Gifox, CleanShot X) to personalizing your menu bar (Bartender).
Try these and more apps on Setapp with one handy subscription!


