The M1 SSD problem: How to fix external drive not working on Mac with Apple Silicon
There’s nothing more frustrating than storage failure. It could be years of work and great memories just vanishing from your Mac! With M1 chips, the threat is very real due to the fact that it’s impossible to boot your Mac if your internal SSD fails.
How to protect yourself from a disaster? In this article, we guide you through the ways to back up and restore your precious data, as well as explain how to fix external SSD issues.
Why M1 Mac can’t boot from external drive
Macs with the new all-the-rage Apple Silicon chips can’t boot macOS without a working internal SSD. This is due to the new security policy that completely reimagines M1 Mac’s boot and recovery process. The policy is based on the so-called 1 True Recovery (1TR).
To put it simply, 1TR ensures that your startup security information is stored internally — written to an internal 1TR partition. Thus, Apple Silicon Mac won’t boot if the internal storage has failed.
And that would be that. We all know Apple’s SSDs usually live long, and it’s hard to make them fail, so there might be nothing to worry about. But suddenly, the SSD wear issue emerged, which clearly posed a major threat to M1 Macs.
The issue with SSD work on M1 Mac was a mysterious one. Even though users stopped reporting it over time (many say, Apple has fixed the problem with macOS 11.4 update), there’s no doubt something was off — apparently, the amount of data written to the SSD was unusually large. There could be a few possible reasons. Apple says the SSD monitoring tools didn’t work correctly, and some experts assume that the problem was caused by the difficult transition of Intel apps to Apple Silicon. One way or another, we hope the issue is gone for good.
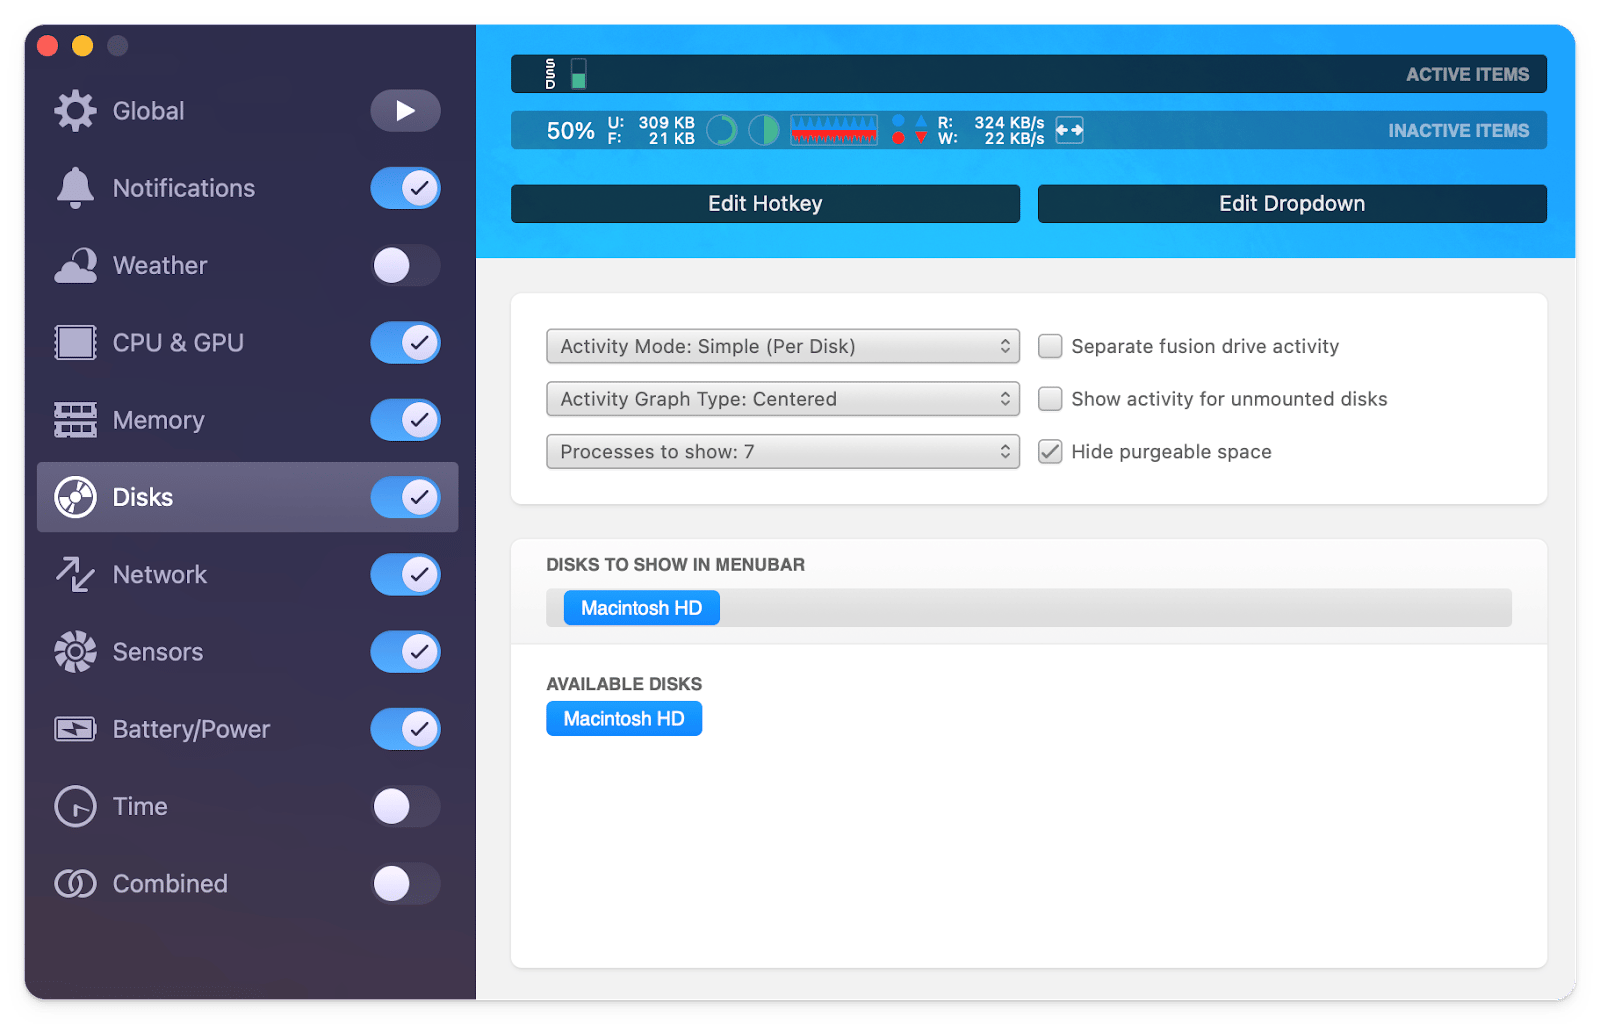
Before we move on to external SSD, let us share a quick method to keep an eye on SSD (in real-time!) — iStat Menus. The system monitoring app adds a SSD module to your menu bar, which lets you track SSD usage by disk — so you can check both internal and external SSD — and gives you useful insights such as SSD lifetime left.
How to make external SSD work on M1 Macs
The shift to M1 inevitably caused many incompatibility issues, both with software and hardware. External hard drive not working on the M1 Mac can be one of the outcomes of such incompatibility. Below we guide you through a few working methods to make external SSD work on an M1 Mac.
Check external disk drive information on M1 Mac
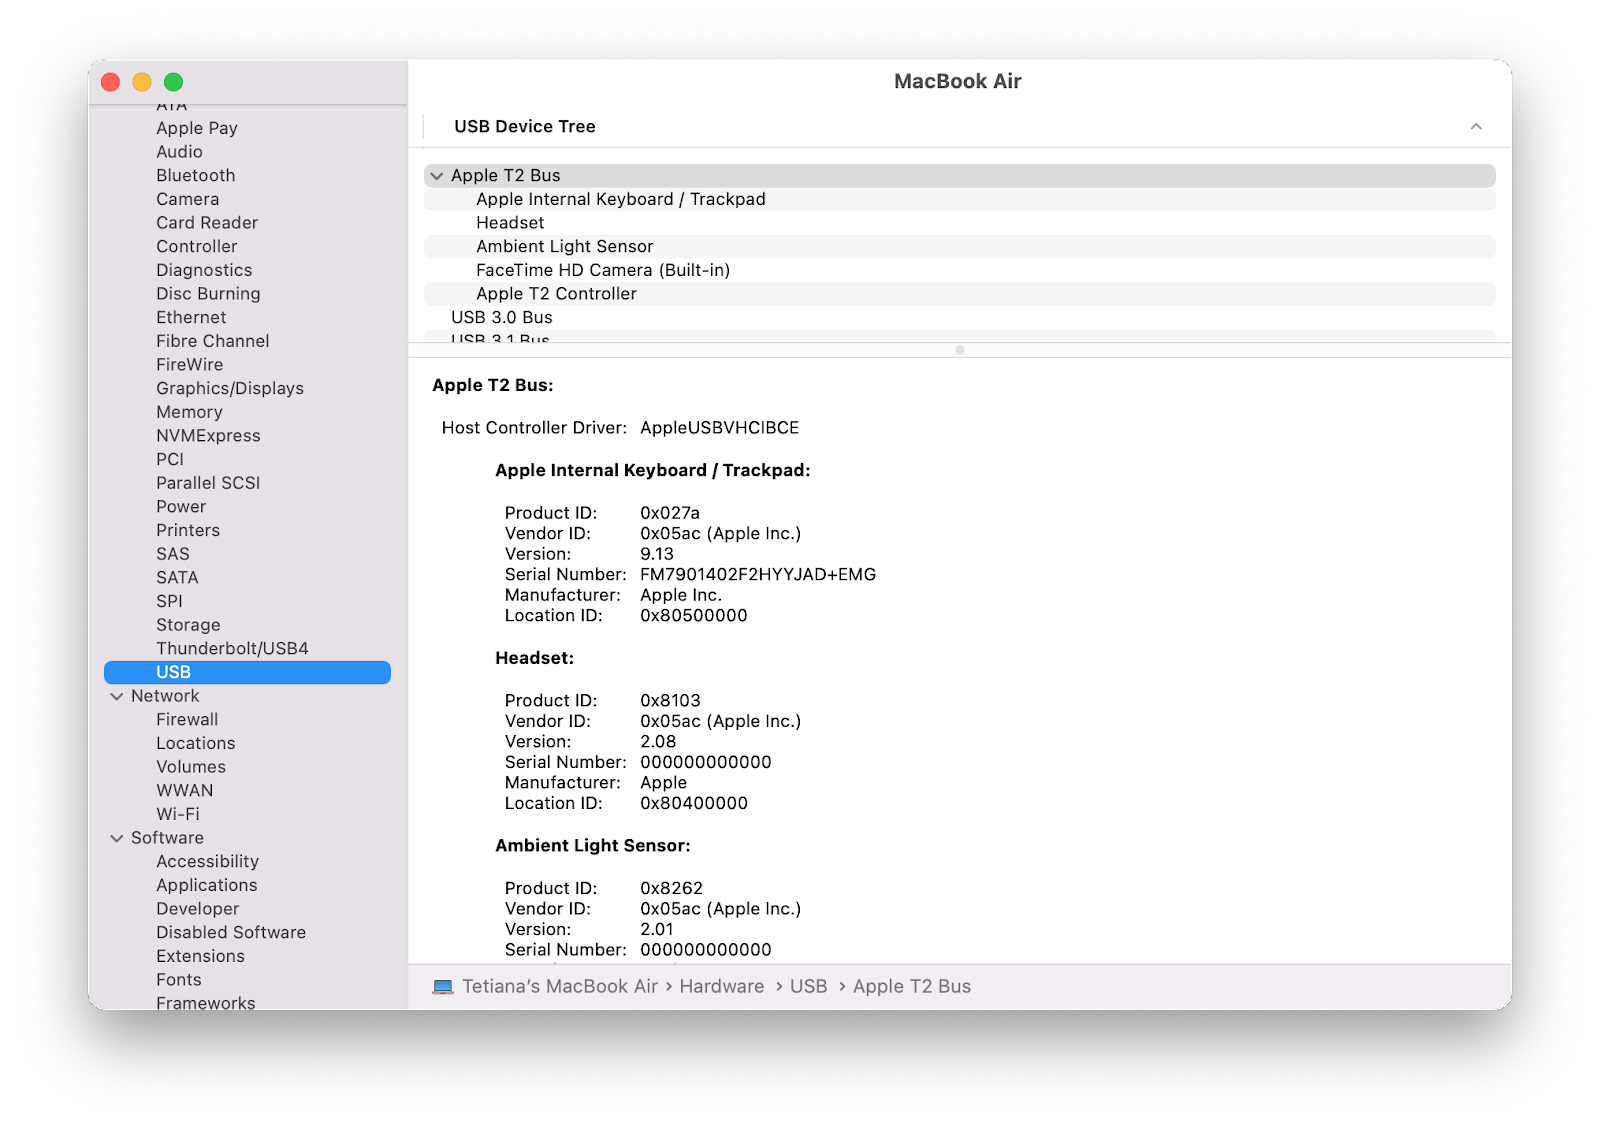
This first step will help you determine whether there’s some hardware issue that makes your external drive unmountable, or whether it’s a result of a software problem:
- In the Apple menu, choose About This Mac
- Click System Report
- Look for your external SSD in the sidebar (under USB or Thunderbolt).
If you can’t locate your external SSD, you’re most likely dealing with a faulty SSD or ports (so basically it’s a hardware issue). If your Mac has recognized the SSD, the SSD itself is fine but something’s wrong with how that SSD interacts with your system — we recommend checking if the drive is encrypted and making sure your macOS is updated.
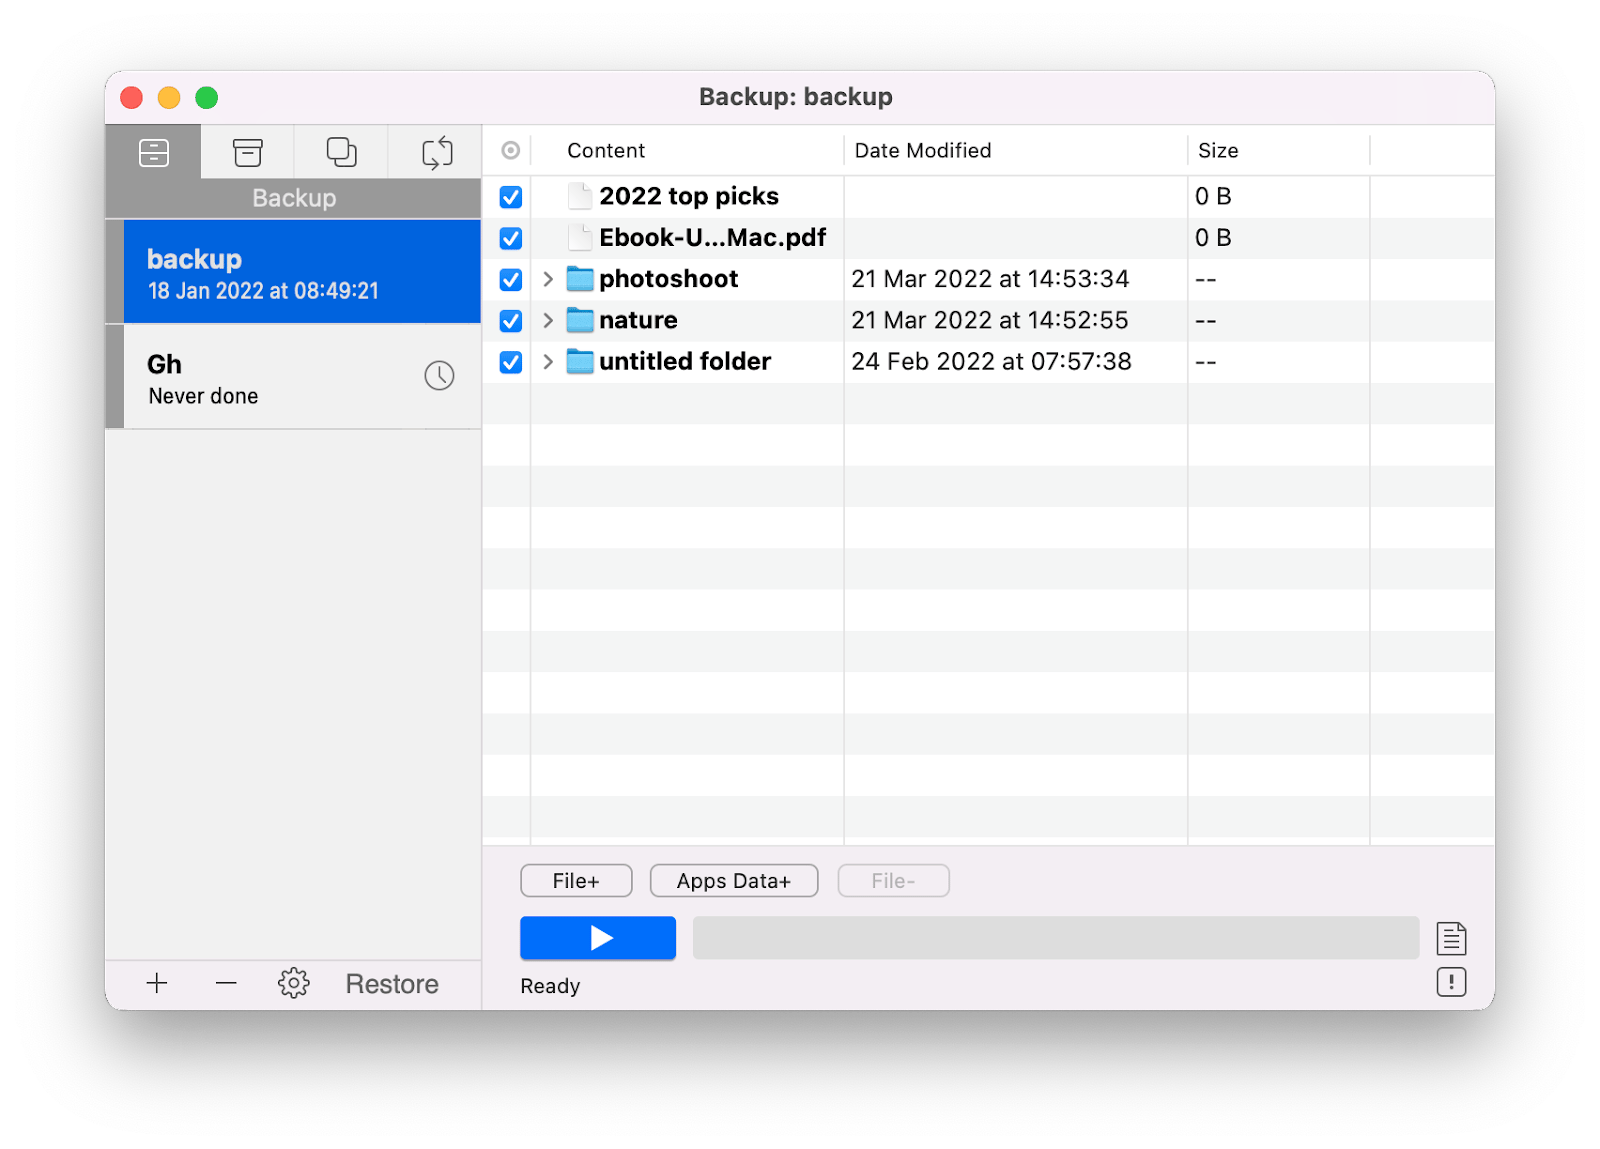
Tip: Always back your external drive up — whether it’s a bootable clone of your disk or just a couple of files you don’t want to lose. If you encounter the unmountable portable SSD M1 issue, you can rest assured your data is safe.
Get Backup Pro guarantees the most flexible backup process:
- You can create bootable clones to easily reinstall macOS from
- You can fully control the backup schedule
- You can back up only select files and not the entire disk
- You get a 60% better backup compression than with Time Machine.
Check USB ports
If your Mac can’t “see” your SSD, check if the ports are okay. Very often, Mac users employ USB adapters and hubs to connect their external devices, and those hubs can cause trouble because external SSDs might need more power to mount on an M1 Mac. Or, your Mac’s own ports might be malfunctioning. Here’s what we recommend:
- Disconnect your hub/adapter and try connecting the SSD to your Mac’s native port
- Connect SSD to a different port
- Disconnect and reconnect your SSD
- If you’re using a self-powered hub, make sure it’s connected to an AC adapter.
Check if your SSD is encrypted
Depending on the provider of your SSD, there might be encryption enabled by default. So here’s what could happen: your external SSD requires a password to mount on M1 Mac, but the software that should be used to enter that password is outdated and incompatible with M1. As a result, your Mac shows the error saying the SSD can’t be mounted.
To check if encryption is the issue, try connecting your SSD to another computer (preferably, an Intel one). Alternatively, you can try installing a third-party extension that will help you update your SSD software and unlock the external drive on M1 Mac (look for instructions from the SSD provider).
Run First Aid to repair SSD drive on M1 Mac
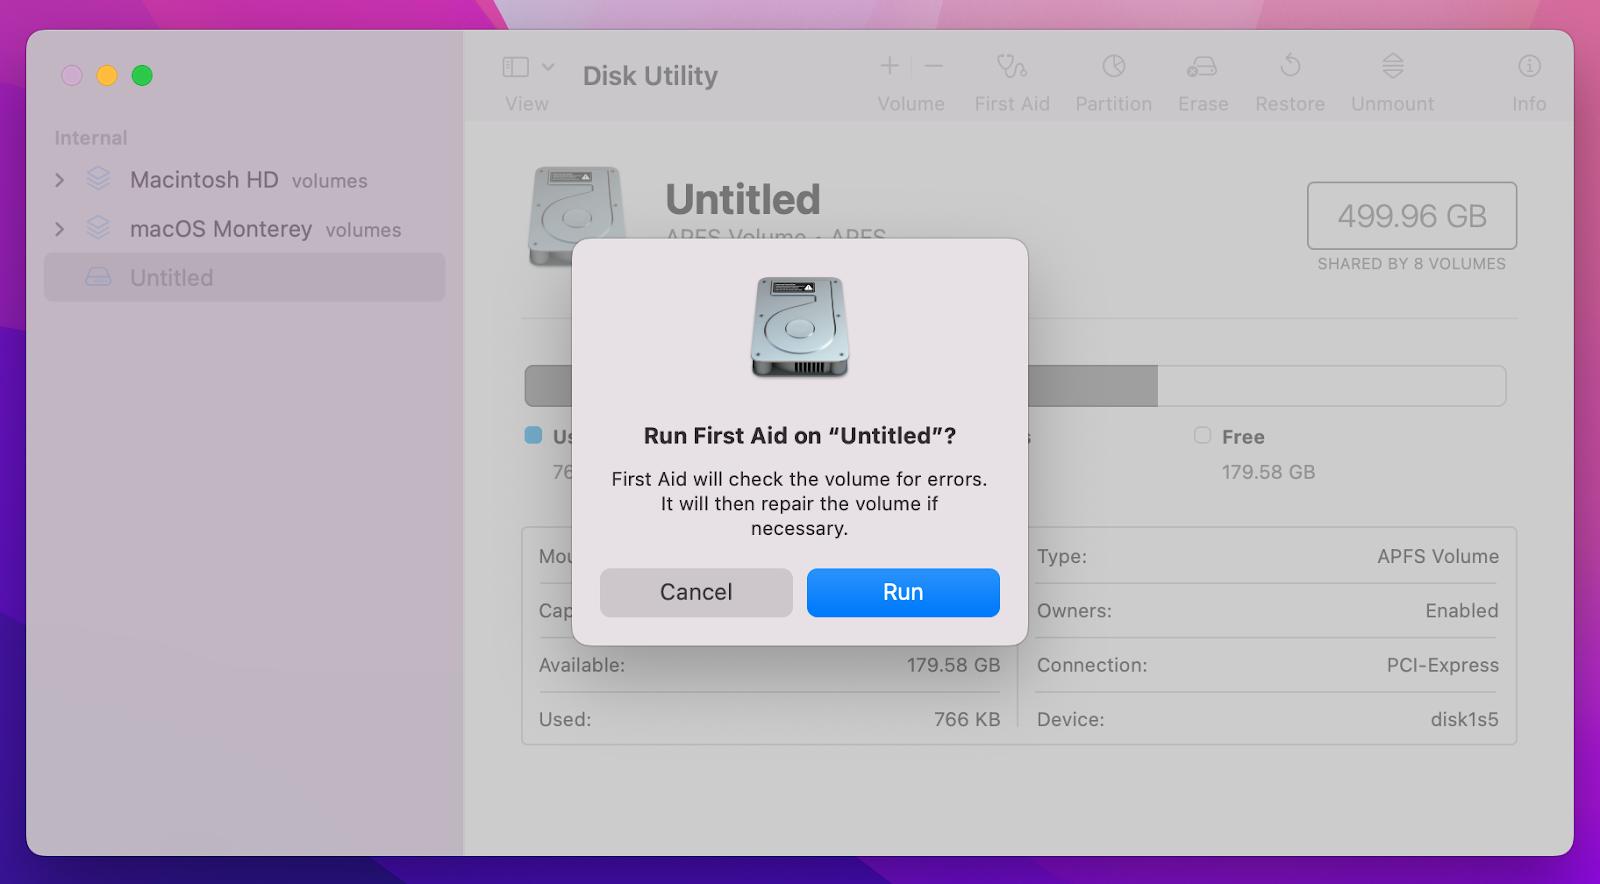
Sometimes, it really takes a few minutes to repair your external SSD (mainly, if there’s some kind of file system corruption). First Aid will help resolve the issue:
- Open Finder > Go > Utilities
- Choose Disk Utility
- Choose your external SSD and click First Aid
- Click Run to repair the SSD (it might take a few minutes).
Update macOS to the latest version
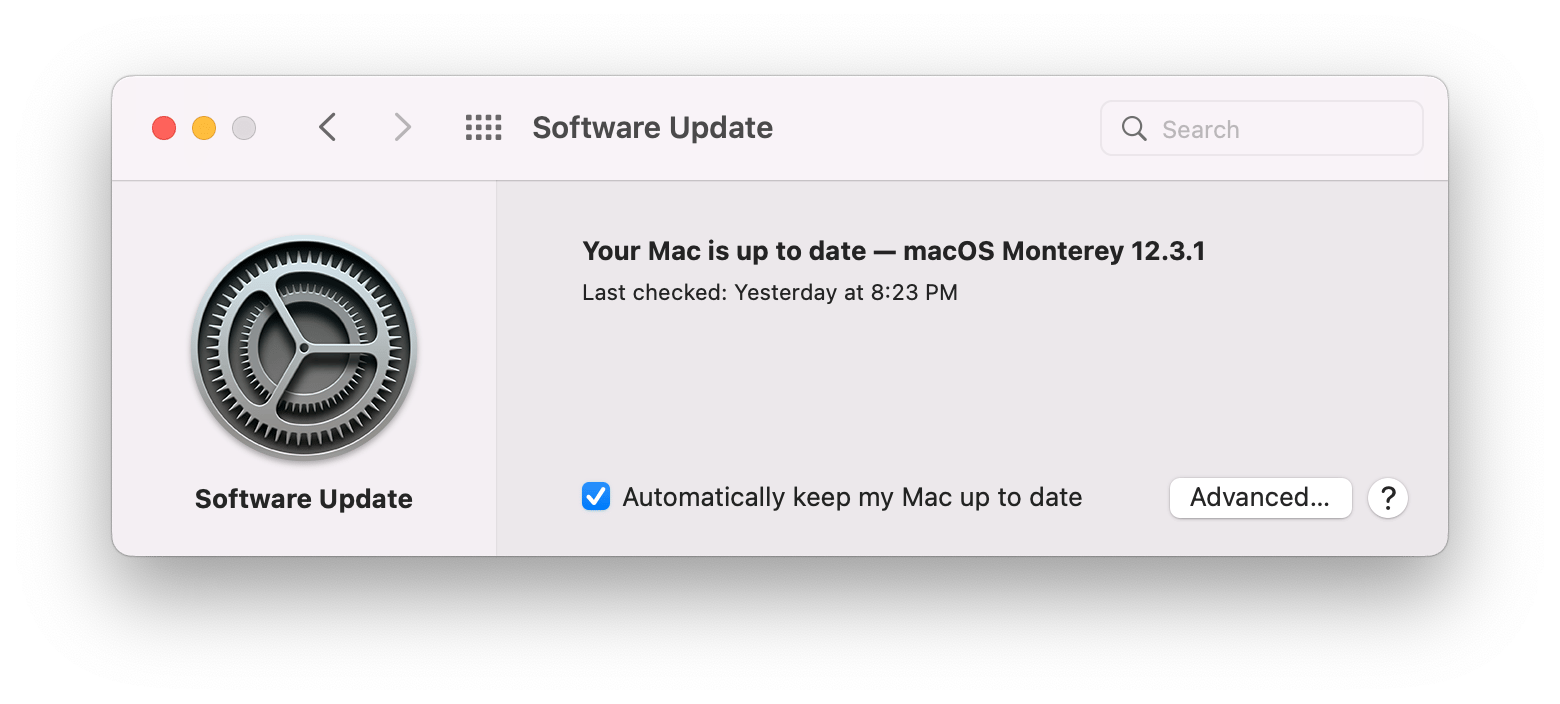
The fresher your macOS, the fewer incompatibility issues you’ll encounter. So make sure you always keep it updated. On M1 Macs, you can run macOS updates right from the Apple menu > About This Mac > Software Update, so it’s no trouble at all. Just make sure you have an external bootable backup of your data prepared with Get Backup Pro in advance.
Recover data and reformat your SSD
Reformatting a drive always sounds scary because it usually means you have to erase all the data from it. But here’s why you shouldn’t worry:
- Before reformatting, you can try making the SSD mountable with a tool like iBoysoft NTFS for Mac. Of course it will only work with SSDs that are formatted as NTFS — the format that is not natively supported by macOS. iBoysoft enables read and write support for NTFS drives on Mac, so you might fix the issue without erasing your SSD!
- After you secure your data, you can go ahead erasing your SSD (in case nothing else solves the problem):
- With your external SSD connected, access Disk Utility via Spotlight
- In Disk Utility, select the SSD drive from the sidebar
- Access the Erase tab
- Select APFS/HFS+ and click Erase.
Is M1 Mac mini SSD upgradeable?
Many people wonder if it’s possible to upgrade the internal SSD on an M1 Mac mini. Even though it was reported some Chinese technicians succeeded in expanding M1 Mac’s SSD, Apple doesn’t allow any changes with internal processors, RAM, and SSD on Apple Silicon.
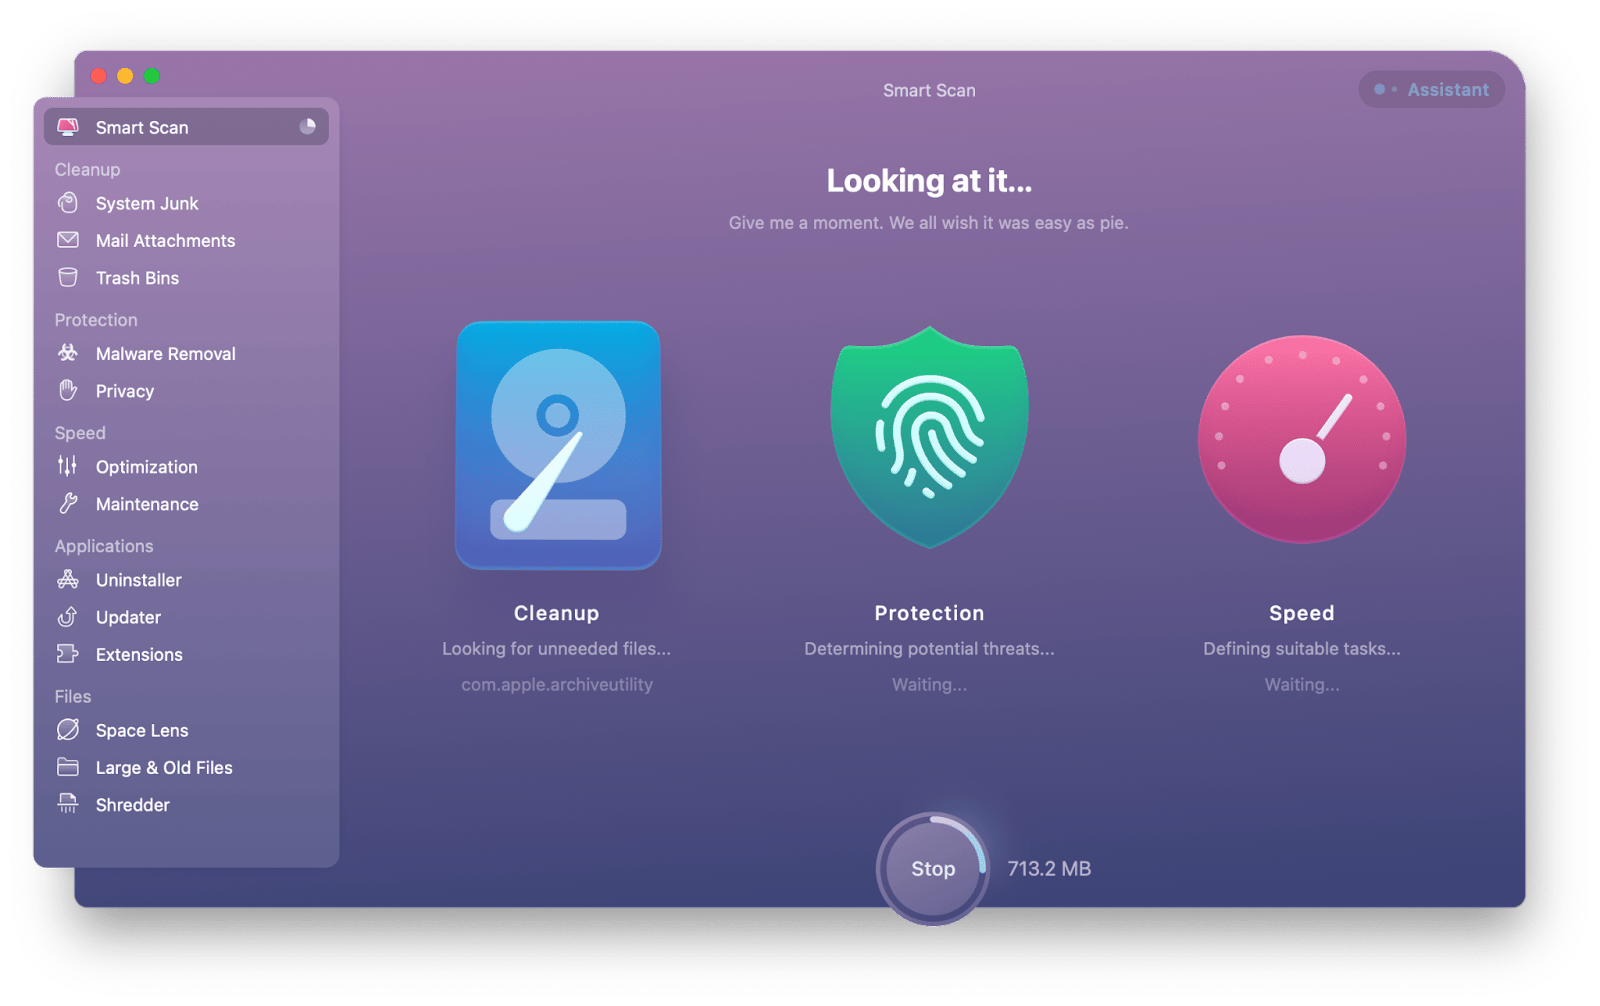
However, you always have two solutions — you can either use an external SSD to expand storage, or upgrade your internal storage with CleanMyMac X, a clutter removal and optimization tool for Mac.
How to boot your M1 Mac from an external SSD
With the introduction of new chips, Apple also added a new recovery option called System Recovery, due to the new security practices. Truth is, booting from an external drive still remains the best option, especially if you don’t want to lose your data.
Here’s how to create a bootable installer for an M1 Mac:
- Prepare a native Thunderbolt 3 drive formatted as APFS
- Download a macOS installer from the App Store
- Save the installer directly to your external SSD. If you want to make it a bootable clone, Get Backup Pro has a great feature for the job
- After your Mac restarts, it will boot from the external SSD automatically
- Unmount your SSD and switch to the internal drive.
Here’s how to boot your M1 Mac from an external SSD:
- Turn off your Mac and connect the bootable drive
- Press and hold the power button to turn on your M1 Mac
- Select the bootable drive from Startup Options
- Your Mac will boot from the external SSD.
Ensure smooth SSD work on M1 Mac
Apple Silicon Mac won’t boot if the internal storage has failed. But you shouldn’t worry much about that! Internal SSDs can last many years and a complete failure is very unlikely. Plus, you can always rely on your external SSD, which should work pretty well as long as you follow the recommendations we shared in this article.
We also recommend getting iBoysoft NTFS for Mac, so you don’t have trouble with incompatible NTFS format; CleanMyMac X — to optimize your internal storage; and Get Backup Pro — to create a secure bootable clone of your files that will remain available even if your internal drive fails.
Setapp has all these apps, and you can try them for 7 days free. And of course, Setapp has ready-to-use toolkits for your Mac’s security and stability, so you don’t have to dig around, looking for the tools you need. Hope you make good use of it!


