How to back up your Mac: A guide for people who’d rather not
- Use Get Backup Pro for flexible and efficient backups
Get Backup Pro offers customizable backup types (simple copy, clone, incremental, and versioned) and uses up to 60% less space than Time Machine. You can schedule backups or run them manually, making it perfect for anyone who wants control and efficiency. - Recover lost files with iBoysoft Data Recovery
If you’ve already lost data, iBoysoft Data Recovery can help you restore files from internal and external drives, even if your Mac won’t boot. Open the app, select your drive, click “Search for Lost Data,” preview your files, and click “Recover.” - Keep cloud and manual backups for extra safety
You can back up important folders to Dropbox, OneDrive, or Google Drive for easy access across devices, or manually copy files to an external hard drive. Just remember: these are secondary backups, not full system ones. - Automate your backup routine to make it stress-free
Combine automatic schedules in Get Backup Pro with small habits, like Friday reminders or keeping your external drive nearby. Once set up, your Mac will stay protected without you having to think about it. - Access all essential Mac tools in one place with Setapp
Get iBoysoft Data Recovery, Get Backup Pro, CleanMyMac, and 250+ other Mac and iOS apps under a single Setapp subscription. It’s an all-in-one toolkit to protect, optimize, and maintain your Mac effortlessly. Try 7 days for free.
In today’s world, our most valuable assets are often digital, and backing them up is essential. The problem is, the process can feel tedious.
As someone who avoided backups for years, I’ve been there. To make peace with the process, I had to find tools that were convenient and create a system that didn’t stress me out. So, let me share the best ways to back up a Mac, depending on the backup destination of your choice.
How to back up your Mac: Quick solutions
To save you time, I've organized the key solutions from this article into this handy table. If you feel confident, just use these instructions. If you need a more detailed guide, click on the link in the left column to jump to the solution. I also share my personal tips and stories there.
| Solution type | Your guide |
| Recover lost files with iBoysoft Data Recovery | Download and open iBoysoft Data Recovery > Choose drive > Search for Lost Data. |
| Backup with Time Machine | Connect an external drive, go to System Settings > General > Time Machine, and select the drive. |
| Backup with Get Backup Pro (to back up the entire Mac or separate files) | Download and open Get Backup Pro, select backup type, add files, schedule if needed, and click Run. |
| Manual backup to external drive | Connect an external drive, copy files manually, and organize as needed. |
| Sync files | Download and open ChronoSync Express, set folders for sync, and create a schedule for regular backups. |
| Cloud backup (Dropbox, etc.) | Use the app’s settings to select folders and enable auto-backups (e.g., Dropbox > Preferences > Backups). |
| Create a bootable backup | Use Disk Utility to partition a drive, add a macOS installer, and save a backup with Get Backup Pro. |
Need quick solutions for troubleshooting? Check out this ChatGPT Assistant for Mac that helps you with quick & easy solutions. Simply describe the problem, and it’ll help you fix it.
Recover lost or deleted files on Mac with iBoysoft Data Recovery
I think most of us can agree it's easy to forget to back up a Mac. One time, I was so overwhelmed by my busy schedule that I skipped backups for weeks until I lost all my data. The lesson here is: don't ignore it!
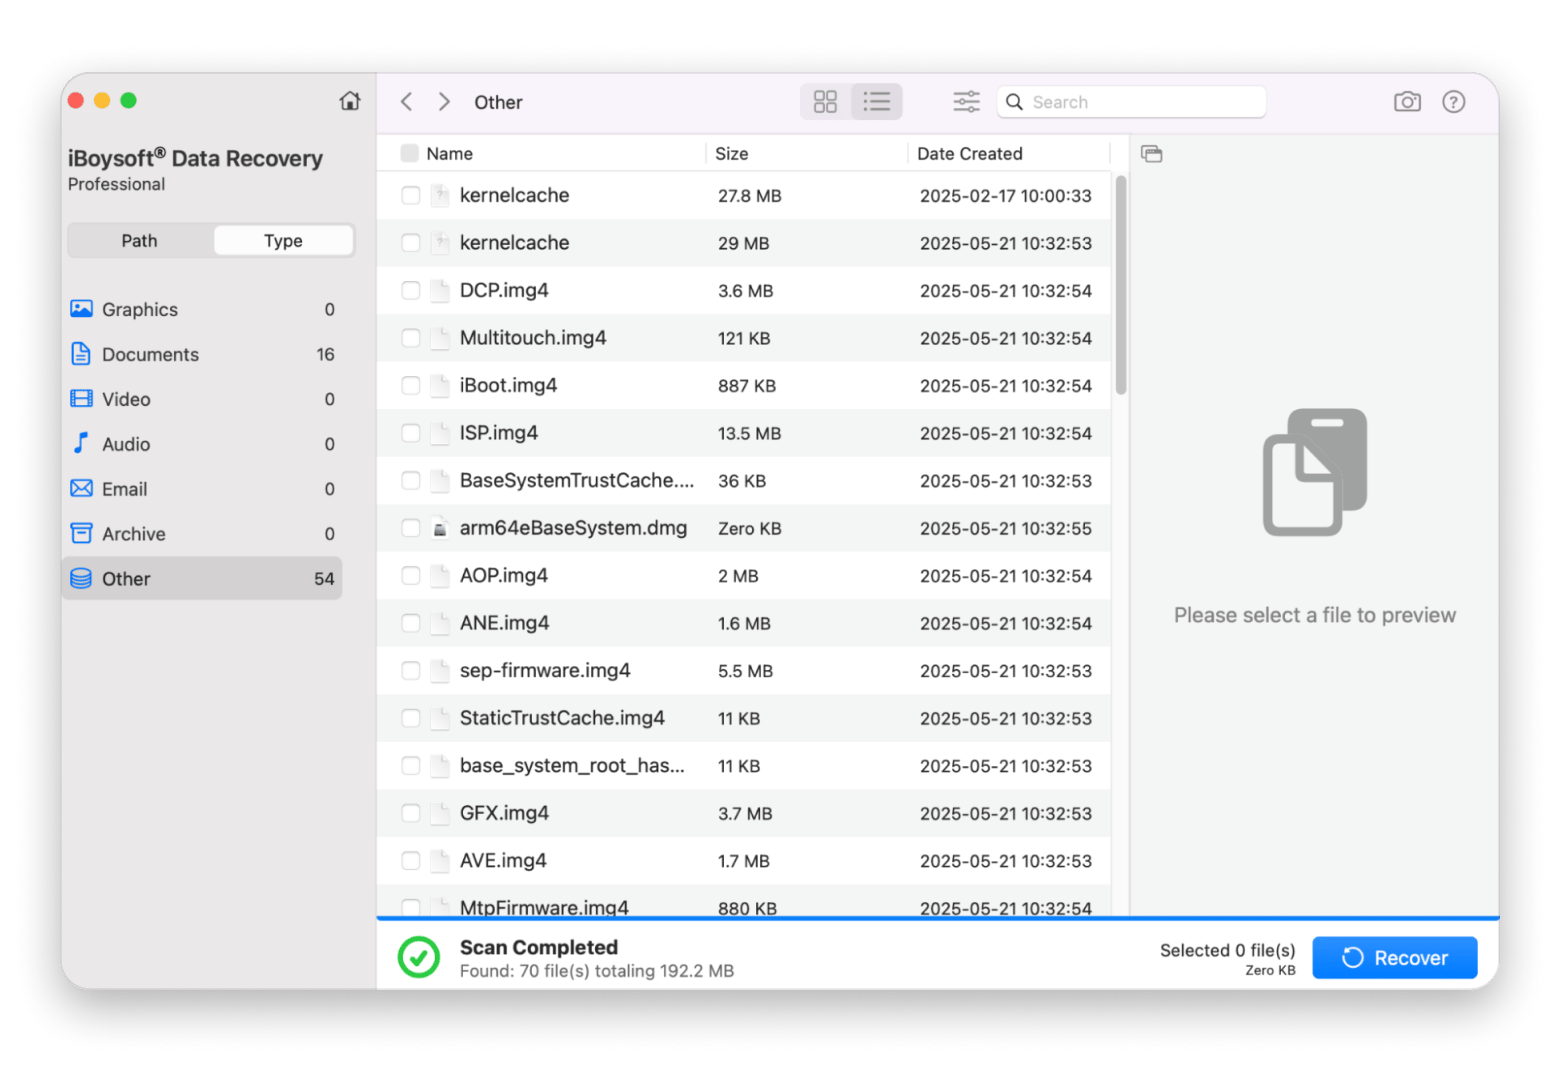
If the worst happens, you can still recover lost files on Mac with iBoysoft Data Recovery.
Here’s how to use iBoysoft Data Recovery to bring your files back:
- Install and open iBoysoft Data Recovery, then choose the disk where your files were stored.
- Click Search for Lost Data to find recoverable items.
- Select a file > Click Preview on the right pane.
- Click Recover.
Whether you deleted something by mistake, are dealing with a corrupted drive, or a system crash that made your Mac unbootable, iBoysoft Data Recovery can help you recover data in any situation.
How to back up your Mac using Time Machine
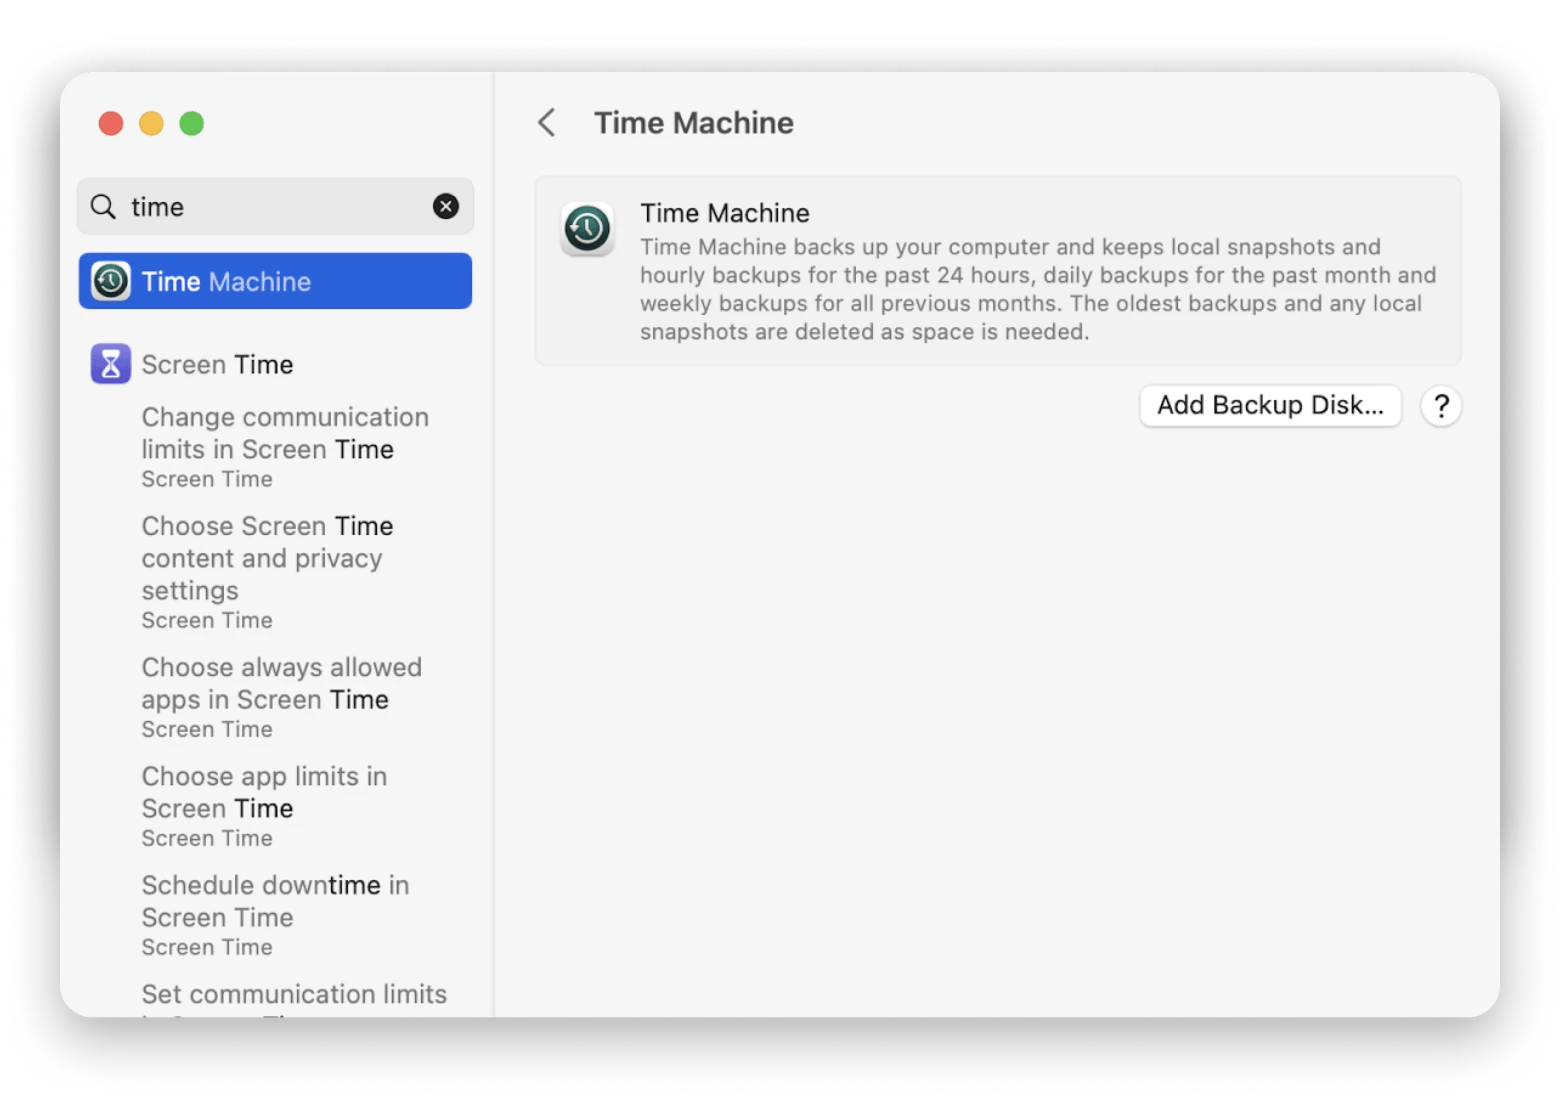
Time Machine is a default utility that lets you back up your Mac to an external hard drive for free (you need to buy the external hard drive).
Use the hard drive only for Time Machine backups and avoid storing other files on it. Ideally, it should be double the capacity of the hard drive on your Mac.
To set up Time Machine:
- Connect an external hard drive.
- Go to System Settings > General > Time Machine.
- Choose your storage drive.
- Follow the instructions provided.
You can check the progress of Time Machine at any time by clicking its menu bar icon. If you want to adjust how often backups run, you can do that in Time Machine settings.
My experience with Time Machine and its alternatives
When I first started making backups, Time Machine was my go-to tool. But over time, I ran into some shortcomings that I couldn't get around.
For example, the backups were quite large (that's just how Time Machine works). So, I started testing alternative apps and came across Get Backup Pro, which has become my go-to backup tool for several years now.
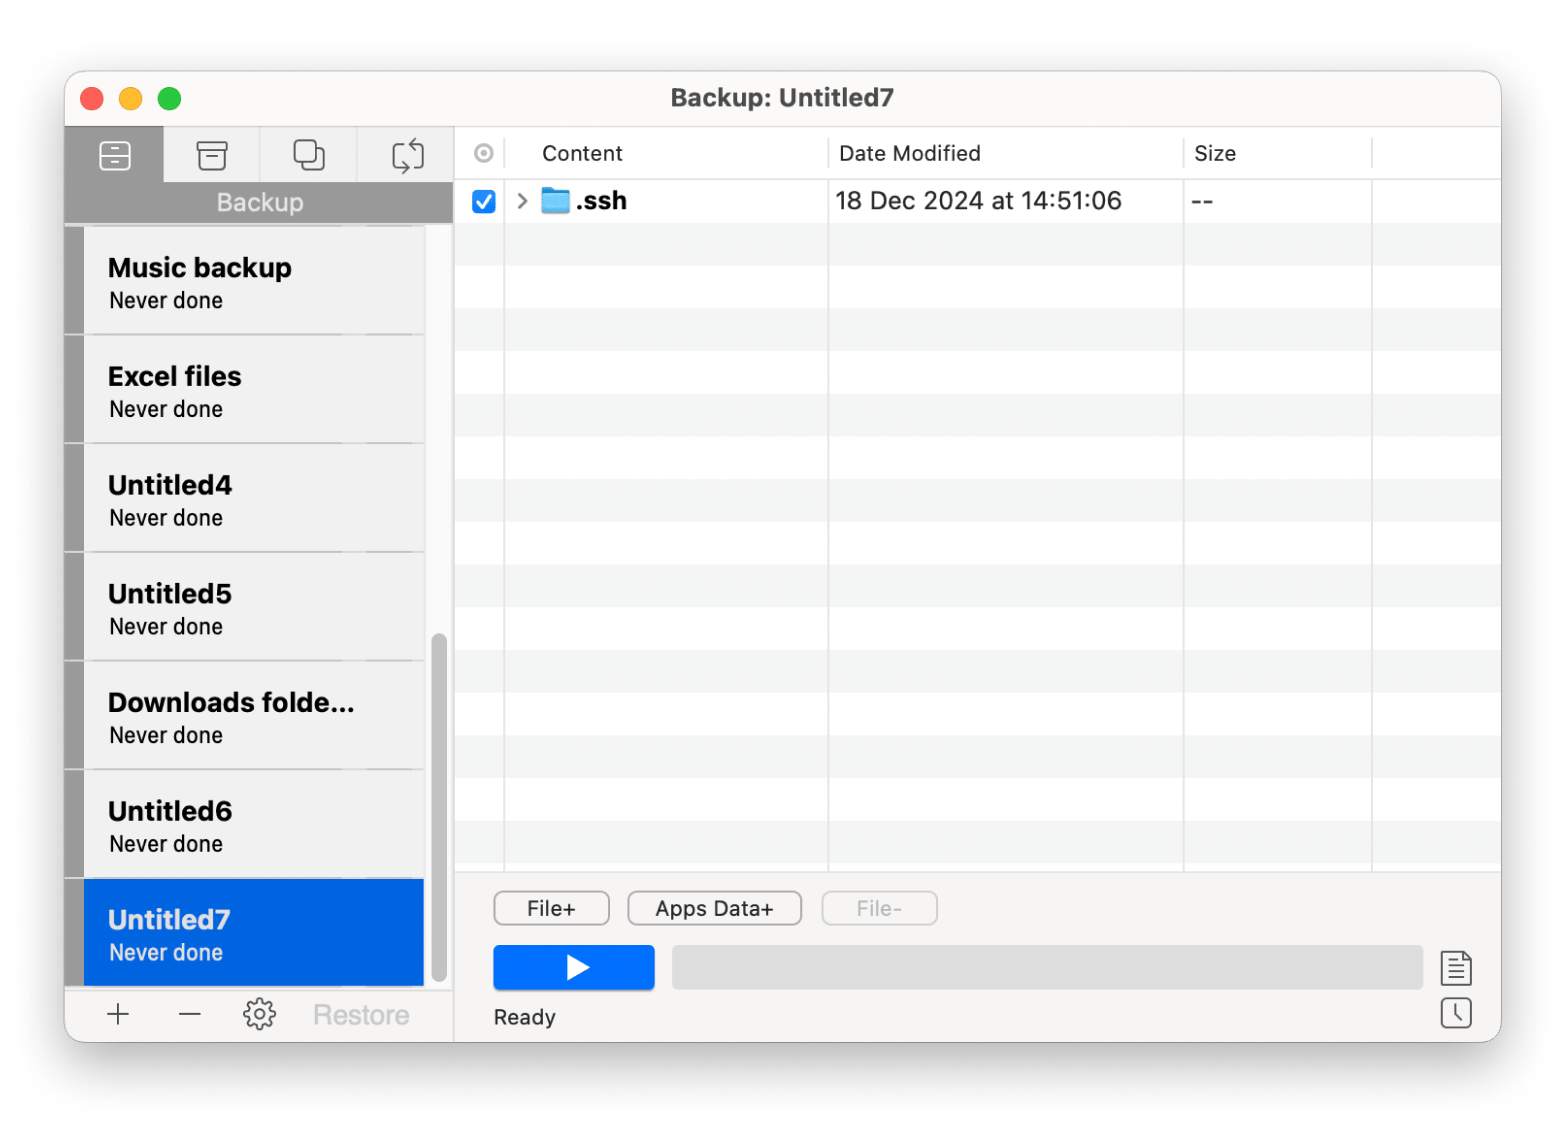
Get Backup Pro is a customizable and reliable backup utility to prevent any data-loss catastrophe. It offers four backup methods: simple copy, clone (bootable), incremental, and versioned, and its archives take up to 60% less space than Time Machine's.
How to restore a Mac from a backup
When you have a Mac backup with Time Machine in place, it’s easy to recover your whole Mac, a specific app, or a few files as needed.
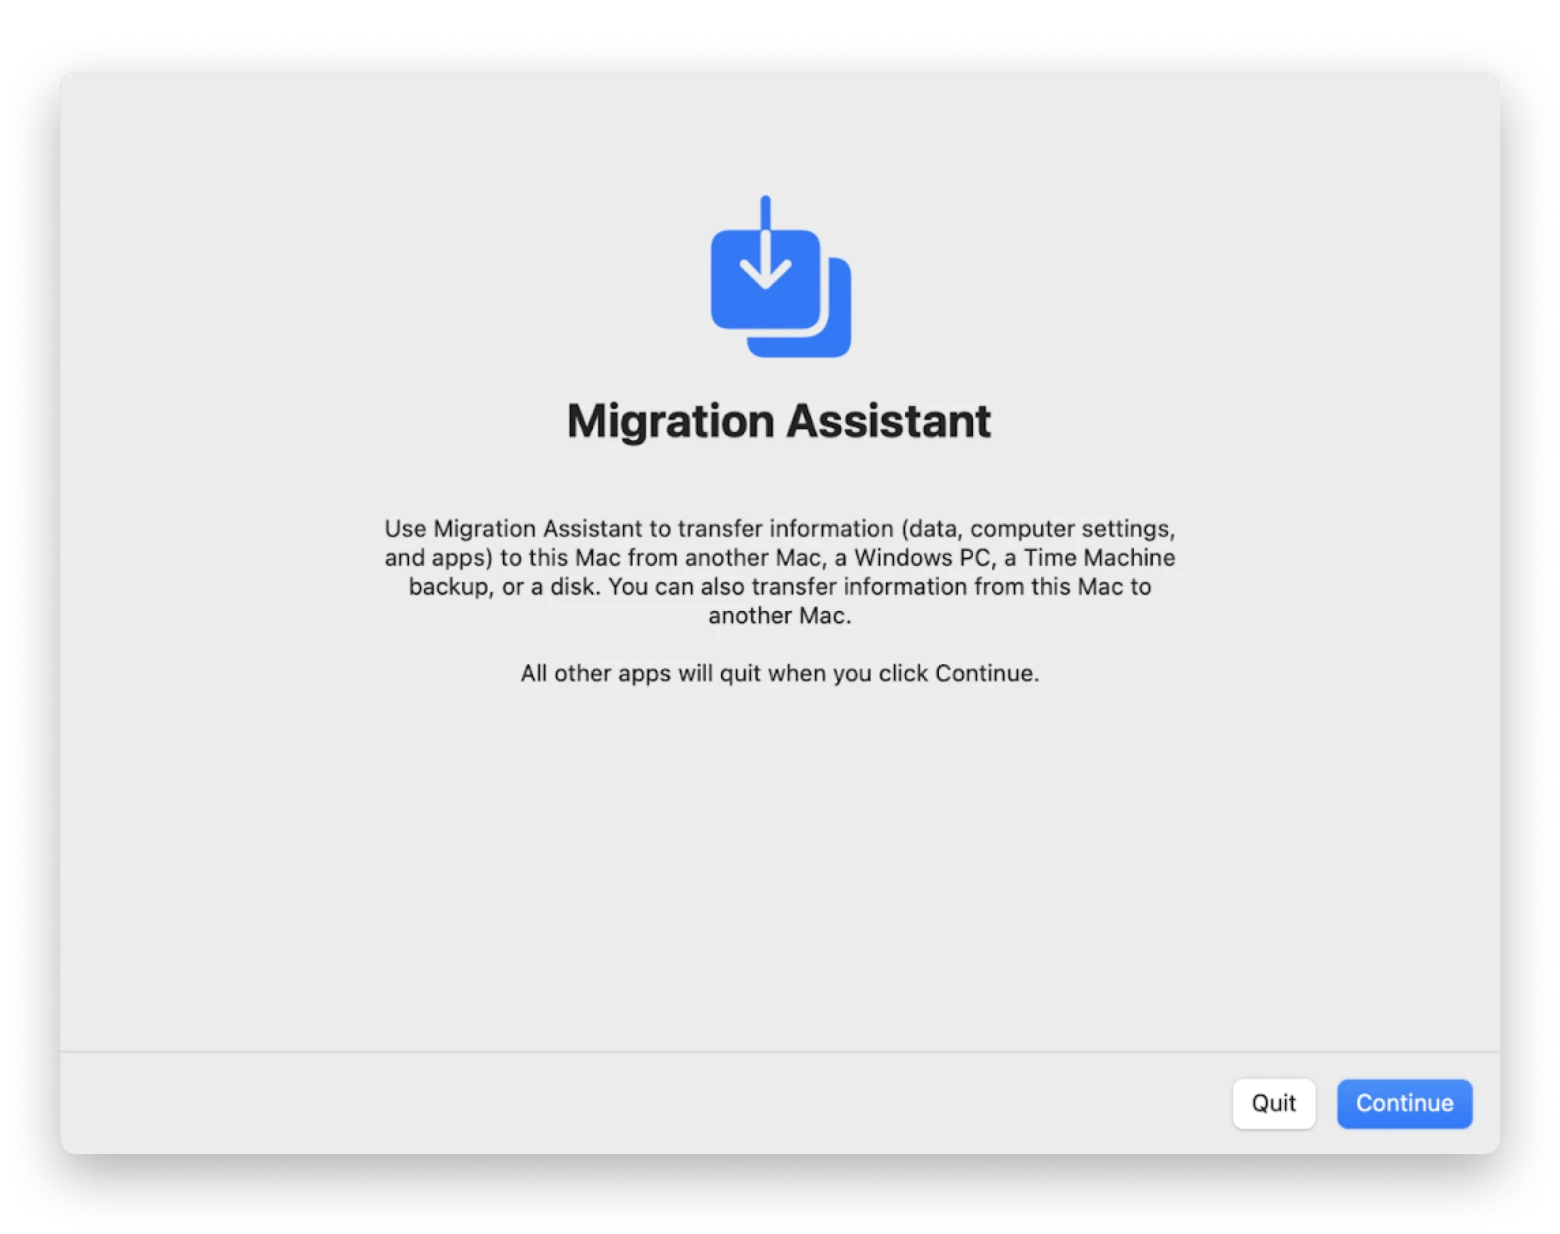
The best utility to use is Migration Assistant, which is built into every Mac. Here's how:
- Connect your external drive to your Mac.
- Open Migration Assistant from the Utilities folder (Finder > Applications > Utilities).
- Select to transfer information “From a Mac, Time Machine or Startup disk.”
- Pick your Time Machine backup.
- Select the information you want to transfer and click Continue.
There’s also another way to recover a specific version of a file with Time Machine:
- Open a Finder window at the folder where the missing file was (or its parent folder).
- Click on the Time Machine icon in the menu bar.
- Select Browse Time Machine backups.
- Scroll back to where your files were in the state you want.
- Select the file and restore.
You can drag and drop the file where you want it, or simply click Restore, and it'll appear in the folder where it was before.
How to back up your Mac to an external hard drive manually
If you have an external hard drive and want to back up files, you don’t have to use Time Machine. You can simply copy files to it whenever you need. Just open your external drive in Finder and drag or copy-paste files or folders into it. That way, you can maintain the backup in the state you want and on your own custom schedule. Set a reminder to repeat the backup every once in a while, and you're all set.
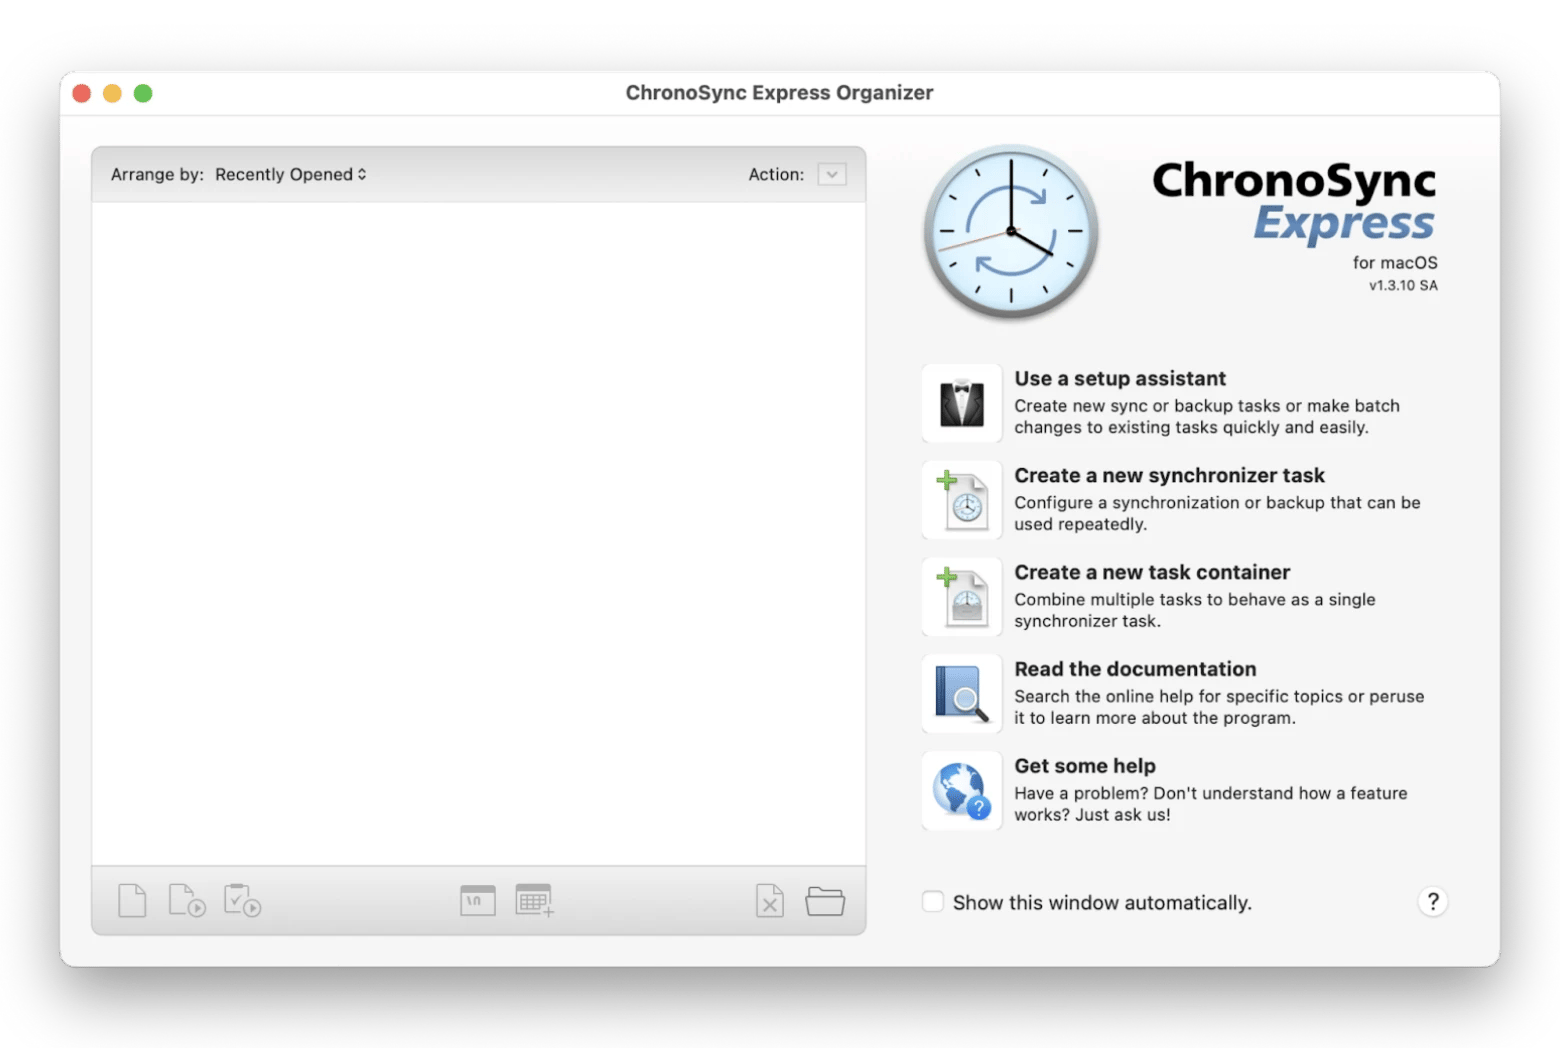
My experienceIf you prefer a "copying" backup method, ChronoSync Express is the perfect solution when you need to keep a few files and folders synced between Macs or backed up. You can even create more than one backup of various files, and they don’t have to be on the same schedule. Set exactly when certain tasks need to happen and connect to other Macs or remote servers in just a few clicks.
|
Read also:
- Best Mac backup software
- How to back up Mac without Time Machine
- Backup Mac to an external hard drive
- Restore Mac to the previous date
How to back up to Dropbox, OneDrive, or Google Drive
If you’re paying for a third-party cloud storage tool like Dropbox, OneDrive, or Google Drive, you can use it to back up your Mac, with some restrictions.
Here’s how to back up a Mac with Dropbox:
- Click the Dropbox icon in your menu bar and open Preferences.
- Go to Backups.
- Select Set up.
- Choose the folders and files you want to back up.
- Click Set up.
If you’re wondering how to back up a Mac to an external hard drive, Dropbox will prompt you to use it as a backup location when connected.
Here’s how to back up data on a Mac with OneDrive:
- Go to Preferences in OneDrive in the menu bar.
- Switch to the Backups tab.
- Select Manage Back up.
- Choose any folder.
- Click Start backup.
For Google Drive, there’s no special backup functionality. However, you can mount your Google Drive storage as a local disk and keep your files there, which would be automatically synced with the cloud and all your other devices.
NoteSolutions like Dropbox, OneDrive, and Google Drive are designed to keep the working versions of files in sync between devices and aren't recommended as primary backup options. An ideal backup is something that's stored and updated separately from the files you’re actively working on. That’s what apps like Get Backup Pro and ChronoSync Express are great at. |
How to clone your Mac
Apart from backups, there’s another way to keep your Mac’s files safe: cloning. Backups are continuous, whereas cloning takes a snapshot of your Mac in time and lets you restore everything to that version later.
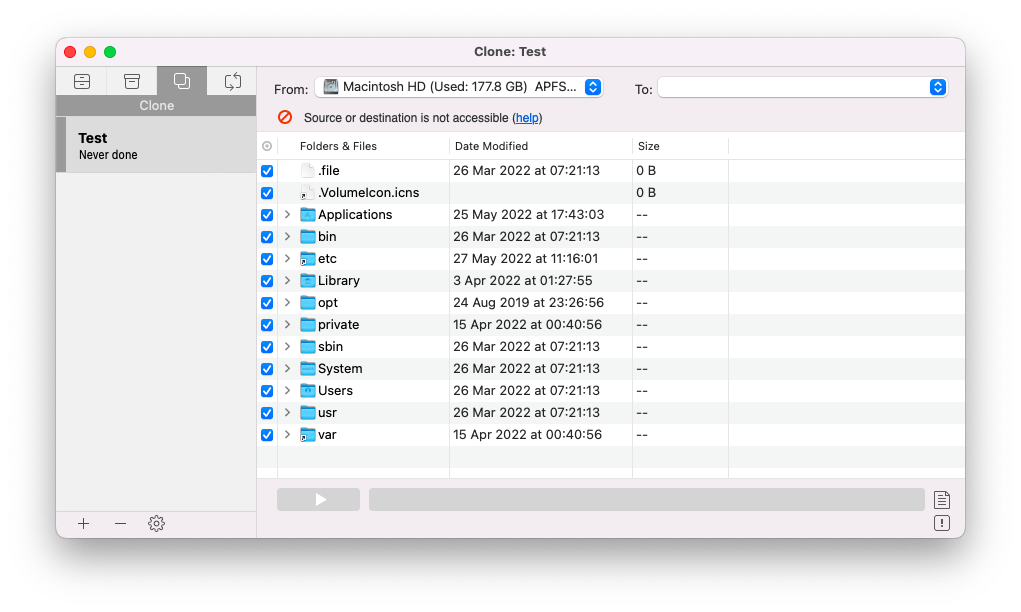
Since your Mac lacks a proper clone-making utility, try using Get Backup Pro to create a byte-to-byte clone of your Mac.
To create a clone of your Mac with Get Backup Pro:
- Download and open Get Backup Pro.
- Click on the Clone tab, which is the third one from the left.
- Select source and destination volumes for cloning.
- Select the files and folders for cloning.
- Continue with the backup process as directed.
Optimize your Mac before cloning
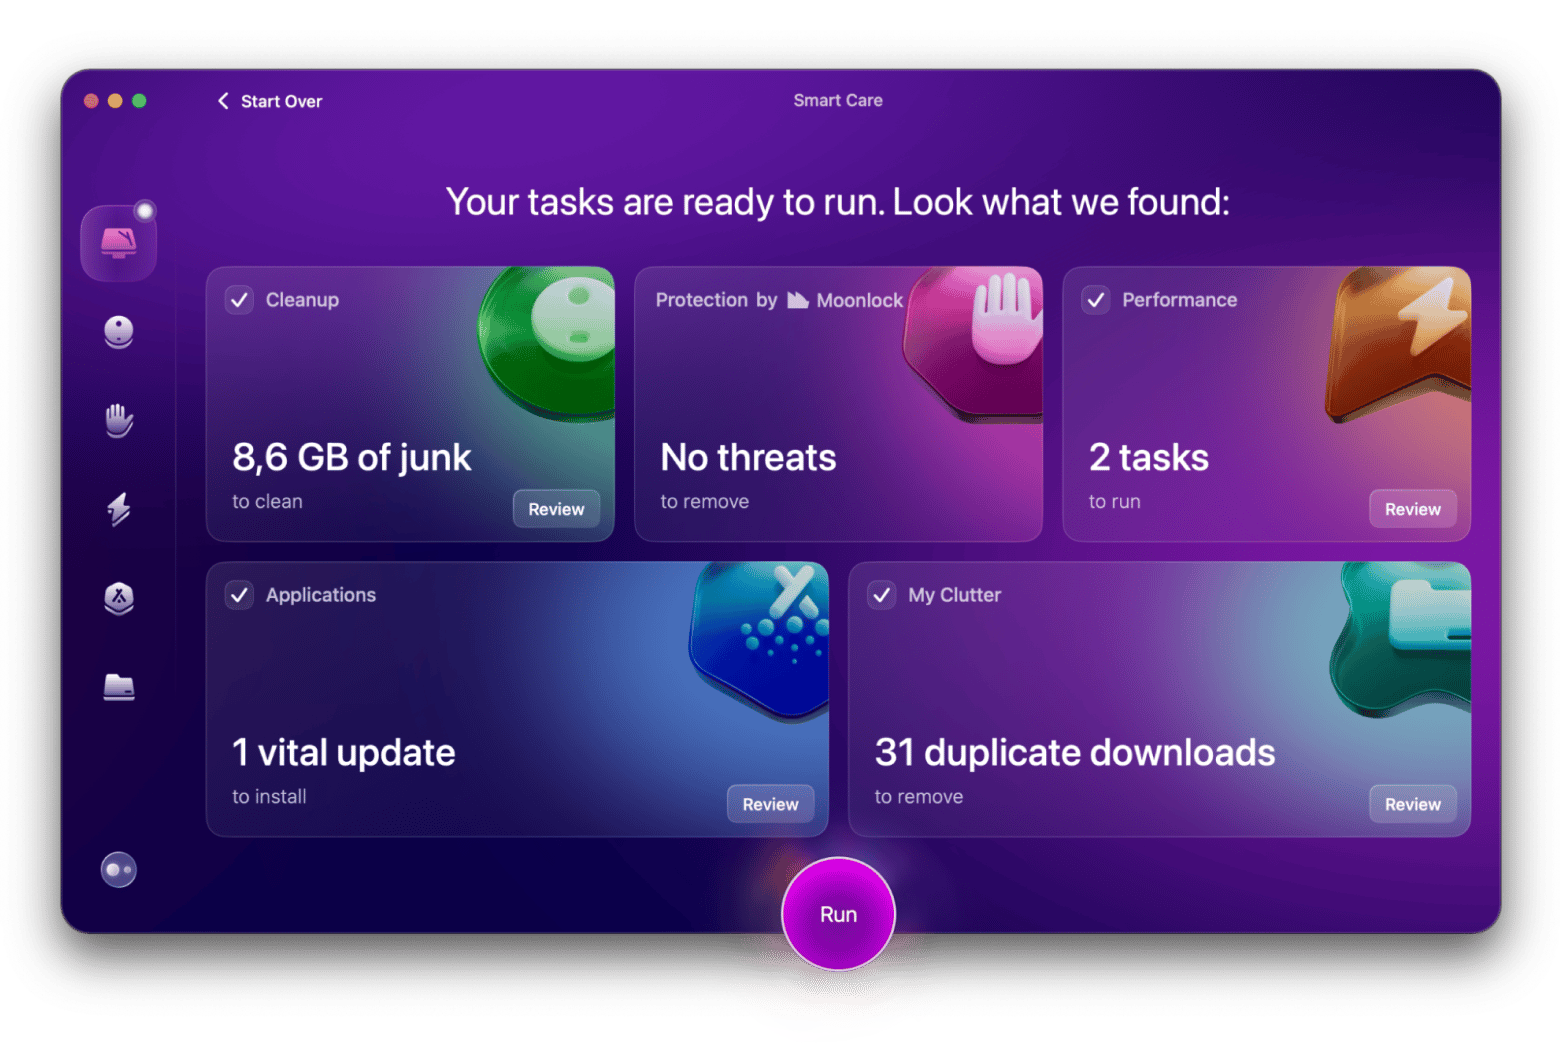
Before creating a Mac clone, consider optimizing and cleaning your Mac of unnecessary old files. You can do that easily with CleanMyMac, an awesome Mac care app. It features one-click scans for all kinds of improvements, from malware checks to getting rid of junk files to privacy monitoring. You can also uninstall apps without leaving leftover files behind and update all apps from a single screen.
How to create a bootable backup of your Mac
According to some people, the best way to back up Macs is with bootable backups. A bootable backup is a complete backup of your Mac that contains a macOS installer file, so that it can start even without the correct macOS present.
The process of creating bootable backups is more involved than other types of backups, but it’s also more reliable. Here’s how to create one without much hassle:
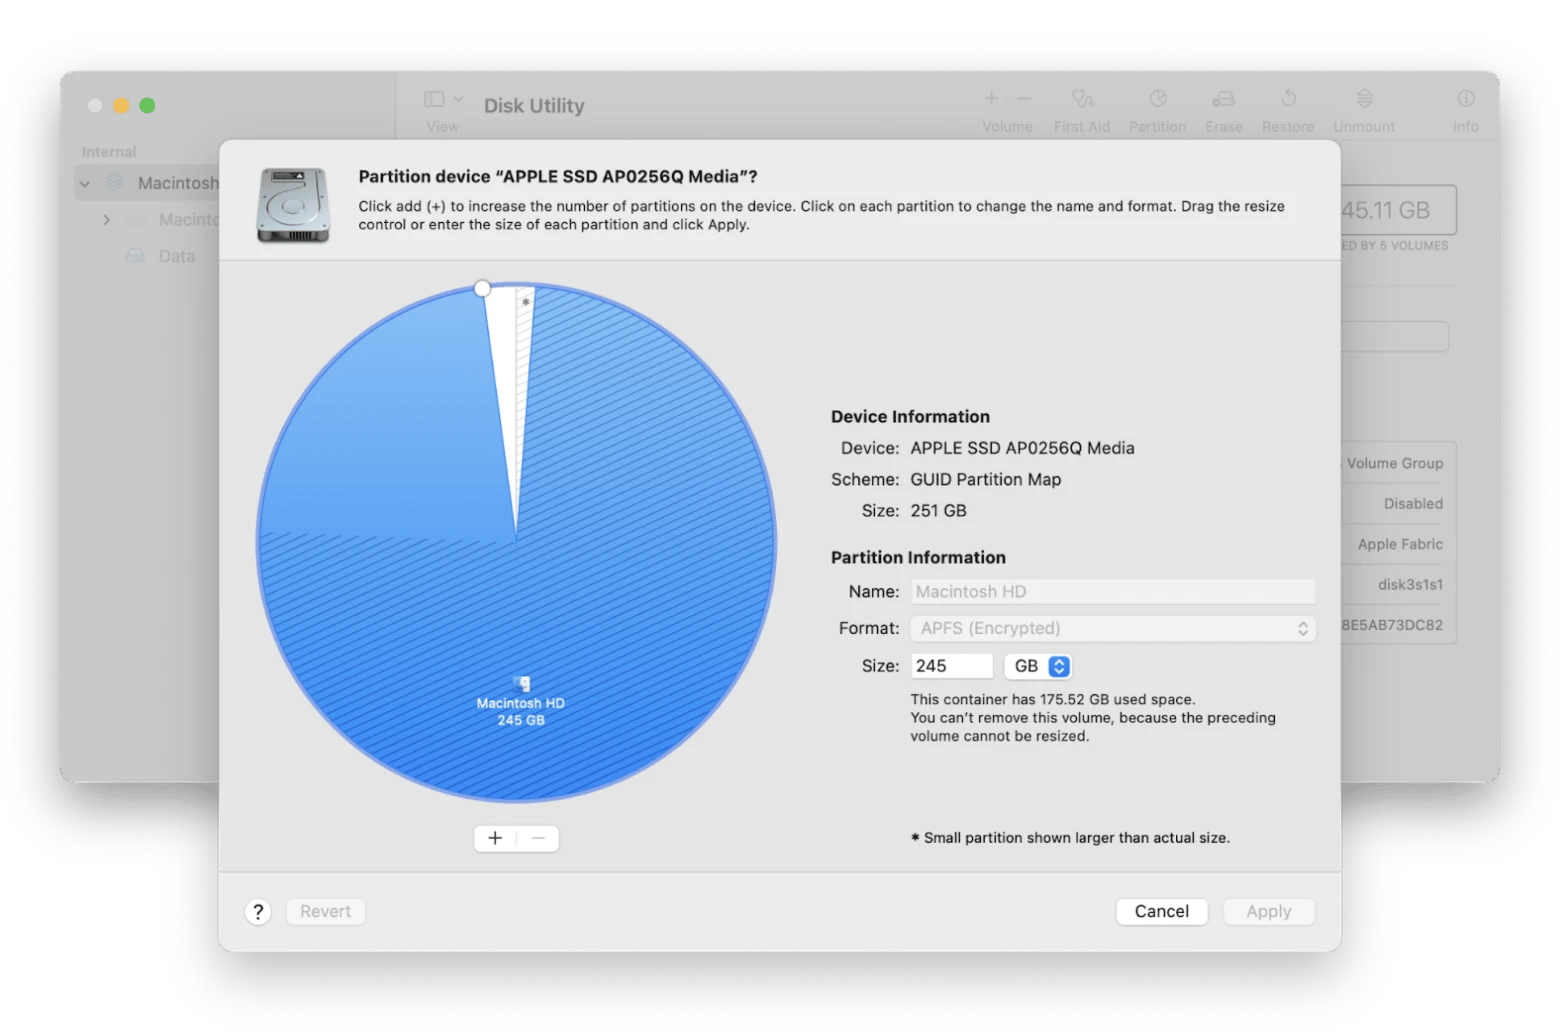
- Open Disk Utility from the Utilities folder.
- Connect an external drive.
- Partition the drive.
- Download the macOS installer by opening Terminal and typing softwareupdate --fetch-full-installer
- Place the installer in one part of the backup volume.
- Back up your Mac with Get Backup Pro to another part of the external drive.
Why you should back up your Mac
There are plenty of reasons why you might need to know how to back up your Mac to iCloud, an external drive, or another storage. Even if your files are well-organized, you never know when a problem might occur.
All kinds of scenarios can happen, including:
- Electricity shutdowns
- Hard drive malfunction
- Cloud sync issues
- Accidental file overwrites
- File deletions
- Ransomware
Having a reliable backup system in place will give you peace of mind. You'll know your files are safe no matter what happens.
My stress-free system for backing up my Mac
Once you’ve got the technical side set up, the next step is getting yourself organized. For me, that required a bit of discipline. At first, I’d forget to back up or misplace the disk somewhere around the apartment. Here’s what helped me:
- Treat the external drive as part of my work equipment. Just like I keep my mouse next to my laptop, I learned to keep the disk nearby and take it with me if I don't work from home. Now, when I start working, I automatically plug the drive into my MacBook.
- Automate backups. Using Get Backup Pro, I set up a schedule for automatic backups. Once it’s configured, I don’t have to think about it anymore.
- Friday reminders. Every Friday morning, my calendar reminds me to make a backup. If I’ve missed a backup during the week for any reason, I use Friday to catch up.
These small habits made backing up a stress-free part of my routine.
All the apps I use to back up and maintain my Mac (Get Backup Pro, ChronoSync Express, CleanMyMac, and iBoysoft Data Recovery) are available on Setapp, a platform with 250+ curated apps for Mac and iOS that cover every possible use case. There's also a free seven-day trial for new members.
FAQ
How do I know if my Mac is backed up to iCloud?
To check if your Mac is backing up to iCloud:
- Open System Settings, click on your Apple Account, and select iCloud.
- In this section, you’ll see everything that’s currently being saved to iCloud under “Saved to iCloud,” such as Drive, Photos, Notes, and more.
- If Drive appears here with storage space in use, it means iCloud Drive is turned on and your files are syncing to the cloud.
If you want an untouchable copy of your files, use a dedicated backup tool like Time Machine or Get Backup Pro with an external drive.
How long does it take to back up a Mac?
Backing up a Mac can take hours, depending on how much space is used on your hard drive. The good news is that most backups are incremental, meaning subsequent backups will only record new files or changes to existing files, typically taking just a few minutes.
Why can’t I move files from my Mac to an external hard drive?
One reason why you can’t move files from a Mac to an external hard drive is that you lack writing permissions on the drive. Open the external drive and go to Get Info to learn more. Another possibility is that your external hard drive is full.
Can I recover files if my Mac won’t boot?
Yes, you can recover files if your Mac won’t boot. Even if your Mac refuses to start, you can run iBoysoft Data Recovery in macOS recovery mode to scan your startup disk and bring files back without needing to fully boot the system.
What if my external hard drive becomes unreadable on a Mac?
If your external hard drive becomes unreadable on a Mac, you can use an app like iBoysoft Data Recovery to scan "unreadable" or "not mounted" external drives. iBoysoft can scan these drives (USBs, SD cards, external HDDs/SSDs) and recover the data inside, even when Finder or Disk Utility won’t open them.
Is iBoysoft free to use?
iBoysoft Data Recovery is free to use under the Setapp subscription plan that also gives you access to 250+ Mac and iOS apps.
How is iBoysoft different from Time Machine?
The difference between iBoysoft and Time Machine is that:
- Time Machine is a backup tool that works great if you set it up and keep it running. But if your backups are outdated, corrupted, or missing altogether, it can’t help.
- iBoysoft, on the other hand, is a data recovery tool. It searches directly into your Mac’s disks (internal or external) to retrieve files you’ve lost, even without a backup.
