How to use Power BI on Mac
No, you won’t find a Power BI for Mac. Even though it is very popular, Microsoft does not plan to make a Mac version. Still, there are ways to use Power BI on your Mac for report views, but there are operating system limits you should know about first. And here’s what I found:
- Run it from a virtual machine.
- Install Windows with Boot Camp, and run Power BI from Mac.
- Access Power BI remotely.
- Use Power BI cloud.
So, there’s still hope to create reports and visualize data on your Mac with Power BI. And that’s what this guide is all about.
What is Power BI
It’s an app that turns plain data from Excel sheets, SQL databases, and various data sources into graphs, reports, and other visual aids.
Let’s say you want to know which products sold the most from the monthly sales transactions. You can connect Power BI with the sales database and create a chart in seconds. Then, you can include the chart in reports or share it with fellow stakeholders.
Run Power BI on Mac using a virtual machine (VM)
The easiest way to run Power BI is to do so from a virtual machine. There is no shortage of virtual machine vendors, but the question is, which one should you use? Popular options include Parallels Desktop, VMware Fusion, or VirtualBox. There’s no easy answer, but if you prefer one that’s easy to use, Parallels might work for you, as it did for me.
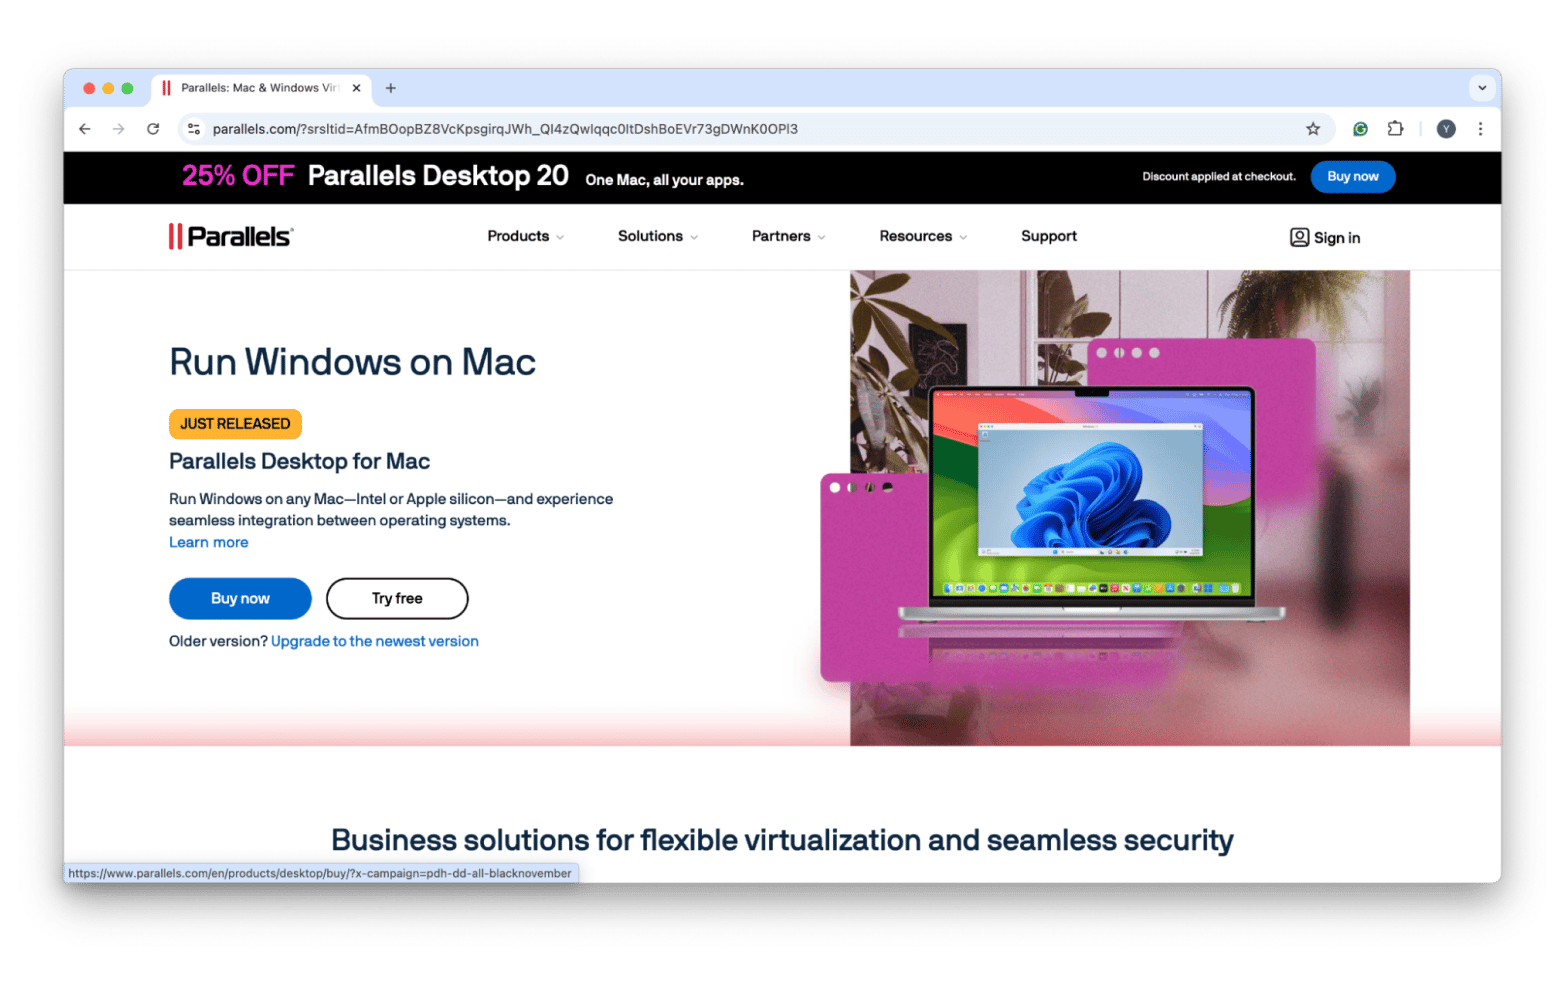
But whichever your choice of VM is, the steps to install Windows and run BI on it are pretty similar. Think of it like a sandbox, where you can install another operating system and run apps without permanently taking up hard disk space. Isn’t that neat? Now that you have a better idea of VMs, let's get down to installing Power BI:
- Install and set up a virtual machine on your Mac.
- Then, launch the virtual machine and install Windows.
- Download and install the Power BI app on the virtual machine after setting up Windows.
- Once installed, launch Power BI on the virtual machine.
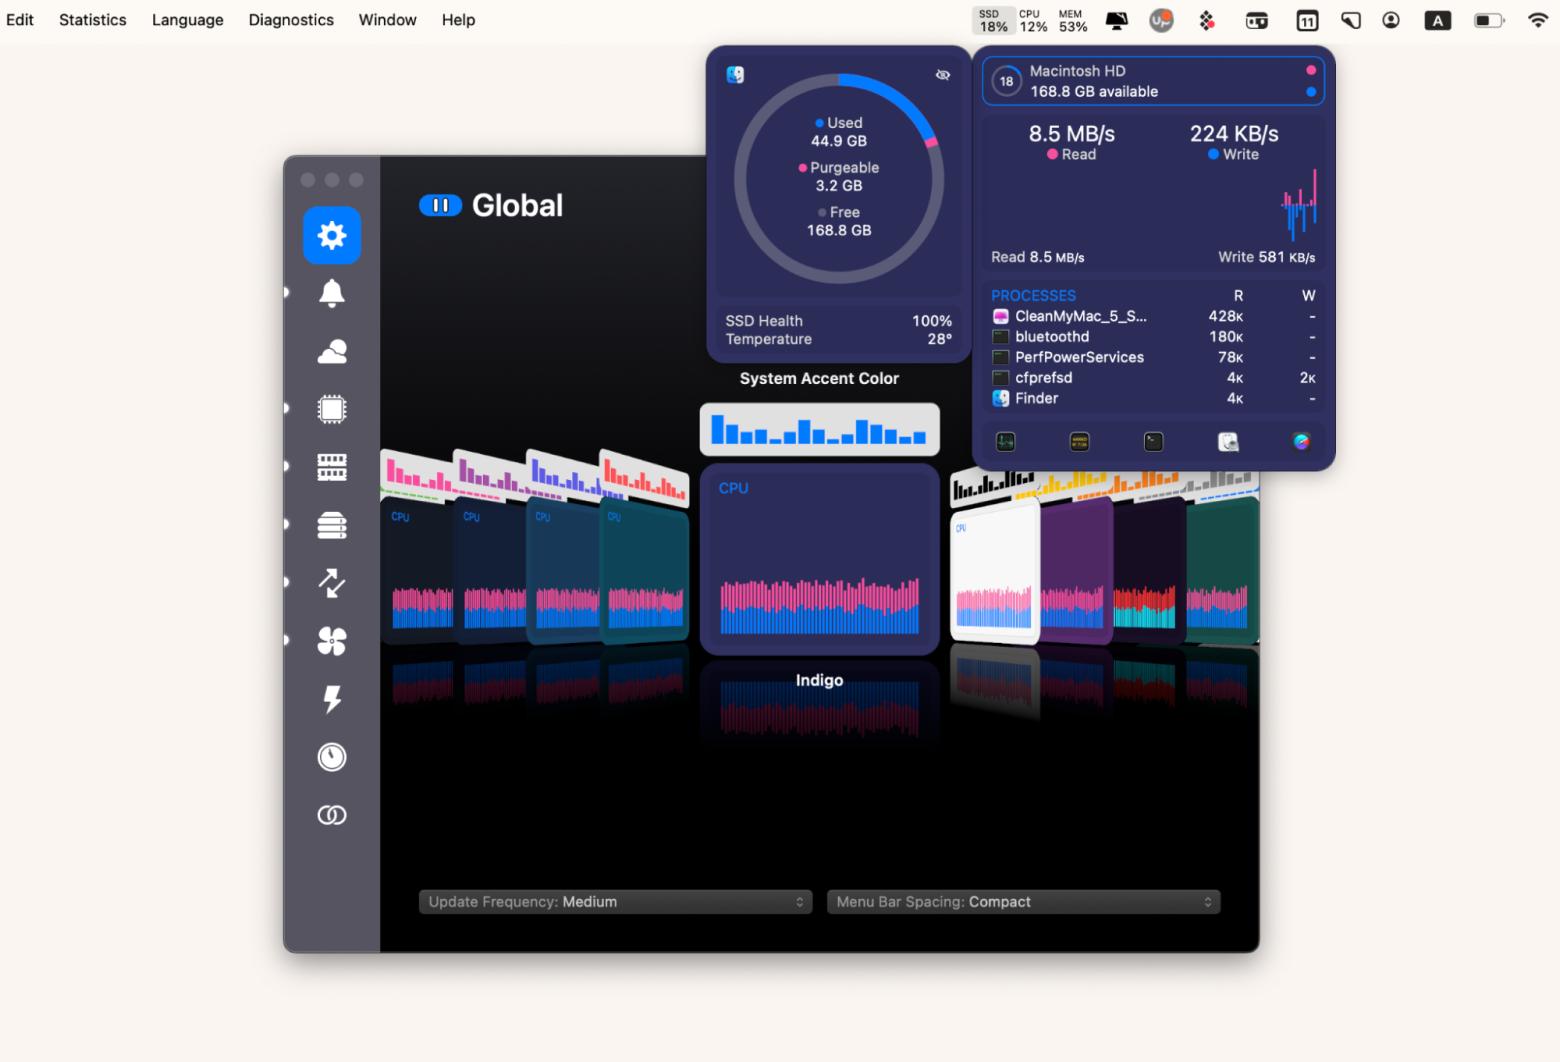
Now, you can run Power BI and all of its analytics features on your Mac. But, just a word of caution: the app and virtual machine combo can take up lots of processing power. If you don’t monitor the processor and memory the apps use, your Mac might slow down, crash, or freeze. Learn more about fixing a frozen Mac here.
Personally, I use iStat Menus whenever I run a virtual machine on my Mac. That’s because I don’t fancy Power BI or other Windows apps crashing on me. With iStat Menus, I can easily monitor my Mac’s health and stay alert if the VM consumes too much computer resources.
Accessing Power BI through remote desktop
Another interesting method is a remote desktop. Technically, it’s a networking technology that lets you control a computer from a different location. When connected, you can view the computer’s desktop from your screen. And that also means you can launch apps installed on that computer, including Power BI.
Use Power BI with Windows Pro
You can use Power BI to visualize data from your Mac, but there’s a catch: the computer running Power BI must use at least Windows Pro. This is because the Home versions of Windows don’t support remote desktops. So, if you've got Power BI on a Windows machine that does support remote access, you’re good to go for visualizing your data on your Mac.
But first, you’ll need to enable remote desktop on the Windows computer. Here’s how to do it:
- On a Windows PC, click Start > Settings > Systems.
- Choose Remote Desktop.
- Then, turn on Remote Desktop.
Now, you can connect to the Windows computer from another machine, but do jot down or remember the former’s PC name.
Then, follow these steps to establish a remote connection from your Mac:
- Insyall and opnel Windows App (ex Microsoft Remote Desktop) from the App Store.
- Click the add “+” button > Add the PC.
- Insert your PC name and wait for the connection to be established.
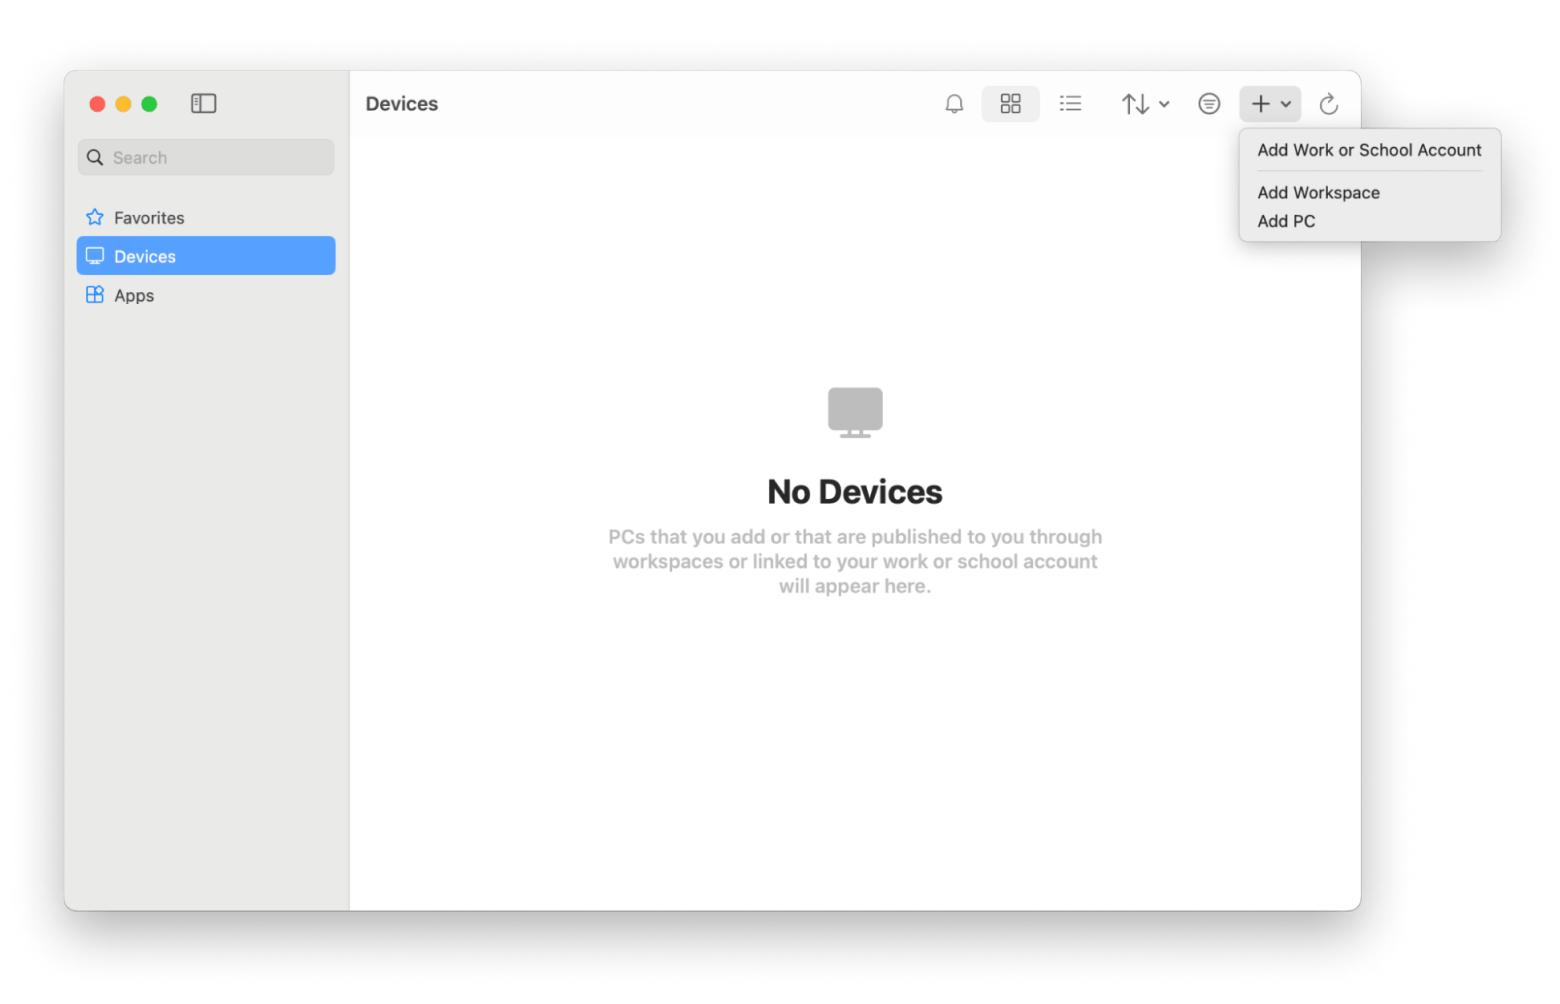
Now, you can control the Windows machine and use Power BI from your Mac.
You’ll need a stable network connection to control a PC remotely. If you can’t get a consistent network speed, try Jump Desktop. Like Windows App, it lets you take control of a PC remotely. But the beauty is Jump Desktop works smoothly almost all the time, even if you occasionally suffer from a bad network connection.
You don’t need to know a ton about networking to use this remote control Mac tool. It’s pretty easy to figure out and works consistently. Plus, it’s super reliable and doesn’t usually act up, even with a shaky connection.
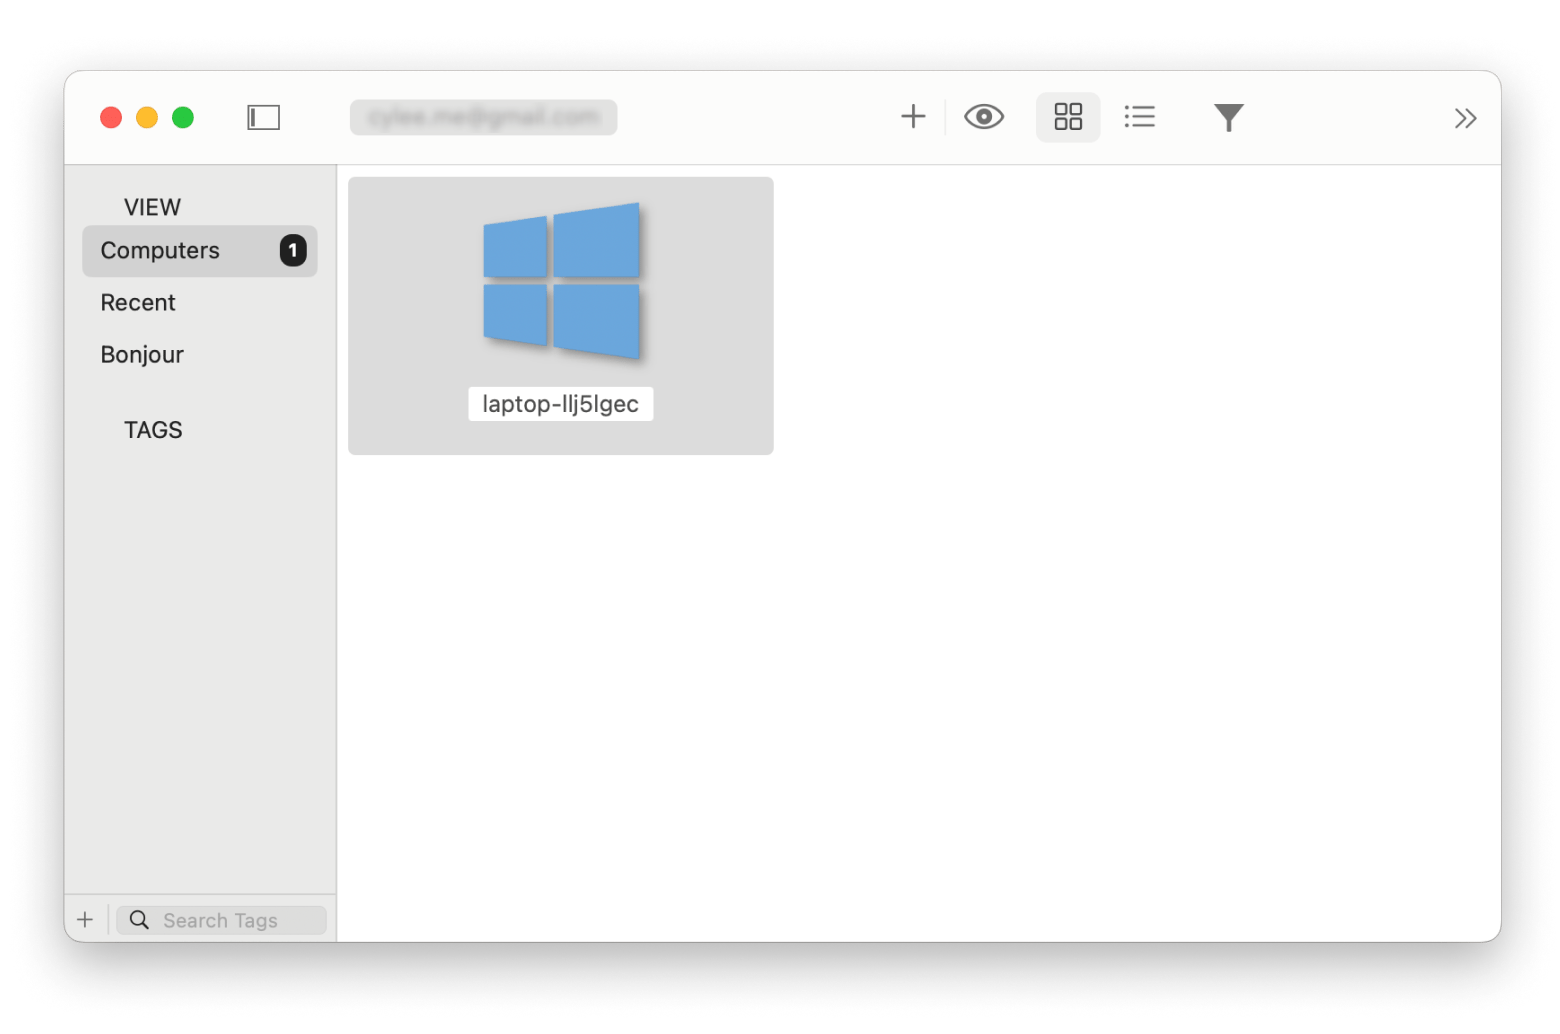
To control your other desktop, install and open Jump Desktop and click Automatic Setup, which lets you connect via email account.
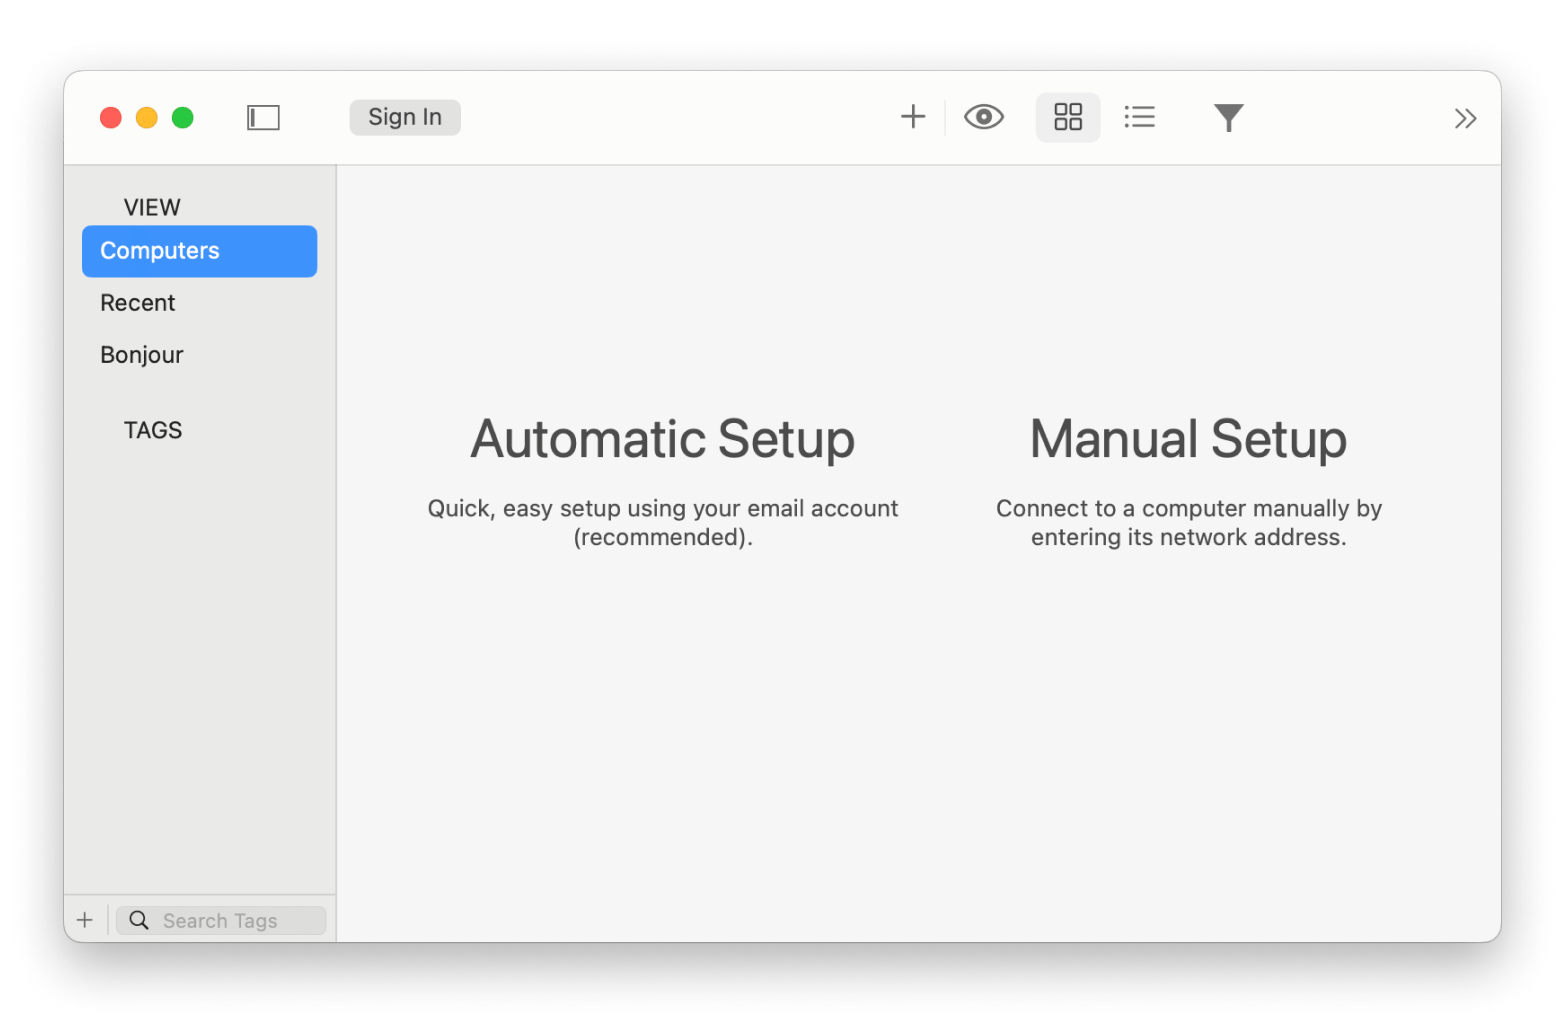
After you finish the setup, you’ll see another desktop in the Computers tab:
Install Power BI on Mac using Boot Camp
Can I use power BI on Mac instead of via remote desktop or VM? — the answer is yes. But that’s only if your Mac runs on an Intel chip. On an Intel-powered MacBook, you’ll find Boot Camp, a native tool that you can use to install Windows and install apps like Power BI.
Here’s how to install Power BI on Mac with Boot Camp:
- Download the Windows 10 or 11 (ISO file) on your Mac. Make sure to get a 64-bit version.
- Go to Finder > Applications > Utilities.
- Open Boot Camp Assistant.
- Follow the on-screen instructions to create and format a partition for Windows. Choose the storage allocation for Windows (at least 64GB).
- Install Windows with Boot Camp.
- Set up Windows after the installation completes. The Boot Camp Installer should launch automatically.
- Then, install Boot Camp in Windows with the Boot Camp Installer.
After setting up Windows, you can install and run Power BI on your Mac. And if you want to switch back to macOS, reboot your machine and press Option.
This method gives you the best performance when running Power BI. The only downside is that you’ll need to carve out dedicated storage space for Windows. And this means your Mac might slow down when you switch back to macOS, particularly if you lack storage space.
Using Power BI Service on a Mac
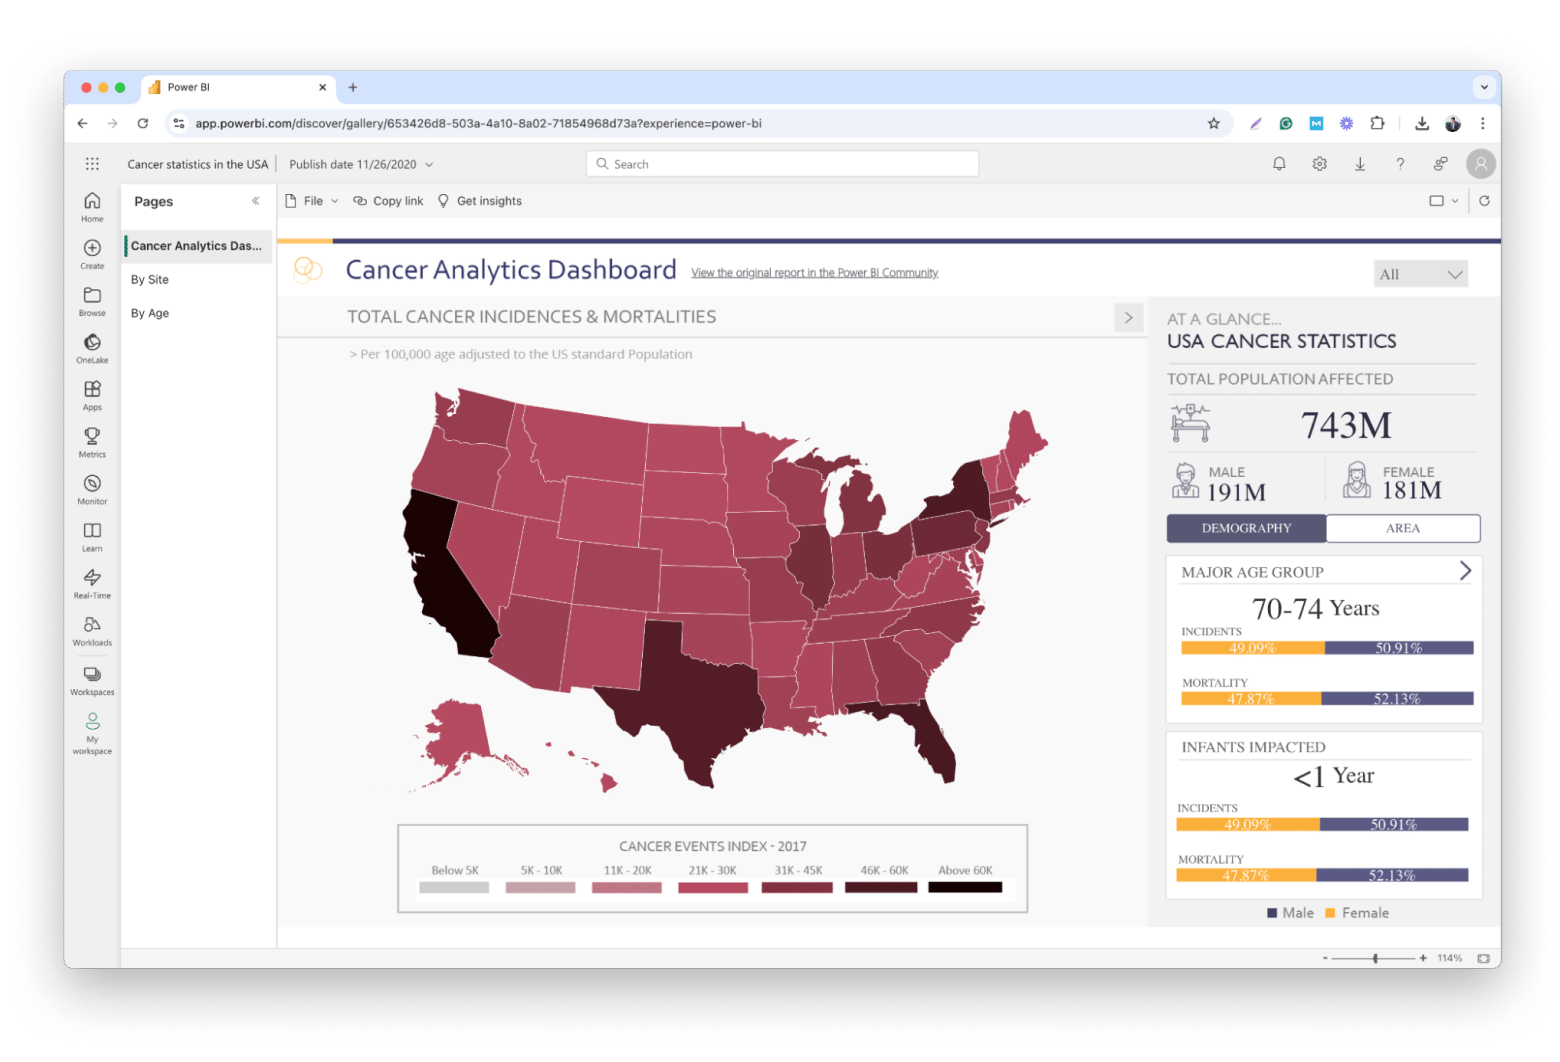
Microsoft has no plan to release a Power BI desktop for Mac, but it does offer a cloud-based platform that is accessible via web browsers called Power BI Service. It’s not meant to replace the Power BI Desktop app. That said, you can migrate specific data analytic projects, especially those that don’t involve extensive analysis, to Power BI Service.
The service is suitable for:
- Creating dashboards
- Lightweight analysis
- Sharing reports
Because Power BI Service runs on the cloud, it doesn’t support heavy data modeling, transformation, and other tasks that require significant processing power. For that, you’ll still need the Power BI desktop app.
So, if all you need is a cloud-hosted service that lets you keep track of insights and trends through prompt reporting, here’s how to use Power BI Service:
- Create an account and sign in to Power BI Service.
- Click Create to set up a report.
- Choose a data source.
- Then, follow the on-screen instructions to create and generate a report.
As you can see, the web-based Power BI only supports limited data sources. However, it offers on-the-go reporting features like the Real Time Hub and Monitor, which you can’t find in the desktop app.
Power BI alternatives for a Mac
Alright. Not all of us are willing to go through the hassle just to get Power BI running ona Mac. Sometimes, using alternative data visualization apps is just as good as long as they get you the report you want. Here are a few worth checking out.
- Holistics is a cloud-based platform that simplifies data modeling, visualization, and analytics. It’s designed for non-technical users and greatly reduces the time to set up a data modeling workflow.
- Stitch Data lets data engineers create data pipelines without wasting time on complex coding. You’ll find extensive features that let you transform data into actionable insights. Something that many business analysts need.
- Sprinkle Data is another great alternative to Power BI. It covers all your analytics needs with live monitoring, real-time data ingestion, dynamic dashboards, and more.
I hope you found a data visualization app that works for you, Power BI or not.
How to run Power BI on Mac (Solved)
The easiest way is to run Power BI for Mac on top of a virtual machine. Or you can use a remote desktop to access a Windows machine with Power BI installed. Otherwise, installing Boot Camp and running Power BI directly from your Mac is also an option. Regardless of your choice, the apps I mentioned can help make the setup more effortless:
- Jump Desktop lets you easily set a remote desktop connection even with below-par network quality.
- CleanMyMac frees up storage space, so you can prep your Mac for Boot Camp setup.
- iStat Menus allows you to keep an eye on your Mac’s health when running a VM.
You can get these apps, along with dozens more, on Setapp. The platform has dozens of coll macOS and iOS apps, and you can find your favorites or any you want under a single subscription. Try them 7 days for free now.
FAQs about Running Power BI on Mac
Can I run Power BI on a Mac?
You can run Power BI on a Mac, but not directly, as the app is not natively supported on macOS. To use Power BI, you need to install a virtual machine, set up Windows on Mac via Boot Camp, or connect to a Windows PC remotely.
What are the requirements for Power BI on Mac?
The requirements for running Power BI on a Mac include:
- VM Software: 4 GB RAM (8 GB recommended), 600 MB storage for virtual machine tools like Parallels, plus additional space for Windows and Power BI.
- Performance: Sufficient CPU and memory resources; monitor system usage with tools like iStat Menus.
- Windows OS: Windows 10 or later is required to install Power BI.
Why can't I download Power BI on Mac?
You can't download Power BI on Mac because it is only available for Windows. However, you can use Power BI Service in a web browser for tasks like reporting and basic analysis. For advanced features like data modeling, you’ll need to run Power BI on a virtual machine or install it via Boot Camp.


