How to recover from the White Screen of Death when booting a Mac
I’ve dealt with the Mac White Screen of Death a few times, and it’s never fun. When I talked it over with colleagues, we figured out that most cases come from software problems, not hardware. That’s good news because it means you can usually sort it out yourself without taking your Mac in for repairs.
In this article, I’ll break down why a Mac's white screen at startup might not be a big deal, what the MacBook White Screen of Death means, and the steps you can take to get your Mac working again.
How to recover a Mac stuck on a white screen: Quick solutions
I’ve outlined the key solutions in the table below to save you time. If you need more detailed instructions, simply scroll down for the step-by-step guide.
| Your solution | Steps |
| Recover files beforehand | Use iBoysoft Data Recovery to search your Mac’s storage to retrieve hidden or lost backup data. |
| Disconnect external devices | Unplug all peripherals, restart the Mac, reconnect one device, and if the white screen persists, repeat the process with all devices. |
| Boot into safe mode | Enter safe mode, run Disk Utility, and fix the errors, if any. Then, remove suspicious login items. |
| Use Disk Utility | Restart in recovery mode (press the power button, then Command + R), open Disk Utility, and run First Aid. |
| Reset PRAM/NVRAM | Reboot Mac holding Command + Option + P + R, then release after the second chime. |
| Reset SMC (Intel-based Macs) | Power off, hold Control + Option + Shift + Power, release after 7 seconds, and restart. |
| Reinstall macOS | Boot in recovery mode, select Reinstall macOS, and follow on-screen instructions. |
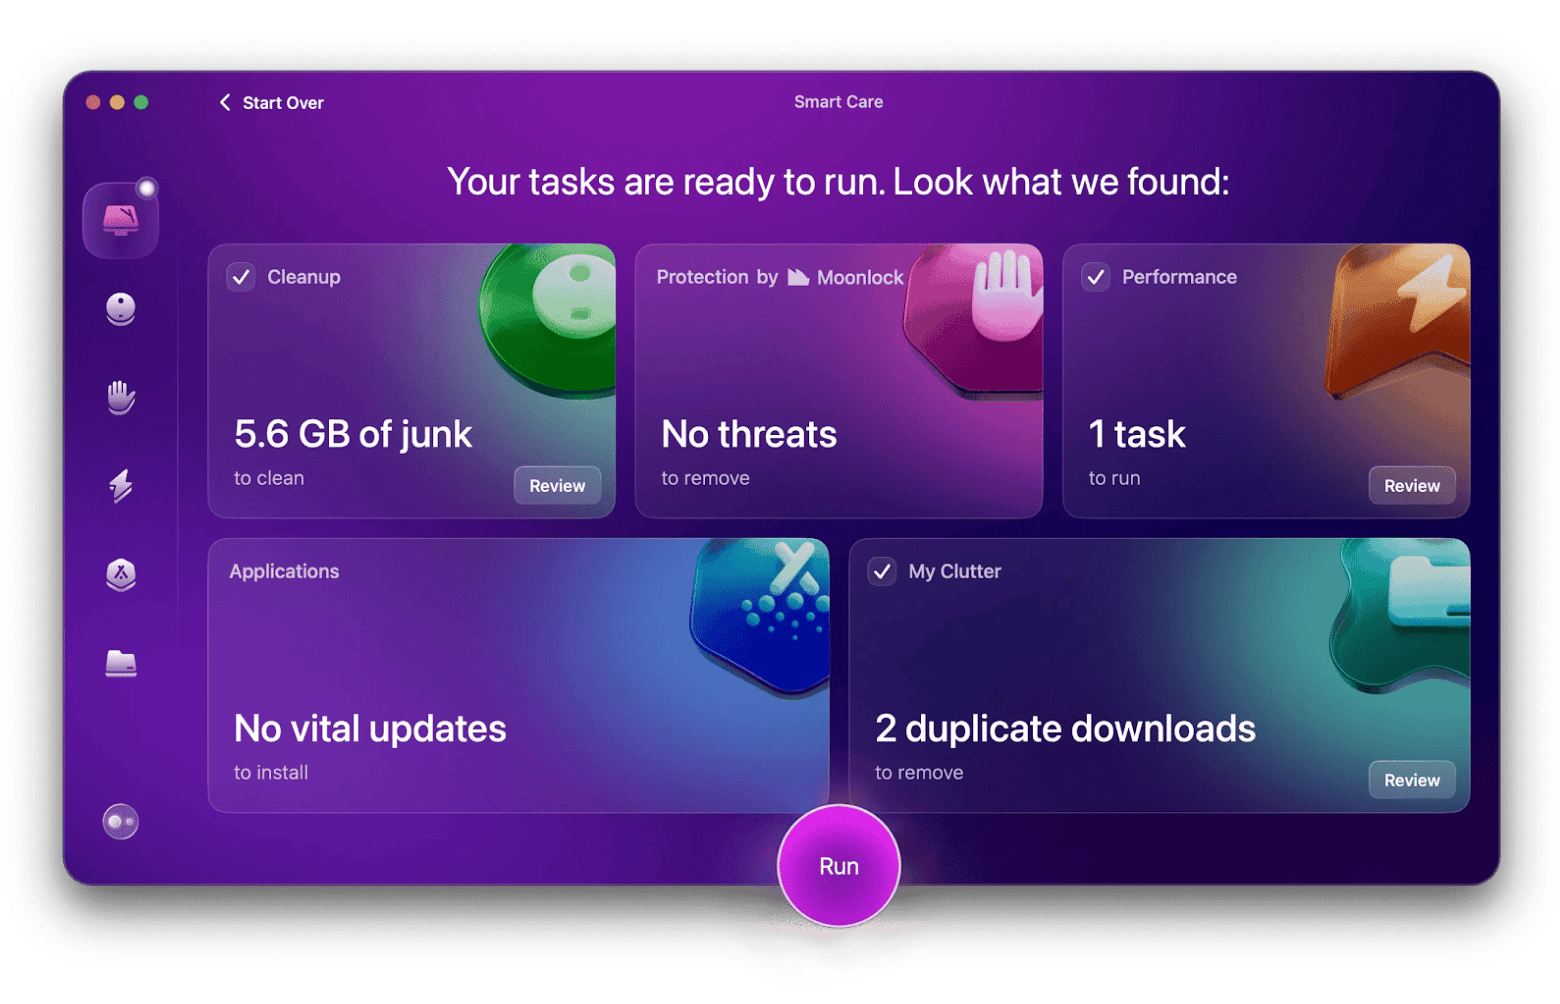
| Clean system junk | As the next step, use CleanMyMac to remove outdated caches, remnants, junk files, and other clutter. |
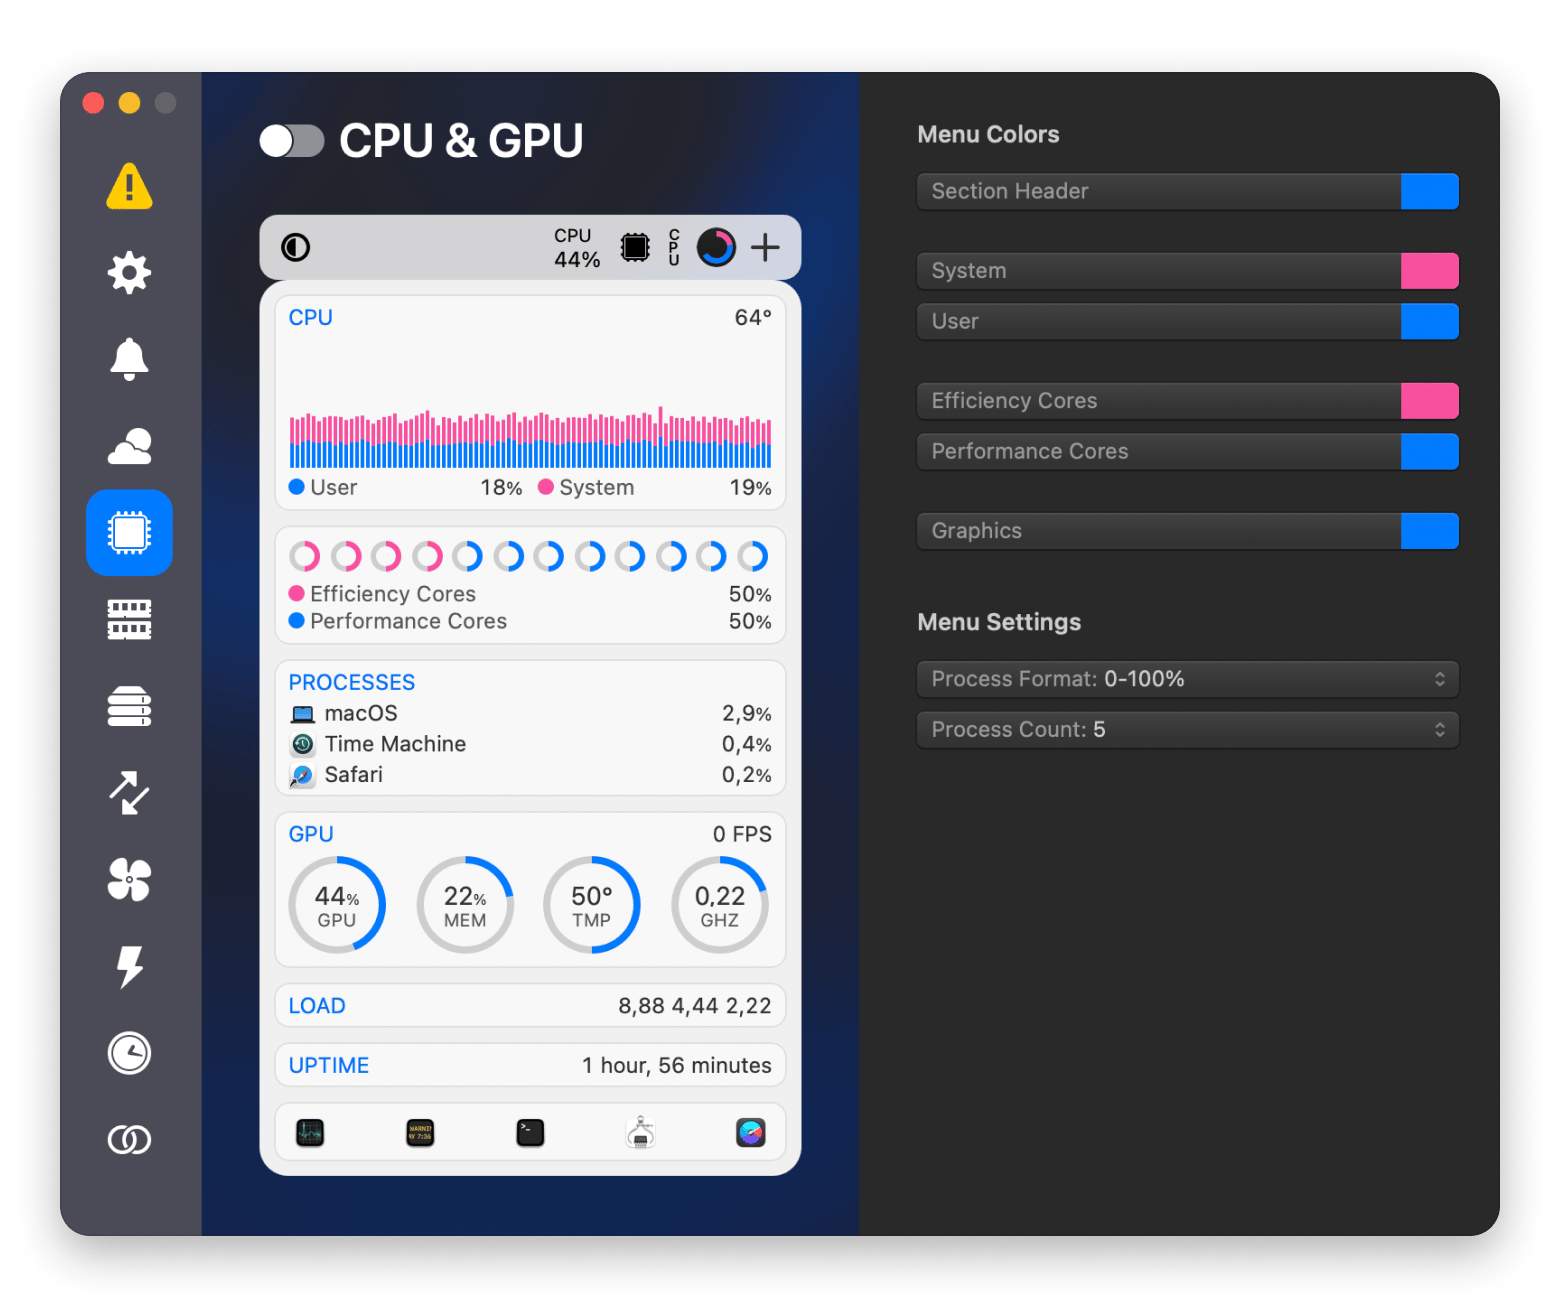
| Monitor system health | As the next step, install iStat Menus to monitor CPU, GPU, disk, and temperature for proactive maintenance. |
How to fix the White Screen of Death on your Mac
I’ve listed the fixes in the order I think is easiest and most practical. You don’t have to follow them exactly, but I suggest saving the macOS reinstall as your last option.
Recover your files before fixing the white screen issue
When your Mac shows the White Screen of Death error, you need to resolve it immediately before it's too late. Before you attempt anything, make sure you have a backup of all your important data or files, including photos, videos, and documents.
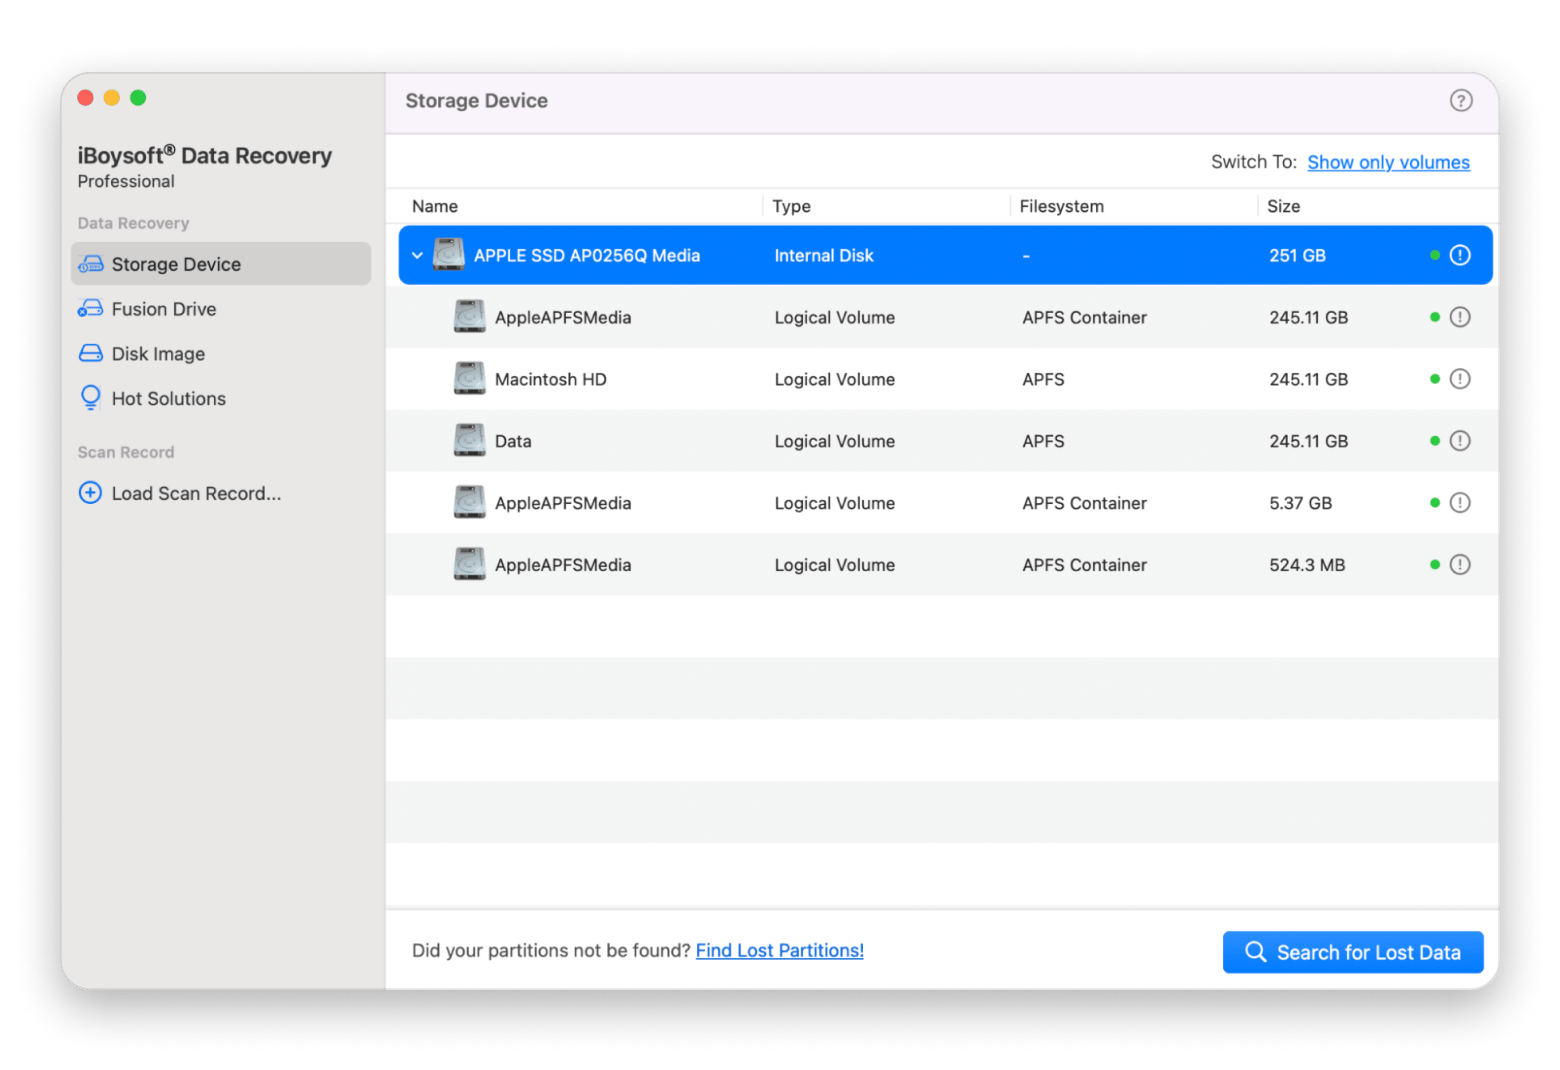
This is where iBoysoft Data Recovery becomes your lifesaver. It’s a user-friendly tool that can help you recover files.
Here's how to use it:
- Install and open iBoysoft Data Recovery
- Select your storage device..
- Click Search for Lost Data to scan for recoverable files.
- Preview the files you need, then click Recover.

Disconnect external devices
Peripherals can sometimes prevent your Mac from booting due to driver conflicts, damaged hardware, or a misplaced boot disk.
To test this theory, turn off your Mac completely, unplug all cables except essential ones (like the power cable), and then turn everything back on.
If the computer boots normally, it’s one of your external devices that’s misbehaving. Now, you just need to find the culprit.
Here's how to fix a White Screen of Death when the peripheral is causing the problem:
- Plug in one of the external devices you were using when the white screen appeared.
- Restart your Mac.
- Disconnect the device and try the next one if the white screen doesn’t appear.
- Restart your Mac.
- Repeat this process until you identify the device causing the white screen issue.
TipIf this fix worked and your Mac is now turning on normally, I recommend cleaning it up next. You should get rid of system junk, outdated caches, remnants of old apps, and similar clutter that may conflict with other hardware or other apps. For me, CleanMyMac works best. I do regular cleanups, and the app deletes gigabytes of junk every week. When I need a quick cleanup, I run Smart Care. When I have more time, I go through all the scans, like Cleanup, Performance, and Protection.
|
Boot your Mac into safe mode and clean it up
The next step you can try is starting your MacBook in safe mode to check whether the White Screen of Death is caused by the operating system or something installed on your Mac.
safe mode loads only the essential system components, without which macOS cannot function. So, if your Mac boots normally in safe mode, the white screen issue is likely caused by third-party software, such as installed apps or login items.
Step 1. Enter safe mode
Here’s how to boot into safe mode on an Apple silicon Mac:
- Shut down your Mac completely.
- Press and hold the power button until Loading startup options appears.
- Select your startup disk.
- Press and hold the Shift key, then click Continue in safe mode.
Your Mac should reboot automatically, and you should see the Safe Boot in the menu bar.
Here’s how to boot into safe mode on your Intel-based Mac:
- Power down your Mac completely.
- Press the power button to turn your Mac back on.
- Immediately press and hold the Shift key.
- Release the Shift key when you see the login window, then log in.
Step 2. Run Disk Utility to find and fix disk errors
- Open Disk Utility (via Spotlight or Applications > Utilities > Disk Utility).
- Select your startup disk (usually named Macintosh HD).
- Click First Aid and confirm to run it.
- Fix the errors you find.
TipFirst Aid is generally safe and won’t break anything. But ideally, if you're going to run First Aid, you should have a backup of your Mac (or at least your most important files). |
Step 3. Remove problematic login items
- Go to System Settings > General > Login Items & Extensions.
- Uninstall any programs that you think might be causing the problem. I would start with suspicious items that you don't remember installing, outdated utilities, antivirus apps, and disk management tools.
- Select them and remove them by clicking the minus (-) button.
Use Disk Utility to verify or repair disks
If you can’t get into safe mode, try recovery mode instead:
- Power down your Mac completely.
- Press the power button to turn on your Mac.
- Hold down the Command + R keys immediately.
- Release the keys when you see the Apple logo.
- Select Disk Utility > Continue when prompted.
- Choose the disk you'd like to repair.
- Click First Aid to check and repair the disk.
Disk Utility works with errors related to the formatting and directory structure of a Mac disk, so it can help.
Reset PRAM/NVRAM
PRAM/NVRAM stores information that's important for starting your Mac: boot disk settings, kernel panic logs, some display configurations, and more. Your Mac's firmware manages these settings to ensure proper operation. If they're not configured properly (for example, the wrong boot disk is selected), a White Screen of Death may appear.
In this case, resetting PRAM/NVRAM may help. Don’t worry, it’s safe and doesn't affect your files, apps, or data.
Here's how to reset PRAM/NVRAM (Intel Macs only):
- Power down your Mac completely.
- Press the power button to turn your Mac on.
- Immediately press and hold these keys: Command + Option + P + R.
- When you hear your Mac’s startup chime or see the Apple logo, release the keys.
Note: On Macs with Apple silicon, you don’t need to reset PRAM/NVRAM. It’s automatically tested and reset if necessary when your Mac restarts.
If resetting PRAM/NVRAM did the trick, I’d suggest installing iStat Menus as the next step. It doesn't solve the white screen problem directly, but it can indirectly help your Mac run more efficiently. The app monitors CPU and memory usage, fans, temperature, and more. If something goes wrong, you'll be able to fix it in time. It's always better to cool down your Mac when it's overheated than to deal with a damaged battery or screen later on.

Reset SMC
The SMC (System Management Controller) is responsible for power and thermal management, display functions, and more. Resetting it often helps fix a slow-booting MacBook and the blank white screen.
Here's how to reset the SMC on your Mac to get rid of the White Screen of Death (Intel models only):
- Turn off your Mac completely.
- Press and hold Control + Option keys (both on the left side of the keyboard) + Shift (on the right side of the keyboard).
- Hold for 7 seconds, then press and hold the power button.
- Hold for another 7 seconds.
- Release and wait a few seconds.
- Turn on your Mac.
Just like resetting PRAM/NVRAM, resetting the SMC doesn’t affect your files, apps, or personal data. It only adjusts system-level settings. If you need to, read more about how to reset PRAM/NVRAM and SMC on Mac.
Note: There’s no manual way to reset the SMC on Apple Silicon Macs. It automatically resets every time the Mac starts up.
Reinstall macOS
If there are no signs of disk corruption and all methods have failed, try reinstalling macOS.
Here's how to reinstall the latest version of macOS on your Mac:
- Start your Mac in recovery mode.
- On Apple silicon: Press and hold the power button until you see the startup options window. Click Options > Continue.
- On Intel-based Mac: Press the power button, and immediately after this, press Command + R (to reinstall the current version of your macOS), Option + Command + R (to upgrade to the latest version compatible with your Mac), or Shift + Option + Command + R (to reinstall the version that originally came with your Mac). When you see the Apple logo or spinning globe, release the keys.
- Select Reinstall macOS > Continue when you see the Utilities window.
- Follow the on-screen instructions to complete the process.
If you need a detailed guide, here's how to reinstall macOS [without messing up your data].
NoteReinstalling macOS doesn't destroy or delete your files; it just replaces the system files. However, it's always a good idea to have a backup in case something goes wrong. If the white screen problem isn't permanent, and you can log into your Mac after a temporary fix (such as a simple reboot), take the opportunity to back up your data before reinstalling. |
What is the White Screen of Death?
The White Screen of Death usually happens when your Mac can’t boot the operating system for some reason. You can think of it like this: the computer runs its boot program, but, at some point, something goes wrong (for example, Mac can’t find the startup disk), and it freezes.
Sometimes, Mac flashes with the white screen for a second or two, and in some cases, it might get stuck on it.
Here are the most common causes of a White Screen of Death on a Mac:
- Conflicts with external devices (printers, monitors, keyboards).
- Corrupted system files (for example, due to malware or errors during a macOS update).
- Software conflicts with macOS (like incompatible software).
- PRAM/NVRAM issues.
- SMC failures.
- Hardware damage (GPU, SSD, logic board, cables, etc).
Macs with Intel-based processors are more prone to the white screen problem than those with Apple Silicon chips. Older computers are also more likely to need hard drive repairs.
Final thoughts on how to recover from the White Screen of Death
I'm not a fan of preventing every specific problem. Instead, I prefer focusing on keeping the Mac in good overall health. The rules are pretty similar for the most common problems, including recovering from the White Screen of Death.
Use an app like CleanMyMac to clean your Mac regularly. It'll alert you if it detects excessive load, suspicious software, or anything else you need to know about. Also, keep track of indicators and sensors with a tool like iStat Menus that monitors the CPU and GPU. And if you ever need to recover lost files or data from your Mac or external drives, iBoysoft Data Recovery is a reliable option.
You can find all of these apps on Setapp, a platform that gives you access to over 250 macOS and iOS apps. There's a free 7-day trial. It’s a simple way to try out premium tools without having to buy them one by one.
FAQs
Can I recover files if my Mac shows a white screen and won’t boot?
Yes, you can recover files if your Mac shows a white screen and won’t boot. You can use a tool like iBoysoft Data Recovery. This tool can scan your Mac’s storage to find and recover lost files, including iPhone backups and photos, even if the system itself is unbootable and you have no online backup. This approach is a good fallback when usual recovery methods fail.
Will data recovery software fix the white screen problem?
Is it safe to use data recovery software before troubleshooting?
Yes, it's 100% safe to use data recovery software before troubleshooting. iBoysoft Data Recovery works in read-only mode, so it won't overwrite, damage, or modify any of your files on your iPhone or Mac while recovering.
Does iBoysoft work with external drives that my Mac won’t read?
Yes, iBoysoft Data Recovery works with external drives. Since it can run from macOS recovery mode, you can browse data on an unbootable Mac and safely recover your iPhone photos from a backup without any issues.


