How to scan on a Mac: My simple ways to scan documents & extract text
I like keeping my files organized, and one of the easiest ways to do that is by scanning them. One of the coolest things about scanning on Mac is that it doesn't require fancy software, and you can even get the job done with your iPhone and a few built-in Mac tools.
In this guide, I'll show you different ways to scan documents on a Mac. I'll also throw in a few tips to help extract text, edit documents, and make the process smoother.
Best ways how to scan on a Mac
There's no single way to scan documents on Mac. It all depends on the tools you have and your personal preferences.
But before we get into the details, here’s a quick solution guide:
| If you want to | Do this |
|---|---|
| Scan a document using a flatbed scanner | Use Image Capture (Applications > Utilities) and select your scanner. |
| Scan multiple pages quickly with a document feeder | Load pages into the ADF tray and scan using Image Capture or System Settings. |
| Scan a document without a scanner | Use Continuity Camera to scan with your iPhone and automatically send it to your Mac. |
| Extract text from a scanned PDF | Open the document in Nitro PDF Pro. |
| Copy text from an image or photo | Use Prizmo’s OCR tool. |
| Grab text from any screen content | Use TextSniper to instantly copy text from videos, locked PDFs, or error messages. |
Connecting and setting up your scanner
Before you scan any document, you first need to connect your scanner to your Mac. You can do so through Wi-Fi, USB, or Bluetooth.
Here's how to how to set up a scanner on Mac:
- Connect the scanner to your Mac via a cable.
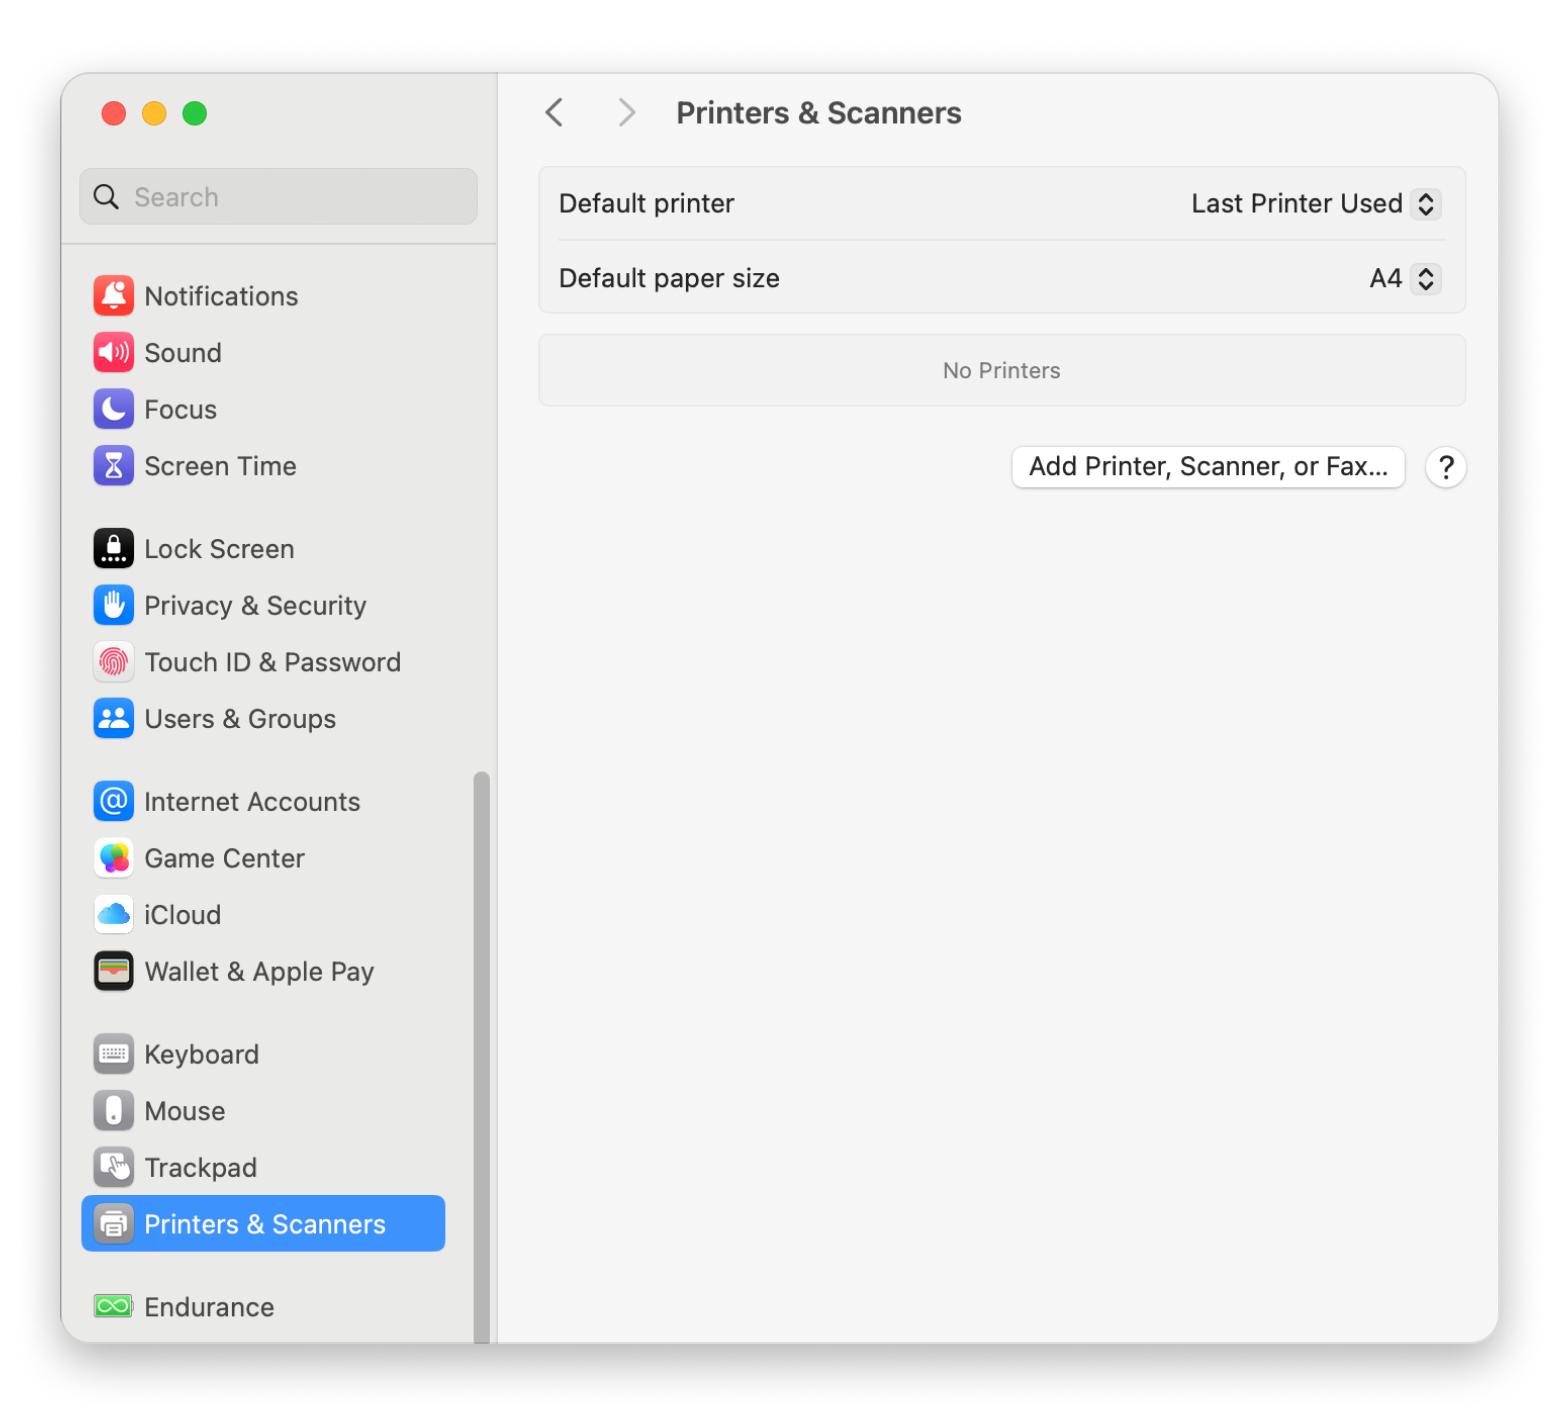
- Go to System Settings > Printers & Scanners.
- Click Add Printer, Scanner, or Fax, then select your device.
- Click the printer or scanner in the list, then Open Scanner.
- Install the scanner's latest software (if prompted).
- Open Image Capture (Applications > Utilities).

If your scanner appears in the sidebar, you're all set. You can now scan your documents.
How to scan on Mac using a flatbed scanner
A flatbed scanner is simple to use, and it works superbly when you only need to scan single pages or photos. You can use it with Mac’s Image Capture to import your docs.
Here's how to scan on a Mac using a flatbed scanner:
- Connect and set up the scanner on your Mac.
- Place your document face down on the scanner glass.
- Open Image Capture (Applications > Utilities).
- Choose your scanner and wait for a preview.
- Adjust scan settings:
- Scan Mode: Choose Flatbed.
- Resolution: For standard documents, 300 DPI is enough. For photos, use 600 DPI.
- File Format: Pick PDF, JPEG, PNG, or TIFF.
- Save Location: Choose where you want the scan to be saved.
- Click Scan.
Your document will be saved in the folder you selected.
How to scan on a printer using a document feeder
If your printer has an automatic document feeder, you won’t have to waste time placing each page you want to scan on the scanner glass.
Here's how to scan from printer to Mac with a feeder:
- Connect the scanner to your Mac.
- Load your documents into the ADF tray.
- Open Image Capture (Applications > Utilities).
- Choose your printer/scanner.
- Adjust scan settings.
- Click Preview (optional).
- Click Scan.
The document feeder will automatically pull in each page and save everything as one file.
How to scan on Mac with Image Capture
Mac’s Image Capture is a good starting point if you are just looking for a simple way to convert your physical document or photo into a scan. You’ll have an easy time using it.
Here's how to scan a document on Mac using Image Capture:
- Open Image Capture (Applications > Utilities > Image Capture).
- Select your scanner under Devices.
- Choose the scanning mode:
- Flatbed: For single-page scans.
- Document Feeder: For scanning multiple pages automatically.
- Adjust scan settings:
- Click Preview (optional).
- Click Scan.
If Image Capture doesn't detect your scanner or printer, double-check your connection and restart both devices.
How to scan from System Settings
If you don’t want to deal with an app, you can still scan your document from the macOS settings. It’s a simple method, and the only prerequisite is setting up your scanner.
Here's how to scan documents from System Settings:
- Go to System Settings (Apple menu > System Settings).
- Click Printers & Scanners.
- Click on your scanner, then choose Open Scanner.
- Adjust scan settings.
- Click Scan.
If your scanner is missing, you might need to install the HP scan software for Mac or recheck the connection.
Scanning with Continuity Camera
No scanner? No problem! With Apple's Continuity Camera, you can turn your iPhone or iPad into one.
Here's how to scan a document on Mac:
- On your iPhone, open Settings > General > AirPlay & Continuity > Turn on Continuity Camera.
- Open a compatible app on your Mac (like Notes, Preview, or Finder).
- Click File in the menu bar > Open from iPad ( or iPhone).
- Choose Scan Documents. Your iPhone camera should automatically open.
- Position the camera in view of the document and wait for the scan to finish. After scan, it’ll appear on the preview screen on your Mac.
Now, you can share, edit, and organize the file you like.
Also, check out the guide on .
How to extract text from scanned documents
Mac makes scanning documents easy, but what if you want to edit or extract text for use elsewhere?
How to extract text from PDFs
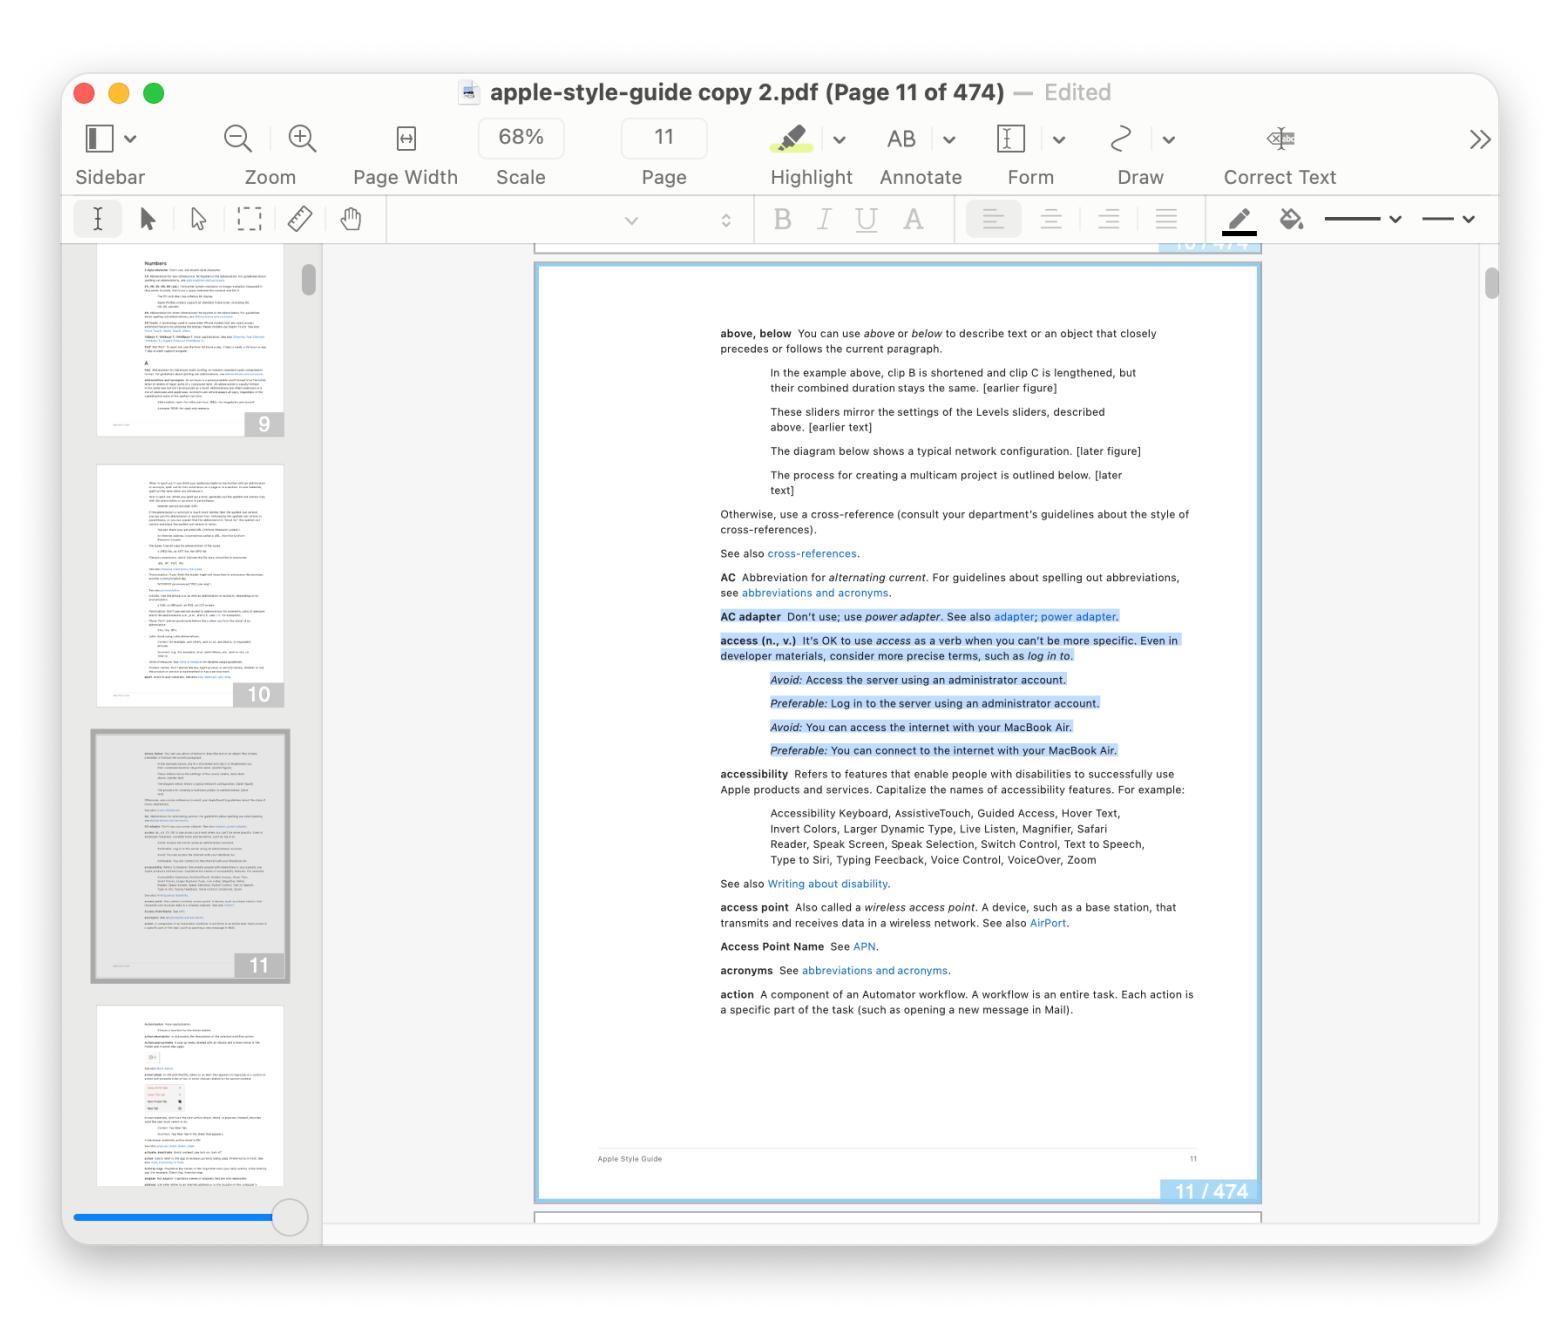
We can all agree that retyping everything in a scanned document is annoying, but you don’t have to. Personally, I use Nitro PDF Pro to easily extract text from any PDFs I scan. The app can recognize any text and make it editable, letting you manipulate it however you wish.
Here's how to extract text from scanned documents using Nitro PDF Pro:
- Install and open Nitro PDF Pro.
- Open your document.
- Click Edit > OCR > OCR Document.
- Choose language and select Make Searchable and Editable.
- Edit the text (if needed).
- Save or Export the document (File > Save As or File >Export).
As you can see, I can select text from the file now:

How to extract text from images
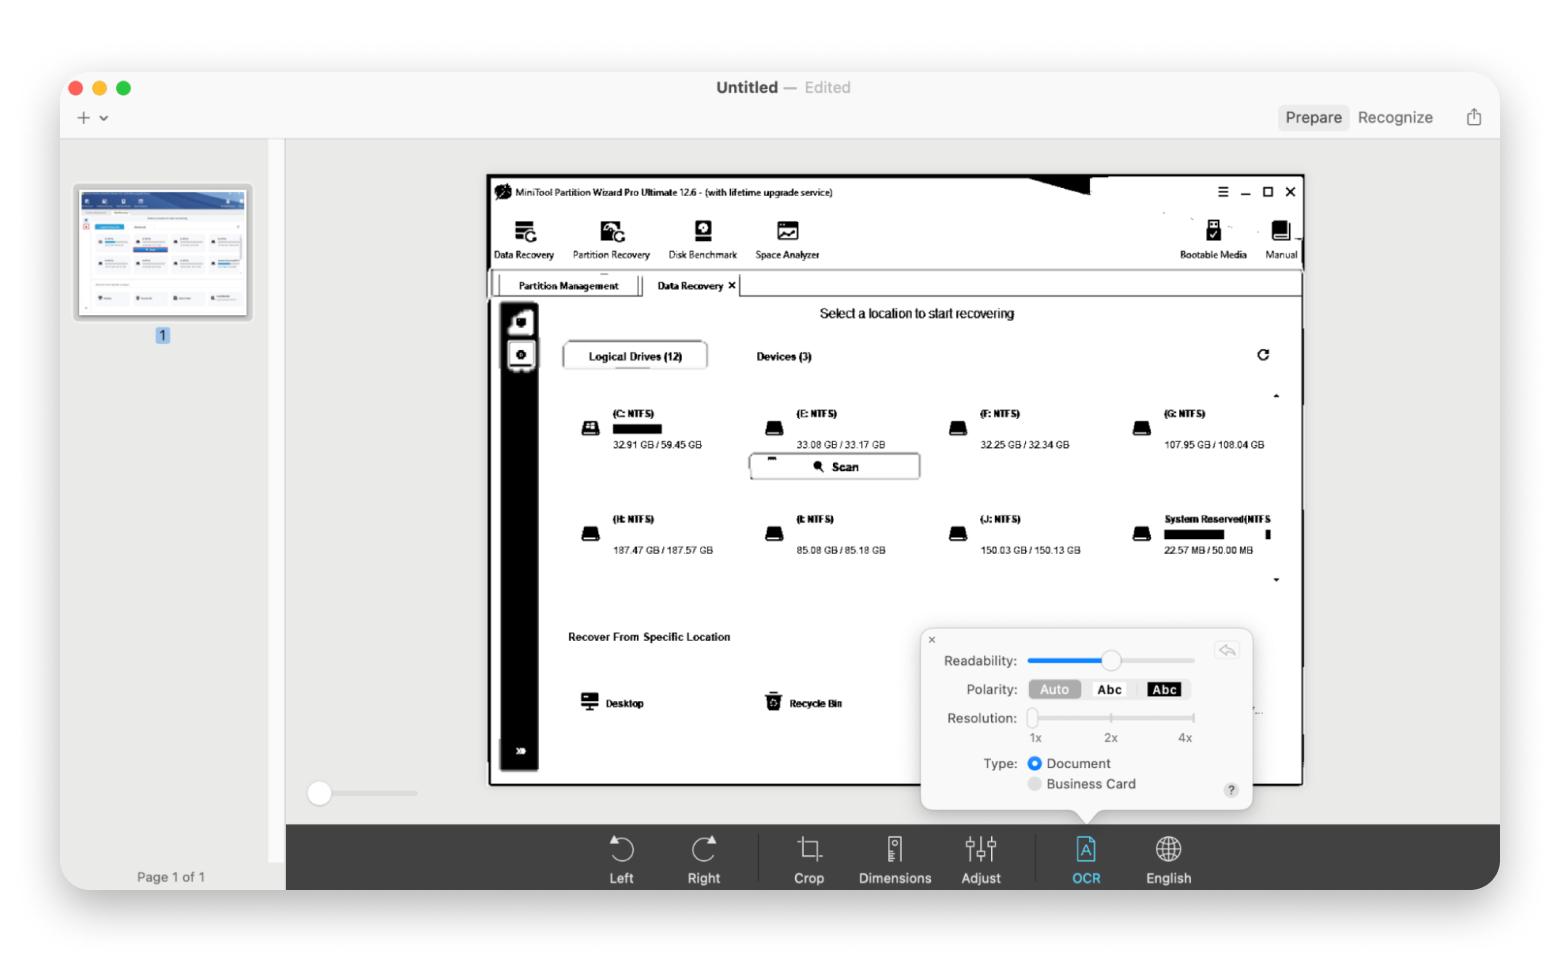
Even when your scan is an image, you still don’t need to go through the frustrating process of retyping. There are tools that can automate the process, and my favorite is Prizmo. The Mac app uses OCR to identify text on images and then turns it into editable content within seconds. Plus, it lets you clean up the text and fix any mistakes that may be present.
Here's how to extract text from images using Prizmo:
- Install and open Prizmo.
- Open the file in the app.
- Click OCR to recognize text.
- Edit the text if necessary.
- Copy or export your text.

Prizmo supports 59 languages and lets you share the extracted text with your favorite cloud service or notes app, so it's easy to organize text on the fly.
How to extract text from any visuals
Not every bit of text you need comes from a scanned document. Sometimes, it's a video, a locked PDF, or even an error message.
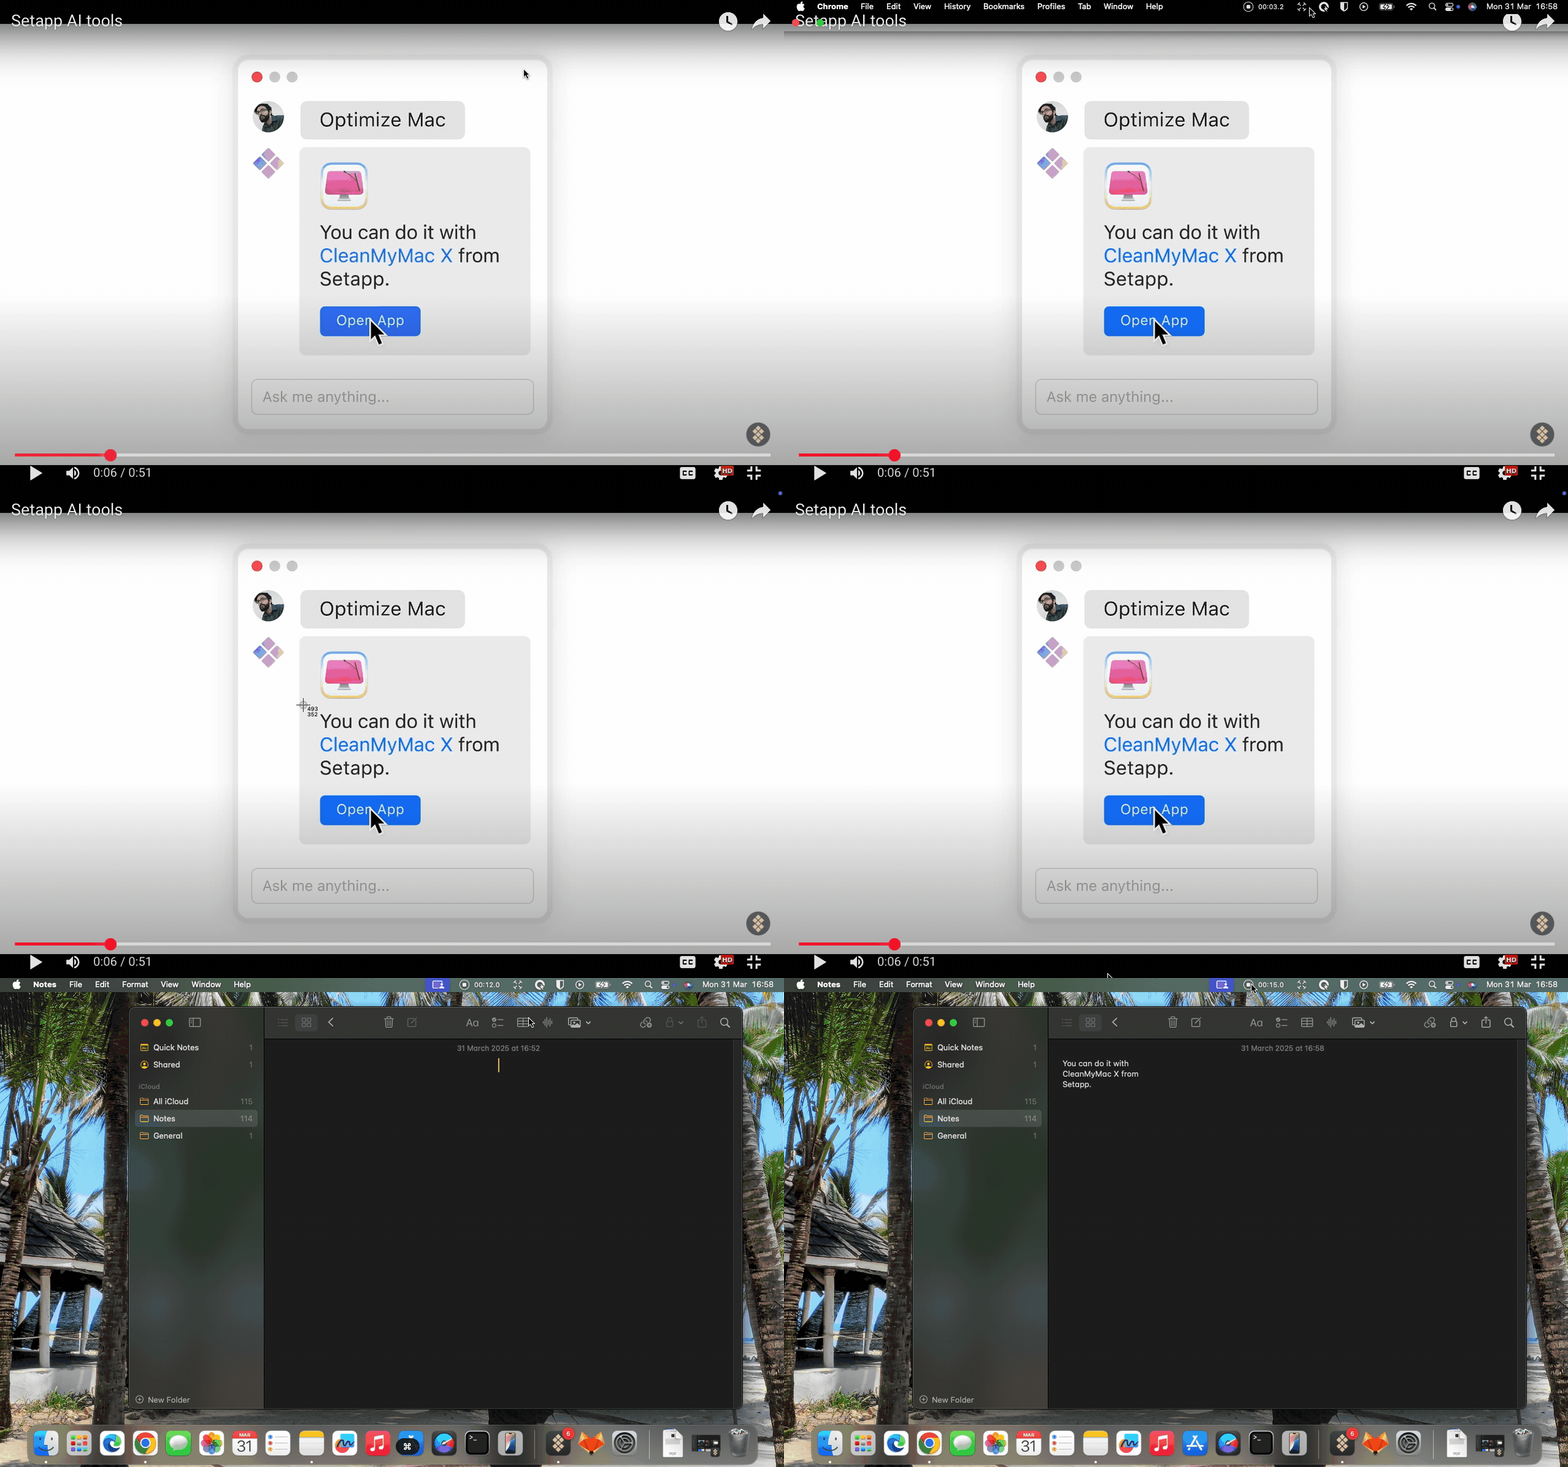
Instead of taking a screenshot and then extracting the text, I prefer to pull out the text directly using TextSniper. It's a super-lightweight app that can grab text from literally anything that's on your screen. You don't even need to switch screens – just select your text and paste it wherever you want.
Here's how to extract text using TextSniper:
- Install and open TextSniper.
- Press Shift + Command + 2.
- Select the area with the text you want.
- Press Command + V to paste the extracted text.
TextSniper pins to the menu bar and stays out of your way until you want to use it.

Scan documents on Mac like a pro
As you can see, it's easy to scan documents on a Mac, whether you are using a flatbed scanner, a document feeder, or your iPhone. From there, you can make the most of a scanned PDF by turning it into something you can actually edit with Nitro PDF Pro. If the scan is a photo, Prizmo can also help you pull the text out and avoid retyping. And when you just want to grab text from something on your screen without scanning it, TextSniper is your go-to solution.
Best of all? You don't have to hunt for these apps one by one. All three, plus 250+ more, are available on Setapp under a single subscription. It's the best alternative app store for Mac, and you can check it out via a 7-day free trial.
FAQ
How do I scan a document on a Mac without a scanner?
To scan a document without a scanner, use a Continuity Camera. Enable Continuity Camera on your iPhone (Settings > General > AirPlay & Continuity), then on your Mac, open a compatible app, choose File > Open from iPhone/iPad > Scan Documents, and scan with your iPhone to instantly transfer the document to your Mac. You can then manipulate it or extract text using an app like Nitro PDF Pro.
Where has my scan gone on Mac?
Start by checking the default scan location on Mac, which is Pictures > Scans. If they aren’t there, open Image Capture and check the selected Save To location. Otherwise, you can type the word scan or the document name on Spotlight (Command + Space) to do a search.
Why is there no scan option on my Mac?
If there’s no scan option on your Mac, recheck the connection. You can then open Image Capture to see whether it comes up. If you are still facing problems, consider a mobile scanning solution like Continuity Camera or the Prizmo app.


