How To Set Up HomePod Quickly
No one would argue that music is essential to our lives. By now, we’re so used to wearing headphones at work or having a tune on in a car during commutes that silence doesn’t seem right. And with the rise of podcasts, our desire for audio companionship has increased even more.
Similarly, it’s nice to have something playing at home too. Since today we mostly listen to something happening in the background, expensive audio systems have given way to affordable WiFi and Bluetooth-enabled speakers that pair easily with our smartphones and laptops. In fact, so many of them flooded the market that it has become difficult to choose. At least until the release of Apple HomePod.
What Is HomePod And Why Use It?
HomePod is an Apple smart speaker first announced in 2018. As we’ve come to expect from Apple’s devices, it combines all the best aspects from other top contenders on the market (e.g. HomePod Bluetooth or Siri speaker features) with the capability of a truly high-end audio system.
The HomePod Apple speaker features a high-quality bass woofer, seven drivers arranged to cover all 360 degrees, and six microphones to activate the Apple Siri speaker with “Hey Siri” being said anywhere in the room, even when loud music is playing. On the outside, the device is encased in a beautiful fabric mesh (white or gray) that doesn’t affect any sound waves passing through. Apple HomePod price? $299. And that’s just the most foundational Apple HomePod review.
Note: The Apple HomePod 2 is rumored to come out in the second half of 2020.
There are lots of reasons to use Apple HomePod: listen to Apple’s Music library with over 60 million songs as well as local radio stations, podcasts, and even ambient sounds — just tell Siri what you like. Besides, Siri can provide you with the latest traffic updates, forecast weather, set timers, call friends and family, add calendar appointments, and work with your smart home to turn on the lights, AC, and more. But first you need to know how to set up HomePod using your iPhone.

How to set up HomePod with WiFi
Before you start with the Apple HomePod setup, make sure that your iPhone is running the latest version of iOS, signed into iCloud (with 2FA turned on), connected to the WiFi network, and has the Home app installed (can be done from the App Store) and Bluetooth enabled.
Now how to properly configure the Apple smart speaker:
- To maximize the potential of HomePod’s 360-degree amps, put it as close as possible to the center of the room. If that’s not possible, just make sure there are at least six or so inches between the device and a wall.
- Plug the Apple HomePod into an outlet. You should see the light turn on and hear a sound.
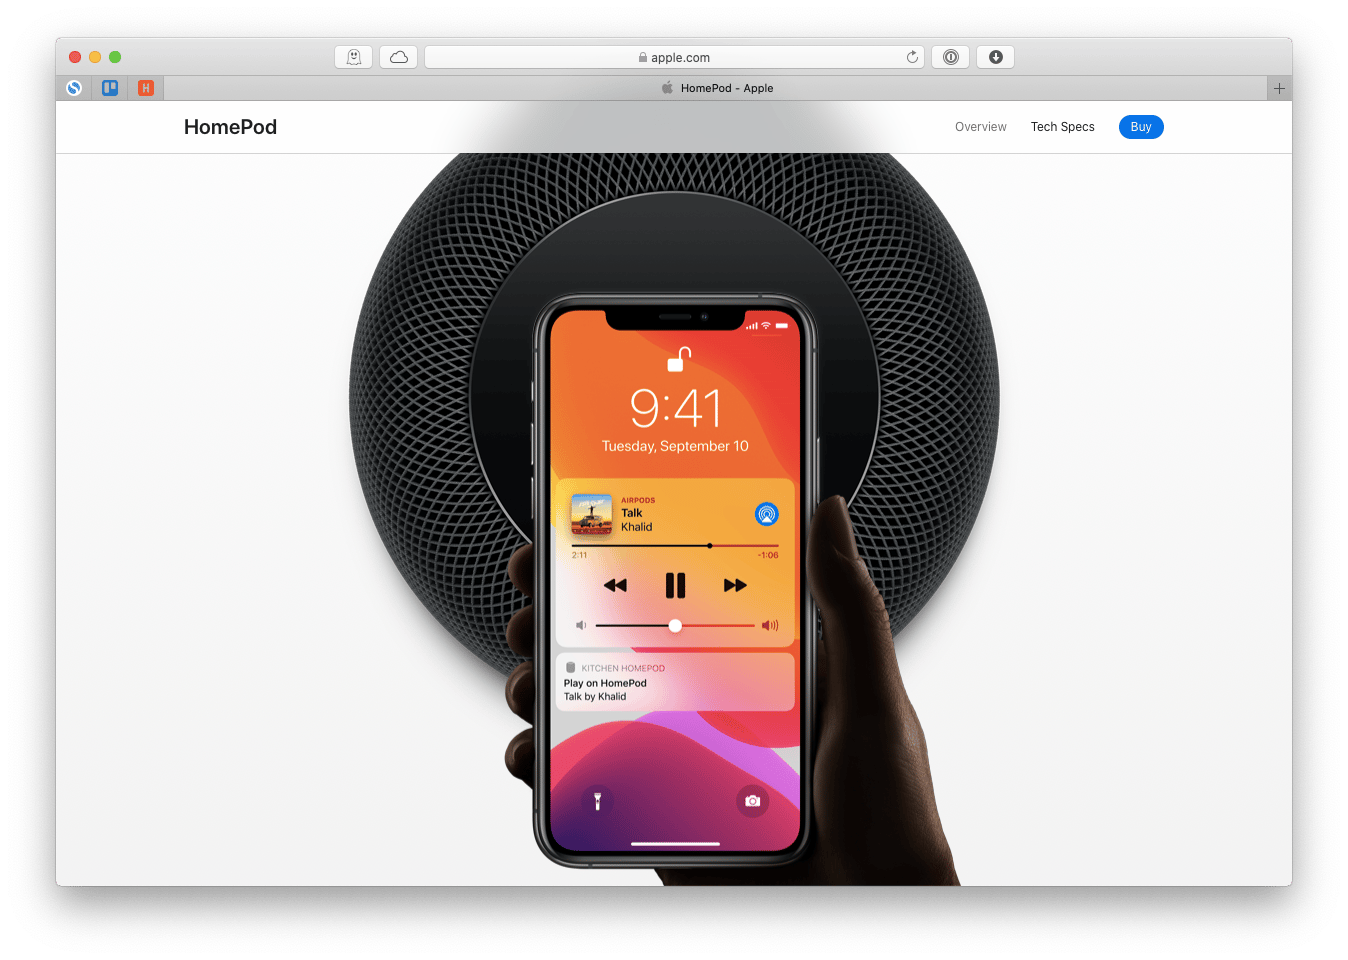
- Unlock your phone. A HomePod notification should automatically appear.
- Tap Set Up
- Name the room your HomePod is located in
- Choose to Enable Personal Requests to be able to send messages, create reminders, and make notes. Note that anyone in your household will have access to this feature.
- Agree to Terms and Conditions
- Transfer Settings to sync your devices
- Enter your Apple ID password
- If the Apple Siri speaker option comes up, try asking a question
How to set up HomePod with Bluetooth
While all the smart features in your HomePod Apple speaker require WiFi, it’s also possible to use the device as a regular AirPlay speaker just using Bluetooth (for all your wood cabin getaways):
- Open the Home app on your iPhone
- Click the house icon in the top-left corner
- In Allow Speaker Access, select Everyone
- Open any music app (e.g. Spotify or Apple Music), select a song, and tap the AirPlay icon to choose to play it through the HomePod

How to use HomePod with your voice
One of the best Apple Siri speaker features is its ability to recognize your voice and understand your commands — so you’re able to control it hands-free at any time. Even better, if there are a few people in your household using the HomePod, it can even distinguish between voices, thus properly adjusting to everyone’s preferences.
The voice recognition feature is only available starting iOS 13. Here’s how to enable it:
- Open the Home app
- Tap Set Up “Hey Siri”
- Ask Siri a few questions when prompted
- Tap Enable Personal Requests
How to change your HomePod settings
It’s always good to know that your decisions are not permanent — you can change any Apple smart speaker’s settings on a whim at any time. For example, you can choose a different room, tweak alarms, turn on Listening History, turn off Hey Siri, and much more.
To change Apple speaker settings:
- Open the Home app
- Tap and hold the HomePod icon
- Select Settings from the menu
- Choose any category you’d like to make changes to
How to reset Apple HomePod completely
If you notice your Siri speaker malfunctioning or being unresponsive, you can try to reset it and then set it up again.
To reset HomePod without iPhone:
Unplug the HomePod Bluetooth speaker
Connect it back
Press and hold the HomePod’s top panel until you see a blinking light and then hear the reset sounds. Let go.
You can also reset HomePod using your iPhone:
- Open the Home app
- Tap and hold the HomePod icon
- Tap Settings
- Tap Remove Accessory
- Tap Remove to confirm
How to ensure a stable WiFi connection
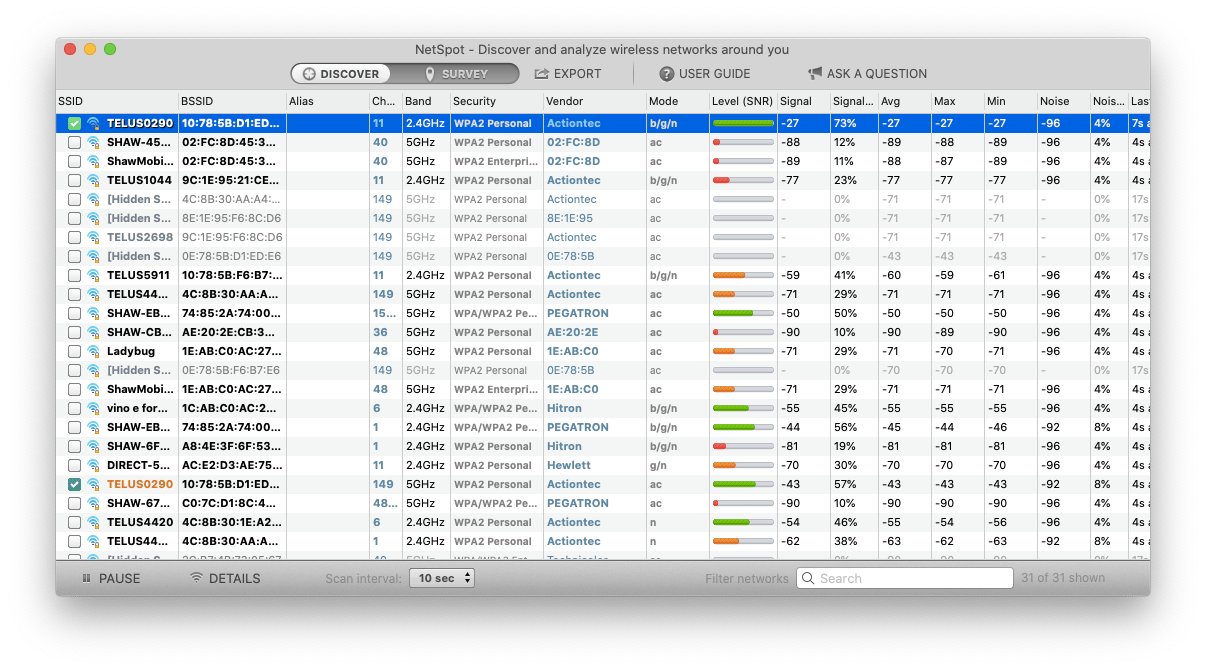
Even though you technically can use your Apple HomePod via Bluetooth, you’d miss out on all the smart features, which make this product so appealing compared to all the more affordable competition. To make sure your HomePod Apple speaker works properly at all times, you need a way to evaluate the quality of your WiFi network.
NetSpot is the essential analyzer for any WiFi connection. This Mac app quickly scans all the nearby networks, providing you with vital stats as well as quick troubleshooting tips. What’s more, you can survey the exact map of your space to detect whether you’re getting appropriate WiFi coverage. Simply draw the map right in the app or upload one to start.

How to connect Bluetooth devices easily
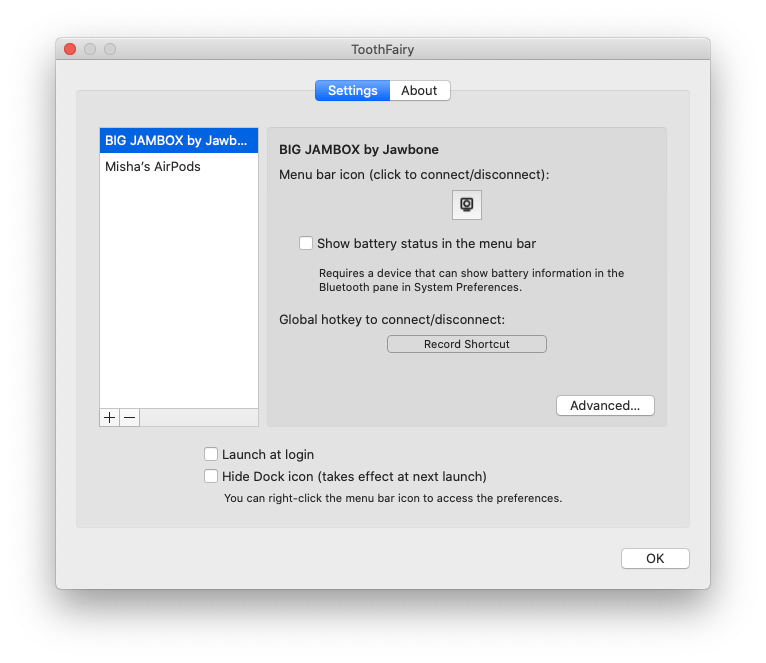
As discussed above, pairing your iPhone with the HomePod Bluetooth option or any Bluetooth device is a seamless process most of the time. The same couldn’t be said about your Mac, which doesn’t give you any indication of whether your Bluetooth is on or off, and connecting anything requires digging through the debris of System Preferences. Unless you have a specific utility to help you out.
ToothFairy is a tiny but brilliant app that lives quietly in your menu bar and lets you connect to your favorite Bluetooth devices with a single click. With ToothFairy, you can just set the Apple HomePod once, choose an appropriate icon to be conveniently displayed next to your WiFi, battery, and so on, and activate it at any time just by clicking on it. The best Mac HomePod bluetooth manager by far.

So while setting up HomePod manually might seem a bit convoluted, getting it to work on Mac with ToothFairy is a breeze. And if you ever experience music interruptions, get your WiFi network back on track with NetSpot — easy!
Best of all, NetSpot and ToothFairy are available to you absolutely free for seven days through Setapp, a platform with more than 170 useful Mac apps for any task can imagine, from getting things done (2Do) to sharing files with your colleagues (Dropshare). Try them all today at no cost! And if you haven’t got the HomePod yet, make sure to check out seasonal promotions at stores like Best Buy for a good deal — sometimes the price drops to as low as $199.


