How to connect GoPro to your Mac: Best 2026 methods
If you want to immortalize your adventurous moments, use a GoPro. Capture that awe-inspiring moment on video, have a great time, and worry about choosing the best shots later. That’s exactly what I do when I go whitewater rafting.
After the outing, I get back home and connect the GoPro to my MacBook to transfer the files. Then, I edit those videos and grab some screenshots to post only on my socials. More importantly, I must ensure these files are stored safely.
This format of preserving memories is one of the best decisions I've made in my digital life. My photo and video library look really cool and clean, and I haven't accidentally lost a single photo in the past five years. That's why I'm willing to share my experience. In this article, I’ll show several ways to safely store your GoPro files on a Mac.
Method 1: How to view GoPro videos on Mac via SD Card
One way to import GoPro files to your Mac is via an SD card. Newer versions of the GoPro camera store all video files on a microSD card. All you need to do is to copy those files into your MacBook’s hard drive.
But here’s the problem.
You can’t read the SD Card directly by plugging your GoPro into your Mac. If your Mac doesn’t have a built-in slot, buy an SD card reader.
Once you’ve got an SD card reader, follow these steps to transfer the files.
- Remove the SD card from GoPro and insert it into the SD Card reader.
- Connect the SD Card Reader to your Mac’s USB slot.
- Open Finder.
- Look for the SD Card drive on the left panel.
- Click on the SD Card. You’ll find folders named DCIM and MISC.
- Double-click on the DCIM folder. You will see folders named in the style of 100GOPRO. These folders contain the files captured by the camera.
- Copy and paste the folders to your MacBook to transfer all files.
Once the transfer finishes, remember to eject the SD card from your Mac safely. You can do that by selecting the card in the Finder > File > Eject. Otherwise, you risk corrupting the SD Card before inserting it back into the camera.
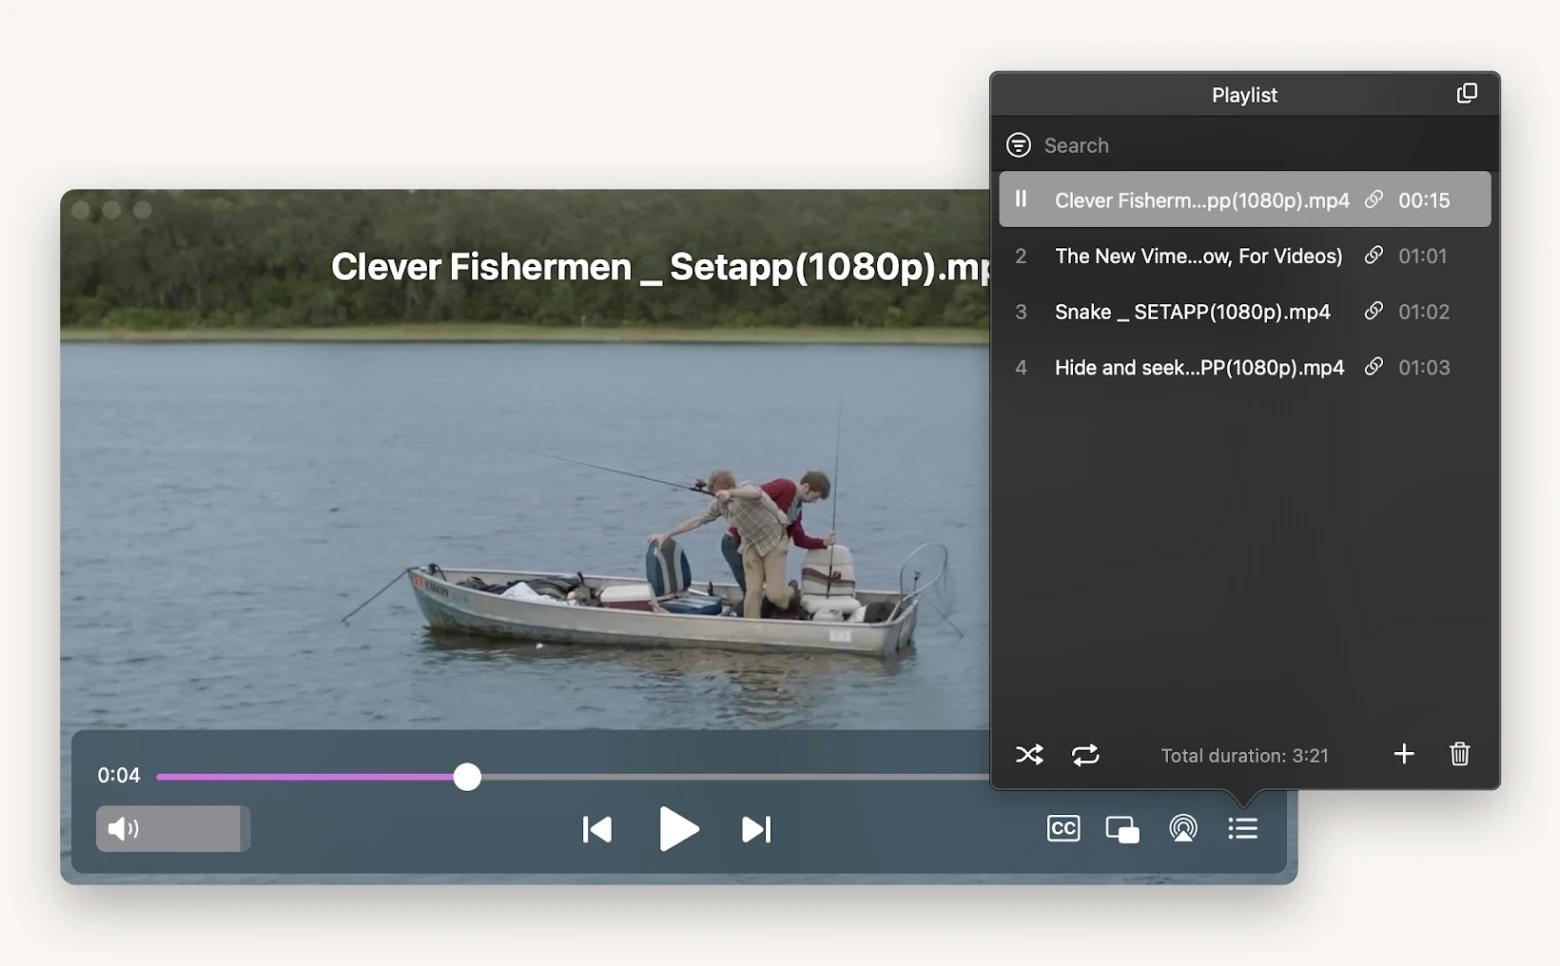
With all the videos safely stored on your Mac, you can now browse and view any of them. GoPro records video in MP4 format. This means you’ll need a video player that supports MP4, such as Elmedia Player. The app lets you play GoPro videos in HD and Ultra HD. If you need to bookmark certain scenes, you can do so easily and revisit them later.

Method 2: Connect GoPro to Mac via Image Capture
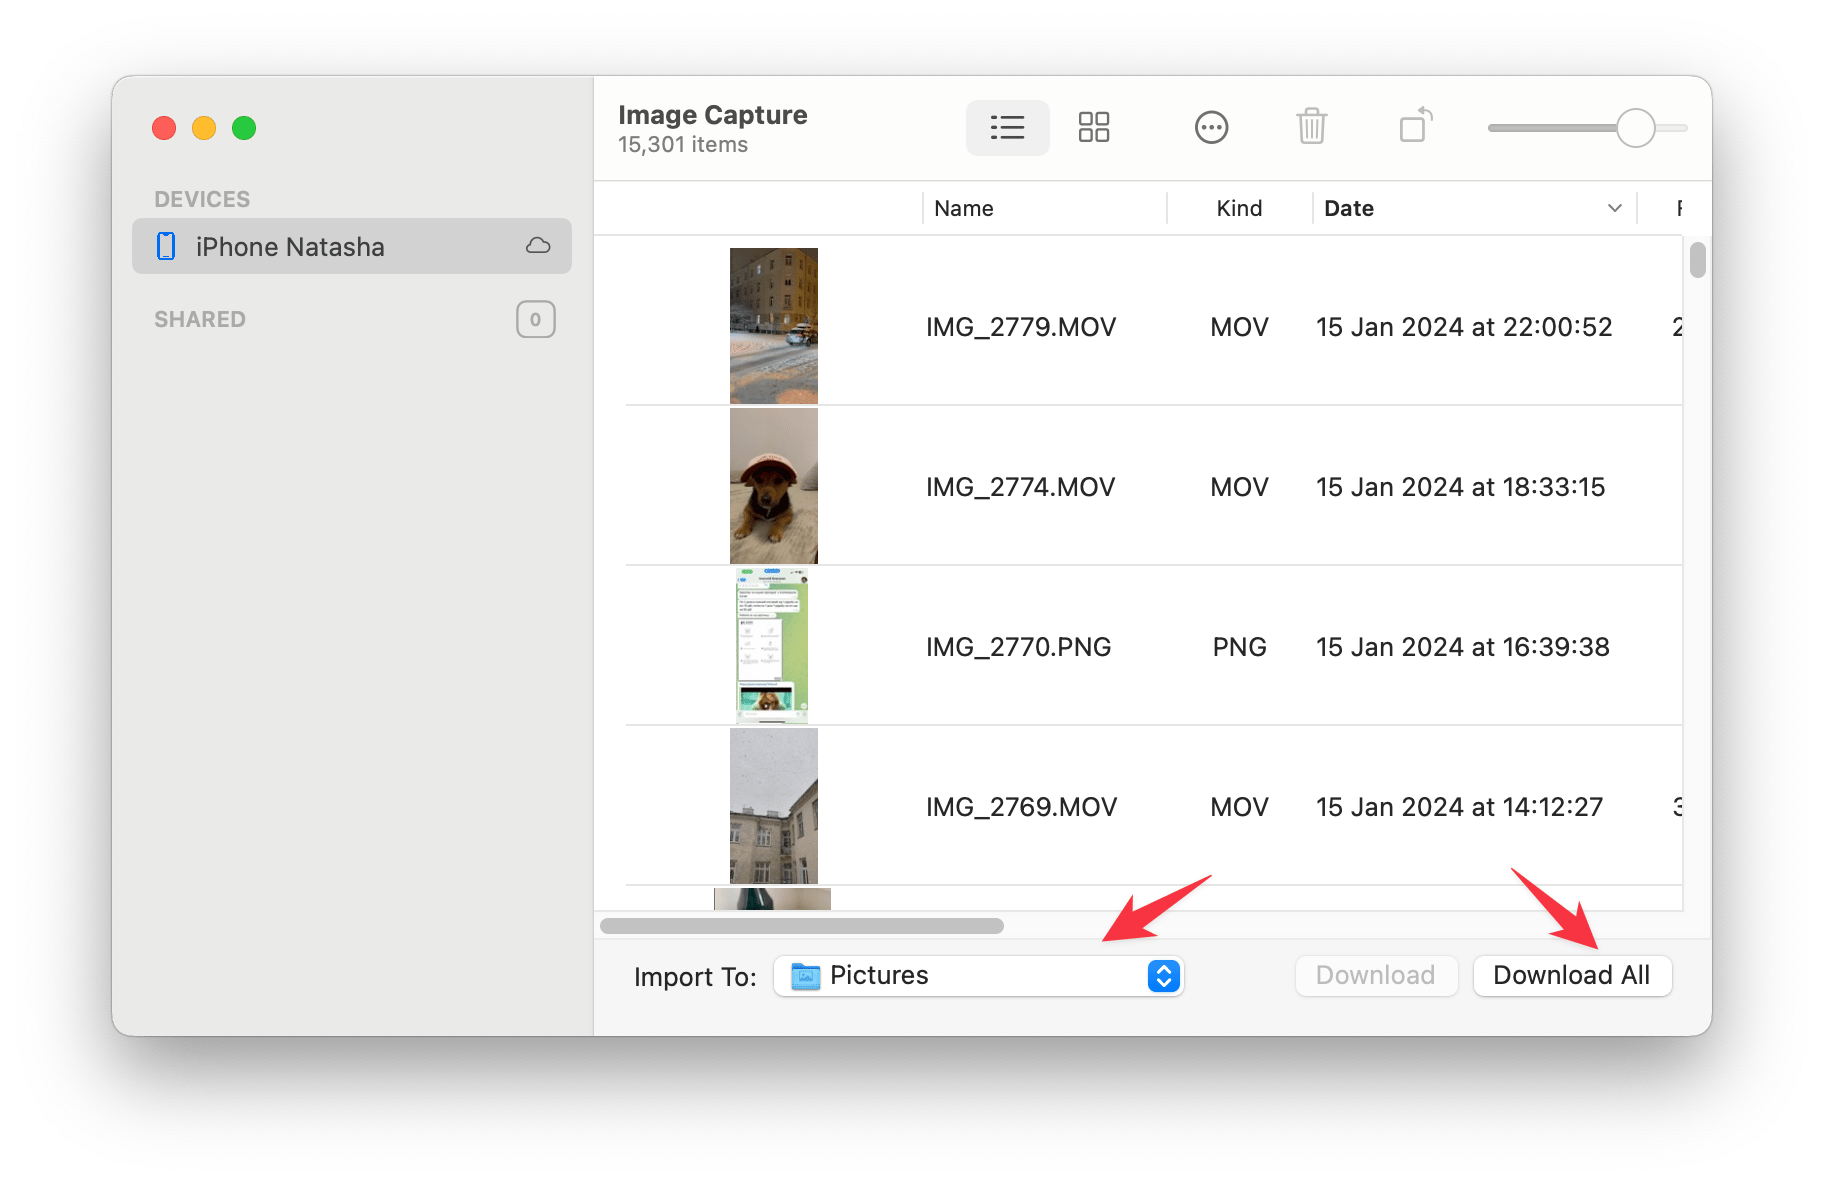
If removing the microSD card is cumbersome, you can transfer the videos with the Image Capture app. This way, you won’t drop or lose the microSD card. Besides, the Image Capture app is pre-installed on your Mac, making it accessible to all GoPro users. Here’s how to upload GoPro videos to a Mac with Image Capture.
- Connect the GoPro to your Mac with the provided USB-C cable.
- Open the Image Capture app in the Application folder.
- Find and select GoPro at the left panel.
- Image Capture will display all the GoPro files on the screen. Choose the transfer location at Import To.
- Then, click Download All to transfer all video files to your Mac. Alternatively, you can transfer selected files by highlighting specific files and clicking Download.

Now, you’ve transferred all GoPro videos to your Mac. What’s next? For me, I’ll share snapshots of my adventurous moments on social media. I use SnapMotion to capture high-quality photos of the videos I have recorded.
Here’s how.
- Download and launch SnapMoption.
- Open Finder from the app and select the video you want to screenshot.
- Play the video with SnapMotion.
- Click the camera icon to capture snapshots of the particular frame.
You can also configure the frame rate, rotate the video, and choose the image format before taking any snapshots.
Method 3: How to transfer GoPro video to Mac using Quik app
Some GoPro fans use the Quik app for transferring their videos to Mac. Quik is a simple video editing app created by GoPro, which also doubles up as a file transfer software. Using Quick to store your videos is fairly easy.
- Download Quik from GoPro’s website. It’s free.
- Connect your GoPro to your Mac with the USB cable.
- Install and lauch GoPro Quik.
- Sign in to the app with your username and password.
- Select the connected GoPro camera on the left panel.
- Click Import Files and wait for the process to complete.
Once the transfer is completed, you can use Quik to make basic edits like trimming and clipping.
Quik, however, falls short when you need professional editing. You’ll need to pay for a premium subscription that costs $49.99 per year to unlock advanced editing tools. Even that, video editing with Quik is not intuitive and often fails to produce professional quality. For someone who lacks editing skills and wants a quick solution, I prefer Filmage Editor.
Filmage Editor makes editing simpler with its user-friendly drag-and-drop interface. It lets you add effects, work with different frames, merge multiple clips, and more without requiring professional editing skills. For example, here’s how to add a sticker to your video with Filmage.
- Download and open Filmage.
- Create a project.
- Select Media. Then, drag and drop your video file into the timeline.
- Click Resources. You’ll find various effects, animations, text styles, and other resources. to help you make cool videos.
- Choose Sticker and browse the available stickers. Then, drag the one you want to the timeline.
You can also blur any personal information in the video before exporting and publishing it.
Method 4: How to connect GoPro to Macbook using Wi-Fi
Not a fan of cables? You can also transfer GoPro video files using Wi-Fi. GoPro has a setting that turns the camera into a web server. Instead of connecting to your internet Wi-Fi, you need to connect to the GoPro camera’s wireless network to begin the transfer. Here’s how to download GoPro videos to your Mac with Wi-Fi.
- Turn on your GoPro. Swipe the screen down and right to access Preferences.
- There, select Wireless Connection and turn it on.
- Open your Mac. Click the Wi-Fi icon and select GoPro’s SSID.
- Use the SSID credentials in the GoPro to connect your Mac to the SSID. You can find them in Preferences > Wireless Connections > Camera Info.
- Launch the Quik or Camera Suite app and import video files.
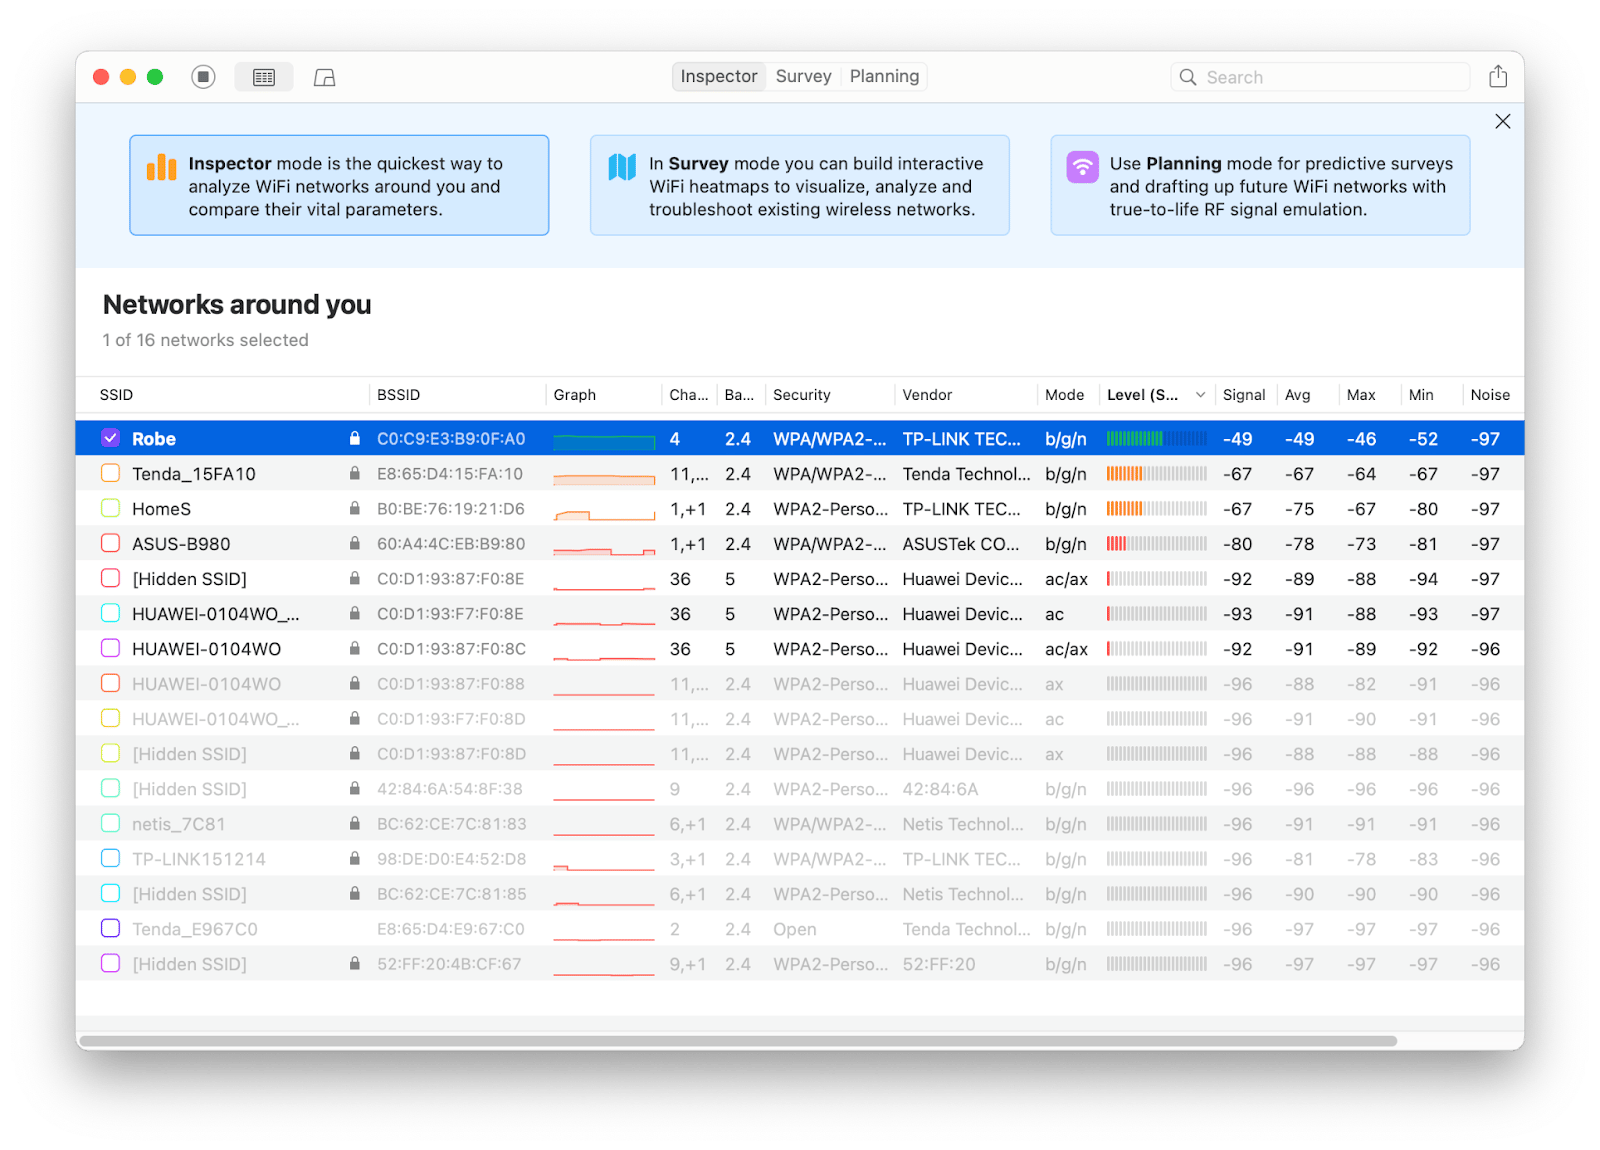
Ideally, importing GoPro files to your Mac with Wi-Fi shouldn't be an issue. But if you’re experiencing a lengthy transfer duration, it’s better to check the Wi-Fi speed. You can use NetSpot to help identify possible Wi-Fi issues affecting your Mac or the GoPro camera.

NetSpot automatically scans the network and displays the upload/download speed in real time. That way, you will learn if the GoPro or MacBook was the culprit of the delays. You’ll also find NetSpot useful for detecting weak Wi-Fi coverage spots at home or in your workspace.
If you’re not getting decent speed with Wi-Fi, you can try transferring GoPro files with Bluetooth. When you enable GoPro’s wireless connection, you’re also turning on its Bluetooth function. Once enabled, follow this to pair GoPro with your Mac:
- Go to the Apple menu > System Settings and click Bluetooth.
- Open Quik or Camera Suite. These apps will automatically search and pair the camera.
- Select the GoPro camera and import the video files.
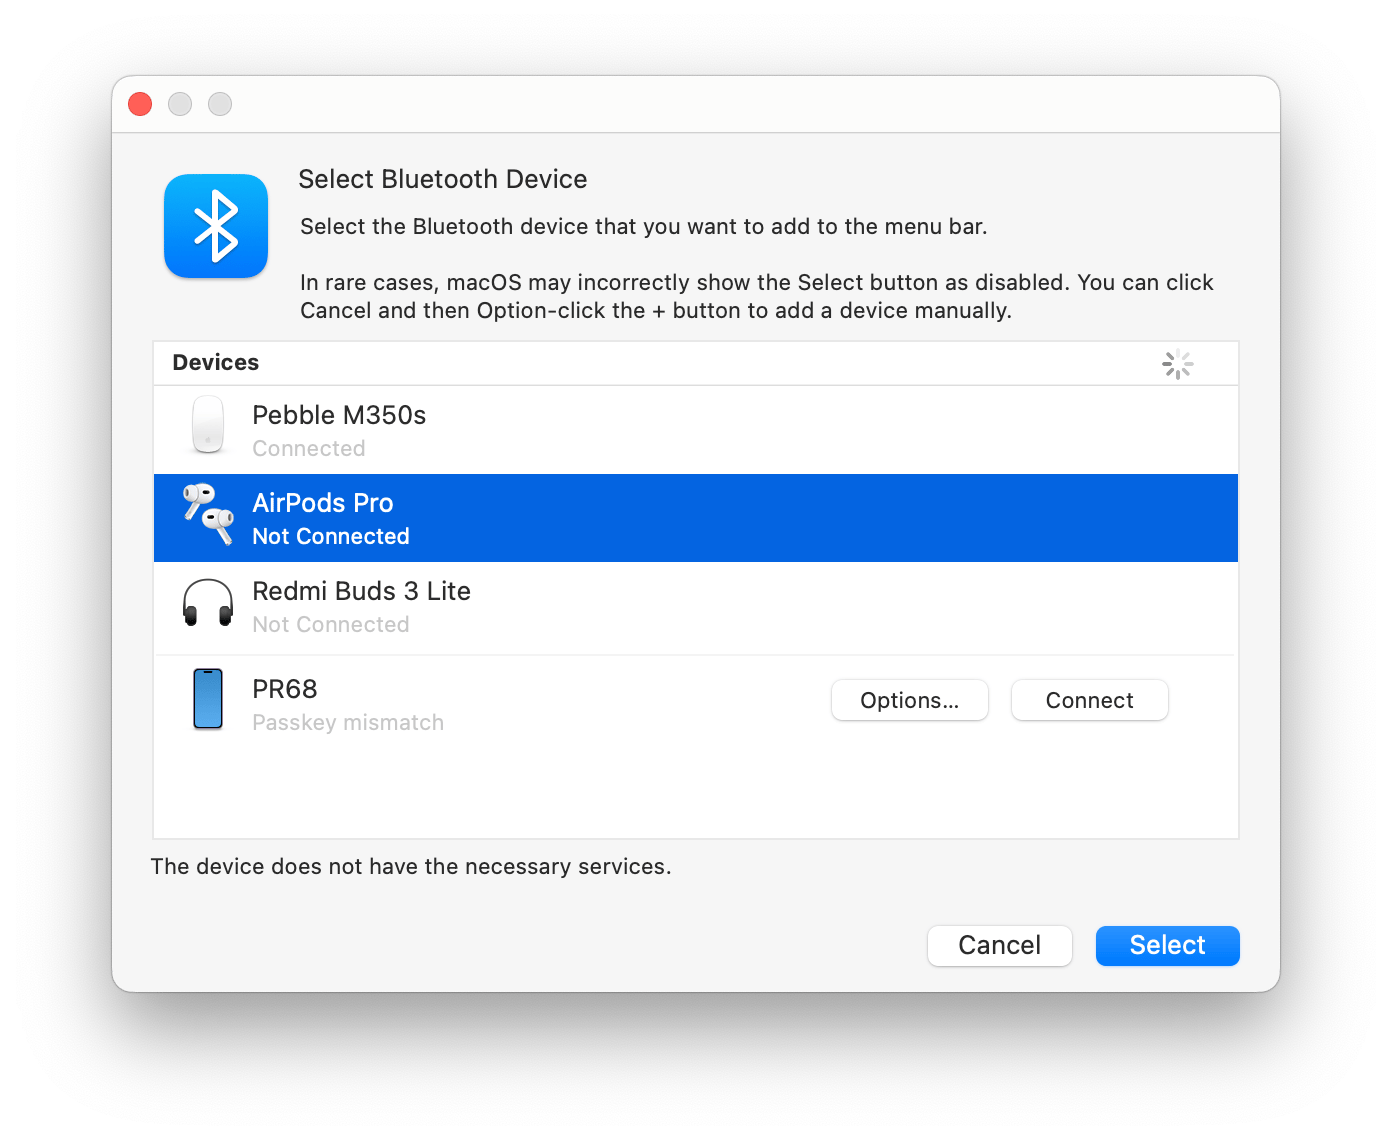
I know that switching between Bluetooth devices can be frustrating. Sometimes, you need to manually connect your AirPods or other gadgets after transferring GoPro files to your Mac. To switch between Bluetooth devices seamlessly, try ToothFairy.
ToothFairy lets you switch manage Bluetooth devices from the menu bar. Instead of navigating deep into system settings, you can connect to a device with a couple of clicks. Or configure a hotkey to switch between devices instantly.

How to recover lost GoPro files on Mac
So, you’ve transferred all the GoPro files to the Mac. But imagine the horror of deleting all copies of them. You’ll find yourself in the predicament I was once, seeking different ways to recover them — and hopefully, not making matters worse.
Depending on how you deleted them, there might be hope. Before you hit the panic button, try these methods.
1. Recover GoPro files from Trash
If you’ve mistakenly sent the video files to the Trash on Mac, you can still recover them.
- Click the Trash icon to open the Trash bin.
- Search for your GoPro files.
- If you find them, right-click and select Put Back.
Your Mac will restore them to their original location.
2. Restore deleted files from Time Machine
You can also try restoring the lost files with Apple’s Time Machine.
- Open the folder where you stored the GoPro files.
- Open Time Machine from Launchpad.
- Browse the available backups in the timeline.
- Select the files or folders you want to restore. Then, click Restore.
You can’t use this Time Machine if you don’t have an active backup of the video files. If that’s the case, try the next method.
How to import videos from GoPro to Mac: Choose the best apps
Let’s recap the ways to transfer video files from your GoPro to your Macbook.
- Import the files from the GoPro’s microSDCard to the Mac computer.
- Connect GoPro to your Mac with USB and transfer with Camera Suite.
- Use GoPro’s Quik app to upload the file to your Mac.
- Transfer the file wirelessly with Wi-Fi or Bluetooth.
You can use any of the above methods to store your GoPro photos on a Mac, but remember that the most convenient method is also the slowest. If you want to transfer hundreds of stored video recordings quickly, microSD is better than Bluetooth.
Remember to edit your videos with Filmage Editor before sharing them with your friends. You can download Filmage Editor and other apps I mentioned on Setapp. Try them 7 days for free now.
FAQ
Why won't my Mac recognize my GoPro?
Your GoPro might not be detected for several reasons, including a faulty SD Card, USB cable, outdated MacOS version, or corrupted drivers.
Can GoPro connect via Bluetooth?
Yes. GoPro has a built-in Bluetooth module, which you can turn on in the Wireless Connections setting. It lets you configure the camera or download video files without using the USB cable.
How do I edit GoPro on Mac?
GoPro has a video editing app, Quik, that lets you do basic editing on Mac. However many users find it difficult to use its tools. Alternatively, you can try Filmage Editor, which offers more advanced features and a simpler editing interface.
Does GoPro have a desktop app for Mac?
Yes. GoPro’s official app, Quik, is downloadable for Mac.
When I plug my GoPro into my Mac, nothing happens, what to do?
You can try updating your MacOS, replacing the cable, or using a new SD card. Also, check that the GoPro’s USB Connection is set to MTP at Preferences > Connections > USB Connections. Otherwise, your GoPro wouldn’t be able to establish a connection with your Mac.


