After getting into the tech community, I was surprised by how many people prefer NAS (network-attached storage) over cloud storage or external hard drives. They say they chose NAS because files can be accessed from any device over the internet.
So, I enlisted the help of Garry (DevOps), Mark (tech enthusiast), and Sonya (professional videographer) to learn how to map a network drive, avoid common NAS mistakes, and get some tips from their experience.
Here are the best tips and everything you need to get started.
What is a network drive used for?
A network drive is typically used as an alternative to cloud storage. While it's easy to drag and drop files into services like Google Drive or Dropbox, a little drive mapping can turn a network drive into a powerful and private cloud-like solution.
Some of the key advantages of a network drive include:
Better control over your files
More security features than cloud services
Flexibility without compromising on privacy
Being used by multiple users across multiple devices
Other, perhaps less obvious benefits of NAS include things like automated backups and the ability to mirror data on two drives. Personally, I use a backup disk from a different manufacturer than my main one. It just feels like a safer bet.Mark, tech enthusiast
Map network drive on macOS (one-time)
Nowadays, most NAS devices are very easy to map. Let’s say you’ve been working on a document in your home office but have just remembered a key fact that you want to include. Time to make a quick edit from your wife’s laptop before you forget about it!
How to access network drive
Getting to the network drive is pretty easy and only takes three steps. Just keep in mind that if the connection drops, you restart your Mac, or if the device gets disconnected, you’ll have to go through those steps again:
Open Finder and press Command + K (or go to Go > Connect to Server) to bring up the server connection window.
Enter the path of the network drive you’re trying to map (e.g., smb://192.168.1.300/shared/Files) and click Connect.
Enter your login details and password, then click OK to mount the network drive.
You can now access the relevant drive either via your desktop or the sidebar in Finder windows.
How to get a path to the network drive you want to map?
If you're the one sharing files, follow these steps:
Go to System Settings > General > Sharing.
Click the info (i) icon next to File Sharing.
Toggle File Sharing on.
Click the “+” button under the Shared Folders list.
Select the folder you want to share and click Add.
Add users who can access shared folders and grant them permissions (for example, Read Only).
Copy the SMB address listed under the File Sharing section (it will look like smb://192.168.1.100) and send it to the person you want to share the folder with.
Automatically connect to a network drive on Mac
Maybe you have a server in your office with a connected network drive and want all your employees to be able to connect to it so they can collaborate on shared documents.
Open Finder, then press Command + K (or go to Go > Connect to Server) to bring up the server connection window.
Enter the network drive path (e.g., smb://192.168.1.300/shared/Files) and click Connect.
Enter your login credentials and click OK to mount the drive.
To make sure the drive reconnects automatically after a reboot, click the Apple menu, then System Settings > General.
Click Login Items & Extensions and click “+” to add a new item.
Find your network drive and click Add, then close the window.
This is how to map a network drive on macOS so it stays connected even after a reboot. Network drives won’t, however, connect automatically if you’re using a different Wi-Fi network.
Make a network drive accessible from a Mac desktop
Depending on your settings, mounted drives may not always appear on your desktop. That’s not necessarily a problem if you don’t mind being able to see connected servers in Finder window sidebars and open/save dialogues.
If you want your NAS device to always be one double-click away (in the same way that most people have Macintosh HD as a visible item on their desktop), use CloudMounter, an essential utility to install on your Mac if you use network drives. After you mount a drive, you'll be able to easily access its contents in your Finder.
What I love about this app is that it gives me a single point of access to all my network drives, as well as any external drives. I recommend it to all my friends who need it, even those who aren’t very tech-savvy. After installing, all you need to do is select the storage you want to connect to your Mac and log in with your usual credentials. That’s it! It'll now function as part of your Mac.Garry, DevOps
How to manage files with network-attached storage
In most cases, macOS’s default tools are sufficient for viewing, editing, and deleting files. That might change, however, if you’re using a NAS device.
Regular backups and ensuring your NAS firmware is up to date also help avoid access or sync issues.
How to show mapped drives on your desktop
If you already use network drives, you might want to have them closer for easier access. Since some Macs aren't set to show all drives on the desktop, you'll need to do this manually.
To get your mapped drives visible on the desktop:
Open Finder, then click Finder in the menu bar.
Choose Settings. You can also press Command + , to open Finder Settings.
Click the General tab and select the box next to Connected Servers.
Close Finder Settings, and all your mapped drives’ icons should be on the desktop.
This will help speed up your workflow, especially if you often deal with many mapped drives.
How to fix mapped drive connection problems
While the setup process for mapped drives isn’t necessarily a complex one, some technical issues can arise as you use these types of storage.
The most common ones are connection problems, and here’s how you can solve them:
Make sure that you have an active internet connection. You can do this by going to System Settings and selecting Network to check the status of various networks.
Verify that the server is online and the location you’re trying to access is available.
Reboot the server hosting the mapped drive and reconnect to the network.
You can also check other elements like the SMB address for any recent changes if several people use the network and mapped drive.
Remount a mapped network drive with one click
Managing, or working across, multiple departments that each have their own network drive? In that case, it can be handy to create aliases of mapped network drive(s). Just right-click on any mapped NAS device on your desktop and select Make Alias.
If you use CloudMounter, remounting is even easier. You can do it with a single click in the menu bar. That can be very helpful if you need to keep jumping between different shared drives.
Delete accidental duplicates
It’s easy to end up with lots of duplicate files on a network drive, especially since you might not be as mindful of storage space as you would be on your Mac’s built-in hard drive.
This is the story of my life! On top of that, I follow the 3-2-1 backup rule: I keep three copies of my data on two different types of media, with one copy stored off-site. Occasionally, I accidentally duplicate files, and a single file can take up to tens of gigabytes. To manage those duplicates, I often use Gemini.Sonya, videographer
Gemini is a great tool for digging out any duplicate content on your drives, so you can ditch everything you no longer need while hanging onto backup documents, photos, etc.
Here's how to use it:
Open the app and click the big + button, or drag your folder of choice into the window.
Choose from recommended locations or select a custom folder.
Click the green Scan for Duplicates button to start scanning.
Delete duplicate files manually or use Smart Cleanup to automate the process.
Improve file management
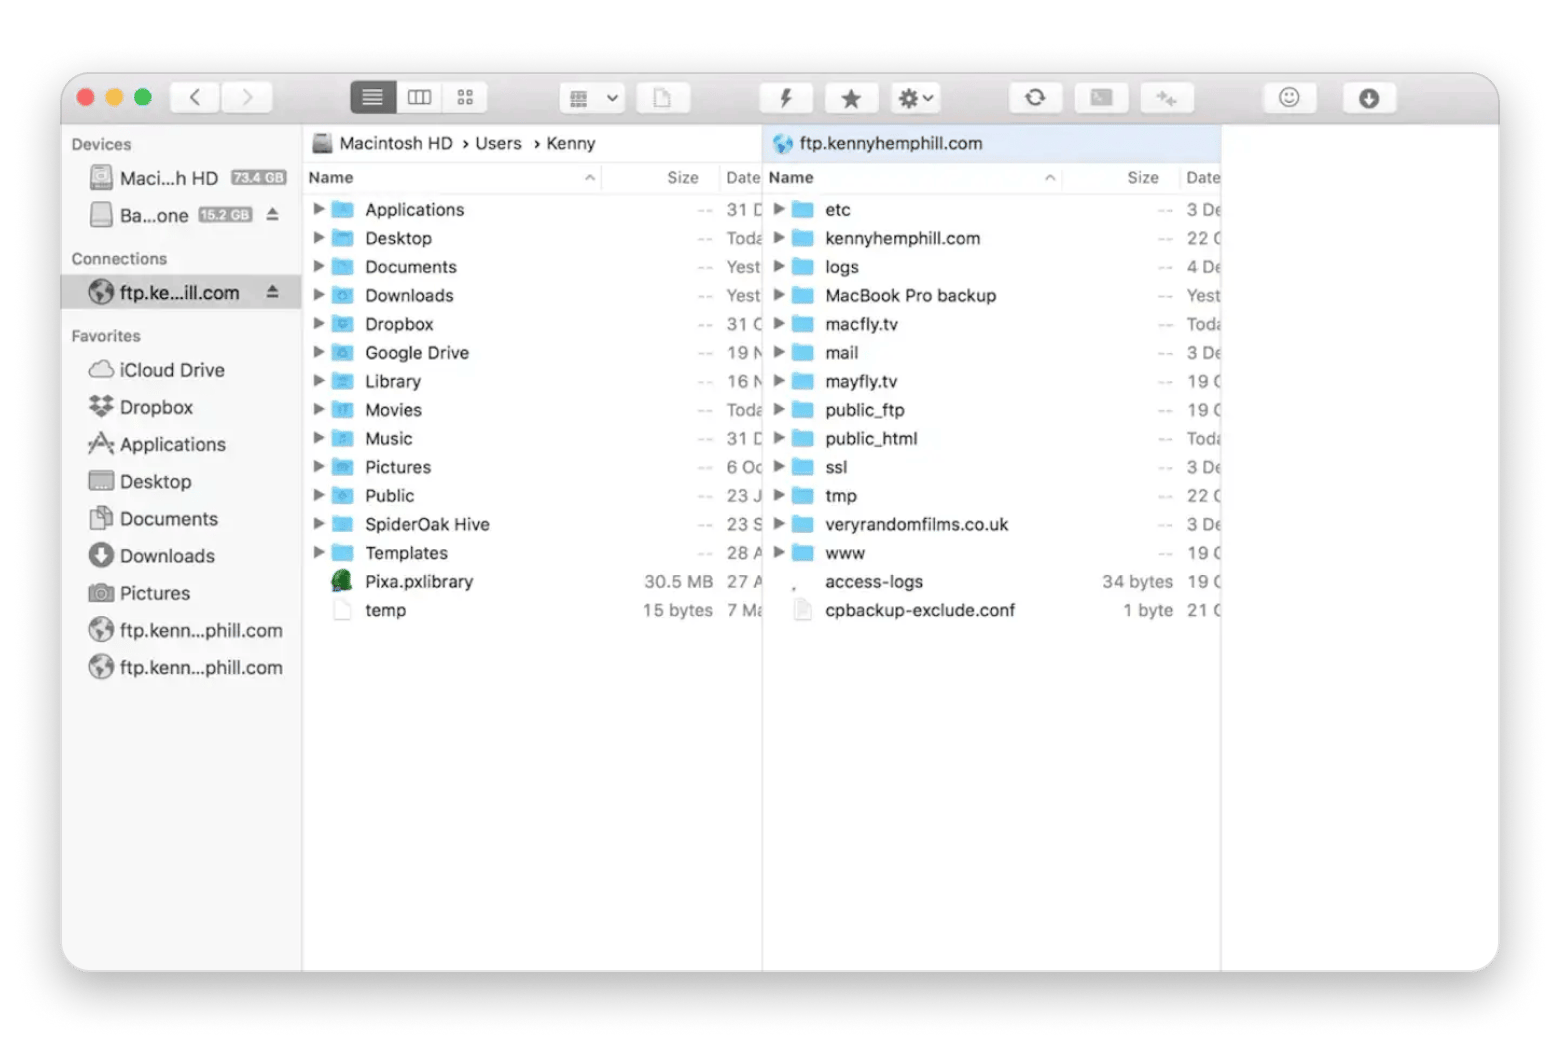
For a more granular approach to file management, you might want to consider something like DCommander or ForkLift. These apps both offer dual-pane file management and features like batch renaming, copying, and deletion in a more seamless way than your default Finder.
Although ForkLift was designed with FTP management in mind, it’s become a favorite of network drive users because of how closely it resembles macOS. You won’t find an app much more native unless it comes out of Cupertino.
Plus, getting started with the app is incredibly simple:
Open the ForkLift app.
Use the left-hand panel to find the file(s) you want to move across.
Select the right-hand panel, then, using the sidebar, click on your network drive.
Start moving, renaming, and archiving files.
If Forklift isn’t for you, then take a look at DCommander, an approved Mac alternative of Total Commander for Windows. In addition to two side-by-side file panels that look very similar to those of Forklift, DCommander puts a wider range of commands and features (including quick file viewing, selective file unpacking, and navigation history) at your fingertips without the need to leave the dual-panel display.
Both apps let you do things like mark certain drives as favorites, create and browse archives, and get previews of items. In short, they’re much like macOS’s Finder, only better. It’s difficult to overstate how much easier it becomes to manage Mac storage with dual-pane browsing until you try to organize your network drive without it.
Final thoughts on how to map a network drive on Mac
Mapping a network drive on macOS is surprisingly simple, even if you’re not especially tech-savvy. The only real limitation is remote access. If you're trying to connect to a NAS device from a different network using macOS's built-in tools, you might run into trouble. But aside from that, network drives can easily compete with the cloud for everyday use.
If remote access isn’t a concern for you and you’re using NAS as an alternative to the cloud, then you should definitely take a look at programs like CloudMounter, ForkLift, and DCommander to simplify file management after mapping your drive. You might also want to use Gemini to keep your NAS free of duplicate files you don’t need.
The best thing is that you don't have to buy these tools separately. They're all available under one subscription on Setapp. This app platform powers up your work on Mac and iOS with 260+ apps for all kinds of tasks. There's a free 7-day trial, so make sure you take these apps for a spin.
FAQs
How to create a shortcut to a network drive on Mac?
To create a shortcut to a network drive on Mac:
Open Finder.
Click Finder in the top menu bar and select Settings (or press Command +,).
In the General tab, check the box next to Connected Servers.
This will make your network drives appear on the desktop for quick access.
How do I add a network drive to my favorites on Mac?
To add a network drive to your favorites on Mac, simply drag and drop the mapped drive’s icon to the Favorites section in the Finder sidebar.
How do I add a network drive to trusted locations?
To add a network drive to trusted locations:
Open the app you want to add the network drive to.
Click the app’s name in the top menu bar and go to Settings or Preferences.
Look for a section called Trusted Locations (or something similar).
Add your network drive to the list of trusted locations.
How to mount SMB share on Mac?
To mount an SMB share (network drive) on Mac:
Open Finder.
Click Go in the top menu bar and select Connect to Server.
In the Server Address field, paste the server address (e.g., smb://192.168.1.100/shared).
Click Connect.
Enter your login credentials when prompted.
Click Connect again to mount the drive.
Expand cloud storage on Mac
CloudMounter connects unlimited storage to Finder.