Guidelines for organizing files and folders: 2025 update
61.3K views
9 min read
TL;DR:
- Keep your desktop clear by moving active files into a dedicated folder and archiving older ones.
- Use clear, consistent file names so you can find things easily through a search.
- Group related files into main folders like Work, Photos, or Personal.
- Use macOS tags and Smart Folders to sort and access files automatically.
- Set up quick-access locations and shortcuts to speed up daily tasks.
- For extra help, consider apps like Spotless, HoudahSpot, and Workspaces.
- If you're syncing or merging folders, tools like ChronoSync Express can save time.
Deadlines tend to expose our weaknesses. I remember scrambling to meet a last-minute deadline, only to waste an entire hour searching for a file I knew I had created years ago. It would’ve saved me so much time… if only I had stored it properly.
In this article, I’ll share some simple, smart tips that helped me build a better file routine on my Mac, and hopefully, they’ll save you from the same panic I went through.
How to use tags to organize files in macOS
Mac has its own tagging feature that lets you color-code files and folders. You can use this to group your items so that you’re not scrolling through endless lists.
Tags work for files and folders stored on your Mac or iCloud account and are easy to add.
How to tag files and folders in macOS
To tag a file in macOS, right-click (or Control-click) the file in Finder or on the desktop, then choose a color or click Tags for more options. You can also tag a file from the File menu in Finder by selecting Tags. When saving a new file in certain apps, you can add tags using the Tags field in the Save dialog.
To keep tags clear, create named tags like “work” or “personal” by selecting Create new tag instead of just colors.

How to find tagged items in macOS?
Once you’ve tagged items, just type the tag name into Finder’s search box or click that tag in the sidebar to see everything labeled that way.
To control which tags appear there, click Finder in the menu bar > Settings. Go to the Tags tab, and add or remove the tags you want.

How to edit tags in macOS?
To edit a tag that you’ve already created, go to Finder > Settings > Tags.
From there, you’ll be able to change the color by clicking on the color button and selecting a new option. Change the name by right-clicking on the tag’s name, then select Rename.
To add a new tag, click the “+” button.
How to remove a tag in macOS?
If you want to remove a tag from an item, you can do so by Control-Clicking (or right-clicking) the item, choosing Tags, selecting the tags you want to remove, and pressing Delete.
Removing a tag from your Mac is equally straightforward. Go to Finder > Settings > Tags, select the tags that you want to remove, and click the Remove button at the bottom.
Use Smart Folders
If you want to group files by certain characteristics, file type, date, or name, you can do it with Smart Folders, the macOS native file organization feature.
Here’s how to create a Smart Folder:
- Go to Finder > Click File in the menu bar > New Smart Folder.
- Type a certain attribute in the search field (for example, “gif”) in the Smart Folder.
- Choose if you want to group together the files formatted as GIF, or all files that contain the word GIF in their name.
- Click the plus button below to add more rules, if needed.
- Click Save and name your Smart Folder.
- Choose the location of the Smart Folder (you can keep it in Finder’s sidebar).

After you save a Smart Folder, all the files that meet the rules you’ve set for that folder will be automatically saved to it.
Also, check out the guide on how to select multiple files and folders on Mac.
Merge similar folders
Aside from removing identical and similar files, it’s also a good idea to do the same with folders. If you have folders with identical names located in different locations, you can merge them to avoid duplicating files across them.
To do it, simply press and hold Option while moving one folder to the location that contains a folder with the same name. In the dialog that appears on the screen, click Merge.
If you want to merge any folders, not just the ones that share the same name, you can merge them using ChronoSync Express:
- Open the app and add a new synchronization task.
- Add the two folders you want to sync, one on the left and one on the right.
- Choose Synchronize bidirectional under Operation.
- Click Synchronize in the top toolbar.

Once they're synced, you can go ahead and delete one of the folders.
Top tips for organizing files and folders on your Mac
It’s easy to let files pile up in random places, but without a system, finding what you need becomes a time-wasting task. These simple file management rules can help you keep your Mac organized and efficient:
- Avoid clutter by not storing files on your desktop.
- Name files and folders strategically, and use smart search tools.
- Keep project shortcuts in one place for quick access.
- Remove duplicates and keep only one copy.
- Use tags to add multiple labels to files for easier sorting.
- Use Smart Folders to auto-group files by attributes.
- Merge similar folders to cut clutter.
Let’s discuss each of the file organization strategies in detail.
Сlean up the desktop
Your desktop can turn into a digital junk drawer before you even notice. Clear it out by gathering every file you’re actively working on into a folder labeled something like Current Projects, and then tuck away anything older into an Archive folder so it’s still accessible but no longer in your way.
If you’d rather skip manual tidying, give an auto-tidy app like Spotless a try. With smart algorithms such as the Autotidy feature, you can input "tasks," which specify where particular files belong, with an easy-to-use drag-and-drop system. The app will store your instructions and automate the process by scheduling folders to be organized at regular intervals.

Find files faster
The general rule of thumb is to name your files properly so you can easily find them through Spotlight. But there’s a better method that works even if you don’t remember the name of the file.
HoudahSpot is an advanced search app for Mac, letting you combine tons of different search criteria to spot files on your drive, Mail, or any other location on your Mac. Once you’ve crafted a search, say, every PDF you’ve opened in the last month or every image from Slack, you can save it as a template and run it with a single click (just head to Templates › Manage Templates).

And when you want quick access to the folders you use most, give iBoysoft MagicMenu a spin. This app expands the macOS right-click menu with quick-access folders. You can also use the menu to quickly move a given file to any location on Mac, or create a new file in a select app, even an empty one!

Project shortcuts
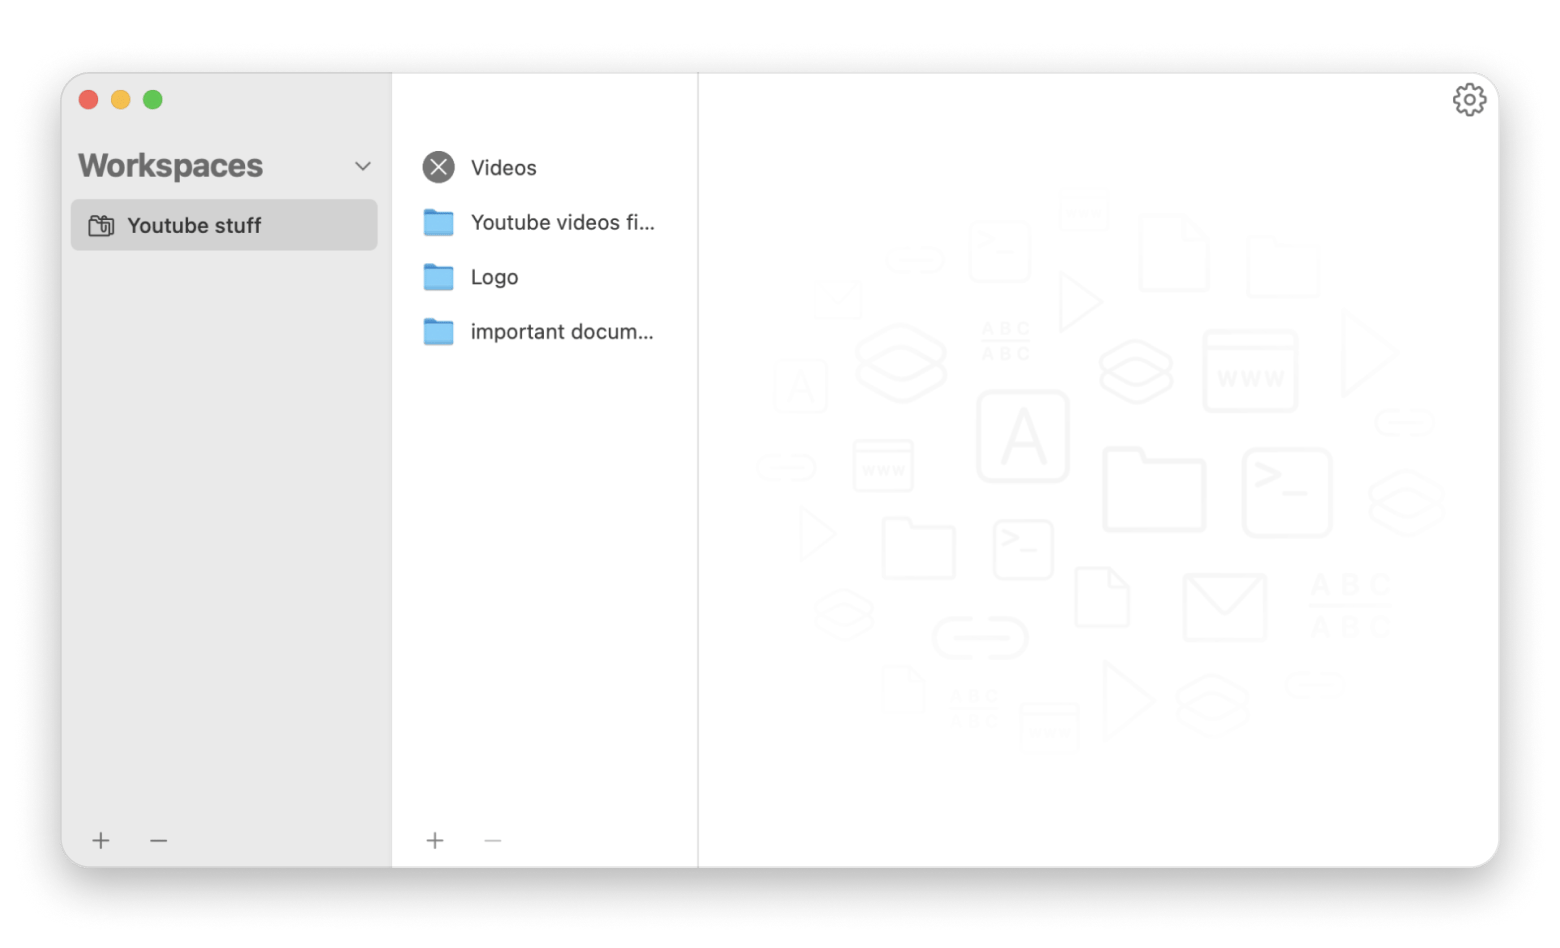
When you're juggling a dozen tabs, documents, emails, and random notes, staying focused can feel impossible. macOS isn’t always the best at helping you multitask smoothly, but that’s where Workspaces comes in.
The app lets you add any resource to the workspace, along with handy widgets like a bookmark bar, making it easy to work on web-focused projects and handle online information simultaneously.
When you're done with a project, you can use the archiving feature to store all your old workspaces into one easily-accessible document, which can be made visible again at any time.
Organize your images
Keeping photos organized can be a challenge, especially with countless selfies and videos piling up. Luckily, Apple’s Photos app has a feature called Memories, which curates collections from your library, lets you upload photos individually or in batches, organizes them by albums or folders, and even allows you to search by places or faces using facial recognition.
One thing that the macOS native Photos app doesn't have is a flexible editing tool. Let’s say you want to rename all the photos in a collection, resize them, fix the contrast, etc. With Photos, you’d have to do that in another app and then import into Photos. To avoid the hassle, you can organize all your media files using an app like Capto.
Capto is a video editor that also offers smart photo organization. It automatically sorts uploads into collections like web snaps or screencasts. You can create custom collections, search by keywords or date, and add metadata and comments.

Read also:
Find and remove duplicate files
Another way to keep files organized is to delete duplicates. These copies take up space and make finding the right file confusing since duplicates can be scattered across your Mac. Using a duplicate remover helps clear clutter without losing important files.
Gemini is a powerful tool for finding and removing duplicate files on your Mac. It scans your system for exact matches and even detects similar files that may be cluttering your storage. Instead of manually reviewing each item, you can clear out duplicates with a single click. One of its standout features is a self-learning algorithm that remembers your past choices and suggests similar actions in future scans.

Final thoughts on organizing files and folders
The tips I gave in this article are multiple pieces of one puzzle. To have your files well-organized, you need to build a workflow that covers several steps: name your files strategically, create project shortcuts and quick-access locations, remove redundant files regularly, and more.
These are the tools that can help simplify things: Spotless for automatic file cleanup, Gemini for removing duplicates, Workspaces for keeping project resources in one place, HoudahSpot for powerful search, iBoysoft MagicMenu for quick actions, Renamer for batch file renaming, and Capto for managing and organizing screenshots and screen recordings. And when it's time to merge or sync folders, ChronoSync Express is an awesome solution.
All of these apps are part of Setapp, a subscription service that gives you access to 260+ Mac and iOS tools in one place. You can try them all free for 7 days, so you can test what fits your workflow before diving in.
FAQ
How to organize files and folders on Mac?
The best way to organize your files and folders on your Mac is to organize your Mac like a library. Create broad folders, Work, Photos, Personal, and move each file into its proper folder as soon as you save it. Then set up tags or Smart Folders so macOS automatically groups new items by type or date. Or install Spotless. It learns your filing rules and applies them for you. Your desktop stays clean without you lifting a finger.
How can you correctly organize files and folders?
To organize files and folders, use third-party apps to help you. Renamer lets you apply bulk renaming rules so you can give dozens of files clear, consistent names. HoudahSpot turns your Mac into a search powerhouse. iBoysoft MagicMenu adds your favorite folders to the right-click menu. Workspaces gather every tab, document, and widget you need for a project into a single window so nothing ever gets lost.
Which of the following does a Mac use to organize files and folders?
macOS relies on Finder to manage and organize the entire system’s files and folders. It’s the ultimate file manager that lets you move, tag, search for, and move files however you wish. Tools like Quick Look, column view, and the search bar make handling your files a lot easier.
What program is used on macOS to manage files and folders?
The program used on macOS for file and folder management is Finder. The blue-and-white smiley face that lives in your dock is where you handle file and folder access and organization, and where you can view and connect to external drives or cloud storage.