How to transfer photos to iPad
I always enjoy flipping through photos on my iPad. They look so good on its amazing screen. But when it comes to taking pictures, I prefer my iPhone for spontaneity. Sometimes, I even use my DSLR for more serious shots. Now, I have so many photos, but all in different places. This got me thinking, how to transfer photos from iPhone to iPad the easiest way. And how to transfer photos from Mac to iPad if I have lots of them.
After testing a few different methods, I've figured out the best ways. Want to take a look?
All the ways to transfer photos to iPad I've tested
I tried several methods and systematized them in this table. Compare the advantages and disadvantages and choose your method.
| Method | Why like it | Why not like it | ||
|---|---|---|---|---|
| Wireless transfer (AirDrop) | Quick and convenient. Transfers 500 photos in about 10 minutes. | Can be slow with very large transfers; needs devices nearby. | ||
| Auto-sync (iCloud Photos) | Seamless syncing across all devices. | Requires internet connectivity and sufficient iCloud storage. | ||
| Handy for sending photos when devices aren't nearby. | Limited by attachment size; can be less reliable for frequent and large batches. | |||
| Cable transfer (AnyTrans for iOS) | Fast and reliable method to transfer ANY content. | Requires app installation and physical connection. | ||
| Organizing (Yoink) | Allows for easy organization before transferring. Handoff feature allows dragging and dropping files between devices. | Requires app installation. Handoff feature requires app installation on both devices. | ||
| Secure sharing (Dropshare) | Ideal for sharing sensitive images securely with password-protected cloud links. | Requires app installation. | ||
Below, I write about each method in more detail. I also share my personal experiences and insights. So keep reading.
How to transfer photos from iPhone to iPad
The moment I got my iPad, I couldn't wait to transfer my iPhone photos to it — having them on a larger screen is perfect for both viewing and editing. So here are some ways to transfer photos from iPhone to iPad.
Method 1: Wirelessly transfer photos from iPhone to iPad via AirDrop
Many Apple users prefer AirDrop to wirelessly move photos to the iPad. Why not try it first? I've used it to send over five hundred pictures at once. It took me about ten minutes. I can say, in today's world, you will definitely get bored during this endless waiting time. But it is not all bad. So let's have a look.
Here's how you can do the transfer via AirDrop:
- Enable AirDrop on your iPhone and iPad. Swipe down from the top-right corner (iPhone X or later) or up from the bottom (iPhone 8 and earlier) to open the Control Center.
- Hard press or long-press the network settings box, then tap AirDrop.
- Pick Contacts Only or Everyone.
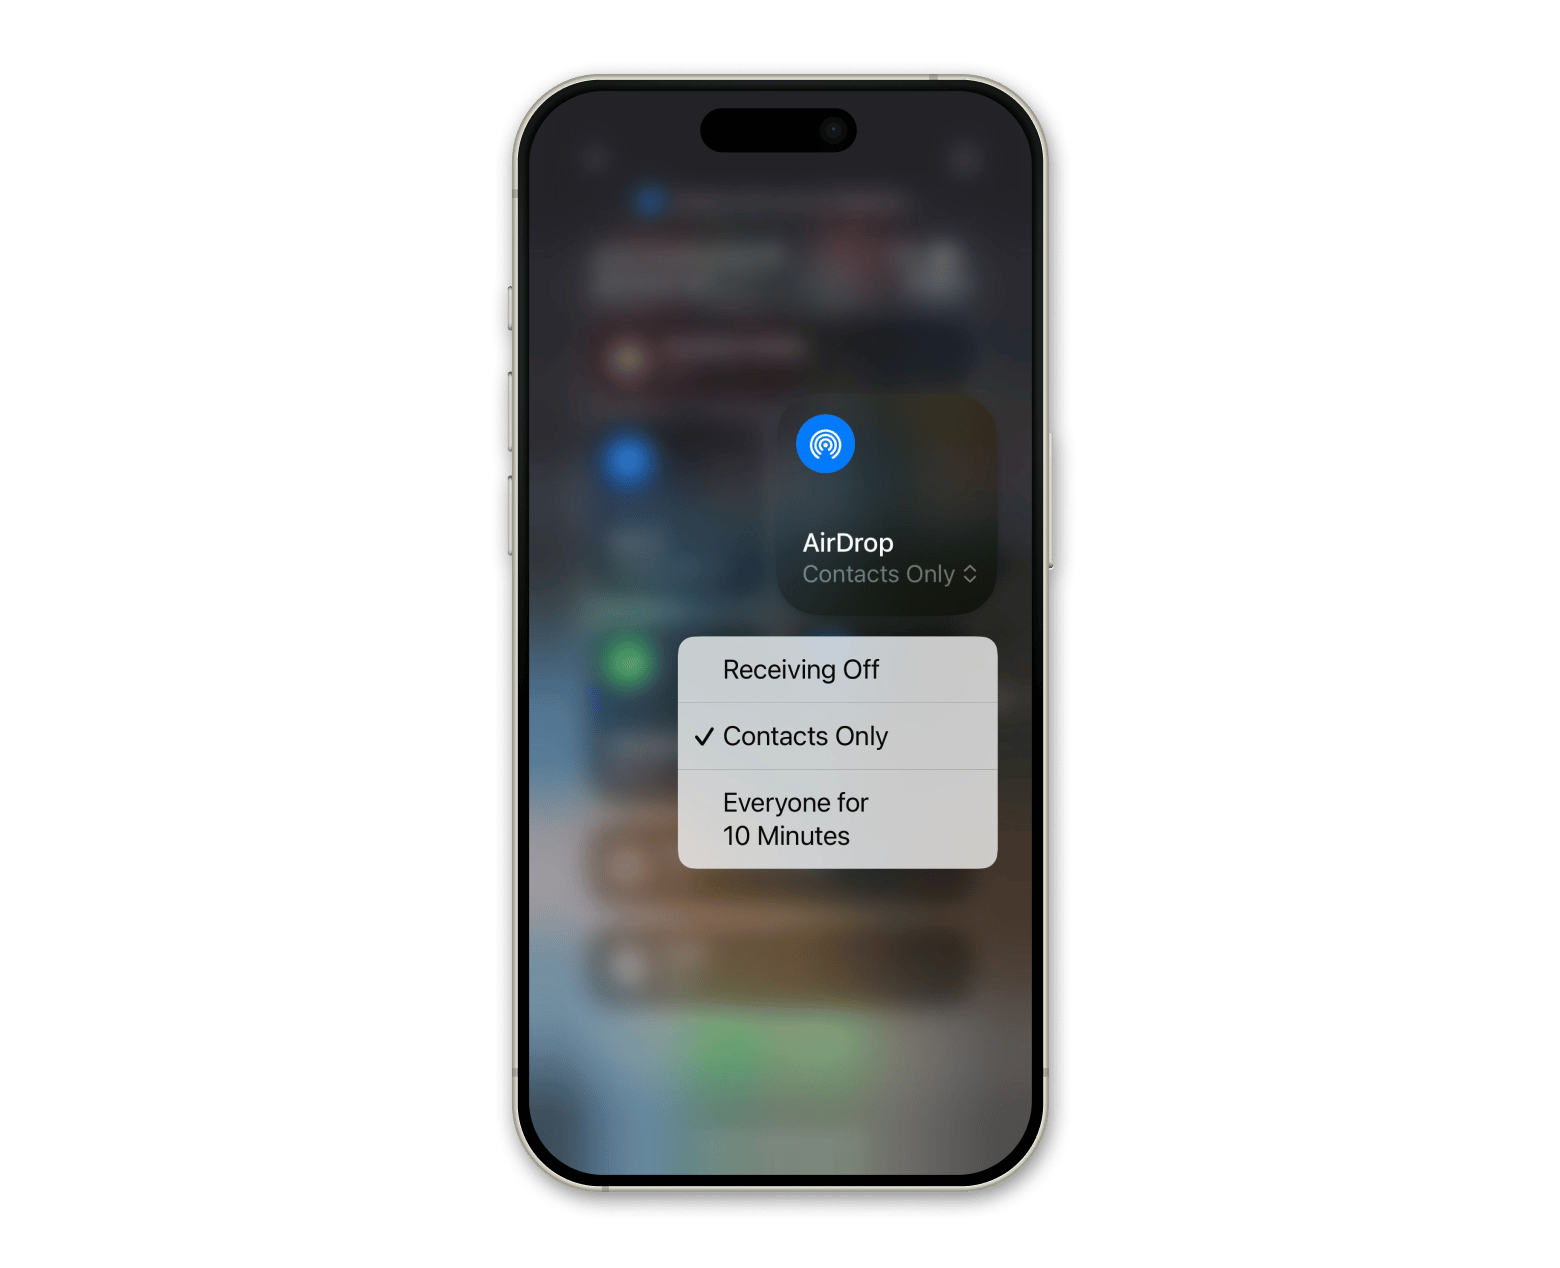
- Open the Photos app on your iPhone.
- Select the photos you wish to transfer.
- Tap Share, choose AirDrop, and then select your iPad from the list.
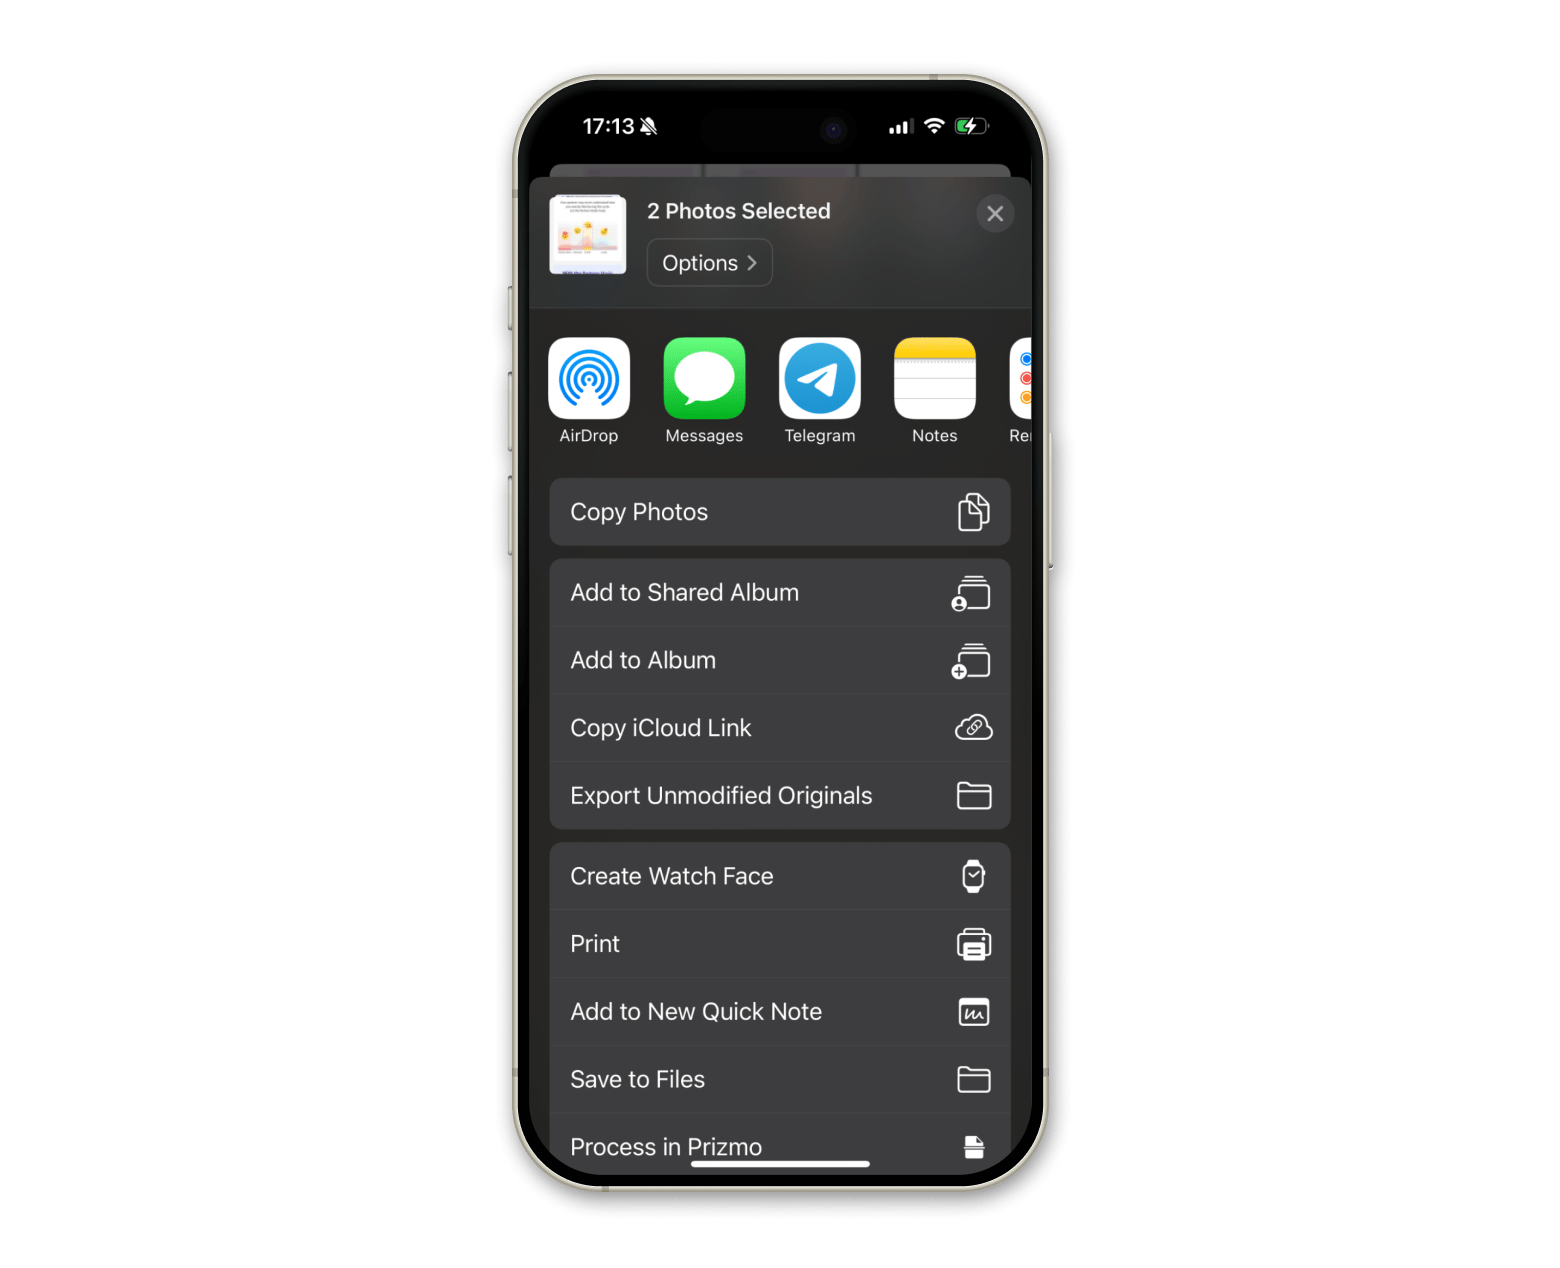
Read more on how to use AirDrop to send photos on your iPhone, iPad, or Mac.
Method 2: Auto-sync for instant photo transfer
Using iCloud Photo sync will automatically make your photos available on all your Apple devices. I like this method, but I always run out of iCloud storage space. Do you?
Here's how to sync iPhone photos to iPad:
- Enable iCloud Photos on both your iPhone and iPad via Settings > Photos.
- If necessary, turn on iCloud Photos.
- Also, check if both devices are connected to Wi-Fi.
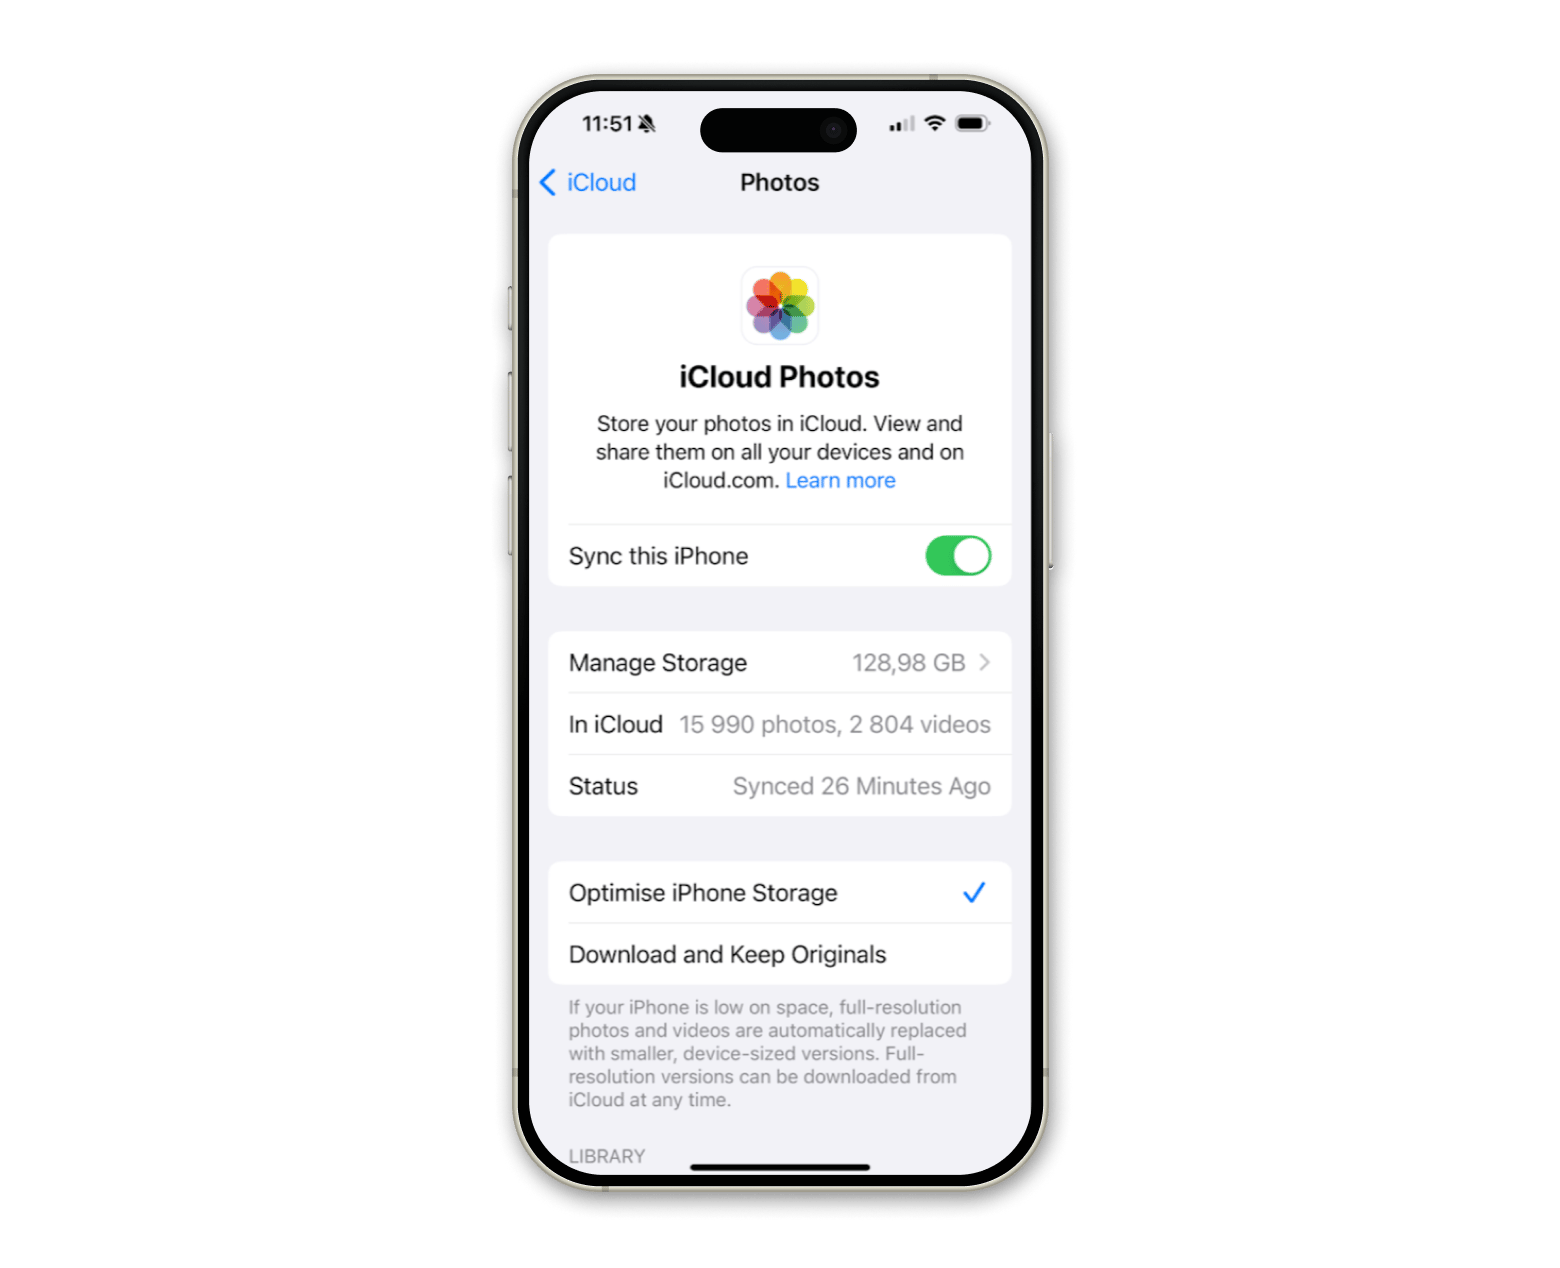
Remember, deleting a photo from one synced device will remove it from all devices connected to the same iCloud account.
Method 3: Transfer photos to iPad using email
How to transfer photos from iPhone to iPad when you are not within the same location as your devices?
Here is a simple guide:
- Open the Photos app on your iPhone.
- Select the photos you want to send.
- Next, tap the Share icon and select Mail.
- Then, type in your email info and tap Send to email the photos.
- On your iPad, open the Mail app, find the email you sent, and download the photos to your iPad.
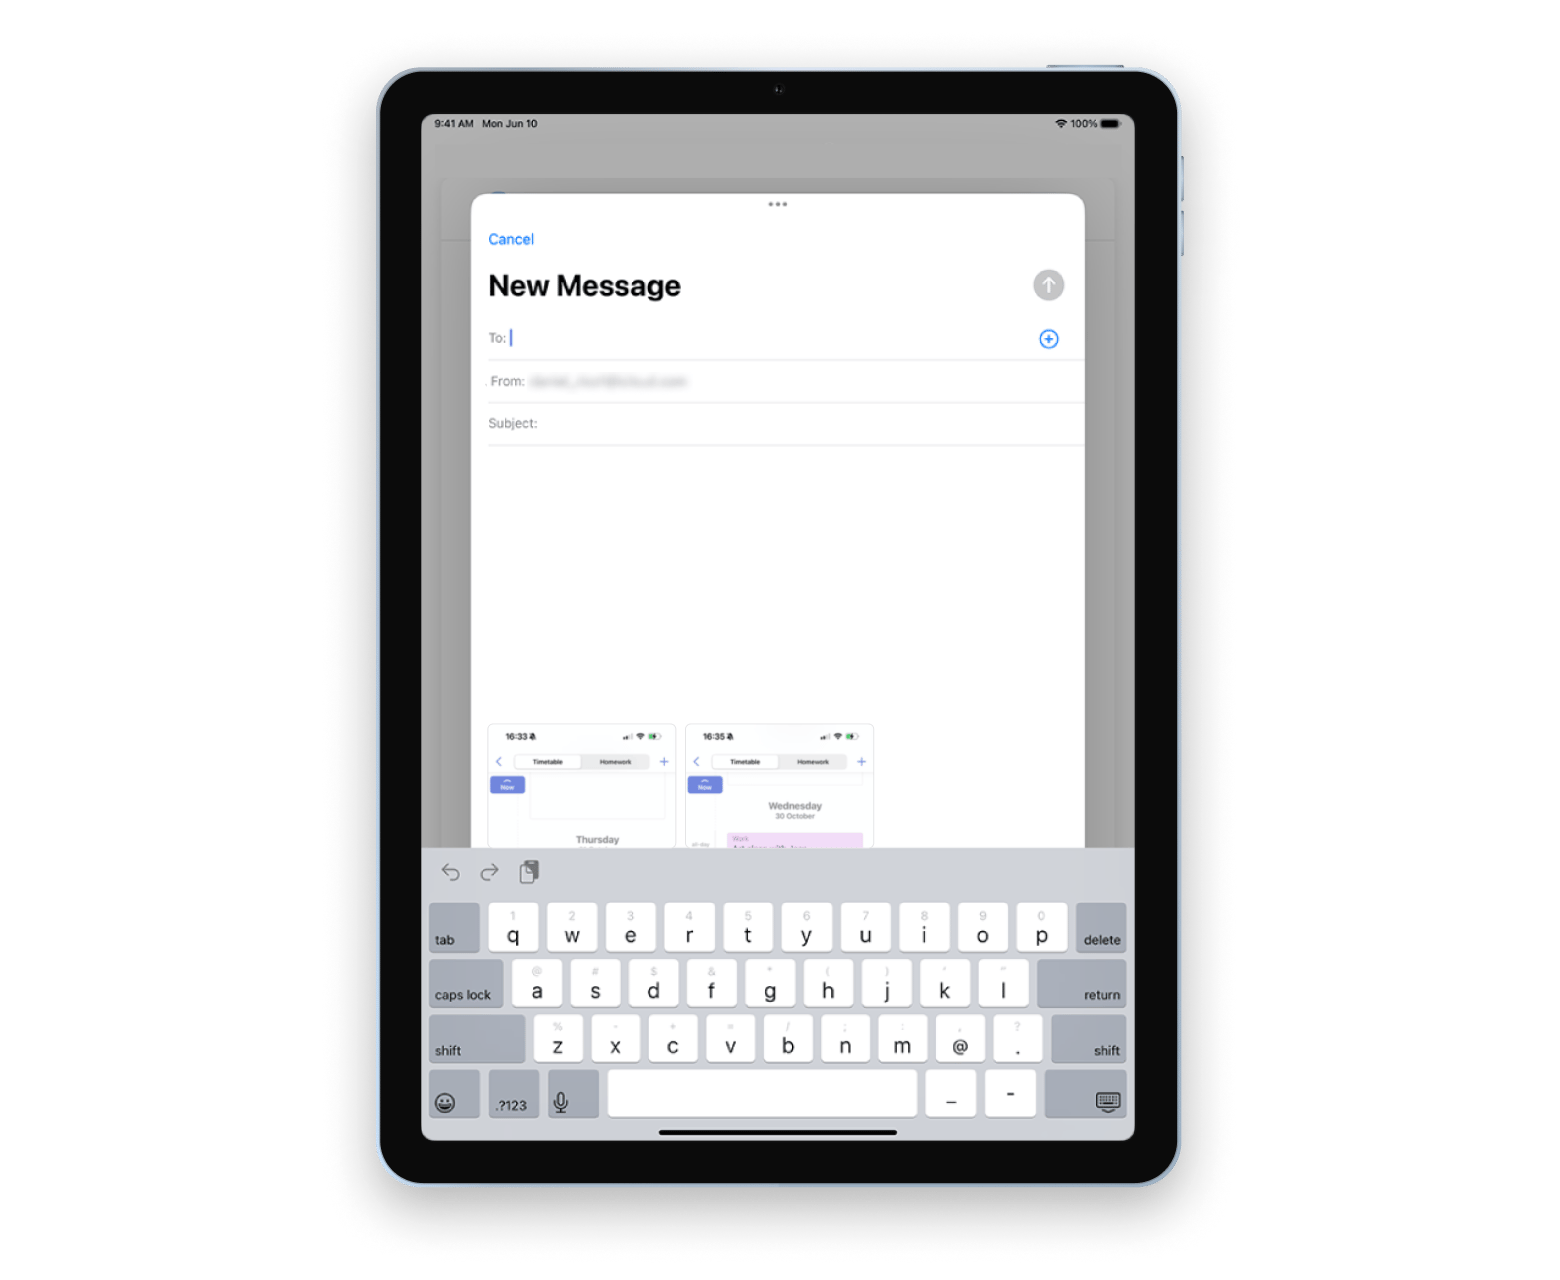
This approach lets you send photos without needing Wi-Fi or Bluetooth, but there are a few limitations that you might find inconvenient. Most email attachments have size restrictions. Bad news: You can't send many photos at once. This method is also less reliable for frequent transfers because emails may fail to be delivered. On top of that, who is a fan of managing email attachments manually? Nuh, not for me. I'd better have a walk with a dog and take more pics. Hehe.
How to transfer photos from Mac to iPad
I have a lot of photos that I store on my Mac computer. If you do, too, and you want to get them to your iPad, then read on. Below are a couple of methods I've tried myself.
Method 1: Transfer photos from Mac to iPad without syncing
When I need to move photos from my Mac to my iPad, I prefer AnyTrans for iOS. The photo-transferring process is so easy and straightforward that even my 65-year-old mom can handle it.
Here's how to use AnyTrans for iOS to transfer photos to iPad without syncing:
- Install and open AnyTrans for iOS on a Mac and plug in an iPad. You'll need to use a USB cable.
- Just drag the pictures from the Mac onto the iPad icon in the app. Done!
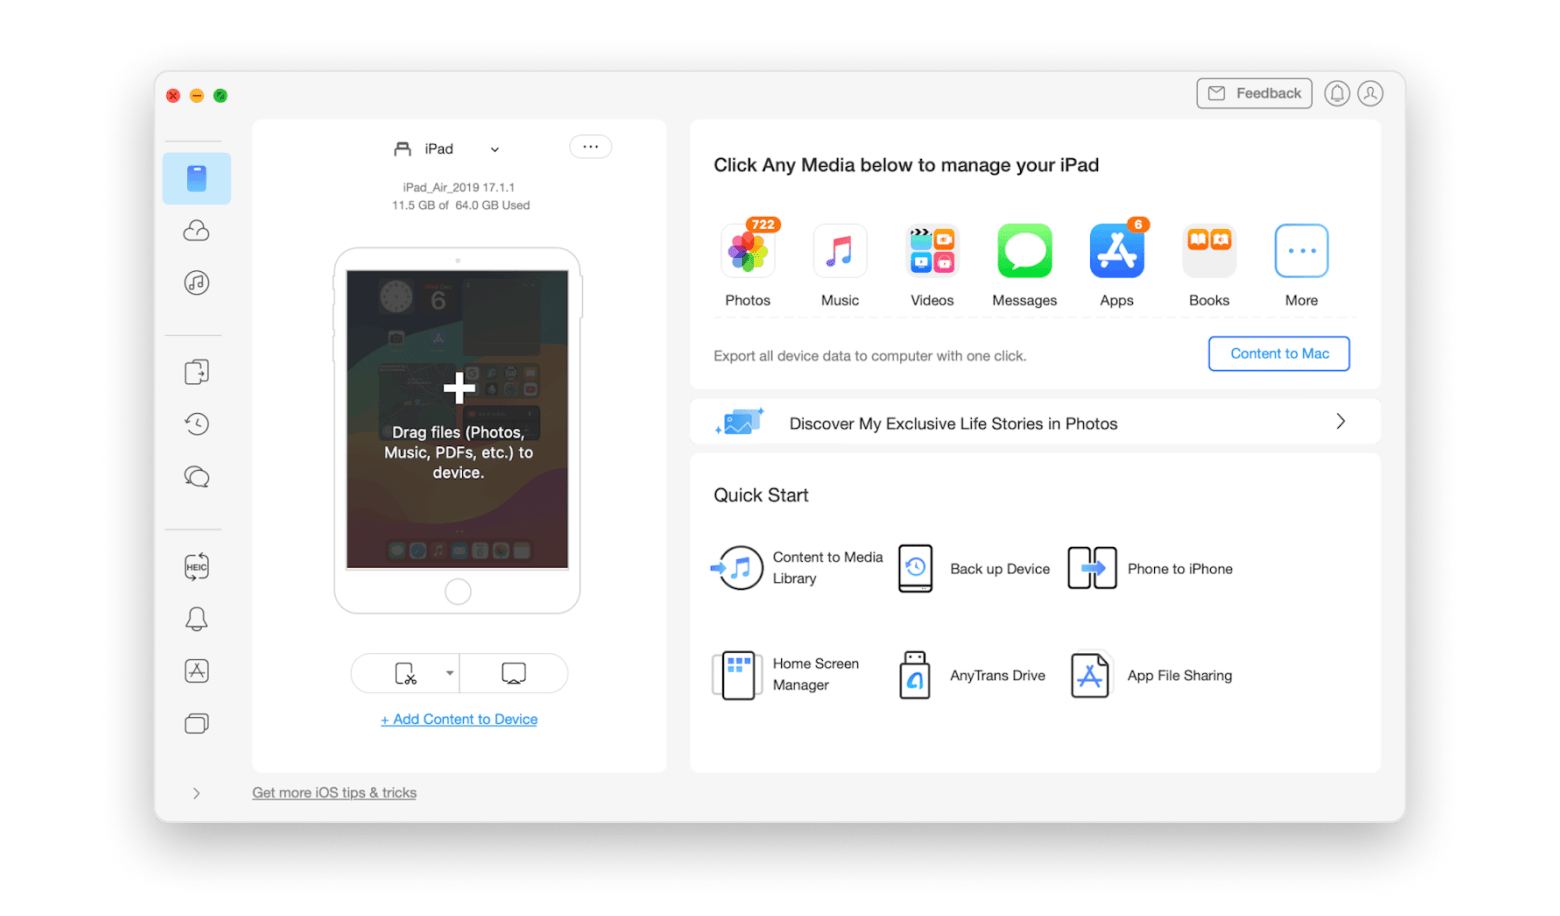
The best part? You can transfer not just photos but also music, videos, messages, and more.
Method 2: Copy photos from Mac to iPad via AirDrop
Sending photos from your Mac to your iPad via AirDrop is about as easy as it is on your iPhone. However, the steps are a bit different.
To enable AirDrop on your iPad:
- Open the Control Center by swiping from the upper-right corner.
- Then tap and hold the section with the Wi-Fi and Bluetooth buttons, and tap AirDrop.
- Choose Contacts Only or Everyone.
To send photos from your Mac to iPad:
- On your Mac, select your file in Finder.
- Right-click and click Share > AirDrop.
- Choose your iPad from the options.
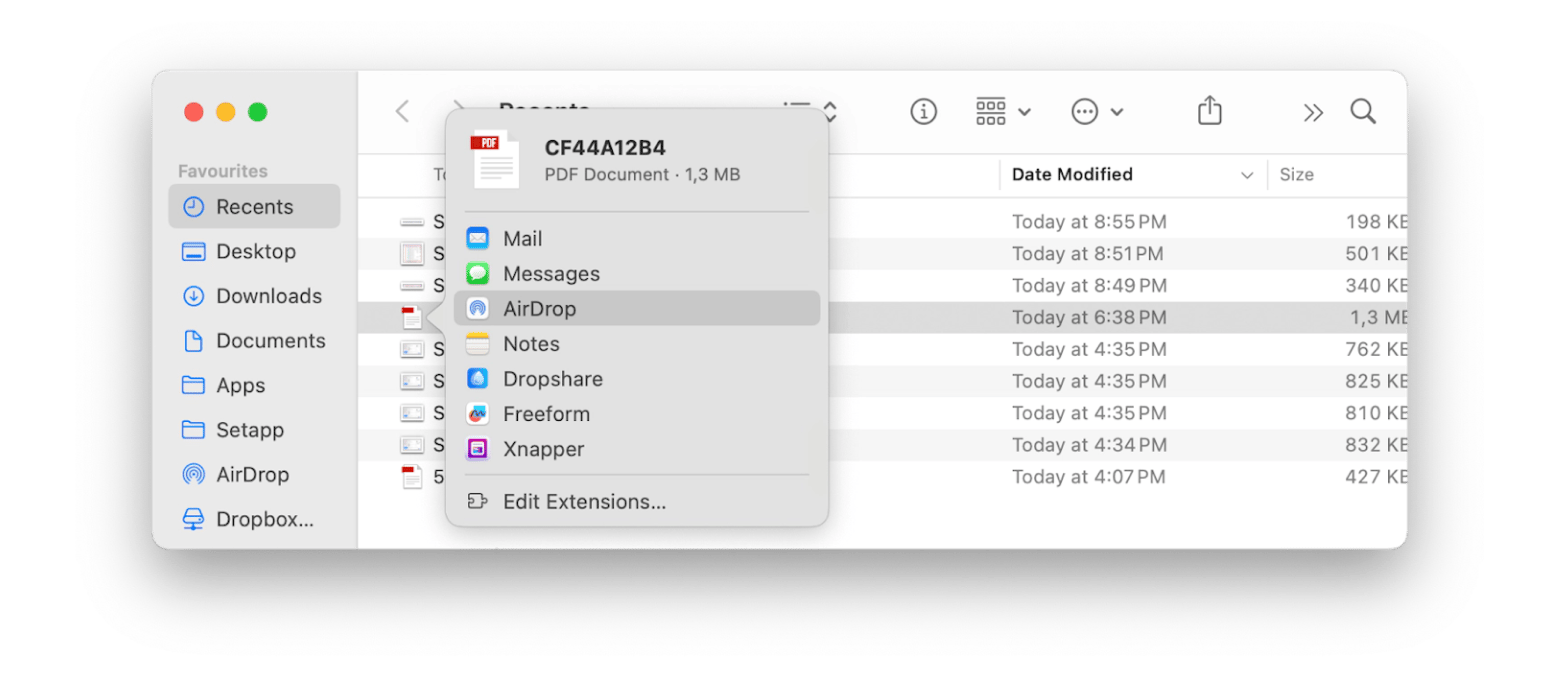
For more detailed steps, learn how to use AirDrop on Mac.
While AirDrop is a convenient way to transfer photos, note that sending a large number of files at once can take some time. So better choose the Method 1 with AnyTrans for iOS.
Method 3: Transfer photos from Mac to iPad using iCloud Photos
I really love using iCloud Photos! I just take pictures and see them on all my Apple devices.
Here's how to transfer photos from your Mac to your iPad using iCloud Photos:
- On your iPad, open Settings, tap Apple ID > iCloud >Photos. Make sure iCloud Photos is turned on.
- On your Mac, go to the Apple menu > System Settings > Apple ID > iCloud. Sign in if needed.
- Click Photos and ensure the iCloud Photos is on. This action uploads your photos from the Photos app on your Mac to iCloud.
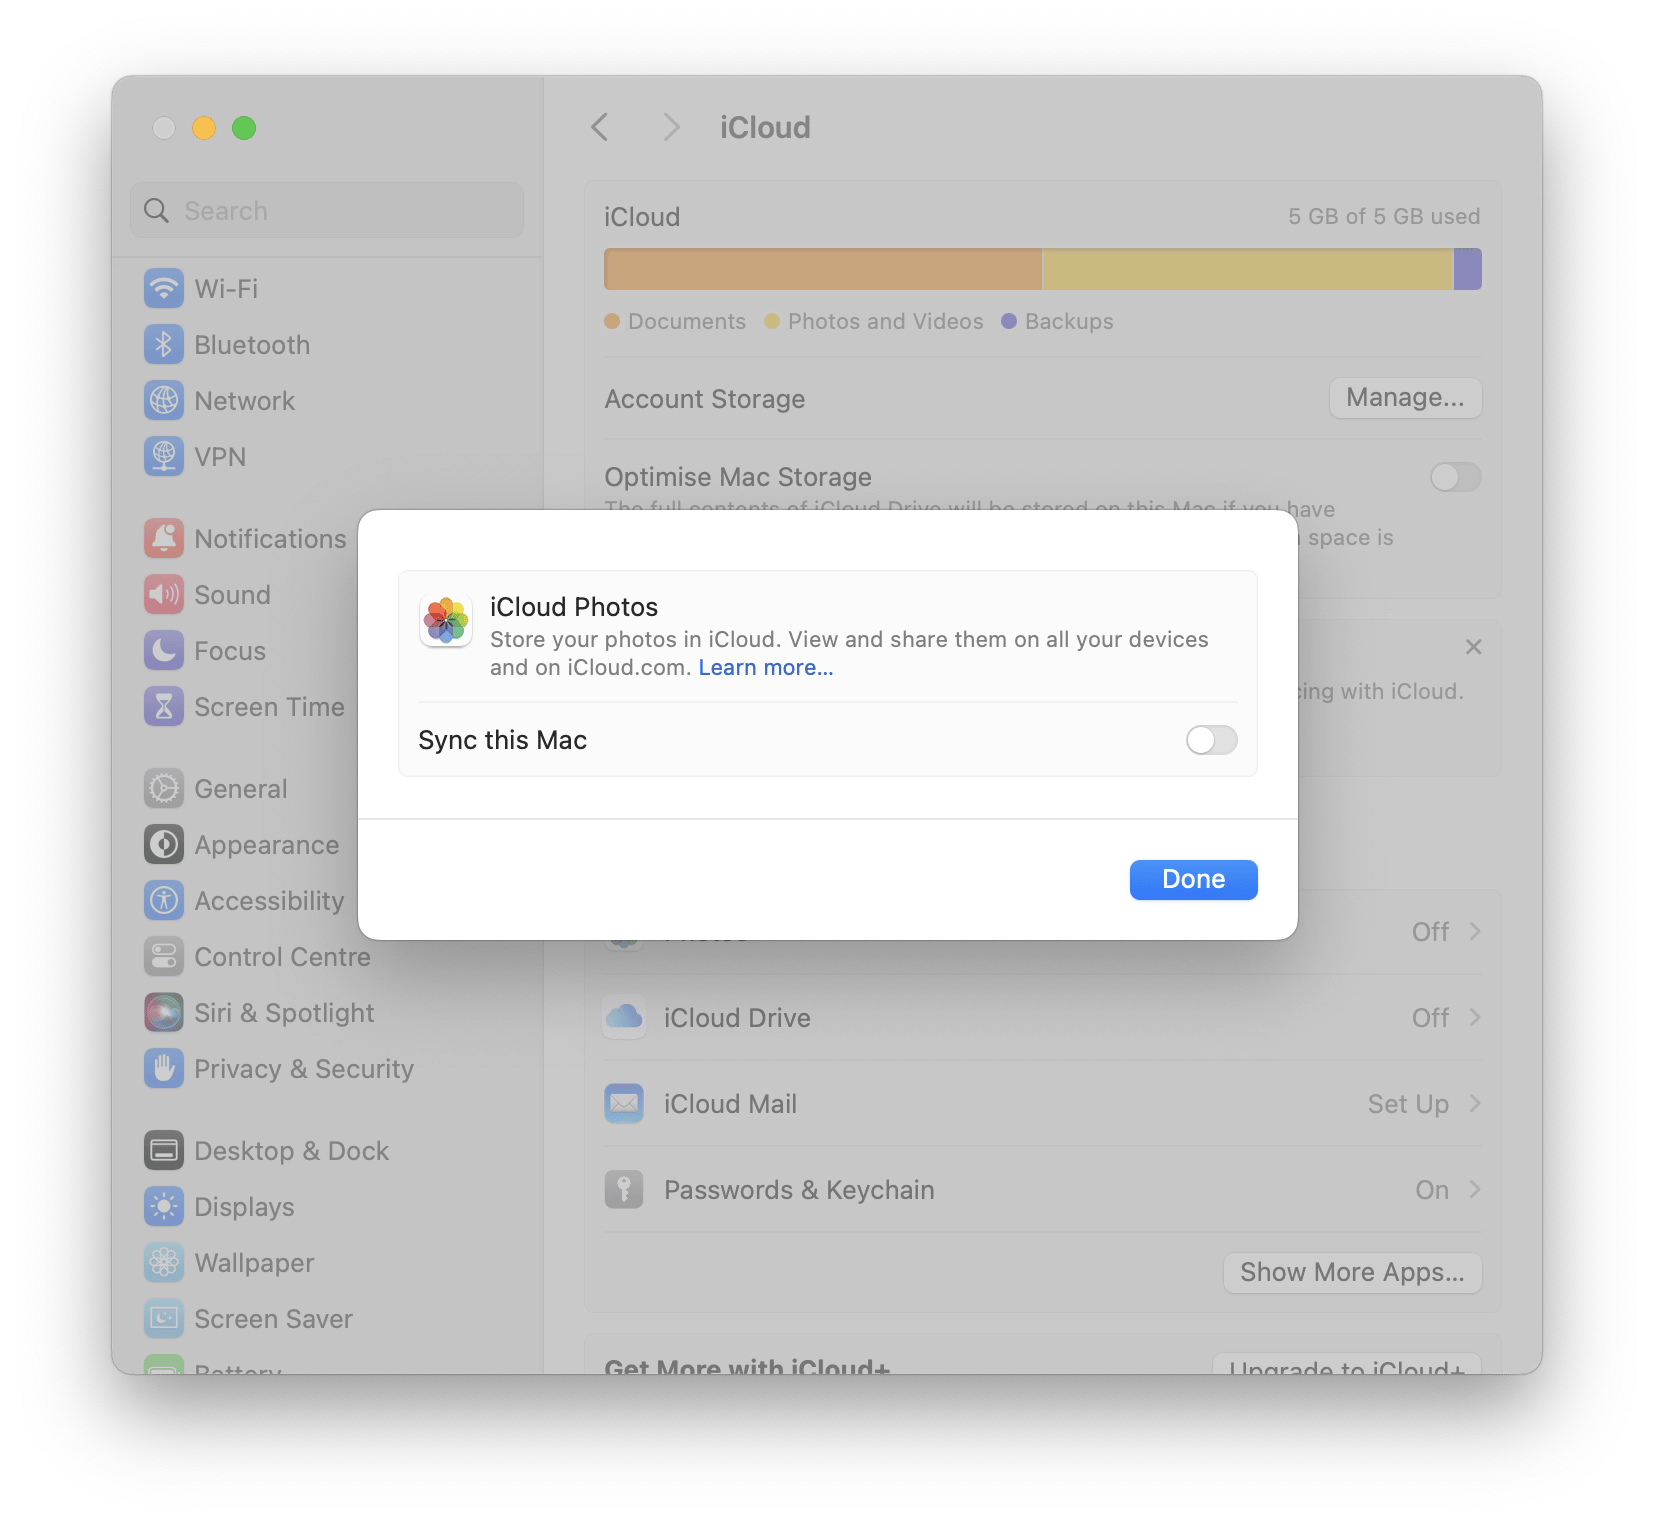
Read how to sync iCloud Photos on your iPhone, iPad, and Mac.
Why do photos not transfer from iPhone to iPad?
Sometimes, your photos fail to transfer due to a few common hitches. What can you do about that?
First, ensure both devices have Bluetooth and Wi-Fi turned on. AirDrop needs that to work. Also, check whether they are set to allow transfers. See how to use AirDrop to send photos on your iPhone, iPad, or Mac.
If you're transferring photos using iCloud, be certain you use the same Apple ID on the device and that the iCloud storage is enough to handle all the photos.
Lastly, sometimes, a fresh restart of the devices will fix any temporary glitches.
Do thes, and all the photos will start flowing in!
What is the best method to move photos to the iPad?
I tested 6 methods that allow you to move photos from iPhone to iPad and from Mac to iPad. It is quite difficult to judge which one is the best, because there are different cases.
For example, if you only need to drop a few photos, AirDrop will probably work for you. If there are many pics, this method is not convenient. In this case, I would choose AnyTrans for iOS. Yoink can also be very helpful, especially if you install it on both devices. Then you can simply drag and drop photos between Mac and iPad using the Handoff feature.
If you have enough storage space in iCloud, you will be able to sync all your photos effortlessly. It is convenient, but my iCloud is always full. *Sighs heavily.
In conclusion, I advise you to try these 3 apps that I mentioned in the article — AnyTrans for iOS, Dropshare, and Yoink. They all are available on Setapp, a platform that hosts 250+ Mac, iOS, and web apps for almost any task you can imagine. Once you get Setapp, you can test any app without limitations for 7 days at no cost.


