To copy, cut, and paste on a Mac, use Command + C, Command + X, and Command + V, respectively. For pasting without formatting, use Option + Shift + Command + V, and for copying just the style, press Command + Option + C.
Copy from anywhere — even images.
Use tools like TextSniper to capture text from images, videos, or PDFs instantly. macOS Preview also supports text selection in saved images.
Apple’s built-in Universal Clipboard lets you copy across Apple devices. Copy on one device and paste on another (if on the same Wi-Fi). For limitless history, Paste stores everything you copy, syncs via iCloud, and makes multi-item paste effortless.
Use trackpad, drag-and-drop, or contextual menus.
Right-click (or two-finger click) to Copy/Paste, or drag text and files to move or copy them — holding Option while dragging duplicates the item instead of moving it.
If macOS clipboard acts up, restart the pboard process via Activity Monitor. Alternatively, type killall pboard in Terminal to refresh it.
How to copy and paste on Mac: Quick guide
You’ll be surprised how much there’s still left to learn outside the scope of a classic Command + C shortcut:
Copy-paste across devices
Copy text from an image
Copy two items simultaneously
Copy on MacBook using trackpad, and more
If you're looking for a quick solution, check out the table. It highlights the key takeaways from this article, ready for you to use right away. But if you're up for more insights and useful tips to level up your copy-paste game (whether on MacBook Air, MacBook Pro, or iMac), scroll down to dive into copy and paste on Apple.
Feature
Steps
Keyboard shortcuts
Copy: Command + C
Cut: Command + X
Paste text/item: Command + V
Paste without formatting
Option + Shift + Command + V to paste plain text
Copy style only
Copy and match style: Command + Option + C
Paste and match style: Command + Option + V
Using context menu
Select text or item > Right-click > Copy/Paste
Copy-paste files and folders
Click on a file > Choose Edit from the Finder menu at the top of your screen > Copy “your file name” > Go to the destination folder > Click Edit in the Finder menu > Paste Item
Get additional clipboard
Delete text: Control + K
Yank it back: Control + Y for native macOS apps, Command + Z for third-party apps
Copy multiple items
Use Paste to store unlimited items, syncs across iCloud devices
Copy-paste across Apple devices
Enable Handoff in System Settings > Copy on one device, paste on another
Copy text from images, videos, PDFs and more (OCR)
Use TextSniper (Command + Shift + 2) to capture text from images
Fix copy-paste issues
Restart pboard process via Activity Monitor
How to copy-paste on Mac with shortcuts
All it takes is a couple of simple shortcuts with a Command key to make you proficient at how to copy on MacBook. Make a note to use:
Command + C for copying
Command + X for cutting
Command + V for pasting
Two more shortcuts worth paying attention to, if you work with texts and want to copy and paste on Apple like a pro:
Add Option and Shift to your regular pasting shortcut if you want to paste plain text that would match the rest of your document in size, font, color, etc. Option + Shift + Command + V pastes text stripped of its original formatting
In some apps you can also try adding Option to Command + C shortcut to copy the style without the text itself. Apply the style to the text of your choice with Command + Option + V
How to copy and paste using menus (trackpad) on Mac
If hotkeys are not your thing, you can also copy, cut, and paste activating contextual menus from your trackpad. Just make sure you first enable Secondary click in System Settings: Apple menu ➙ System Settings ➙ Trackpad ➙ Point & Click ➙ Secondary click.
To copy and paste on Apple from a menu:
Highlight the text or click on the file you want to copy.
Click with two fingers anywhere on the trackpad to bring up the actions menu ➙ Copy.
Place your cursor where you want to paste what you’ve just copied, two-finger-click on your trackpad ➙ Paste.
How to copy by dragging the text on Mac
Typically, dragging and dropping moves an item to a new location, but with text in macOS, it works a little differently. You can save pieces of text for later by simply selecting them and dragging them to the desktop — you’ll get a separate file containing the text. It’s not editable, but you’ll still be able to copy from it.
By the way, this can be a handy trick for bypassing clipboard limitations.
How to copy files and folders to another location
Knowing how to copy on MacBook also helps you organize your documents.
To copy to a new location:
Click on a file or a folder you need (hold Command if you’d like to select multiple items).
Choose Edit from the Finder menu at the top of your screen ➙ Copy “your file name”.
Open the folder you want to paste your file to.
Go back to Edit in the Finder menu ➙ Paste Item.
To move files from their location to a different one without leaving their copies behind, follow the same steps but hold the Option key when pasting (“Paste Item” will change to “Move Item Here”).
How to copy and paste multiple items on Mac
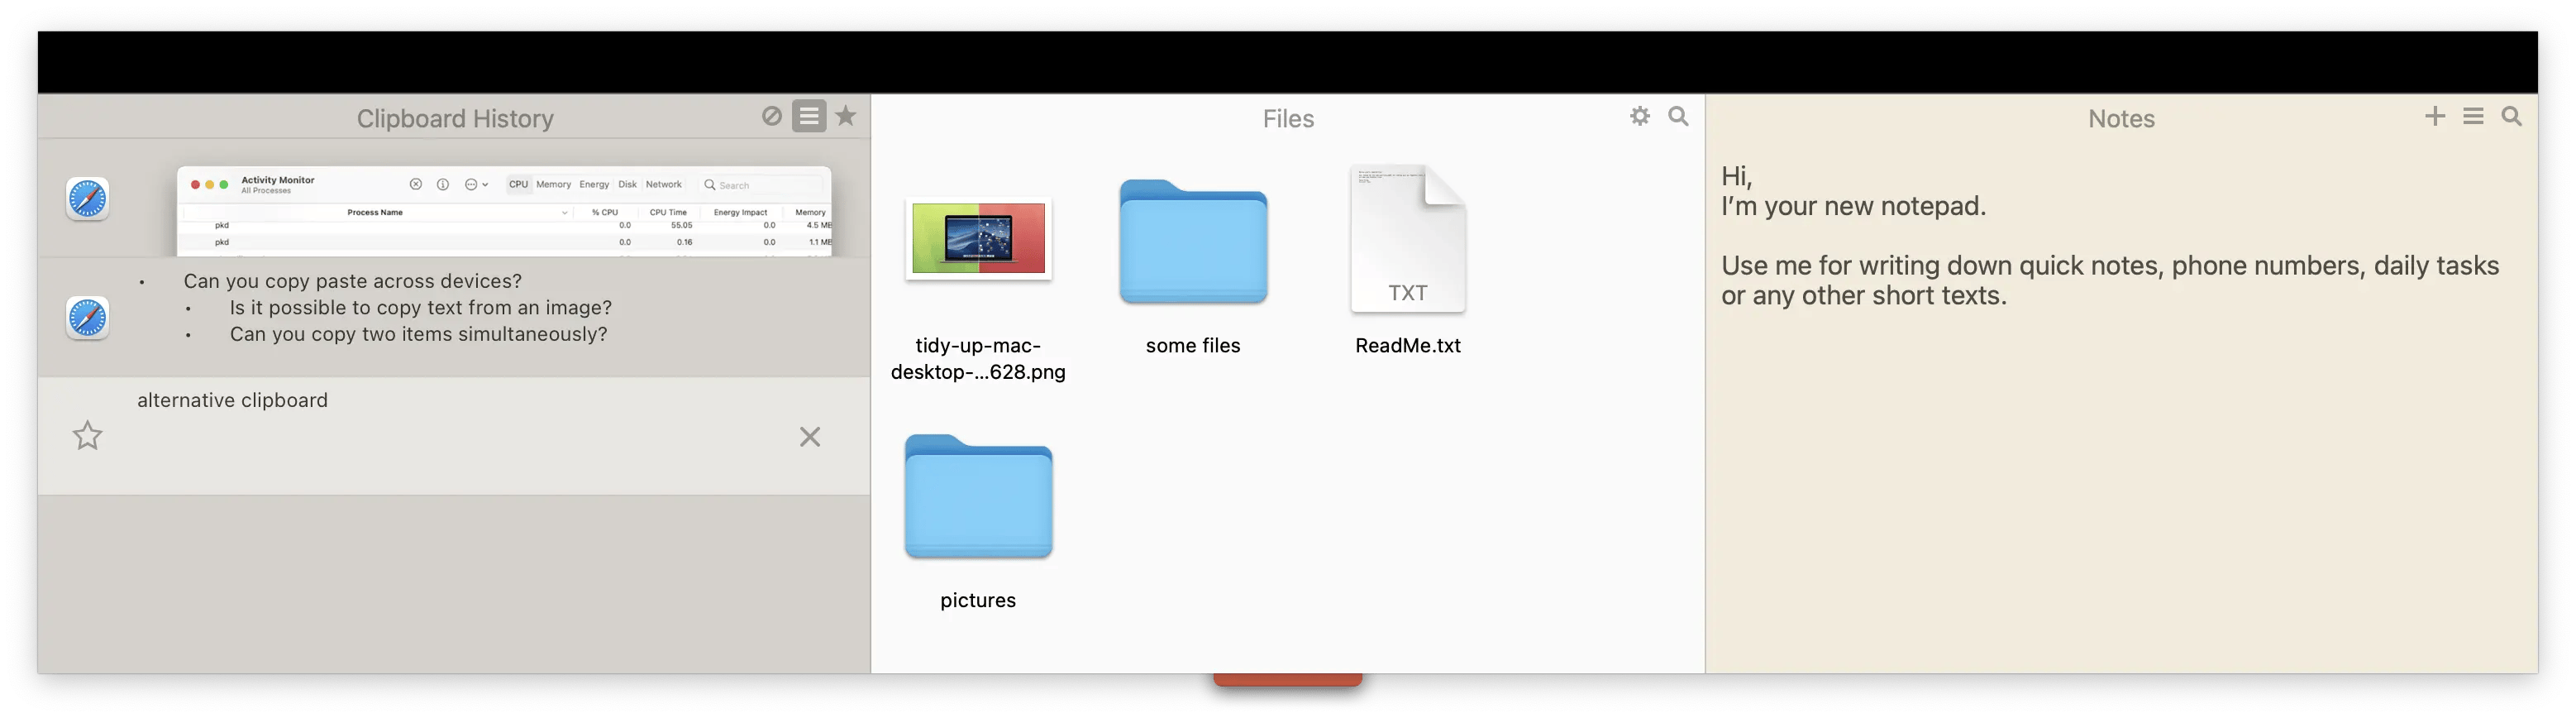
What’s great about macOS clipboard is that it works like a charm, stays quietly behind the scenes, and makes the issue of how to copy and paste on a Mac an easy one. It has one serious limitation, though — there can be only one item for you to paste at any given moment of time. Should you decide you need to copy two pieces of text at the same time, you’ll have to look for alternative clipboard managers, like Paste.
Paste lets you copy multiple items simultaneously, offering a limitless clipboard that can hold everything you drag there:
Track everything you copy, store the most important items, and search history with intelligent search-as-you-type feature
Access your clipboard from any of your iCloud devices
Pick the item you want to paste and simply drop it where you need it
Paste from clipboard instantly as plain text, converting from HTML, code, and other text formats
Share your clipboard with your team or family
How to copy and paste pictures on a Mac
When it comes to copying images, there isn’t much difference between copying pictures or other items on Mac: simply double-click on the image you want to copy, press Command + C to add it to the clipboard, and then paste it to its new location with Command + V.
If, on the other hand, you’re looking for a more versatile tool that would let you easily capture several images simultaneously, copy and paste pictures multiple times, and instantly recall anything you’ve pasted earlier, consider Paste or Unclutter. They both offer a convenient desktop drop area to drag text, links, or files between apps, copy images, create lists of items saved for future use, and sync clipboard content across your other devices.
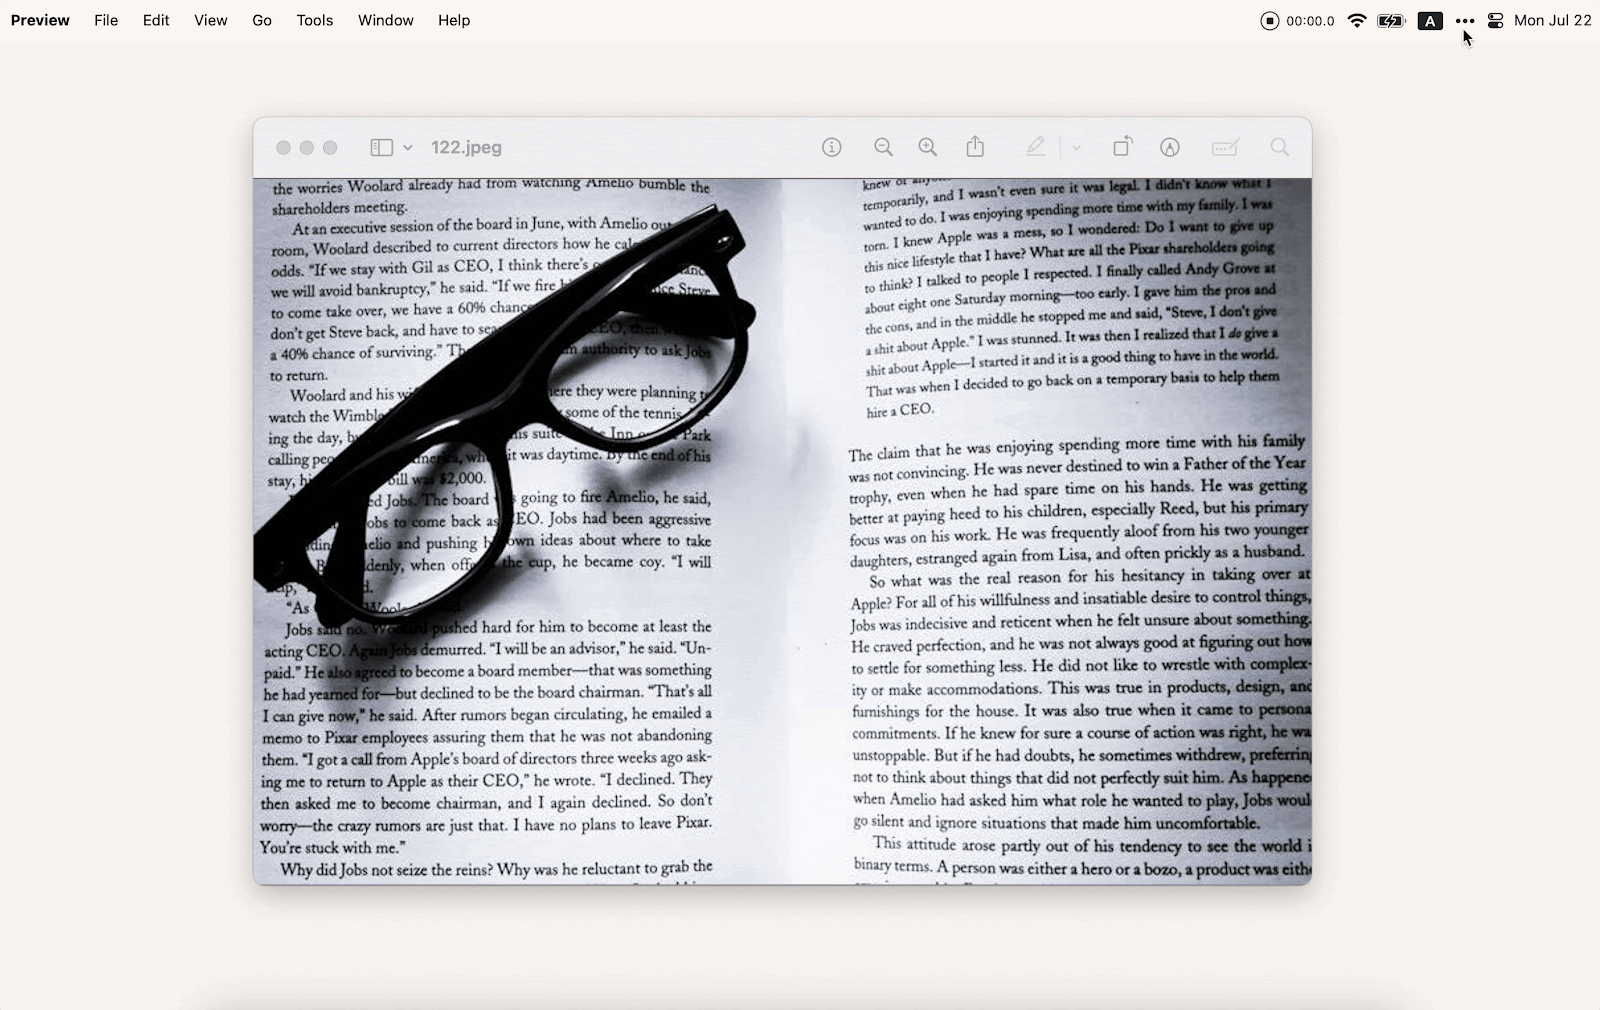
How to copy text from an image on Mac
If you need to copy text from an image, there’s a way to do that in Preview on your Mac. Note that the image should be saved on your computer.
Double-click on the image that contains the text you’re after (it will automatically open in Preview).
Place your cursor over the text portion of the image and highlight it.
Copy with Command + C.
Paste the text where you need it with Command + V.
You can also copy text from an image — be it graphics, PDFs, or even online videos — with TextSniper, and without saving those media on your MacBook.
TextSniper is an advanced text recognition tool for Mac that uses OCR technology to capture text from whatever area of your screen you point to. Besides, learning how to copy on MacBook with TextSniper is super easy:
Launch TextSniper from your menu bar.
Press Command + Shift + 2 and select an area on your screen with the text you want to be copied — TextSniper will automatically recognize text and save it to your Mac’s clipboard.
Have the app’s text-to-speech feature read it to you or press Command + V to paste the text right away.
How to kill and yank text on a MacBook
We don’t always realize this, but there’s a difference between cutting and deleting text on Mac: cutting something automatically creates its copy on your clipboard, while deleting removes the item without any traces on the clipboard.
For native macOS apps, there is a workaround:
Press Control + K keyboard shortcut to delete the selected text.
Apple has made it possible to copy and paste pictures, text, and video across connected Apple devices. This means you can copy something on your Mac, then switch over to your iPhone or iPad and paste the copied item there.
All that magic is possible thanks to a special macOS feature called Handoff. If you want this functionality to work, you need to first enable it on both of your devices:
On Mac go to Apple menu ➙ System Settings ➙ General ➙ AirDrop & Handoff ➙ “Allow Handoff between this Mac and your iCloud devices”
On iPhone and iPad, visit Settings ➙ General ➙ AirPlay & Handoff ➙ Handoff On
Once you have Handoff enabled, also make sure that your devices are:
Close to each other
Are on the same Wi-Fi
Have Bluetooth turned on
Are signed into the same iCould account
Now you can copy something on one of your Apple devices, and it will automatically appear on the clipboard of your other device. Note that it might take a second or two to appear and you have to paste right away, since it’s only active for about two minutes after you’ve placed something to Universal Clipboard.
To avoid these restrictions, try Paste for iOS with its limitless clipboard that allows for copy and paste on Apple devices.
How to fix copy-paste not working on Mac
If you run into any issues with copy paste on Mac, there are two main methods you can try to reset it — using Activity Monitor or Terminal. Both have to do with you attempting to restart the pboard process responsible for running the clipboard feature on your Mac.
To troubleshoot copy-paste using Activity Monitor:
Open Activity Monitor from Utilities in Finder.
Use the search in the upper right corner of the screen to find the board.
Select pboard and click on the “Stop” icon in the top bar ➙ Force Quit.
To force restart pboard with Terminal command, simply type killall pboard in Terminal window (Finder ➙ Go ➙ Utilities ➙ Terminal) and hit Enter.
You can always reset all the system processes at once by simply restarting your Mac. Or if you’re interested to find out more, explore other ways of fixing the problem in our dedicated article on how to troubleshoot copy paste on Mac.
Extra copy, paste, cut tips any Mac user will want to steal
Quickly insert phrases instead of typing them. Do you have phrases or pieces of text you use all the time? You can type them instantly — even if they’re a full page long. Check out this screenshot: after I enter just three letters, the entire phrase appears on my screen. You can do the same for inserting your specific text. To set it up, go to Settings > Keyboard > Text Replacements.
Copy files while dragging. If you press Option before dragging a file to another folder or location, the file will be copied instead of just being moved.
Additional clipboard. Use the kill-and-yank feature as a secondary clipboard when you need to copy two items: paste one from the copy-and-paste clipboard (Command + V) and the other from the kill-and-paste clipboard (Control + Y). The last one works primarily in built-in macOS apps, though.
How to copy, cut and paste on Mac: Solved
Learning different methods of copying on Mac makes your routine workflows more efficient. You can use keyboard shortcuts for maximum speed or choose instant actions from versatile contextual menus offered by PopClip. To easily capture several images simultaneously, try a secondary clipboard method or benefit from unlimited clipboard space and content sync across devices with Paste and Unclutter.
Master fantastic functionalities like ability to copy text from an image with Finder or TextSniper that captures text from any graphics, PDFs, or videos. Or learn to use Universal Clipboard or Paste for iOS to copy and paste across your Apple devices.
Be sure to try PopClip, Paste, Unclutter, and TextSniper for free with the seven-day trial of Setapp, a platform of high-performance, best-in-class iOS and macOS apps. Learn how to copy on MacBook like a pro and check out more than 250 potential options to boost your productivity.
FAQ
How to copy, paste, and cut on Mac?
Learning how to copy and paste on a Mac, no matter what method you use, is essentially all about the basic algorithm:
Select the text, file, or other item you want to copy.
Use a hotkey combination (Command + C for copying, Command + X for cutting, Command + V for pasting) or a menu command (right-click on the item with a mouse) to save the item to the clipboard on your Mac.
Paste the item from the clipboard to its new location.
How can I check what's currently in my clipboard?
To see what's in your clipboard, open Finder → Edit → Show Clipboard. This shows the clipboard's current contents, though it usually works only with text, not images.
Can I keep my whole clipboard history?
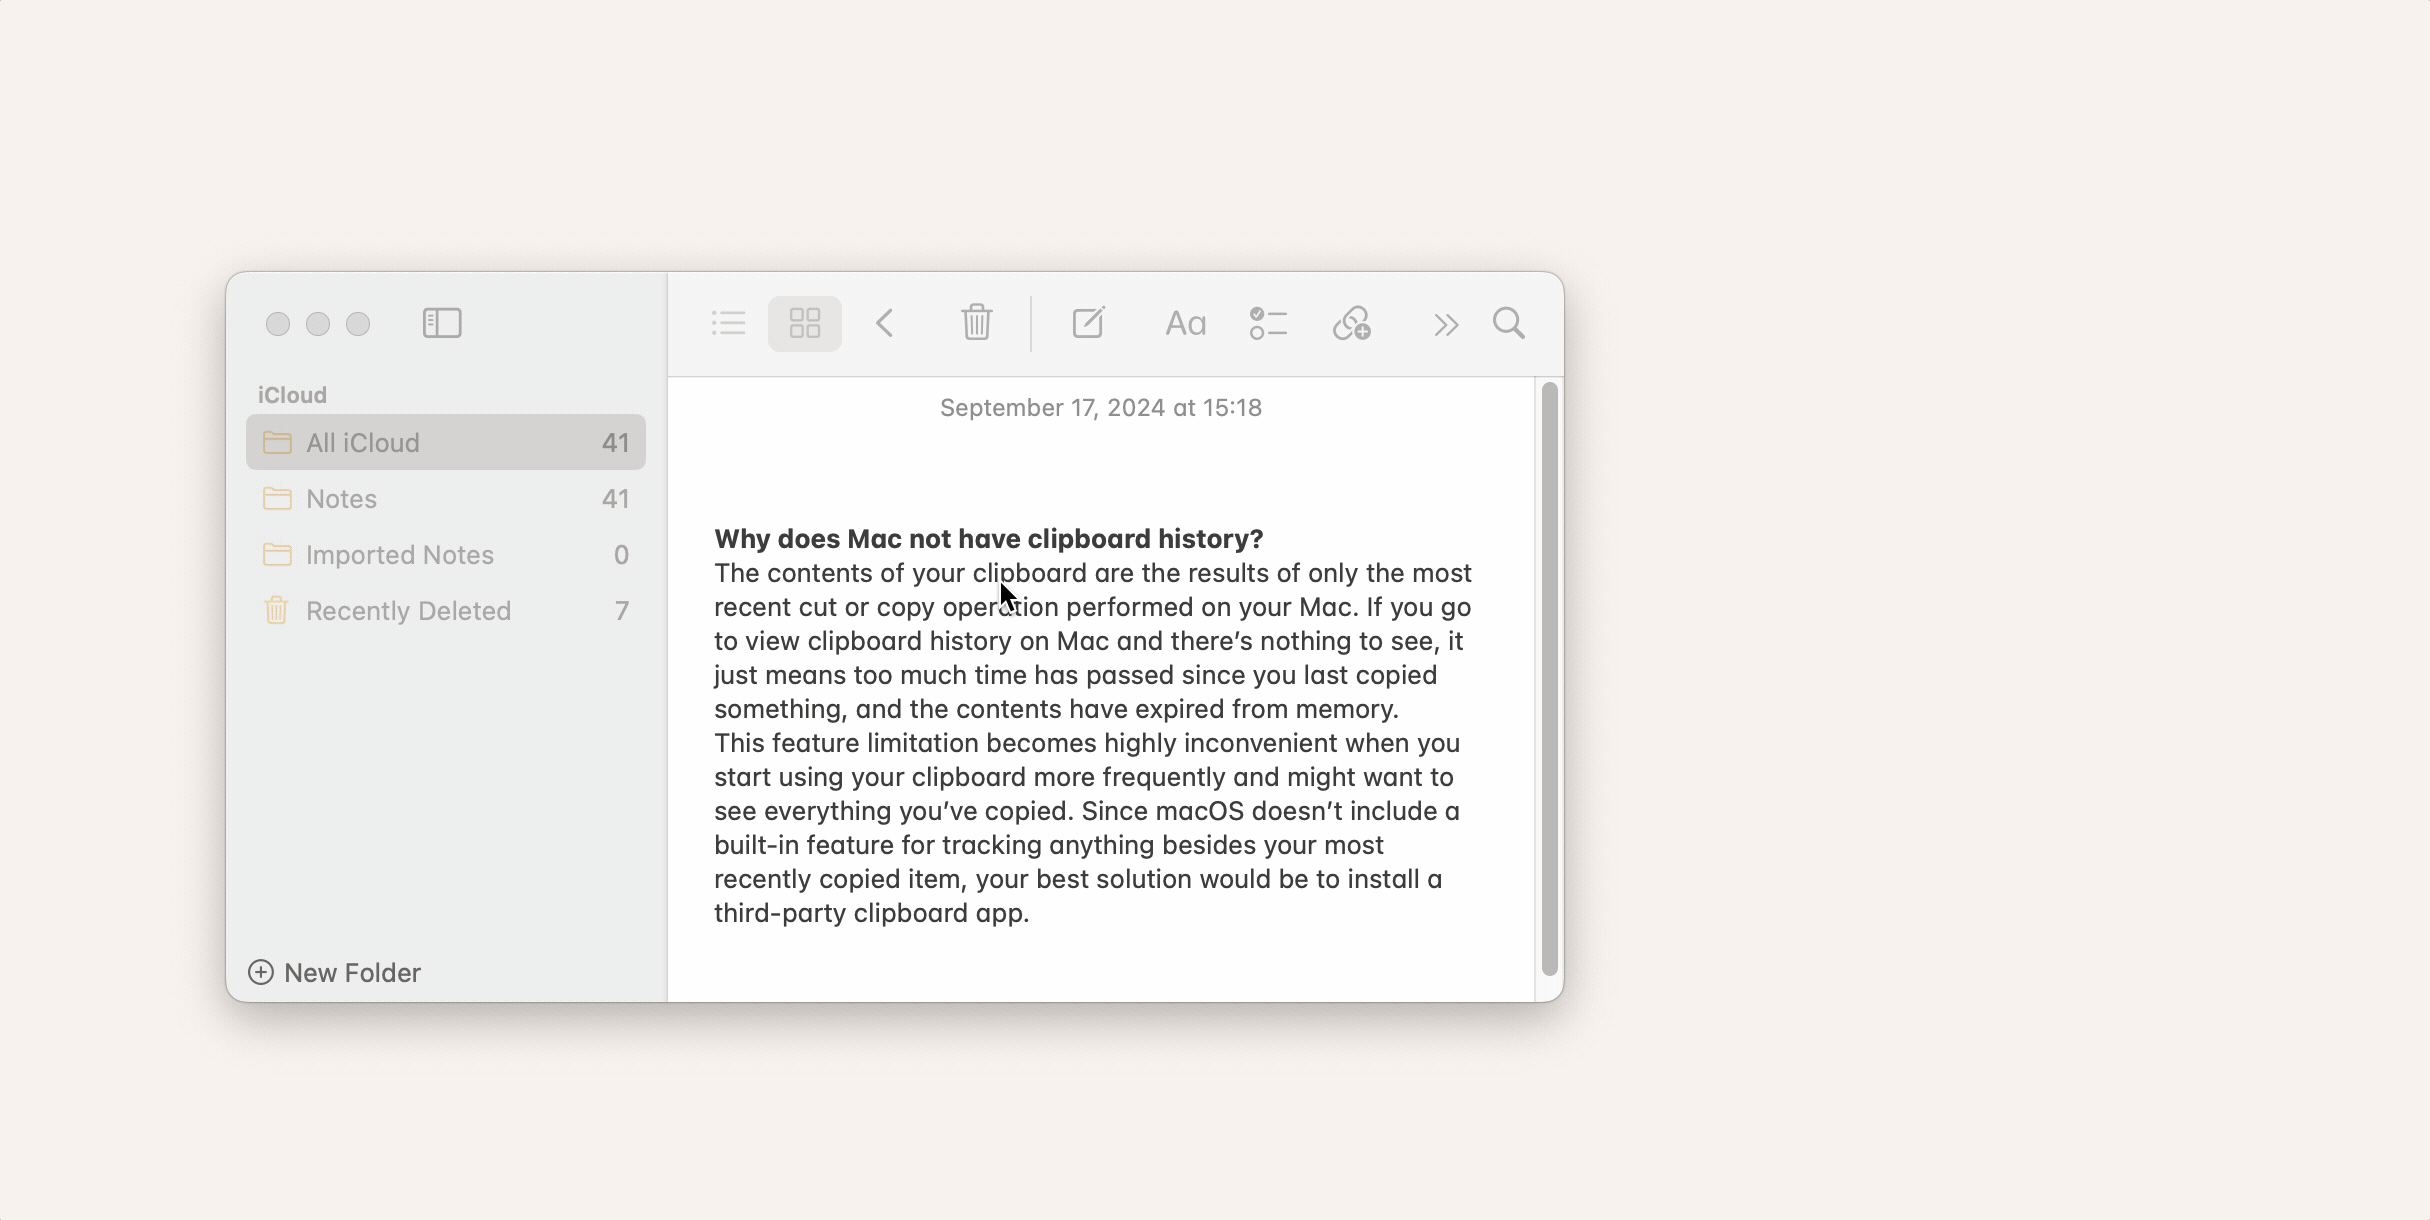
No, macOS doesn't natively store multiple clipboard items. To expand your clipboard history, you'll need a third-party app like Paste.
Is Paste on Setapp safe?
Yes, Paste on Setapp is safe to install and use. It's the official build, reviewed before being added to the Setapp catalog — Apple-notarized and malware-free. Setapp itself is ISO-, GDPR-, and SOC 2-compliant, meaning it meets modern security standards.
Can I copy two things at once on my MacBook?
Not exactly — macOS allows only one clipboard item at a time. However, there's a workaround for some built-in apps: you can copy one item with Cmd + C and paste it using Cmd + V, and for another item, use Ctrl + K and Ctrl + Y.
How can I copy a file's path on Mac?
To copy a file's path on Mac:
Select the file.
Hold Option and choose Edit in the upper left toolbar.
Select Copy [file name] as Pathname from the menu.
Is there a size limit for items I can copy on a MacBook?
There's no officially published limit, but very large items can be constrained by system memory or app capabilities. Copying large files or complex content may cause lag or slow pasting.
Clipboard manager for Mac, iPhone, and iPad
Copy and paste as many times as you want with Paste.