How to take a Mac screenshot without a drop shadow (Quick guide)
There are a few ways to take screenshots on Mac: you can grab an image of your whole screen, of a selected area, or of an open app window. The last one looks great because it adds a beautiful drop shadow.
Sometimes, however, you don’t want the drop shadow to be added. Maybe you’re using a screenshot in a presentation or want to modify the screenshot somehow.
The good news is you can take a screenshot without a shadow. I’ll show all the options to take a Mac screenshot without a drop shadow.
| I want to | Do this |
|---|---|
| Remove a drop shadow on window screenshots | Use Almighty to disable drop shadow automatically, or hold the Option key before capturing a screenshot. |
| Remove shadow permanently | Run Terminal command defaults write com.apple.screencapture disable-shadow -bool true to disable it |
| Avoid shadow temporarily | Press Shift + Command + 4 (selected area). |
| Remove shadow after screenshot | Crop in Preview or in Capto with advanced editing features included. |
| Take scrolling screenshots | Use Capto or another third-party app. |
Quick way to screenshot without the drop shadow
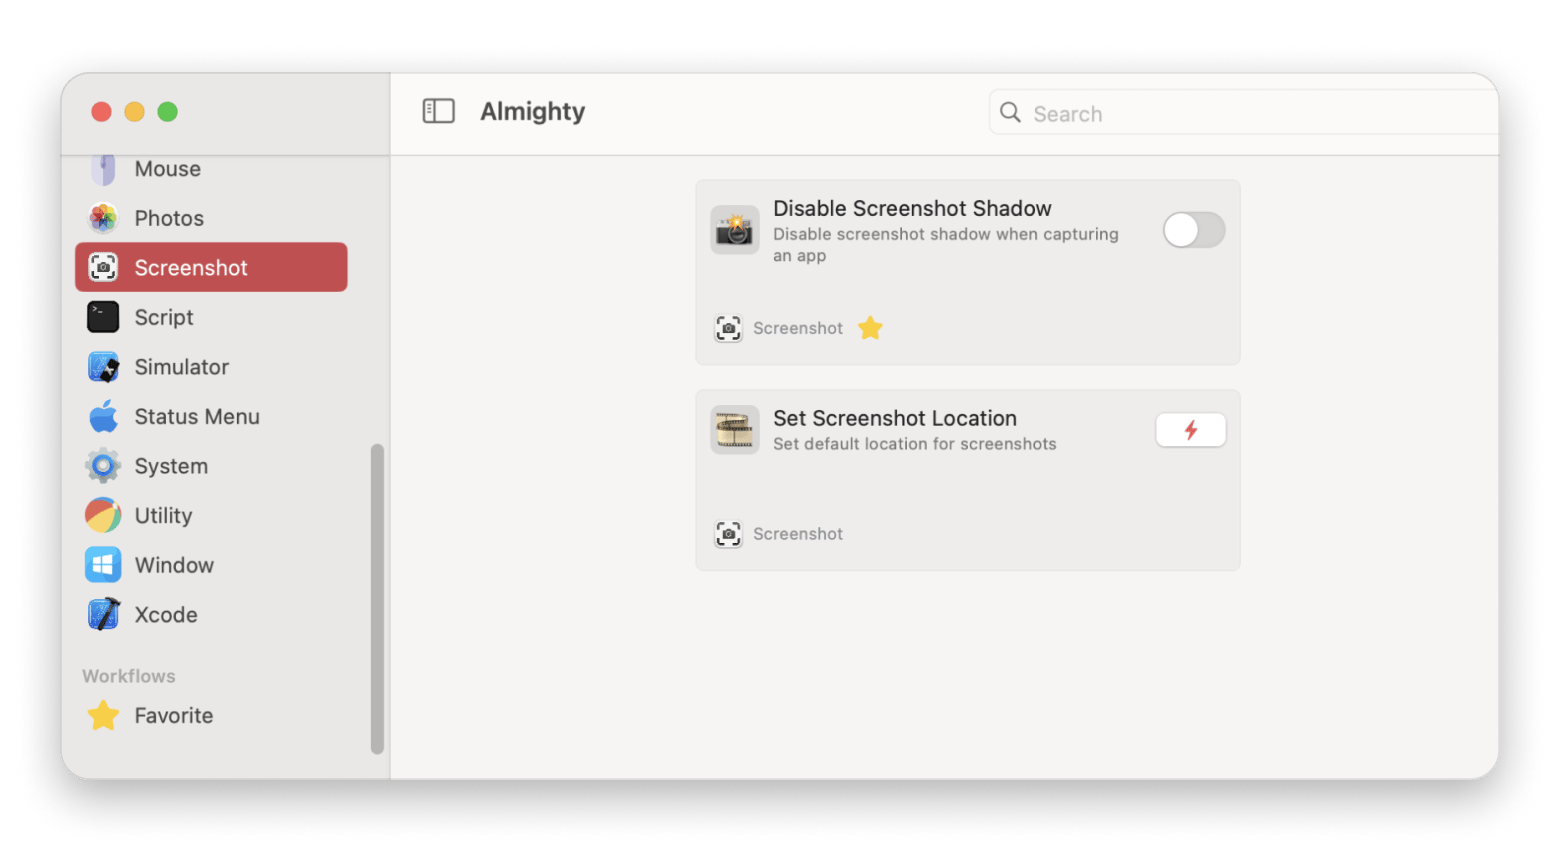
If you want to take window screenshots without drop shadows all the time, the fastest way to do so is to remove Mac screenshot drop shadows through an app like Almighty.
Almighty is a collection of workflow and action presets that could be activated with an easy switch rather than intricate Terminal commands or System Settings configurations. Anything you want your Mac to do, from hiding Dock icons to visualizing keystrokes to getting rid of drop shadows, can be done here through a user-friendly menu.
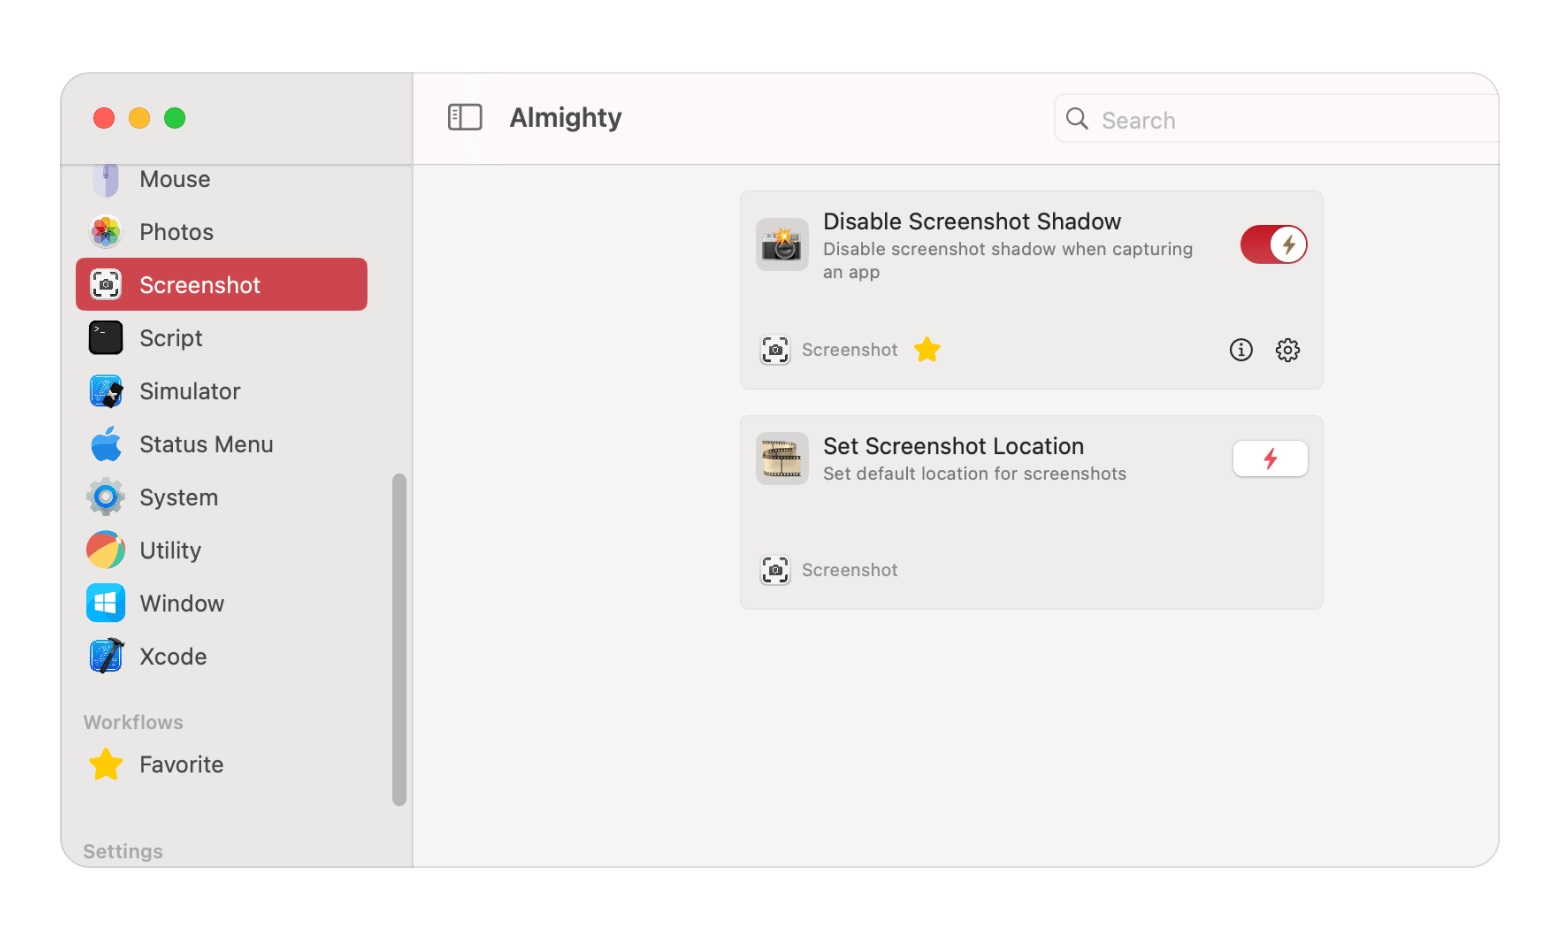
To remove the drop shadow on screenshots using Almighty:
- Install and open Almighty.
- Click Screenshot in the sidebar.
- Turn on Disable Screenshot Shadow.
Here’s how the screenshot looks with the shadow:

And here’s without the shadow once the disable feature is on:

How to get rid of the screenshot drop shadow with native macOS options
As to the native macOS options, you can use the Option key, write a Terminal command, switch to selected area screenshots, or modify the image using a photo-editing app.
Add or remove the drop shadow using the Option key
The standard keyboard shortcut for taking a screenshot of an app window screenshot on Mac is Shift + Command + 5.
To remove the drop shadow on screenshots, start using the shortcut as usual, but before taking a picture, press and hold the Option key. That’s it, now your screenshot should be saved with no shadows at all.
If you can’t take a screenshot, check the troubleshooting guide on screenshot on Mac not working.
Remove Mac screenshot shadows using Terminal
Power Mac users know that almost anything that you want to do on a Mac can be done via Terminal as well. The problem is that most Terminal commands are confusing for everyone but programmers, and that making a mistake can cause unpredictable changes.
However, if you enter the following Terminal command carefully, you'll remove Mac screenshot drop shadows:
- Open Terminal from Finder > Applications > Utilities.
- Type defaults write com.apple.screencapture disable-shadow -bool true > Press Return.
- Type killall SystemUIServer > Press Return.
System UI on your Mac will restart, and now your app window screenshots won’t have a drop shadow by default.
NoteTo reverse the change in the future, repeat the process, but for the first command, type defaults write com.apple.screencapture disable-shadow -bool false and then press Return. |
Alternative ways to remove drop shadows from Mac screenshots
Another simple way to avoid drop shadows in screenshots on Mac is to simply take selected area screenshots.
Press the Shift + Command + 4 shortcut and drag with your cursor to define the area you want to capture. This way, you can frame any app window as well, but the resulting image won't have any shadows.
Your final option for a Mac screenshot without a drop shadow is to remove it in post-production, meaning use a photo-editing app with crop functionality. The app you use doesn’t have to be fancy — even Preview, which is installed on all Macs by default, would do.
Using Preview to remove the drop shadow
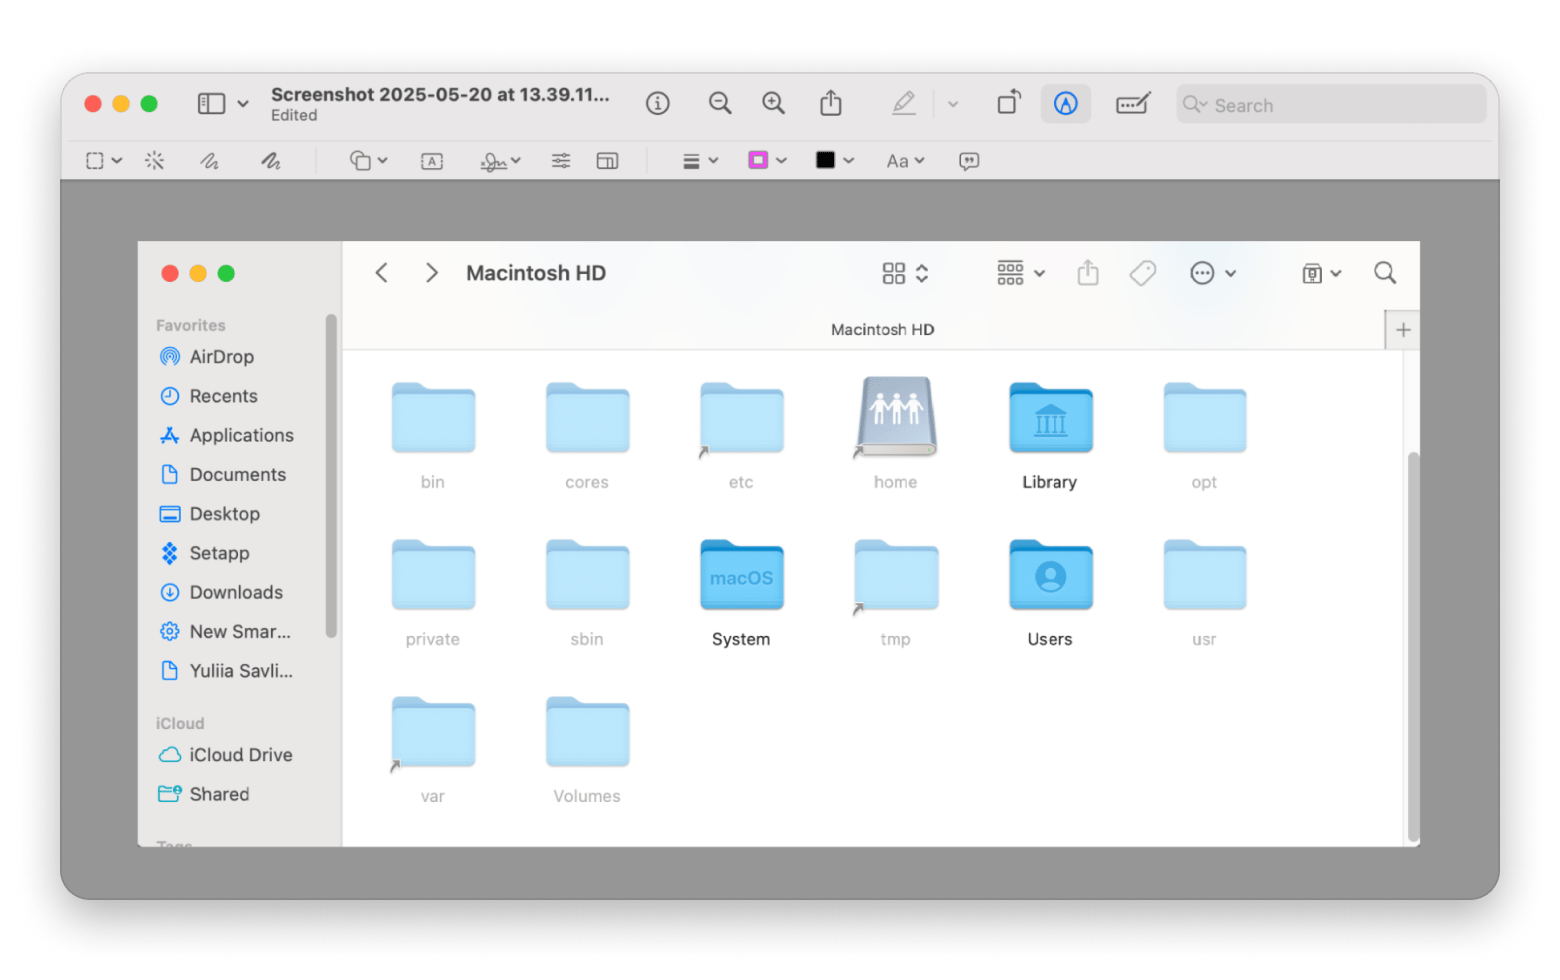
To remove screenshot borders with Preview:
- Open your screenshot in Preview.
- Drag to select the app window in the screenshot without the shadow
- Click Tools in the menu bar > Crop.
The cropped image will look in Preview like this:

Using Capto to remove the drop shadow
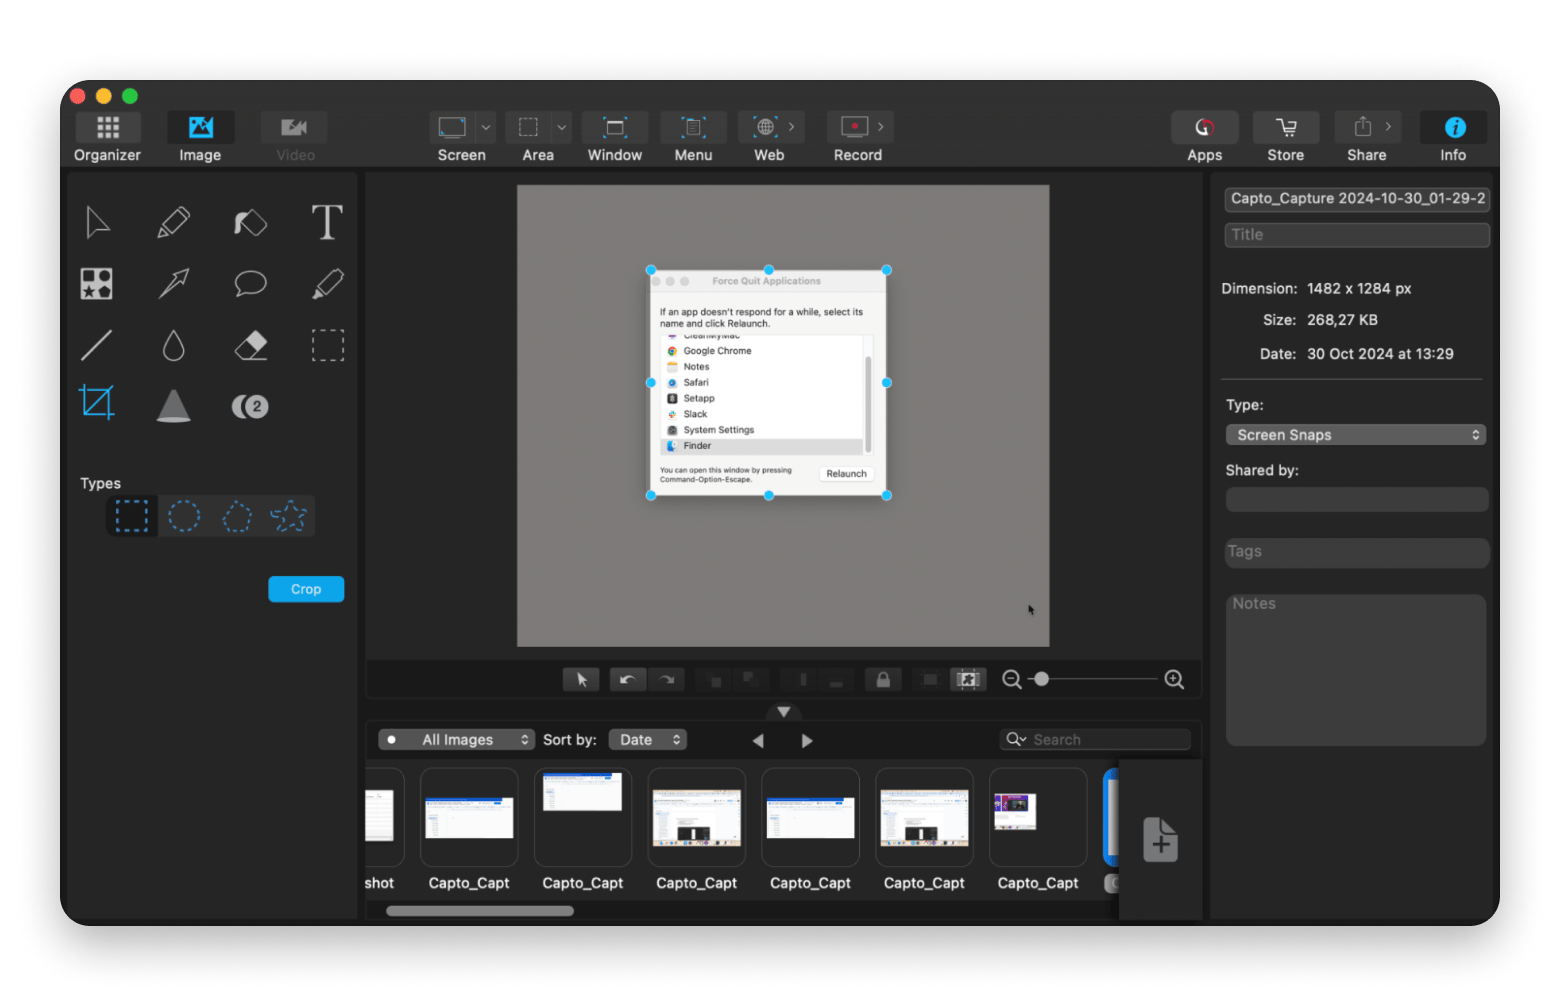
Capto is a more professional image and video editor for Mac and makes removing drop shadows even easier, besides adding more options for other effects.
To remove Mac screenshot drop shadows with Capto:
- Install and open Capto.
- Drag and drop your screenshot onto the app.
- Use the Crop tool located in the sidebar to define the crop area.
- Click Crop and save the resulting image.

As an editor, Capto can also help you record and modify videos as well as audio tracks. It’s a great go-to screen record and image capture tool with a built-in editor.
macOS 15 screenshot enhancements
macOS 15 Sequoia has introduced better ways to take screenshots on Macs. The two most noteworthy features added to the Screenshot app are the following.
The Quick Crop feature
macOS 15 Sequoia introduced Quick Crop in the Screenshot app — a faster way to crop screenshots right after you capture them. Take a screenshot, and a floating thumbnail will pop up in the bottom right of your screen.
Click the thumbnail to open the screenshot in a quick editing window where you can crop the image before saving it. So, you don’t need to open any apto door for basic editing.
Adjust the duration of the floating thumbnail preview
By default, the floating thumbnail disappears after a few seconds, a duration too brief to act quickly for many users. The good news? macOS 15 users can adjust this timing using Terminal.
Here’s how to do this:
- Open Terminal on your Mac.
- Type defaults write com.apple.screencaptureui thumbnailExpiration -float 30. Here, 30 represents the duration in seconds. You can adjust it as you like.
- Press Return.
- Type killall SystemUIServer to restart the System UI Server > Press Return to apply the changes immediately.
Taking Mac screenshots without drop shadow [Final words]
As you can see, you can take a screenshot without a shadow super easily if you change the default settings with Almighty or add the Option key to your regular shortcut. Changing the Terminal command and editing the resulting image in an app like Capto are also suitable options, depending on your needs.
Best of all, Almighty and Capto are both available to you for free for seven days through the trial of Setapp, a platform with more than 260 apps available for Mac and iOS. I already use tools as BusyCal (for easy calendar scheduling) and Chronicle (for tracking my expenses) without extra cost.
FAQ
How can I change screenshot settings on my Mac?
To change screenshot settings on my Mac:
- Press Shift + Command + 5 to open the Screenshot toolbar.
- Next, click on Options to access settings like Save To, Timer, Floating Thumbnail, and more.
- Adjust settings as preferred. In macOS, you can also adjust the duration of the floating thumbnail.
How do you get a crosshair on a MacBook?
To get a crosshair on a MacBook, press Shift + Command + 4, and your cursor will turn into a crosshair. Click and hold the mouse and drag the crosshair to select the area to capture. Release the mouse to capture the screenshot.
How do I markup a screenshot on Mac?
To markup a screenshot on Mac, take the screenshot and click the floating thumbnail. Your screenshot will open in Markup Preview, where you can add shapes and text boxes, adjust colors, draw or sketch, and even add signatures to your screenshot.
How to take a scrolling screenshot on Mac?
MacBooks don’t natively support scrolling screenshots. But you can use third-party apps like Capto to grab scrolling screenshots at the click of a button.


