How to use iCloud on your devices
Most people have more information stored on iCloud than they realize. This can range from photos and contacts to notes and even information from the Health app.
However, it may not be entirely clear how to use iCloud on Mac and iPhone. Let's figure it out. This article will help you navigate through the various features and settings of iCloud.
What is an iCloud account
iCloud is Apple's cloud-based storage service that securely stores your music, photos, videos, documents, and more. You can access information stored in iCloud on an iPhone, iPad, Mac, Apple Watch, Apple TV, and other devices.
However, the possibilities of cloud storage are not limited to file synchronization. For example, there is such a useful feature as Find My iPhone. Essentially, when you turn on Find My iPhone, it shows you the GPS-based location of your phone or Mac, which then allows you to actually find it, whether it's just somewhere around the house or has become the target of petty crime.
How does iCloud work?
When you create an Apple ID account, you automatically get 5GB of iCloud storage. You can use this space to sync pictures, store files, or back up an iPhone or iPad. More storage can be purchased for a monthly fee.
To use your storage, you must be signed in with your Apple ID on each device that uses iCloud. Once you are signed in, you can access your storage and use any feature that requires files stored there, such as third-party apps and the Universal Clipboard. Changes you make on one device or in a web browser, such as updating an event in Calendar or a contact in Contacts, are automatically shared across all devices connected to your iCloud account.
When you know the answer to the question, "How does iCloud work?", we can move further.
iCloud pricing
As mentioned, when you sign up for iCloud, you get 5GB of storage for free. If you take a lot of photos and videos, this number of gigabytes will probably not be enough for you. Fortunately, you can purchase more storage. Here are your options:
50GB monthly plan
You can upgrade your plan from 5GB to 50GB. This plan allows you to back up your iPhone and iPad with pictures and data. The option is perfect for two Apple devices, for a person who does not take a lot of pictures. It costs $0.99 per month.
200GB monthly plan
If you want a monthly plan to store backups on multiple devices, then you go for this plan. It costs $2.99 per month. The option is great for people who need a lot of storage or want to back up tons of files.
2TB monthly plan
This is the largest plan available to users. You can connect it and share the storage with the whole family! The plan costs $9.99 per month.
Read more on how to pick the best iCloud storage plan for you.
Updating iCloud storage
This is an obvious choice if you're not too tight on your budget and don't mind spending money on storage every month.
So, how do you upgrade your iCloud storage?
Getting more storage is easy, and you can do it from any device, including your iPhone.
On your Mac:
- Go to the Apple menu > System Settings
- Click Apple ID
- Then click iCloud in the sidebar
- Click Manage > Upgrade to iCloud+.
On iPhone, it's almost the same:
Go to the Settings app > tap on your name > iCloud > Manage Account Storage > Upgrade for 0.99 US$/month. Then, you can choose the desired plan.
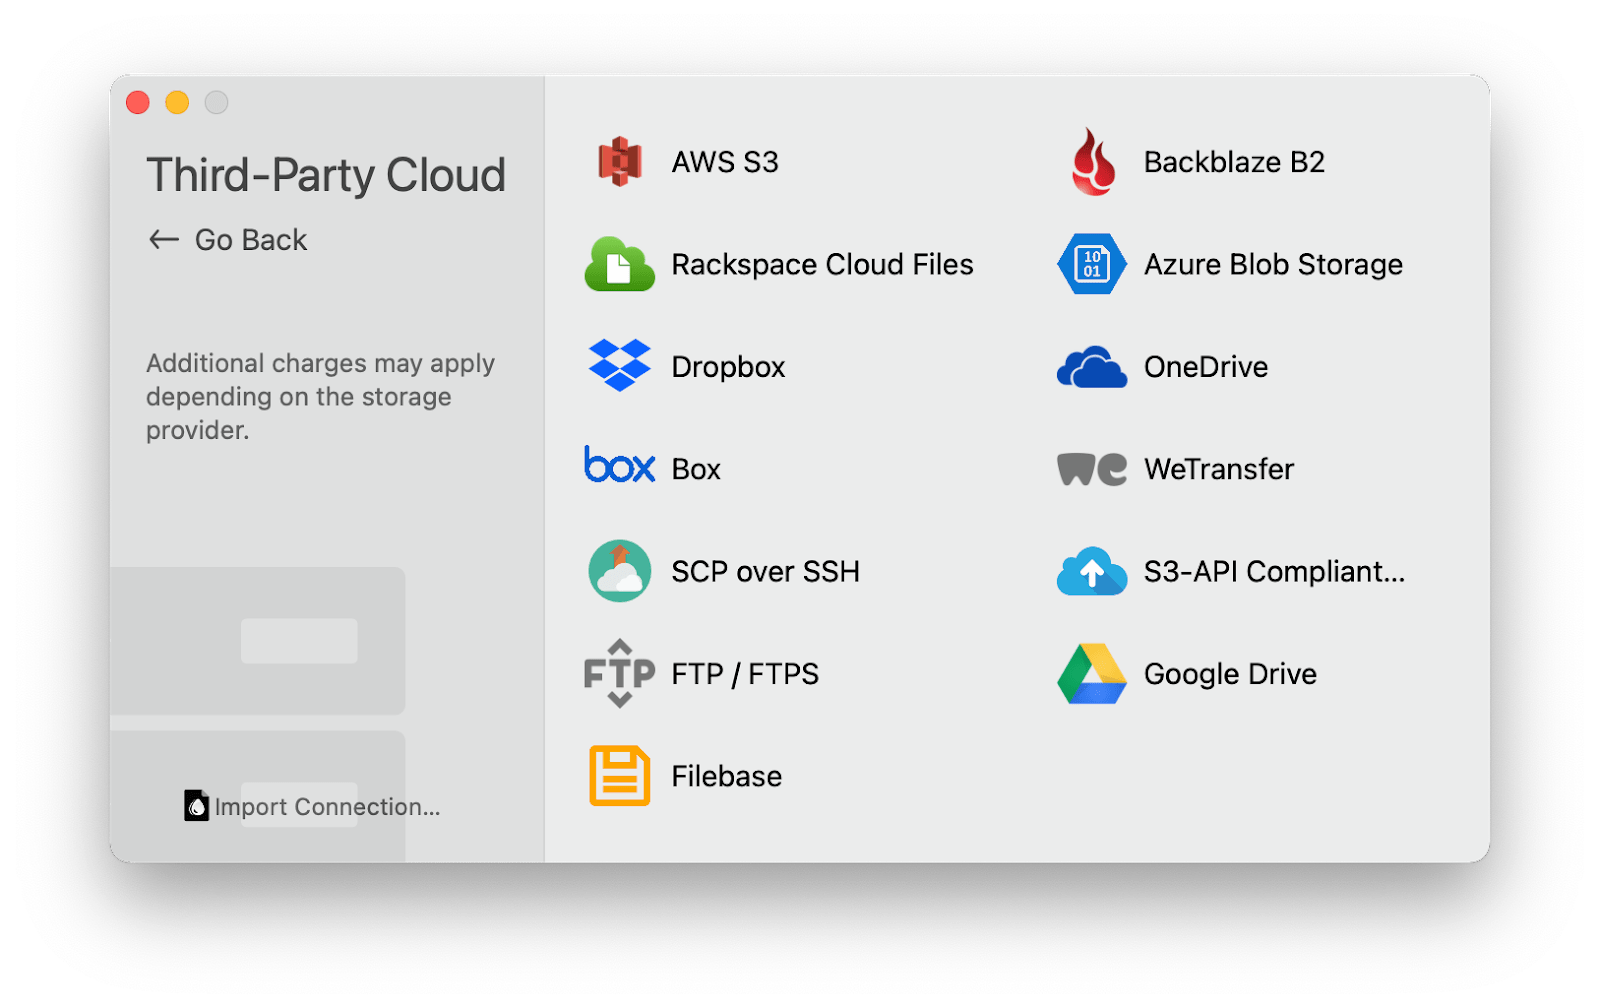
Tip: use Dropshare to connect extra cloud storage.
How to use iCloud on a Mac
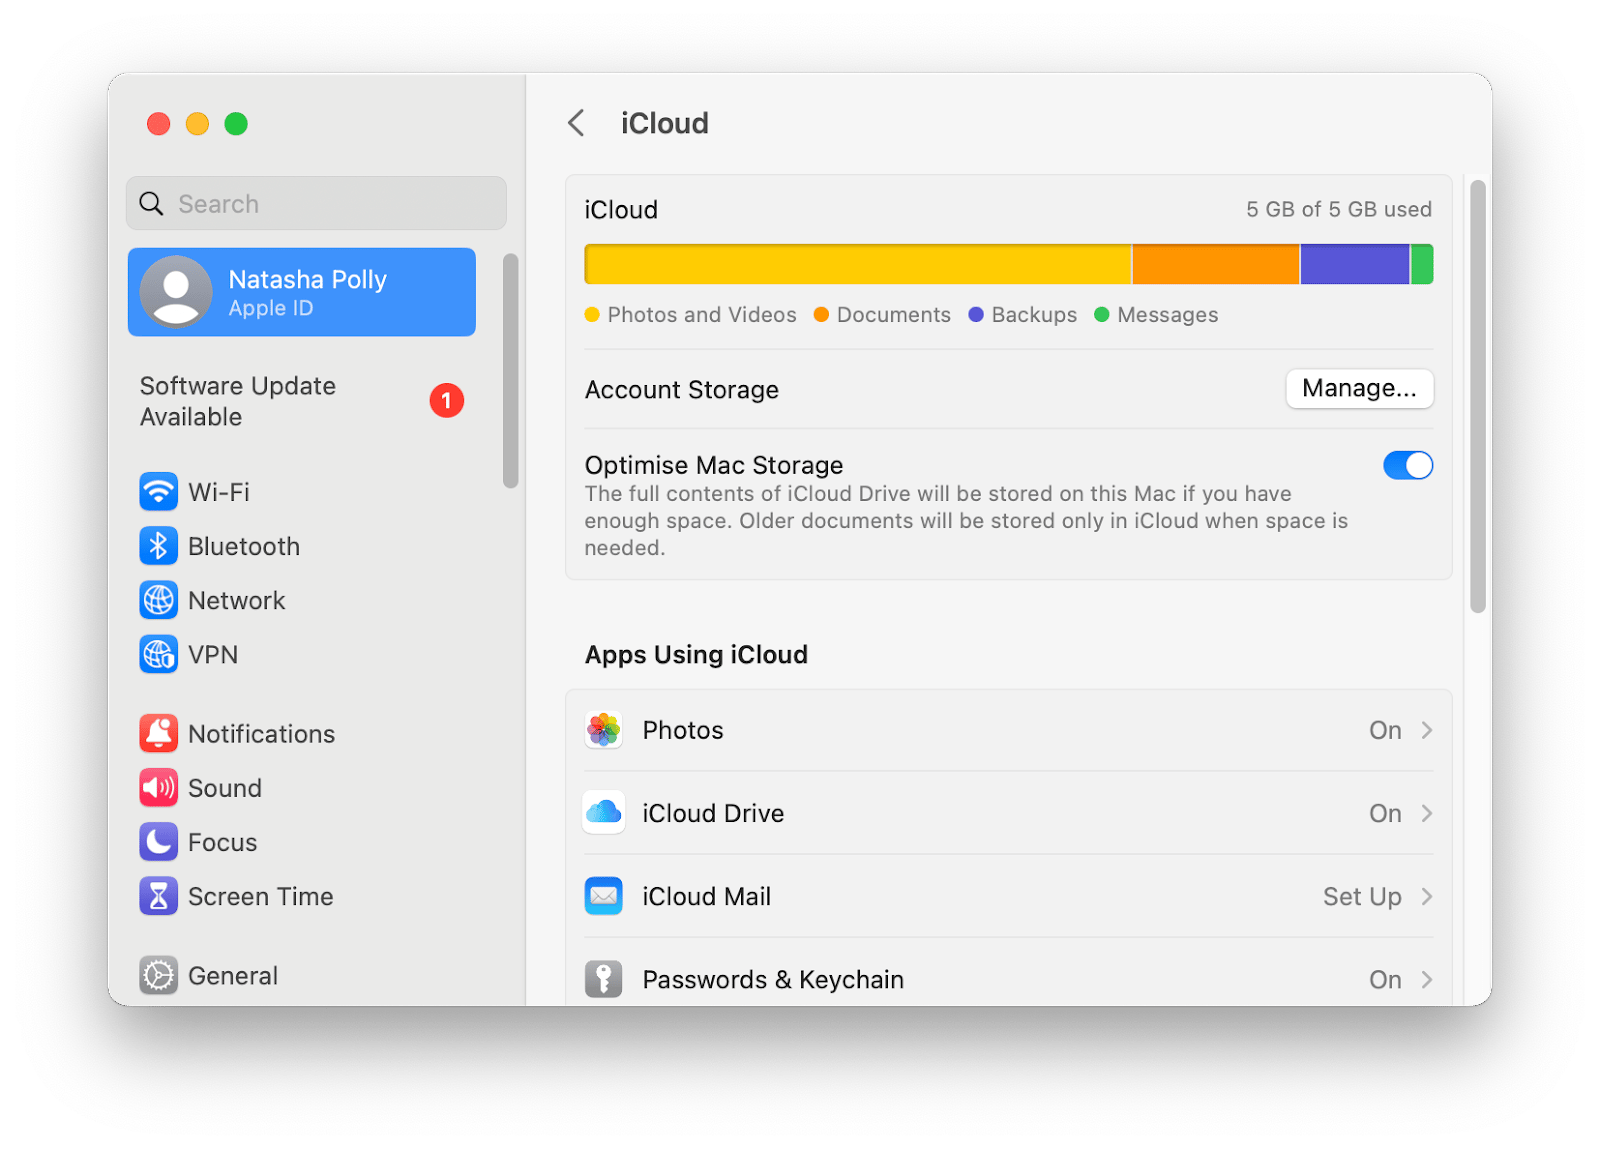
So, how to use iCloud on Mac? As you might expect, the first thing you need to do to start using iCloud Drive is set it up. Usually, when you turn on your devices for the first time or upgrade them, you are offered to sync them with iCloud. So, there's a chance you already have it set up. If not, here's a quick guide.
To turn on iCloud on a Mac:
- Go to the Apple menu > System Settings
- Then click on Apple ID > iCloud. You may need to sign in with your Apple ID
- Select the services you'd like to turn on.
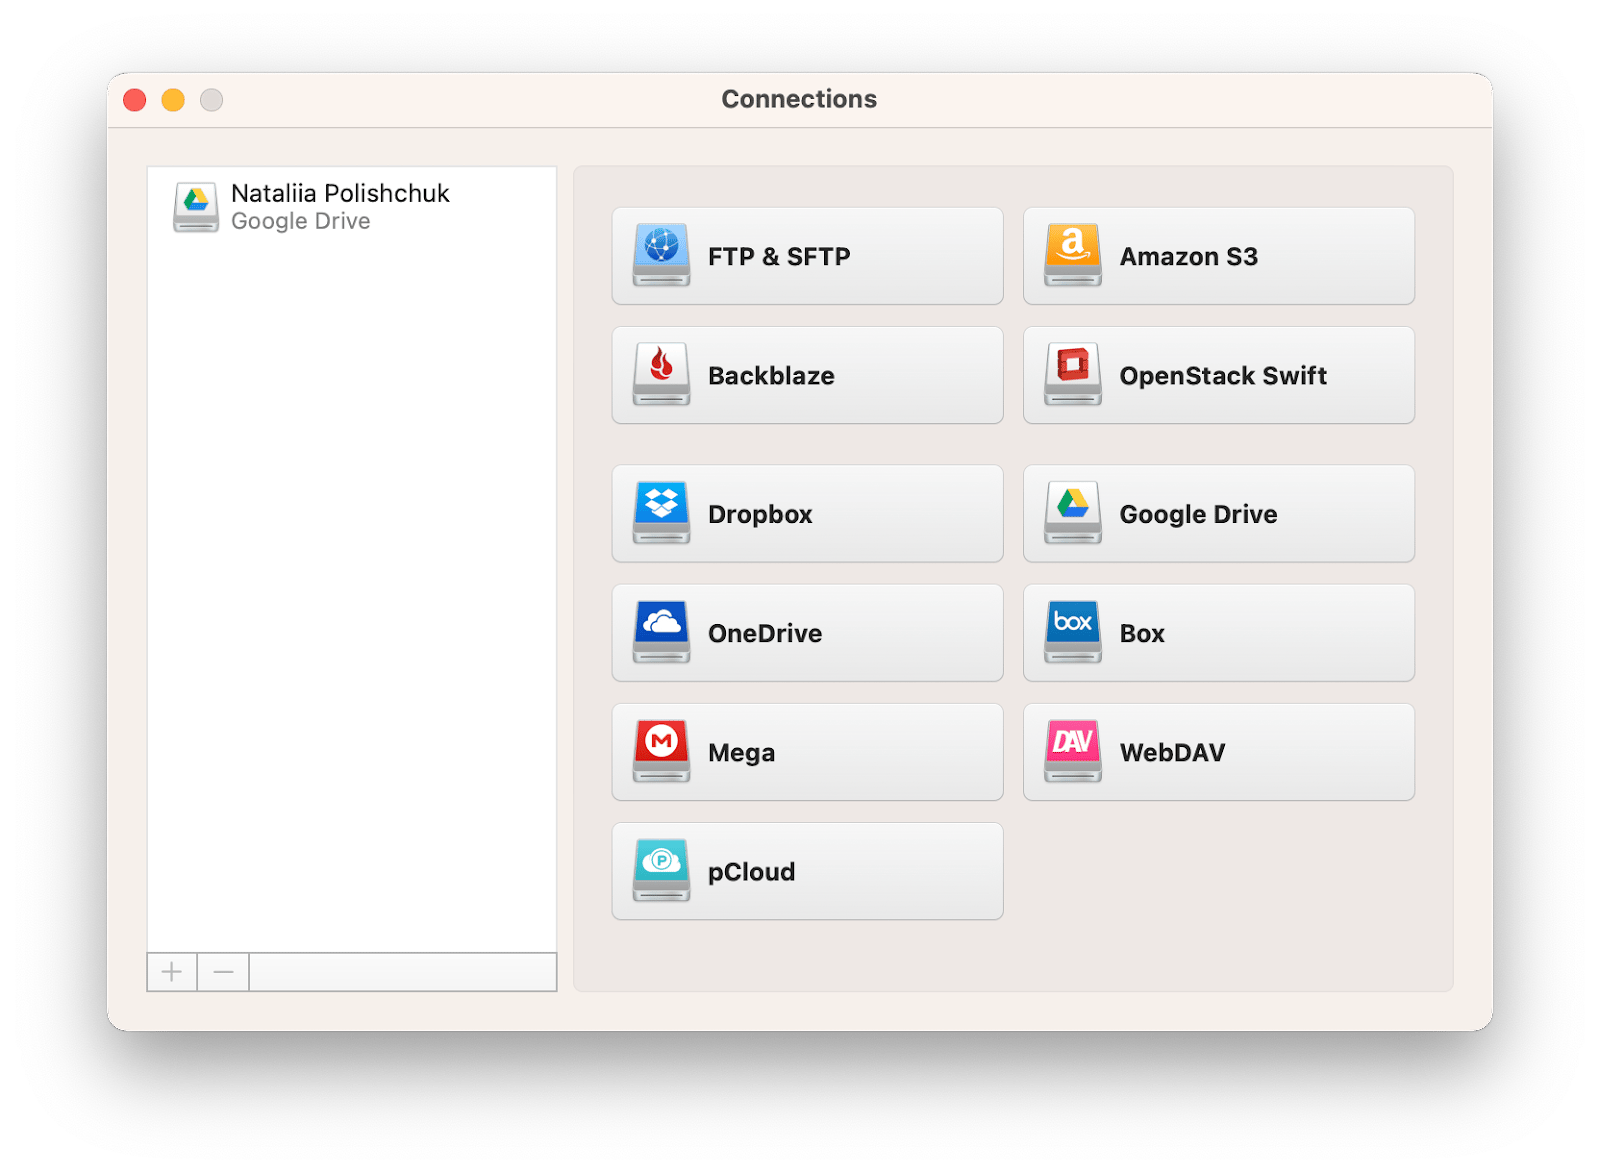
Tip: Have all your files in one place. With CloudMounter, you can connect to multiple cloud storage services like Google Drive, Dropbox, and OneDrive and access their contents directly from your Mac's Finder.
How to use iCloud on iPhone
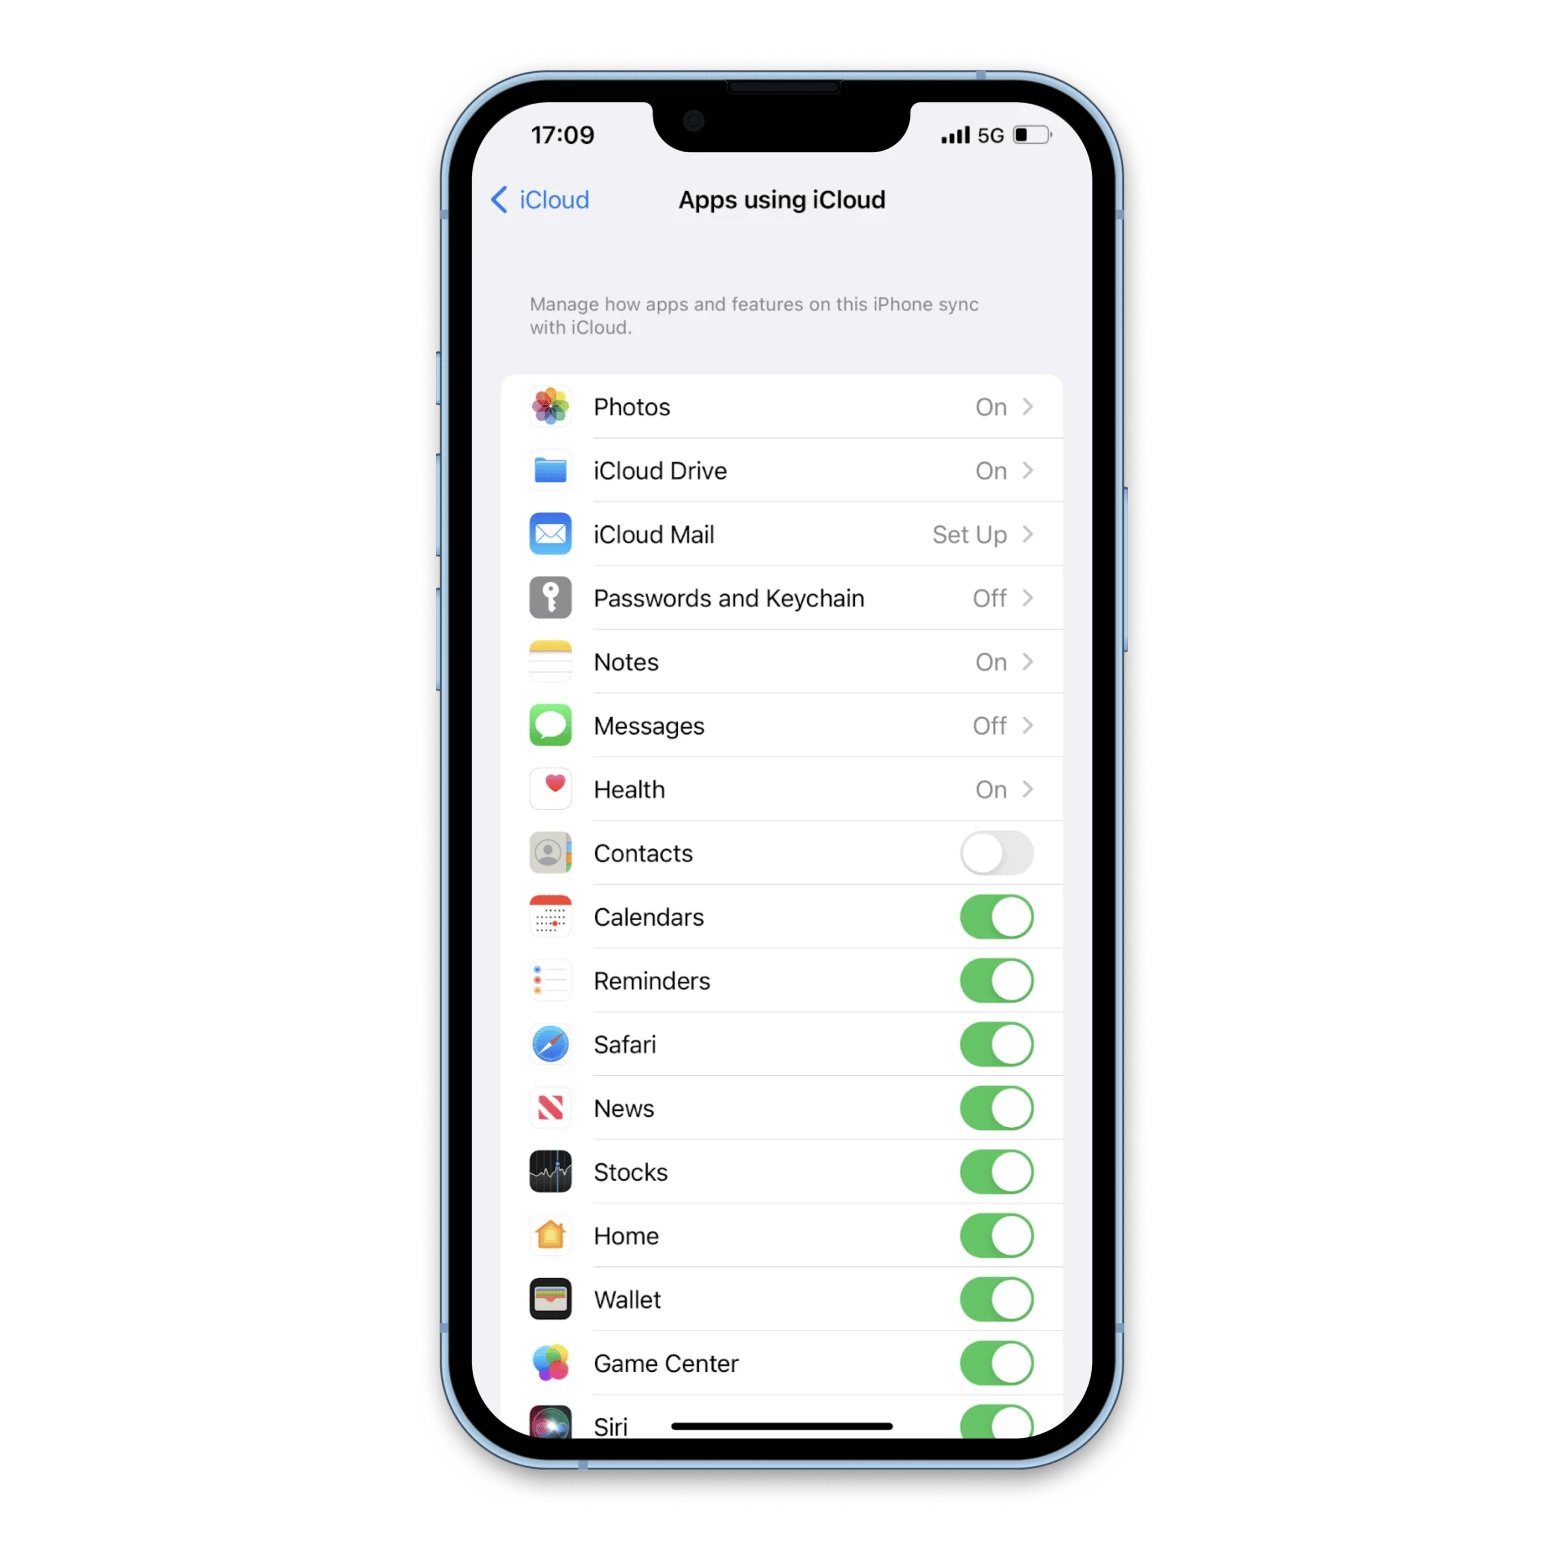
To take advantage of Continuity features like Handoff, Universal Clipboard, Find My iPhone, iCloud Keychain, and any other feature that relies on sharing data with your iPhone, you'll need to set up and configure iCloud on your iPhone. Here's how:
- Open the Settings app on your iPhone
- Tap Apple ID at the top of the screen > iCloud
- Scroll through the list of apps and toggle the ones you want to use with iCloud to On. Pay particular attention to iCloud Drive, which must be turned on if you want to access files on your iPhone.
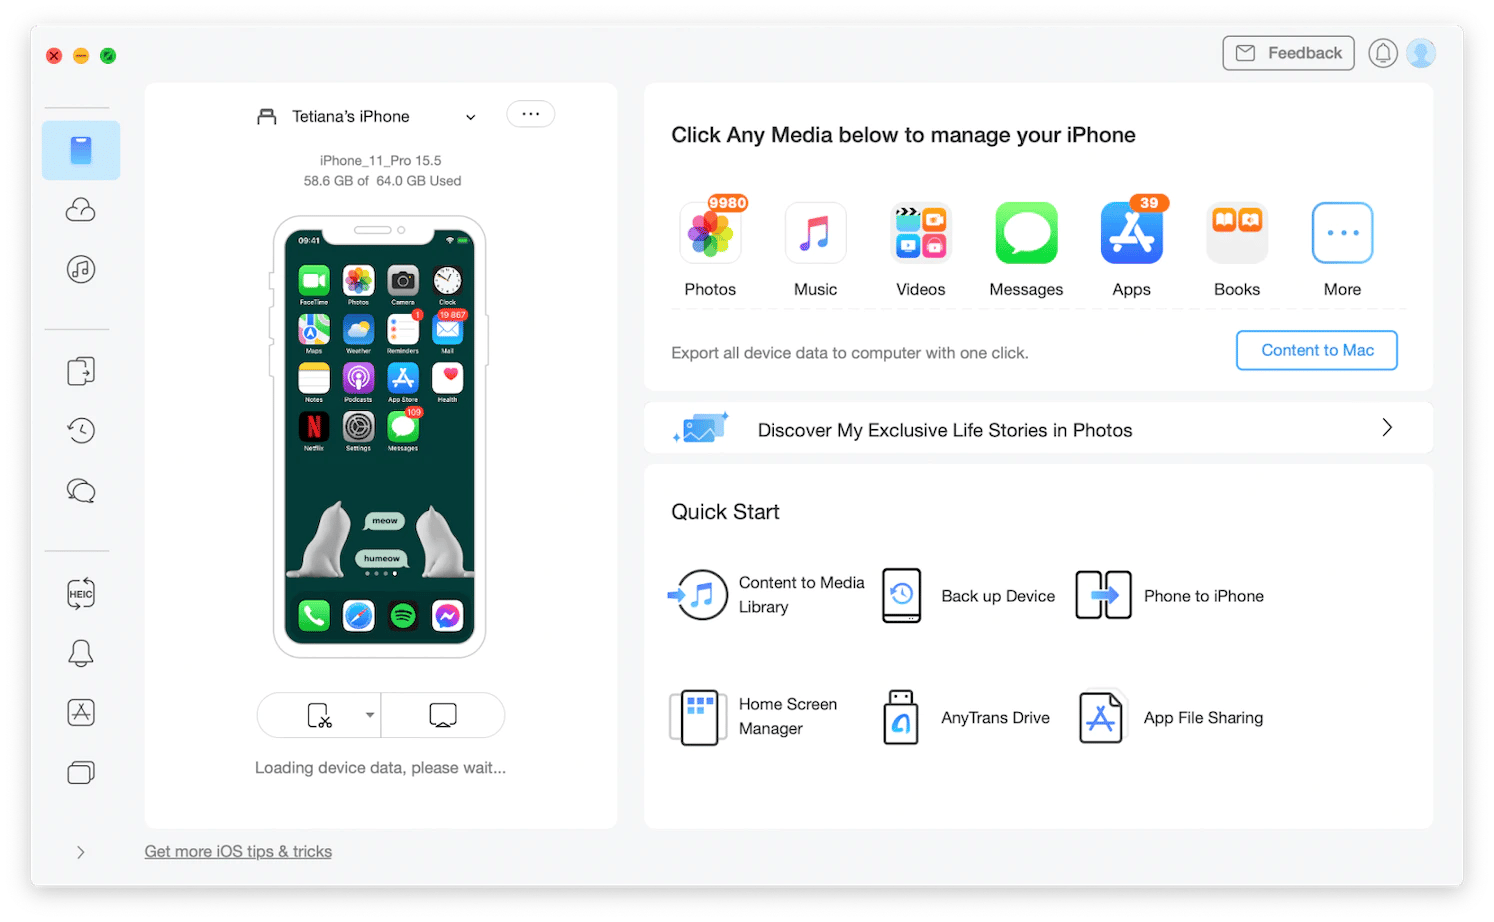
Tip: iCloud is great, but it can fail you. Instead of relying on iCloud to manage your data, we prefer AnyTrans.
When Apple decided to use iCloud for iPhone backups, it was the end of an era where we could back up our iPhone data to a Mac. AnyTrans picked up the mantle and allows you to connect your iPhone to a Mac via a lightning cable and back up your iPhone directly to the Mac. Instead of hoping your iCloud account has the latest backup and waiting for it to download – which can take a really long time – AnyTrans lets you control when you back up your phone and when you restore your device from a backup.
We also like AnyTrans because it does a sensational job of backing up data while keeping it accessible on your Mac.
How to use iCloud Photo
iCloud Photos automatically saves every photo and video you take to iCloud, so you can access your library from any device, any time. And any changes you make to your collection on one device are reflected on all your other devices.
Now, we will show you how to turn on and how to use iCloud Photos.
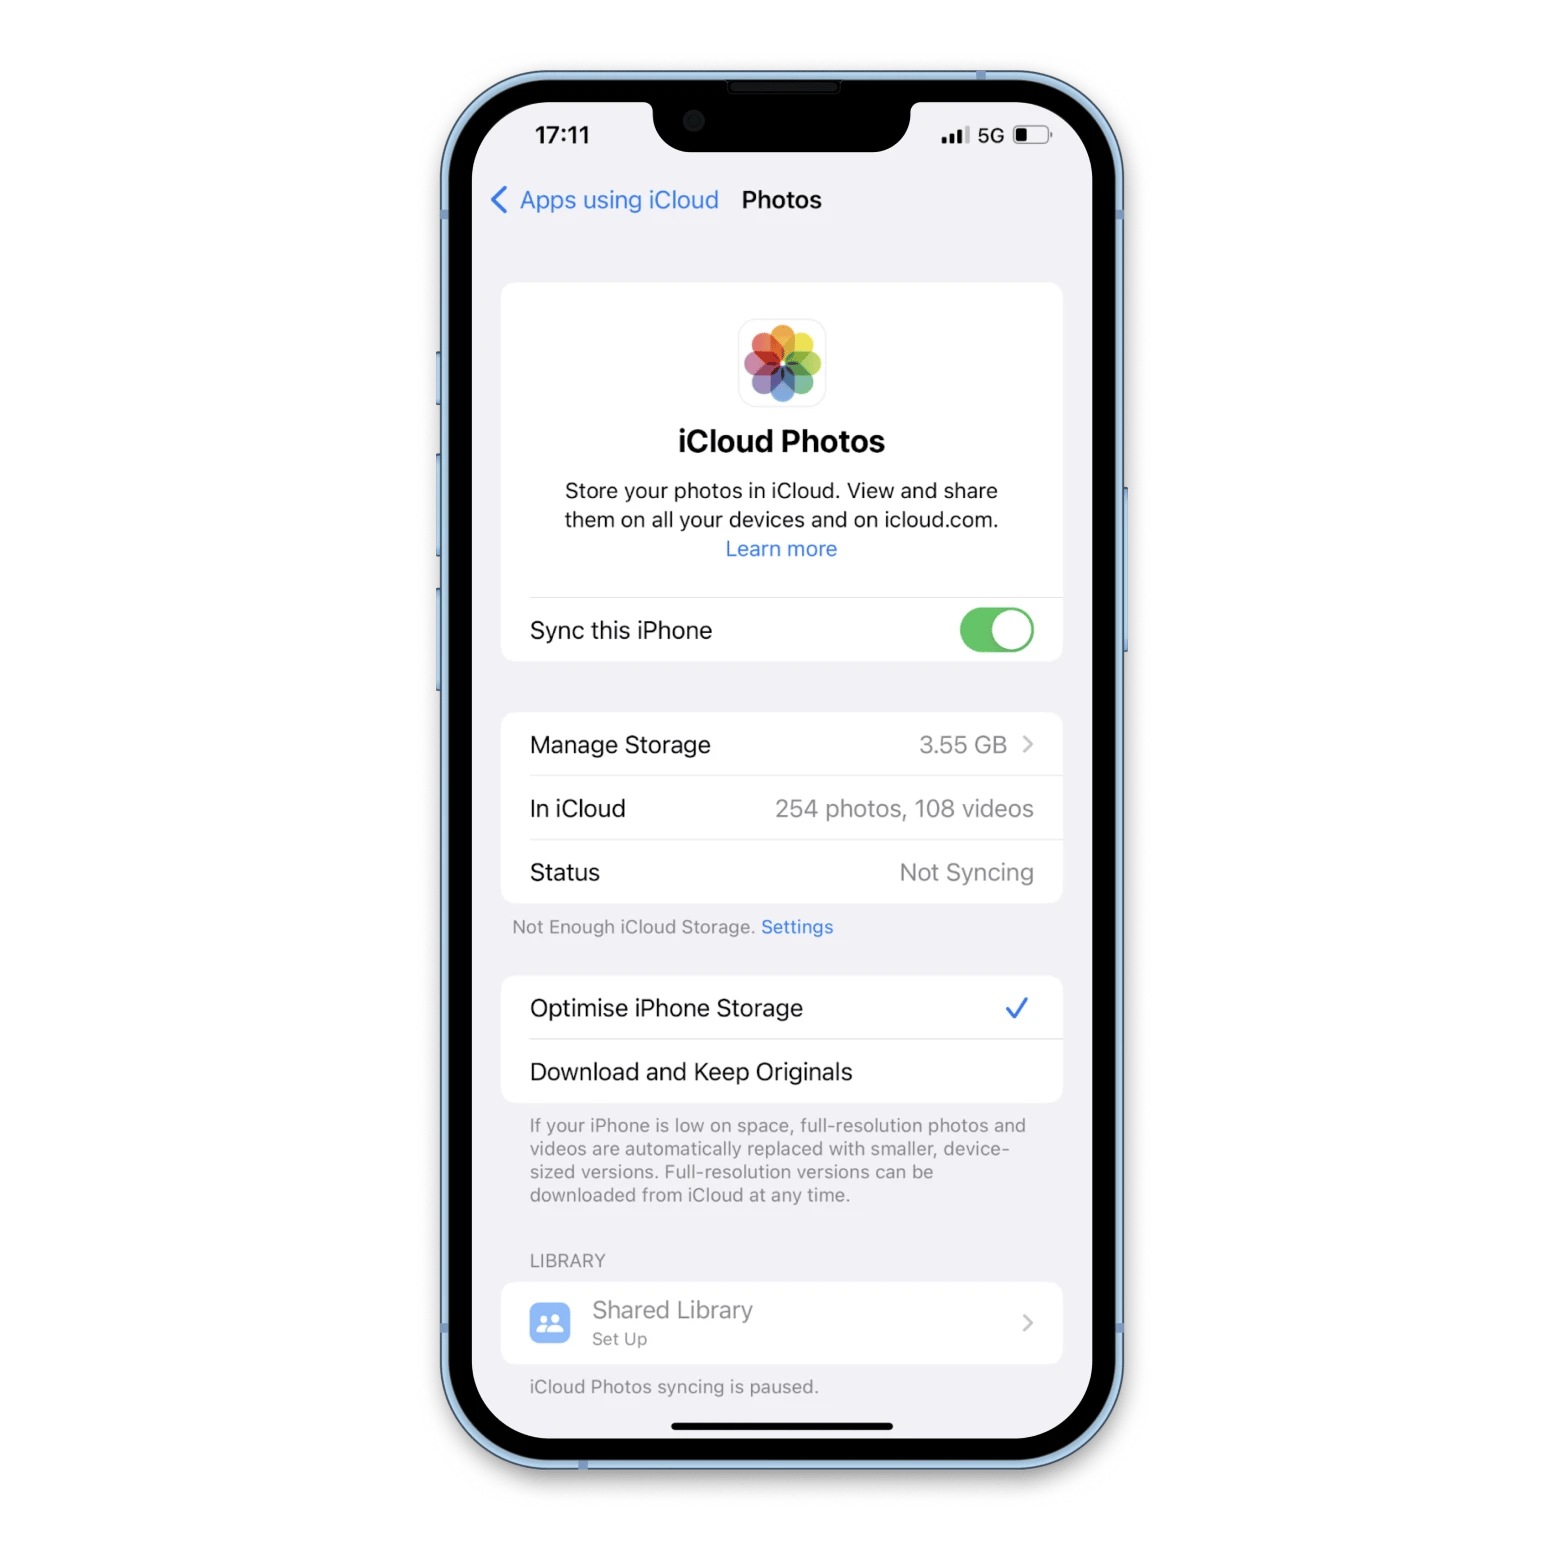
Here's how to turn on iCloud Photos on your iPhone:
- Make sure you set up and sign in to iCloud with the same Apple ID on all your devices
- On your iPhone, go to Settings > tap on your name > iCloud
- Next, tap Photos, and then turn on the toggle next to Sync this iPhone.
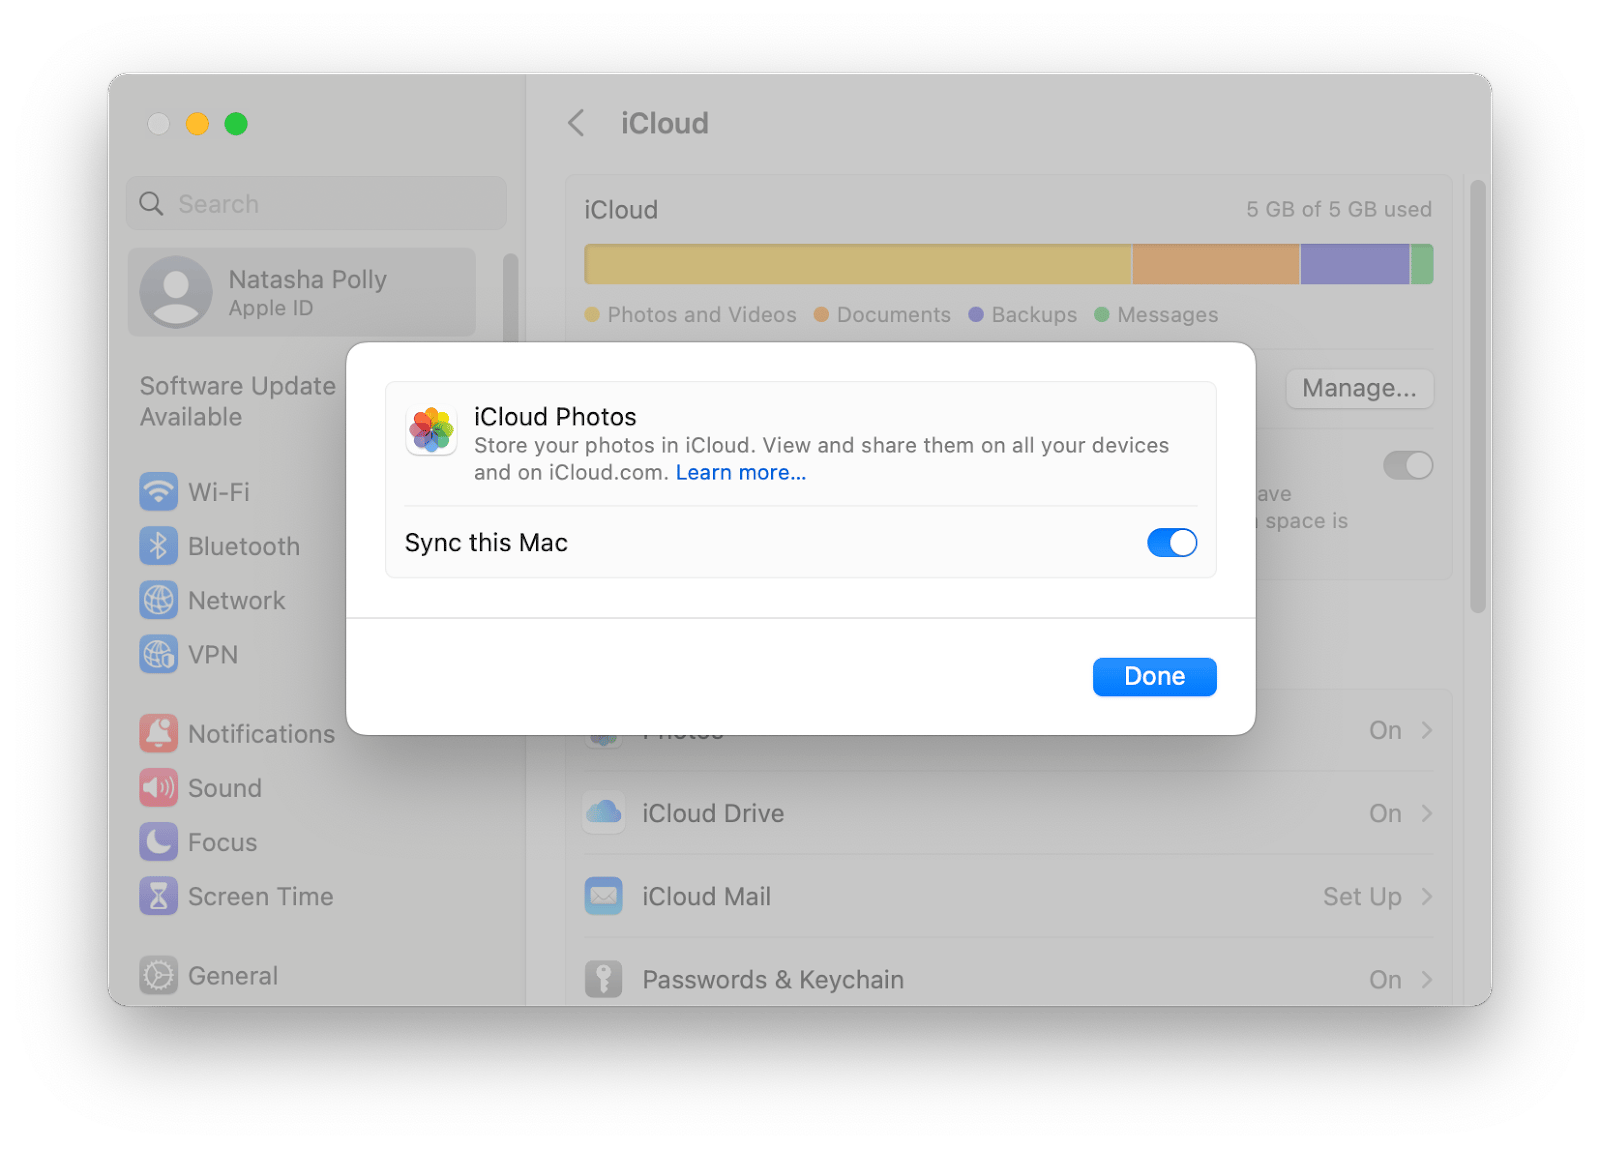
Here's how to turn on iCloud Photos on your Mac:
- Go to the Apple menu > System Settings
- Click Apple ID
- Then click iCloud in the sidebar and then select Photos
- Turn on the toggle next to Sync this Mac.
Now, you can access your photos on multiple devices. Note that when you edit or delete photos or videos, the changes will be reflected across all of your devices.
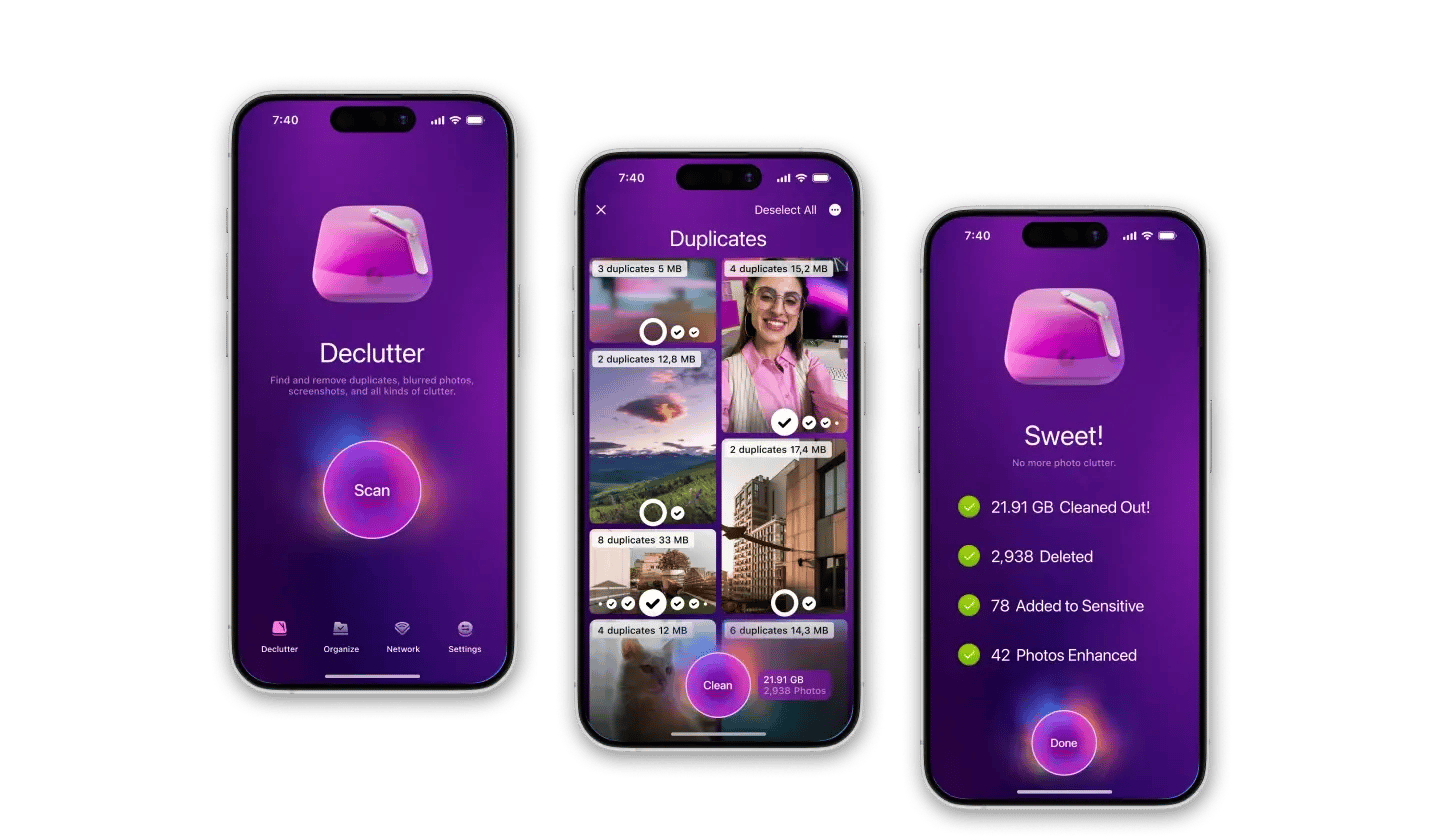
Tip: Use CleanMy®Phone to get rid of unneeded photos – also known as the greatest iCloud hogs. First, install CleanMy®Phone on your iPhone, as this is the place where all those endless shots get conceived. Let the app scan your Photos for duplicates. Review the files that the app offers to delete and confirm your decision.
Restoring and backing up with iCloud
Knowing how to use iCloud backup is important. Not only is it Apple's go-to for all iOS devices, it'll help when you purchase a new iPhone as Apple now offers to let you restore from your most recent backup immediately.
But what about documents and files? To restore those items, you'll need to visit the web version of iCloud. Here's how to restore files using iCloud.com:
- Open your web browser and go to iCloud.com
- Enter your iCloud storage login details (email, then password)
- Confirm the code on your device if you're logging in for the first time
- Select Account Settings
- At the bottom of the screen, select Restore Files.
Note: Files, contacts, calendars, and Safari bookmarks all have a restore tab. If you need to restore more than one of these things, you will have to do that individually.
- You'll see a list of your most recently deleted files. (Deleted files are held for 30 days before being permanently deleted)
- Select the file or files you want to restore
- Select Done.
That's all you need to do. iCloud will restore the files in the last spot they were stored before you deleted them.
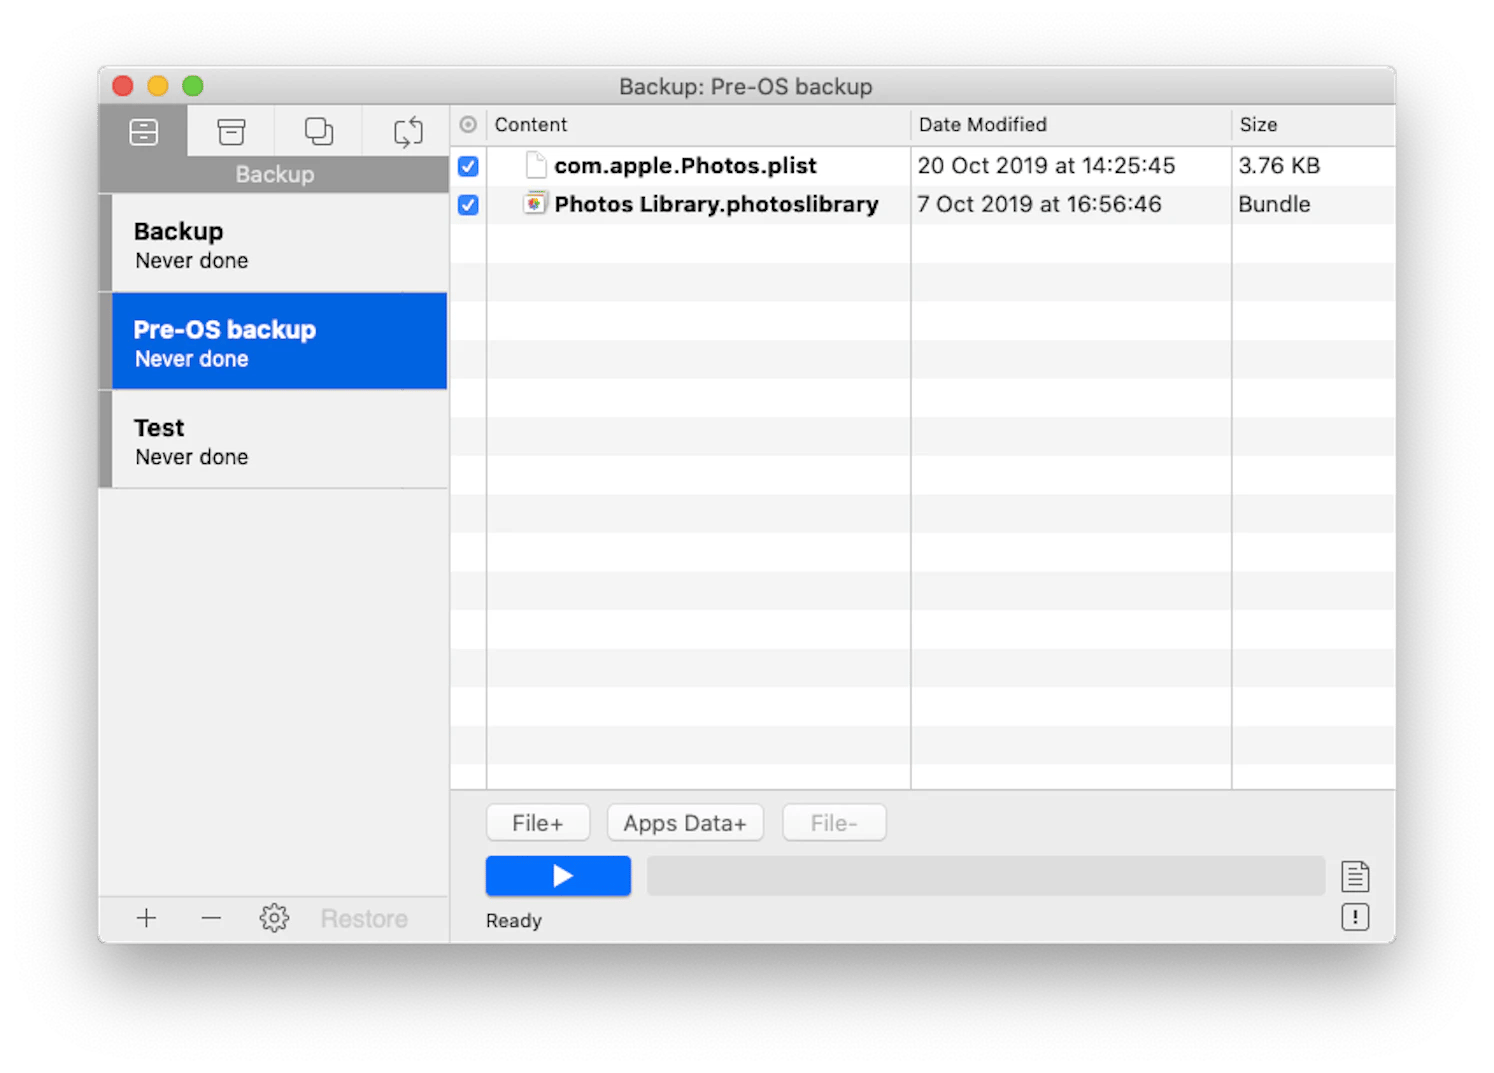
But if you need a first-grade backup manager that keeps all your files and personal data safe and secure wherever you are, giving you complete peace of mind, try Get Backup Pro. The tool allows for bootable as well as encrypted backups and sync folders. It also keeps your data reachable in case of a system failure or information loss. And with scheduled automatic backups, you don't even have to do a thing past the first setup!
What is an iCloud account, and how does it work? Final thoughts
iCloud has lots of awesome features, but, at the same time, it requires a lot of attention and control. You often need to spend time deleting unnecessary files, and soon, you will almost certainly have to pay for an upgrade.
You can avoid these problems and manage your files faster and more conveniently with Setapp apps:
- CleanMy®Phone finds duplicates and frees up tons of space on your iPhone and iPad.
- AnyTrans facilitates the transfer of files between macOS and iOS.
- Dropshare provides you with 10GB of extra storage space.
- Get Backup Pro prevents the loss of important information with timely backups.
- And CloudMounter connects your Mac with all the cloud storage.
If you want to access these and 260+ other Mac, iPhone, iPad, and web apps, install Setapp. There, you will find tools that help you tackle almost any task. You can try every app at no cost during Setapp's seven-day trial period.
FAQ:
How do I see what's stored in iCloud?
Go to icloud.com. Enter your Apple credentials. All files, photos, and other data that are synchronized on your gadgets will be there. To see what you store through the Mac, go to System Settings, find Apple ID, and select iCloud.
Where are iCloud documents stored on Mac?
They are stored in the iCloud Drive folder. If you have the appropriate settings, then the "Desktop" and "Documents" folders are also saved in iCloud.
How do I access iCloud on my MacBook?
Go to the Apple Menu > System Settings. Then click on Apple ID > iCloud. After that, you will be able to edit settings and manage data.
How do I know if my photos are on iPhone or iCloud?
The easiest way is to go to the phone settings, iCloud section, and see if the synchronization of photos with cloud storage is set up.


