Teach and share ideas effectively
The “show, don’t tell” method is the best. You can save a lot of time by sharing a screen recording to show a workflow, report a bug, etc. Go even further and record your own tutorials, how-tos for a YouTube blog, or video lectures. Here’s how Setapp can help.
Wipe the desktop clean
One Switch has a quick option to hide all desktop icons. Before you start recording, make sure you clean up the stage (aka your desktop). Just toggle “Hide Desktop Icons” in the menu bar.
Record screen with audio
Capto is the only screen recorder you’ll need on Mac. Record fullscreen, windows, or areas of the screen by clicking one button. You won’t need to add voice over to your recordings because Capto lets you record with audio.
Let’s say you do a tutorial on Setapp. Here’s what it will look like:
Choose Fullscreen in the Capto menu (tip: record the entire screen and crop it later)
Enable mic access if you’re recording with voice
Click the Record button
Stop the recording by clicking on the menu bar icon.
The recording will be waiting for you in Capto.
Trim and crop
Have your recording ready? Now comes the most laborious part. Luckily, Capto has a great editing toolkit that can help you bring your tutorial into the right shape. To change the length of your video, open it in Capto and click the scissors. In there, you’ll also see the option to crop the screen — maybe you want to remove the Dock or the menu bar from your video.
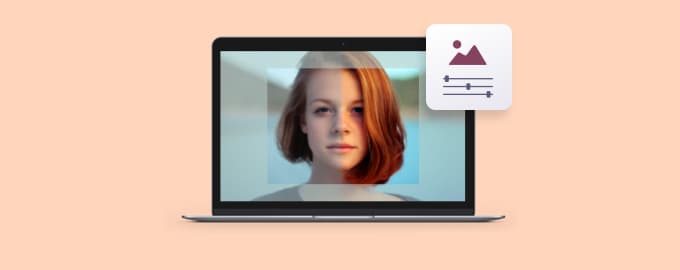
Add images and text
Want to include some extra tips or cues in your tutorial? No problem. Click the Edit button in the left sidebar and choose “T” to insert a text box. You can also add an image — click the Image icon and import it from your computer. Then, drag the image onto your video.
Save your recording to Dropshare
If you do tutorials, you know they can be quite heavy. Dropshare can help you save hard drive space by moving all your Capto videos to the internal Dropshare Cloud (Setapp members get 10 GB of free storage from Dropshare). And once you’ve used that up, you can just send your recordings from the internal cloud to any cloud storage.
Hope this use case will help you solve tasks faster, and enjoy solving them, too! Check out more use cases picked for you below.