How to record a webinar on Mac
Are you an expert sharing your content online? Or maybe you're just eager to learn something new? In either case, you might wonder how to record a webinar on your Mac. If you're unsure where to start — no worries, I've got you covered.
As a senior content writer excited to discover new things, I have plenty of experience in capturing valuable content on Mac. So, let me guide you through every step needed. From choosing the best webinar recording software to editing a recording once it's done, you'll find all the details in this article.
If that's what you want, keep reading.
Why record a webinar?
If you're looking through this article, you're probably already eager to record a webinar. But if you're still hesitating or need a little motivation, let me quickly remind you of the benefits of recording webinars.
This type of content can help you reach a wider audience. For example, not everyone likes to read long blog posts. Some prefer to watch videos because they are easier to absorb.
In addition, it is very convenient to have already filmed material. Imagine you work once fruitfully and then attract a new audience with the help of this content.
How to record a webinar
Well, let's get started, shall we?
Step 1: Choose a recording option
Let's first figure out which tool to use. I can recommend several options.
QuickTime Player is your Mac's default video (and audio) app, which also lets you capture and easily edit video from your screen. It is completely free, pre-installed, and easy to use. But be aware that the functionality is pretty basic. For example, with its help, you can record either your webcam or your screen, but not both at the same time.
Let me show you another option. Capto is one of my favorite video recording apps for Mac, and for good reason. It doesn't just capture the screen or selected areas – it goes above and beyond by seamlessly integrating webcam footage, annotations, and voiceovers. Plus, its advanced editing features allow me to perfect my recordings and enhance my webinars with extra audio tracks.
Another great app is called CleanShot X. It lets me create professional-looking screenshots and screencasts with audio in no time. As a bonus, the app automatically hides everything from my desktop, saving me cleanup time.
I will talk a little more about useful apps in another section of this article. My main idea here is to convey that there are many options and you should not stop only at QuickTime, because then you are depriving yourself of opportunities to make your webinar stunning without wasting a lot of time. For now, let's move on to the next step.
Step 2: Set up webinar recording
Before you start the webinar recording process, make sure you've thought through all the elements. Prepare the content you're going to present and do a few practice sessions to get comfortable with the material.
Then it's time to figure out the technology. Will the recording capture just your face, or your presentation slides, or both? If your surroundings will be filmed, make sure there's enough contrast between you and your background, and that you're not sitting with your back to a window. If possible, invest in a ring light to eliminate shadows on your face.
Also think about the microphone you'll be using to record your presentation. Standard laptop mics are generally the worst; headphone mics can be fine; and external mics are definitely the best.
Step 3: Start recording
Now, let me show you how to record a webinar with one of my favorite tools called Capto.
- Download, install, and open Capto.
- Click Record at the bottom of the window > Choose Screen or Area in the top bar (depending on whether you want to capture the entire screen or just the selected area).
- Check Record Computer Audio.
- Then, check Record Microphone and choose the right input.
- Record Camera if needed.
- Select any other necessary options.
- Click Record.
Note that you can edit your recording later in Capto.
You can also use QuickTime instead of Capto, but note that you can only record either your webcam or your screen, but not both at the same time. Also, QuickTime doesn't offer advanced editing capabilities.
Anyway, I'll show you how to record your screen with QuickTime:
- Open QuickTime Player.
- At the top left of the screen, go to File > New Screen Recording
- Define the area you want to record.
- Click the recording icon.
How to save a webinar? To stop recording, click the small Stop button at the top of the screen.
The screen recorder will then prompt you to save your screen recording file. By default, the screen recording file is saved in the Movies folder.
Shall we go to the next step already?
Step 4: Editing the recorded webinar
Editing recorded webinars can be critical to ensure a polished and professional end product. It allows you to cut out unnecessary or irrelevant content. In addition, during the editing process, you can add even more visual elements to reinforce key points and improve audience comprehension.
Capto is the easiest app to make these edits, especially if you've used the app for the webinar recording as well:
- Find the webinar video in your Capto library and double-click on it.
- Explore the trimming, annotation, and audio tools you can use in the sidebar.
- Click on a tool you need to use and follow the intuitive directions. For trimming, for example, just define the start time, or drag and drop the marker on the timeline. The changes will be saved automatically.
Now that you know how to record and edit your webinar, let me get back to handy apps.
Top tools for recording webinars
Of course, there are a lot of cool options today, but I want to talk only about the ones that have taken root in my arsenal. Maybe you will use them too. So here's a little info on each of the tools.
Zoom
I bet you've used Zoom, or at least heard of it. It offers robust recording capabilities, perfect for capturing online meetings, presentations, or webinars. While you can't pre-record anything with Zoom (everything is recorded live), and it doesn't have much editing capabilities, I still like it. Check out How to record a Zoom meeting from anywhere.
Note that a free Zoom version has specific restrictions on recording, such as limits for time and file storage.
Backtrack
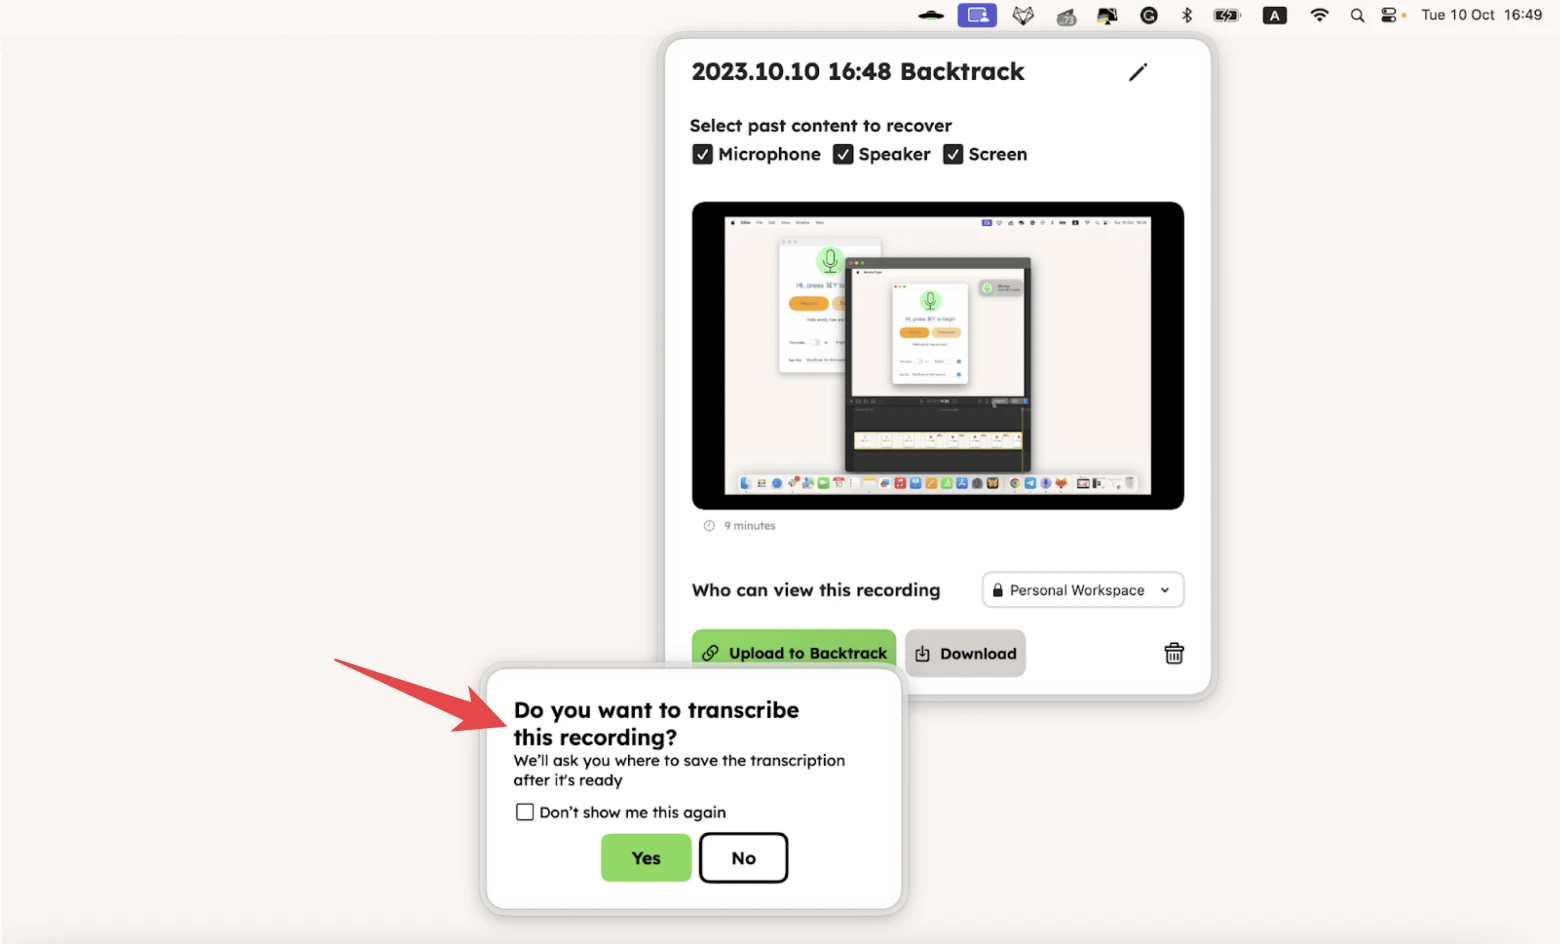
How many times did you miss pressing the record button during a crucial moment in Zoom or Google Hangouts? Backtrack has you covered by recording during the day, so you can check it whenever you need.

QuickTime Player
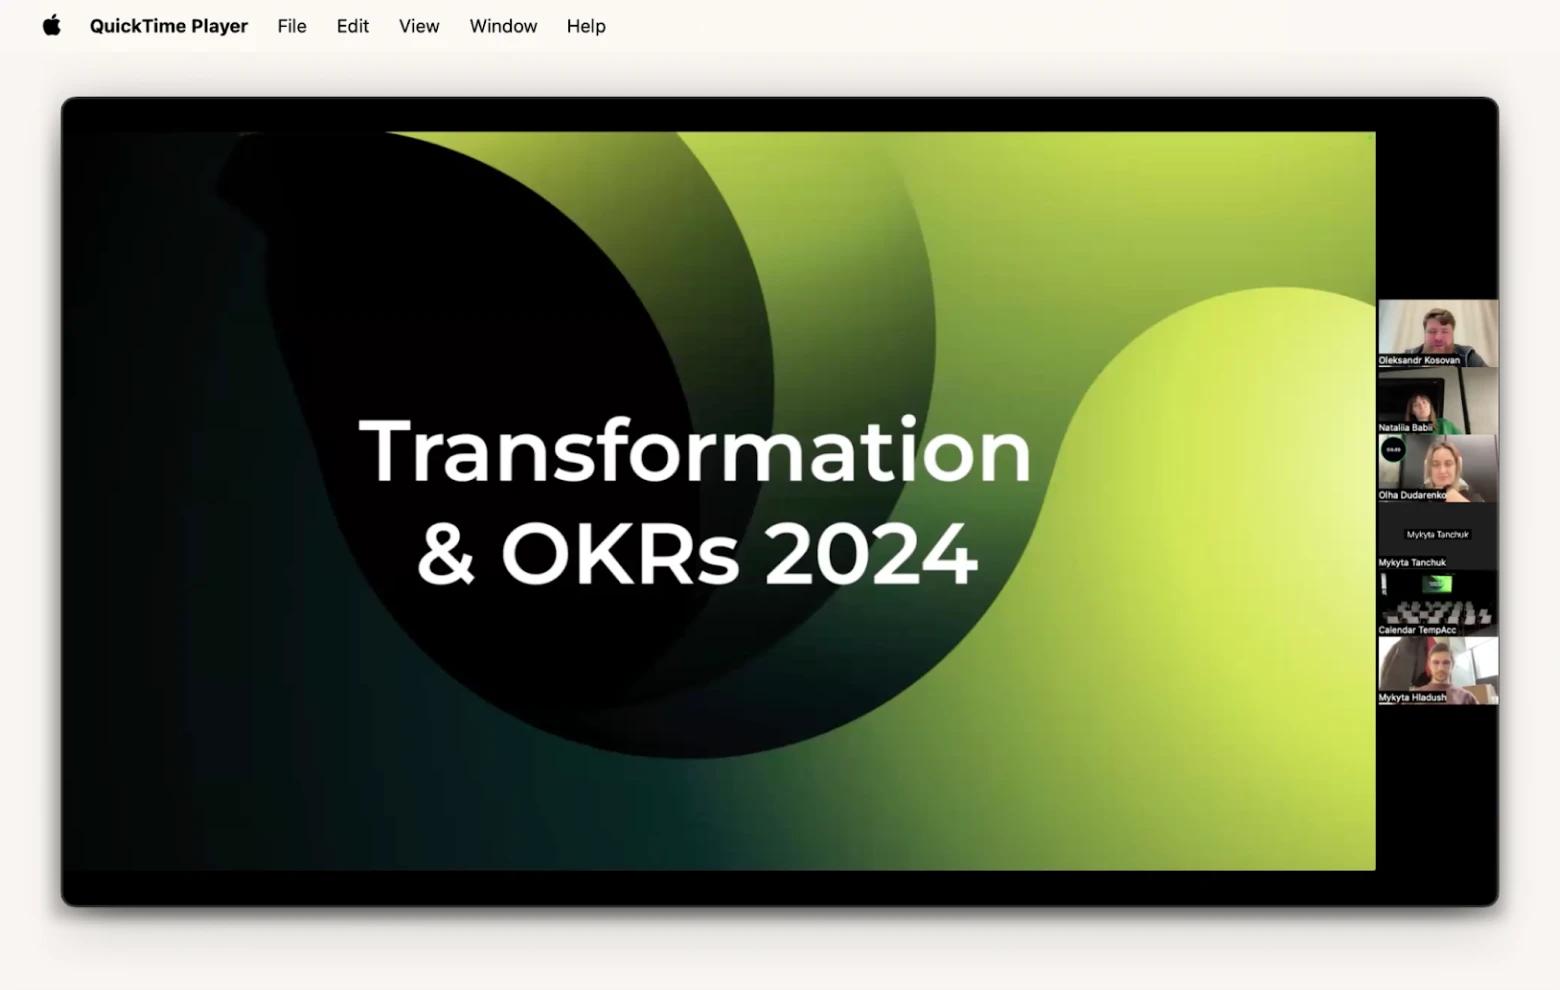
QuickTime Player is a tool that comes pre-installed on Mac computers. It's fine for basic screen recordings and offers simple editing features for trimming and cropping videos. If you need something really basic, it's your option.

Capto
This one is my favorite. Capto is a comprehensive screen recording and editing tool designed specifically for Mac users. With features like webcam integration, annotations, and advanced editing capabilities, it's a must for content creators and educators.
CleanShot X
Another powerful screen recording app for Mac is CleanShot X. It offers customizable capture options, annotation tools, and the ability to record full-screen or selected areas with ease.
Google Hangouts
Similarly to Zoom, Google Hangouts offers built-in recording features for video calls and meetings. It's a convenient option for capturing live webinars directly from your web browser.
Just a little tip here: when conducting a live webinar, it's crucial to obtain permission from your audience to record a webinar. This not only respects their privacy but also ensures compliance with legal and ethical standards regarding recording consent.
And just a few extra handy apps I love …
Teleprompter App
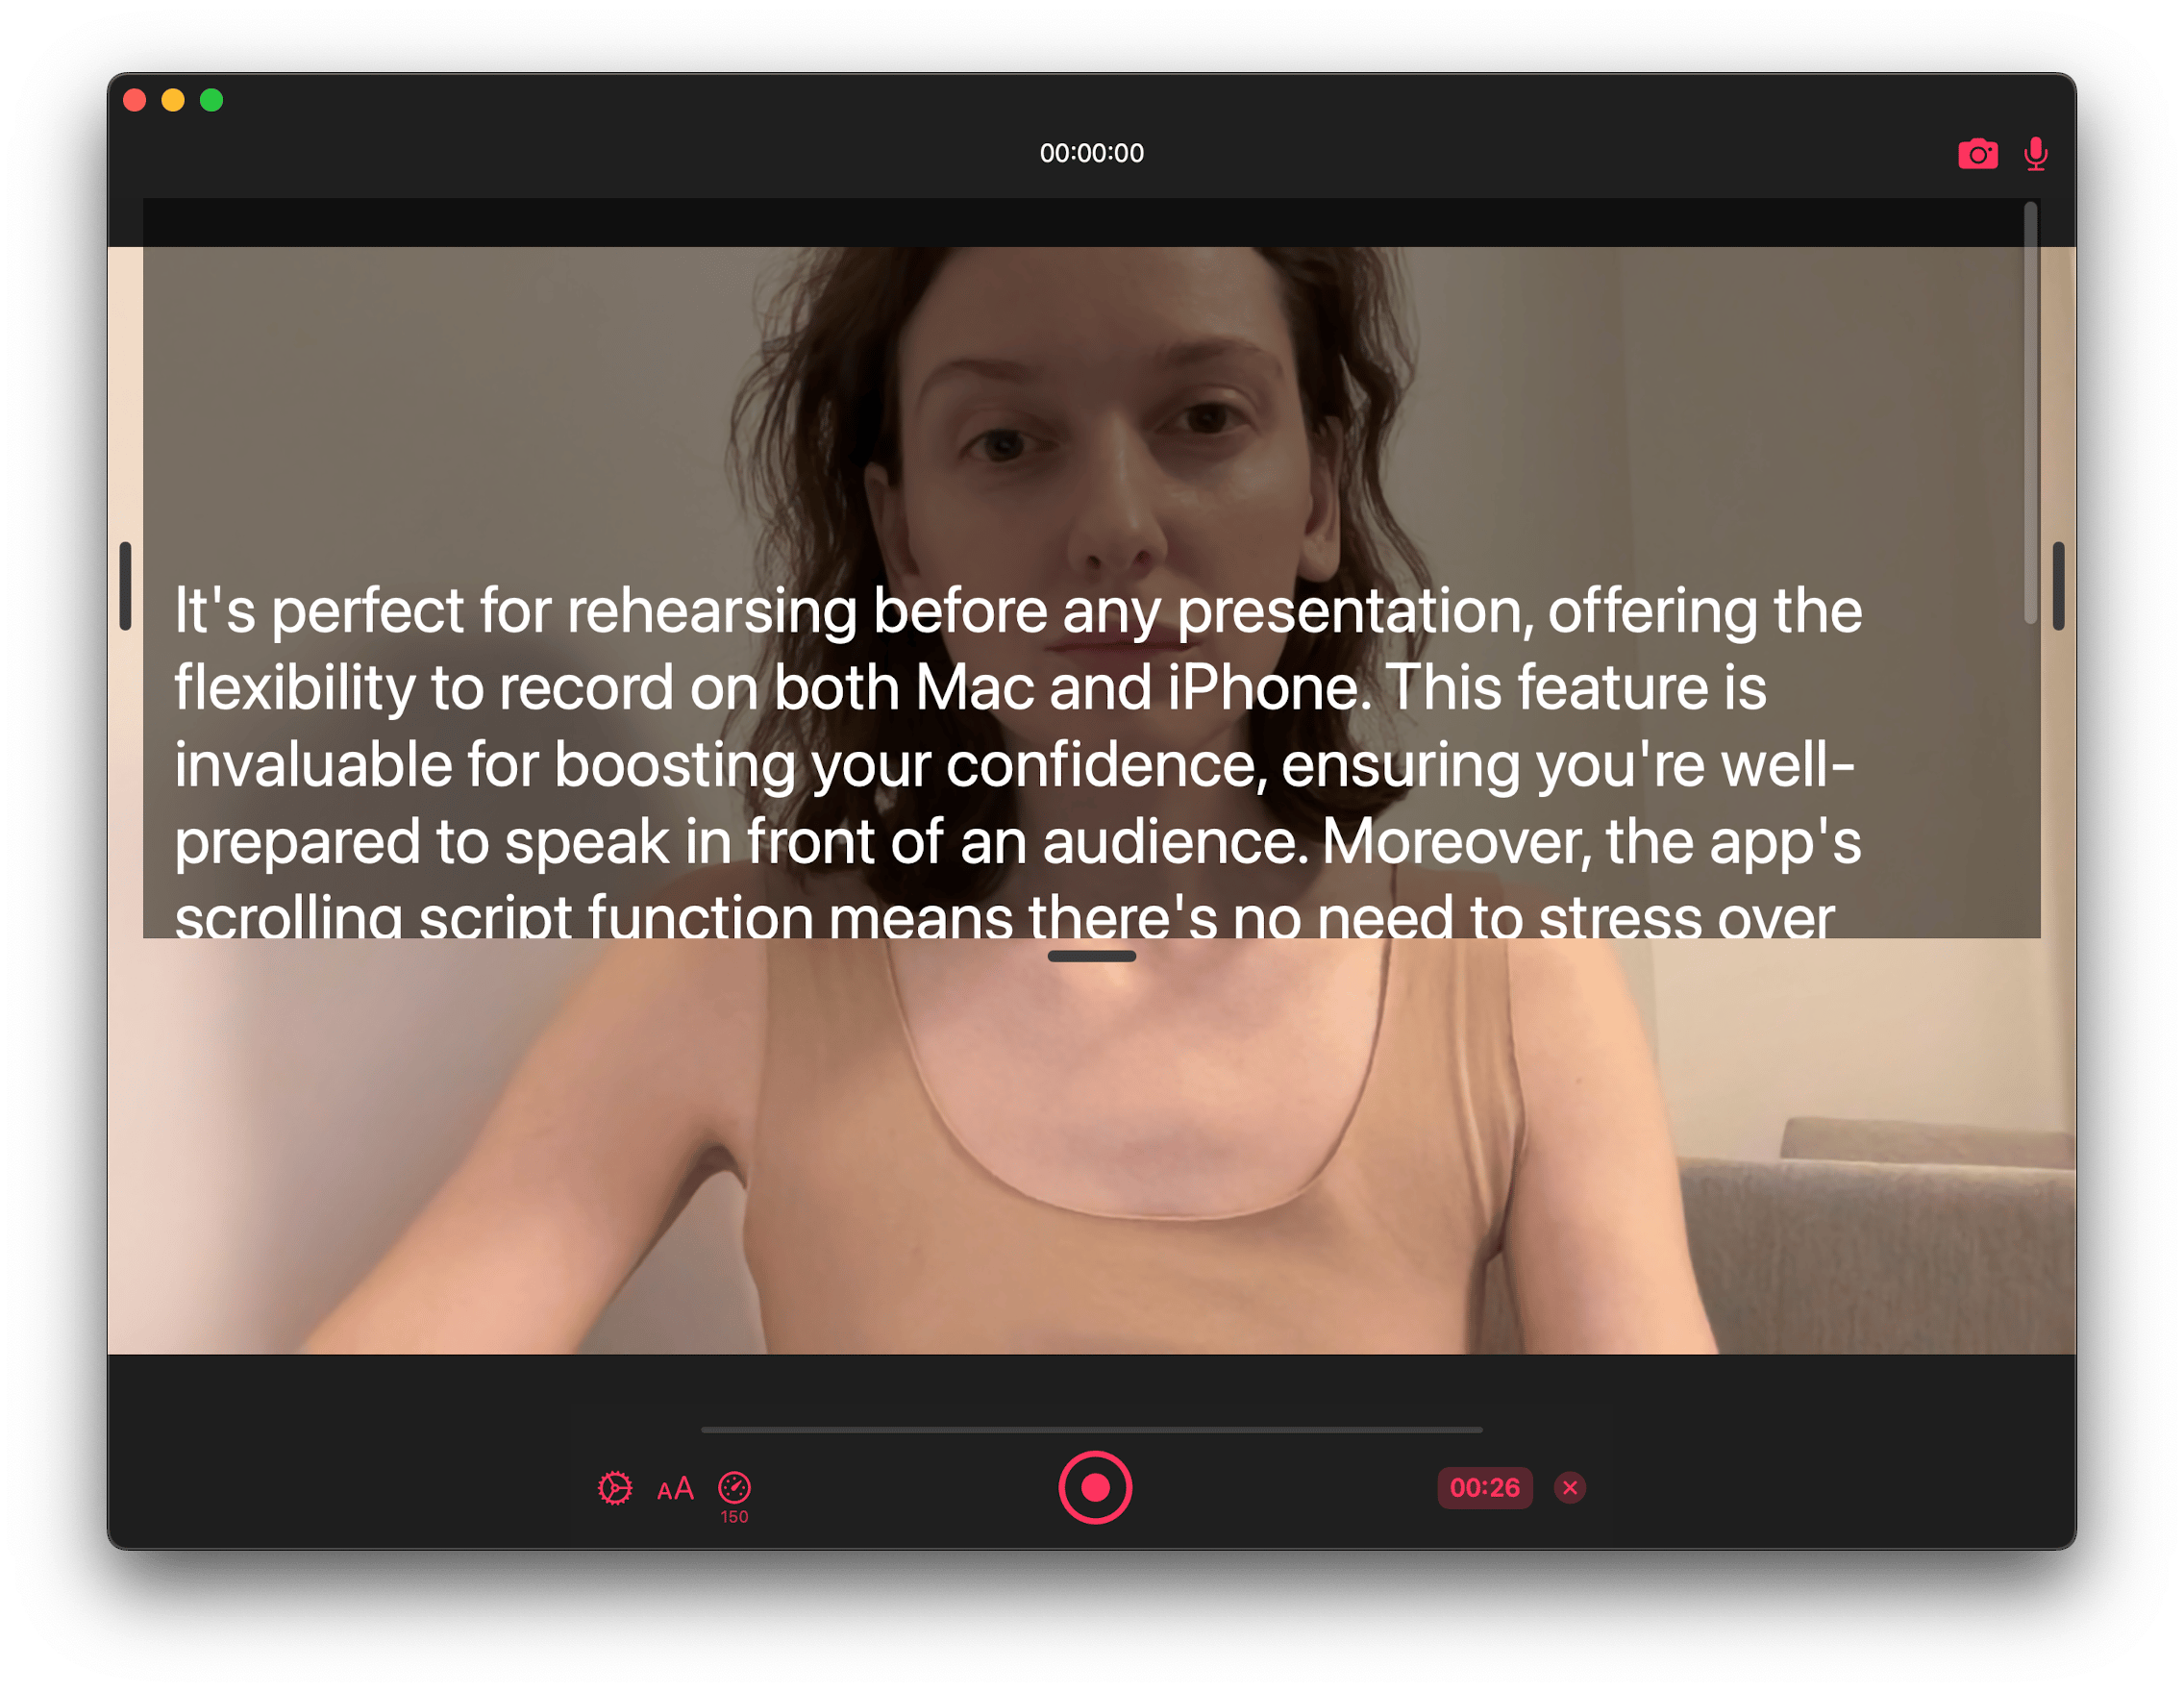
Teleprompter App is perfect for recording professional-looking videos with ease. It displays your script or notes in a scrolling format, allowing you to maintain eye contact with the camera while delivering your message flawlessly.

Hustl
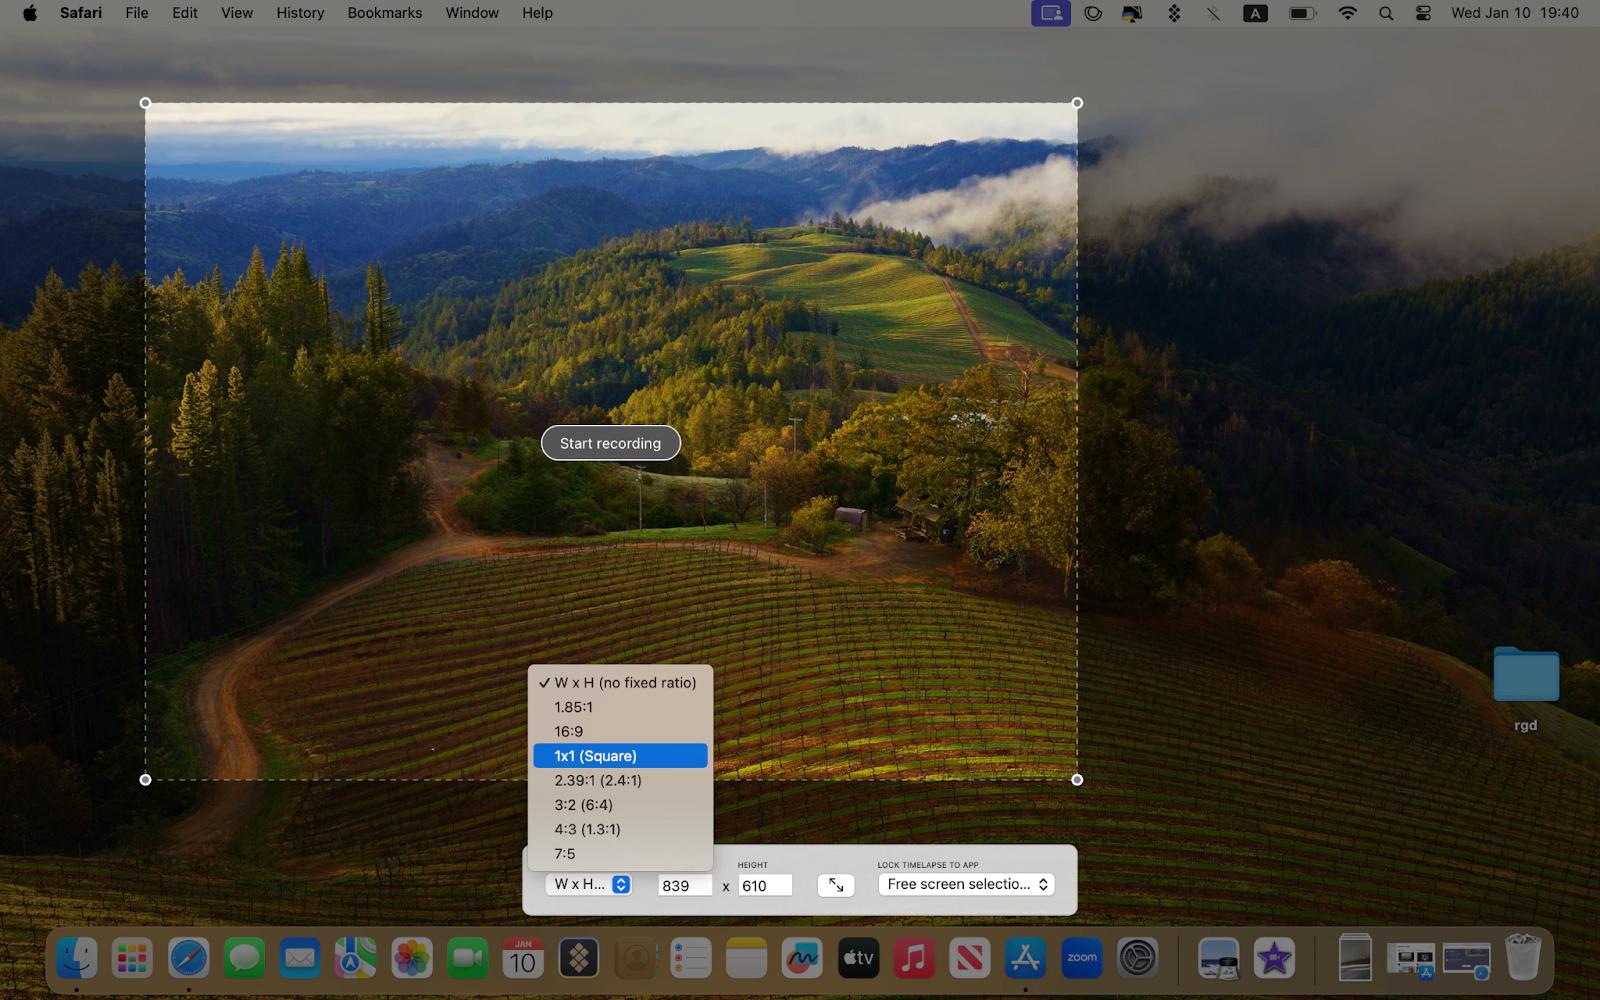
This is not an app for recording the whole webinar but still very handy. So I just can't miss it. I use Hustl for creating time-lapse videos of my creative process. For example, whether you're designing, coding, or illustrating, it captures every moment and allows you to adjust recording speed and settings to suit your needs.

Quick recap
When preparing to record a webinar, make sure you have a quiet and well-lit room, preferably with a neutral background to minimize distractions. Invest in a high-quality microphone to ensure clear audio, such as a USB condenser microphone or a headset with a built-in microphone.
If you want to capture valuable content on your Mac, you'll need the right tools. From basic screen capture to advanced editing features, these apps have you covered.
Tools for recording webinars
| Let’s compare! | Screen recording | Editing features | Annotations | Webcam integration | Why choose? | |
| Capto | Powerful | Robust | ✓ | ✓ | Annotations, webcam integration | |
| CleanShot X | Powerful | Customizable | ✓ | ✕ | Customizable capture options | |
| Zoom | Robust | Limited | ✕ | ✓ | Widely used for webinars and meetings | |
| Google Hangouts | ✓ | ✕ | ✕ | ✓ | Built-in recording for video calls and meetings | |
| QuickTime Player | Basic | Simple | ✕ | ✕ | Basic screen recordings | |
Additional handy tools
- Backtrack: Continuous recording throughout the day
- Teleprompter App: Displays scripts/notes in scrolling format
- Hustl: Creates time-lapse videos
- CleanMyMac: Frees up space on Mac
- Speeko: Practices pronunciation and speech clarity
- HoudahSpot: Powerful search tool for managing project files
Note that Capto, CleanShot X, Backtrack, Teleprompter App, Hustl, CleanMyMac, Speeko, and HoudahShot are all available to you for free for seven days through the trial of Setapp, a platform with more than 240 Mac, iOS, and web apps that help you to bring any task to completion. Try every Setapp app at no cost today and make your to-dos at work much easier.
FAQ
Can I record a webinar I am attending?
Technically, yes, you can easily do so with the help of Setapp apps like Capto, the native macOS QuickTime Player, or some webinar recording software like GoToWebinar. Legally, however, it's important to make sure that organizers or hosts of the webinar permit recording.
Do you need permission to record a webinar?
It's better to seek permission before starting recording. Although some webinars might inform you that recording is allowed, others may have restrictions due to privacy policies or copyright concerns.
Can a webinar be pre-recorded?
Yes, you can record a webinar in advance, before the scheduled live session. You can do that using apps like Capto, CleanShot X, or even the macOS pre-installed QuickTime.
How to retrieve a meeting I forgot to record?
You might contact organizers or hosts and ask if the platform they use has a feature to record a webinar automatically. Alternatively, if you don't want to risk or spend tons of time on communication, use Backtrack. This app records throughout the day, so you can easily retrieve it even if you missed the webinar or forgot to capture it.


