Tired of hunting through System Settings just to rotate your screen?
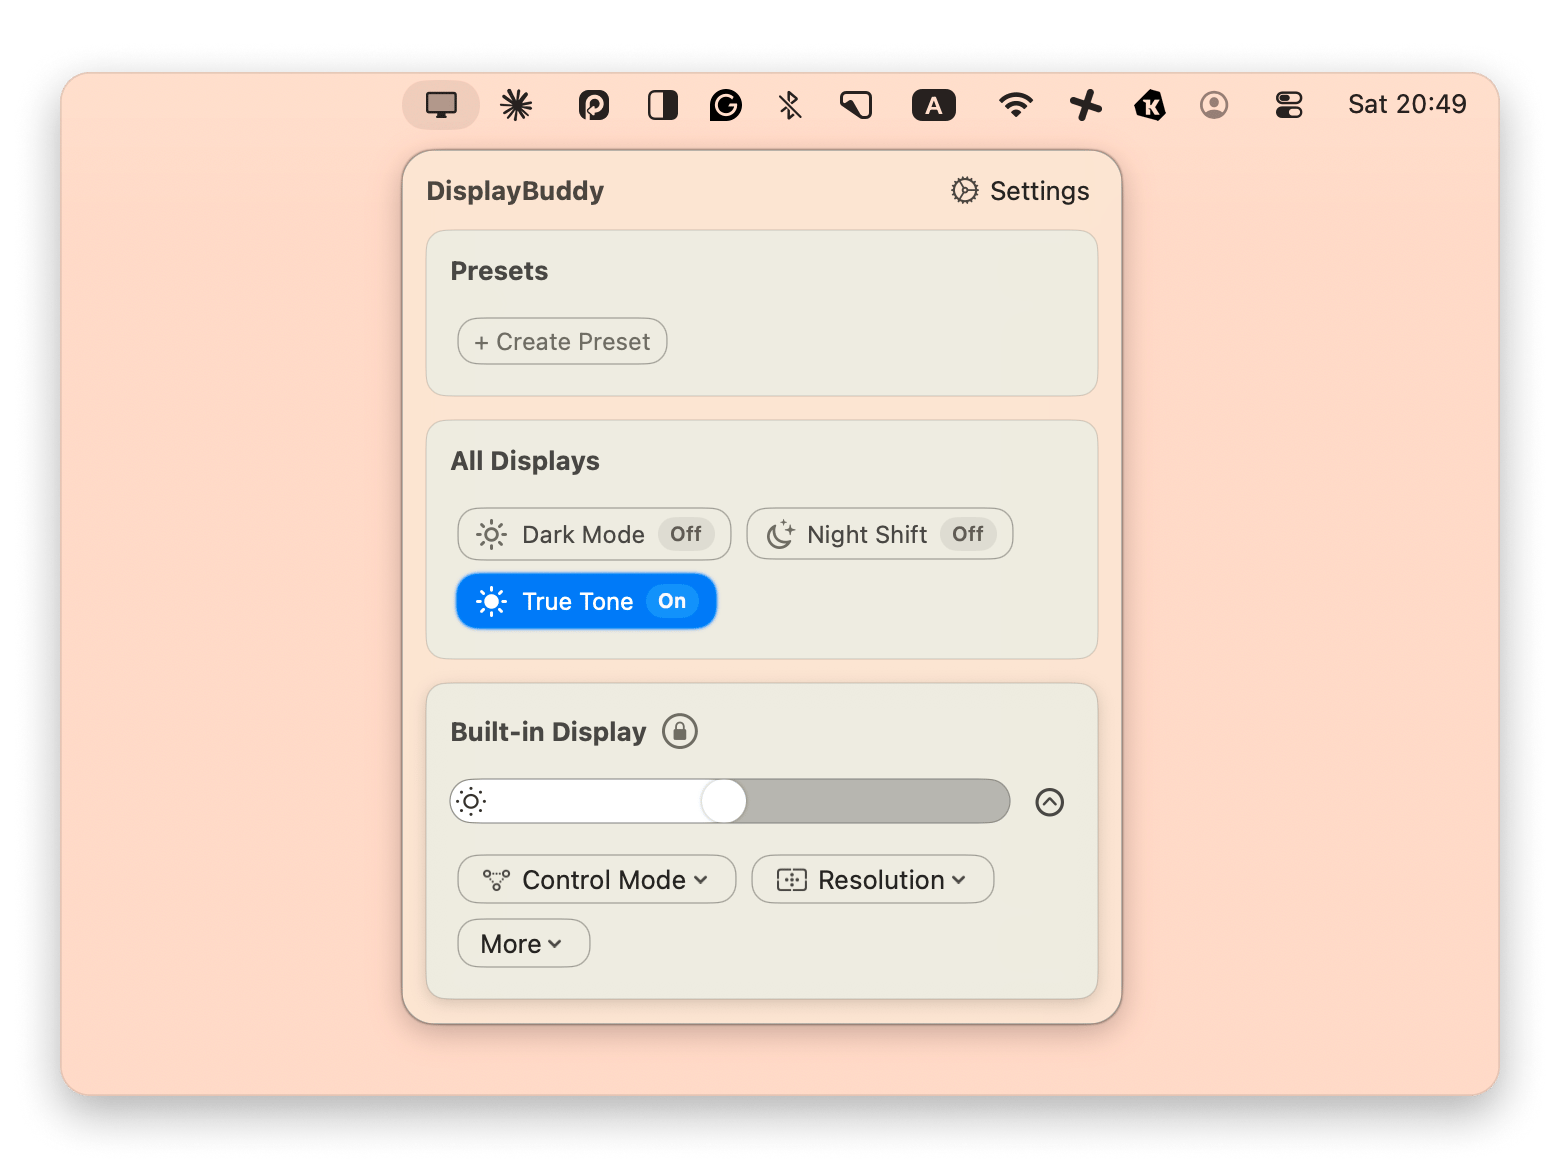
DisplayBuddy puts screen rotation and all your display controls in the menu bar — adjust orientation, brightness, and resolution for any monitor in seconds. Available on Setapp.
Go to System Settings > Displays > Rotation. On macOS Tahoe and newer, select your external monitor, click Rotation, and choose 90°, 180°, or 270°. Press Confirm when the screen refreshes.
MacBook built-in displays cannot be rotated. Screen rotation only works with compatible external monitors. You'll also need to physically rotate your monitor to match the new software orientation.
Use the Option-Command shortcut on older macOS. On Monterey and earlier, hold Option + Command while opening System Preferences > Displays to reveal the hidden Rotation menu.
Expect mouse behavior to change. After rotating, your cursor direction shifts to match the new orientation — moving the mouse "up" may now move the cursor left. Give yourself time to adjust.
Manage display settings faster with DisplayBuddy. Change rotation, brightness, and other display settings from the menu bar in one click — available with a Setapp membership.
Quick answer: To rotate your Mac screen, go to System Settings > Displays > Rotation and choose 90°, 180°, or 270°. This works with external monitors on macOS Tahoe and newer.
When my workspace is tight, Mac screen rotation to a vertical position is my go-to solution. Why? Because this simple adjustment maximizes desk space, letting me comfortably use dual monitors, and proves especially useful for tasks that benefit from portrait orientation, like drafting long documents or managing extensive spreadsheets.
Curious about how to rotate the screen on your Mac, too? In this article, I’ll guide you through the process and show you how you can transform your workspace.
How to rotate screen
Best for
Key steps
System Settings (macOS Tahoe)
Built-in solution for external displays
Apple menu > System Settings > Displays > Rotation
Before I explain how to flip a Mac screen, you need to know some general information about screen rotation. Being aware of these points will help you understand any limitations you might face because of your hardware setup. It will also prepare you for any troubleshooting steps after changing your settings.
Important points to note are:
Not all displays can be rotated.
After changing the orientation, you will need to physically rotate your screen to be usable (this may require a new monitor stand).
Mouse or trackpad behavior changes with a rotated screen.
The built-in display of a MacBook can not be rotated.
Don't forget to keep these points in mind, and make sure to check that your software and drivers are up to date to avoid any compatibility issues.
Rotate your screen in macOS Tahoe
If you want to spruce up your workspace or tweak your screen for different tasks, macOS Tahoe lets you easily rotate your display.
Here is how to rotate the default display 90 degrees or more on macOS Tahoe:
Open System Settings.
Click Displays (you may need to manually select your external display).
Click Rotation and choose an option.
After you have chosen an option, your screen will go black for a moment. When it returns, it will be in the new orientation, with a prompt to revert or apply the new setting. When you press Confirm, the screen will refresh in the new orientation.
Which rotation angle should I use?
As a writer, math doesn’t come all that easily to me! So, when I first discovered how to flip a screen on a Mac, I used trial and error to decide which rotation to choose.
If you’re unsure of how much to rotate your Mac screen, you can use the cheat sheet below to choose the right degree of rotation for you:
If you choose this rotation setting
You will get this outcome
Standard
The normal default horizontal orientation.
90°
The display on the screen is turned one-quarter to the left (you will need to physically rotate your monitor to match the new vertical orientation).
180°
Your screen display will be horizontal like in Standard, but flipped upside down.
270°
The screen display will be vertical, but opposite in physical orientation to 90° (turned one-quarter to the right).
Use DisplayBuddy for quick screen rotation
It's pretty easy to flip the screen on a Mac using Settings. But I also tinker with a bunch of other display settings, and it can be hard to find the right menu for each one. Since these settings change a lot depending on what I'm doing, I've started using this all-in-one app called DisplayBuddy to handle all my display tweaks.
With DisplayBuddy, you can change your screen orientation and other display settings via a simple app-based interface. Just click the DisplayBuddy icon in the menu bar and select the adjustments you want to make.
Rotate your screen on macOS Monterey and earlier
If you’re using an older version of macOS (such as Monterey or earlier), the Rotation option isn’t set to default. This means it won’t automatically appear in Settings, even when you connect a compatible external monitor.
You can still get Rotation to appear on an older macOS. However, there are reports that using this feature can cause issues with your Mac’s display that may not be reversible.
If you are running Monterey or an earlier macOS and still want to know how to rotate a MacBook screen, here are the instructions:
Press and hold Alt + Command (continue holding until step 3).
Open System Preferences.
Click Displays.
Rotation should now appear. If it doesn’t work, close System Preferences and restart the process.
Return your Mac screen to standard orientation
If you only need to rotate your Mac screen temporarily, you will want to know how to return it to normal. Fortunately, this is very simple.
To flip your screen back to the Standard layout, follow these steps:
Open System Settings > Displays.
In Rotation, choose Standard.
I usually only use a vertical screen when I have a small workstation or for a specific project. Once I’m done, I rotate my screen back to normal and work with my screens in a horizontal orientation.
Hardware or software limitations might prevent you from rotating your Mac screen.
These are the main reasons Mac screen rotation may not be available:
No external monitor is connected
Your Mac has an older macOS version
The connected monitor doesn't support screen rotation
If none of these issues apply and rotation still isn't working, I recommend using DisplayBuddy as a workaround. The app often enables rotation features that aren't accessible through System Settings.
Why rotate your Mac screen?
There are many reasons you might want to learn how to rotate the screen on a Mac. For example, you may need to flip your screen because of the physical setup of your workstation. Or, you might find that a different screen orientation enhances your focus.
In most cases, you will be changing a screen from the standard horizontal setup (landscape orientation) to a vertical layout (portrait orientation).
Here’s a list of common reasons to know how to rotate the screen on your Mac:
Workstation ergonomics improvement
Coding and document creation streamlining
Information display creation (e.g., waiting room or shop display)
Intuitive design setup building
Moreover, you might use it for a full-screen preview of your iPhone or iPad screen, or you can use your Mac’s screen as a poster.
Any time you change your screen orientation, the cursor controlled by your mouse or trackpad will change behavior. This is because you haven’t simply rotated the image on your Mac display. You have changed the physical layout of the monitor. This takes a bit of getting used to. But in my experience, the productivity benefits from knowing how to flip a Mac screen are well worth the learning curve.
Work more flexibly with Mac screen rotation
Understanding how to rotate your Mac screen means you can always work with a second monitor, even with limited workspace. The ability to flip your screen to vertical orientation opens up new possibilities for productivity.
If you have a compatible monitor, you can utilize Mac screen rotation through System Settings. However, app-based solutions can be more efficient and easier to use.
DisplayBuddy provides a simple interface right from the menu bar for changing settings across monitors. For design work, Mockuuups Studio makes it easy to create mockups for iPhones and other devices without needing to rotate your screen.
Your monitor is rotated. Now get the tools that make multi-display setups effortless. DisplayBuddy, Mockuuups Studio, and 270+ other Mac and iOS apps — all in one Setapp membership. Cancel before Day 7 — $0 charged. Start Your 7-Day Trial.
FAQ
How to rotate the screen on your Mac
You can flip any compatible external display in just a few clicks.
On macOS Tahoe or newer:
Click the Apple menu > System Settings.
Select Displays and choose your monitor if you use more than one.
Open the Rotation menu and pick 90°, 180°, or 270°. Press Confirm.
On Monterey and earlier: Hold Option-Command while opening System Preferences > Displays. The hidden Rotation menu appears—choose your angle and confirm.
After applying the setting, turn the physical monitor to match and give yourself a moment to adjust to the new mouse direction.
Is there a keyboard shortcut to rotate the screen on a Mac?
No single key flips the display in macOS. The quickest built-in trick is to hold Option-Command while you open System Settings > Displays. That reveals the Rotation menu, but you still pick an angle with the mouse.
If you want a true one-press hotkey, apps like DisplayBuddy let you assign your own shortcut to rotate the screen instantly.
Use multiple displays?
Install DisplayBuddy and manage them from the same app.






 Best solution
 Best solution