Utilities folder on a Mac: Everything you need to know
Macs are full of hidden secrets that you might never come across, even if you’ve owned your laptop for years and years. I’ve been through a few MacBooks myself, and I feel like I’ve barely scratched the surface of one of the most integral folders in the system — the Utilities folder.
The Utilities folder contains just about everything you need for system management and maintenance, and I’ll explain how to find it and start using it.
What is the Utilities folder on a Mac?
The Utilities folder is like the Swiss Army knife in your Mac’s back pocket, as you can’t exactly see it, but you can access it quickly whenever you need to. It keeps essential programs and tools that handle everything from Bluetooth exchange to managing your passwords and credit card information to screen sharing in one place.
Here is a list of the most common apps your Utilities folder might have:
What you’ll find in Utilities | What it’s used for |
Activity Monitor | Tracks system performance metrics like memory, CPU usage, and more |
AirPort Utility | Helps you manage your wireless networks |
Audio MIDI Setup | Manages your Mac’s audio and connected MIDI devices |
Bluetooth File Exchange | Sends files using Bluetooth |
ColorSync Utility | Calibratesthe colors on your devices |
Digital Color Meter | Showes the exact color values of anything you move the pointer to |
Disk Utility | Manages the health of your hard drive |
Grapher | Helps create graphs and charts |
Keychain Access | Stores passwords, credit card data, and other information securely |
Migration Assistant | Moves your files and settings from one Mac to another |
The Apple Utilities folder is absolutely jam-packed with useful applications, some of which you probably wished you knew about sooner. I think one of the main things that’s missing is a built-in tool to help tidy up and organize your Mac.
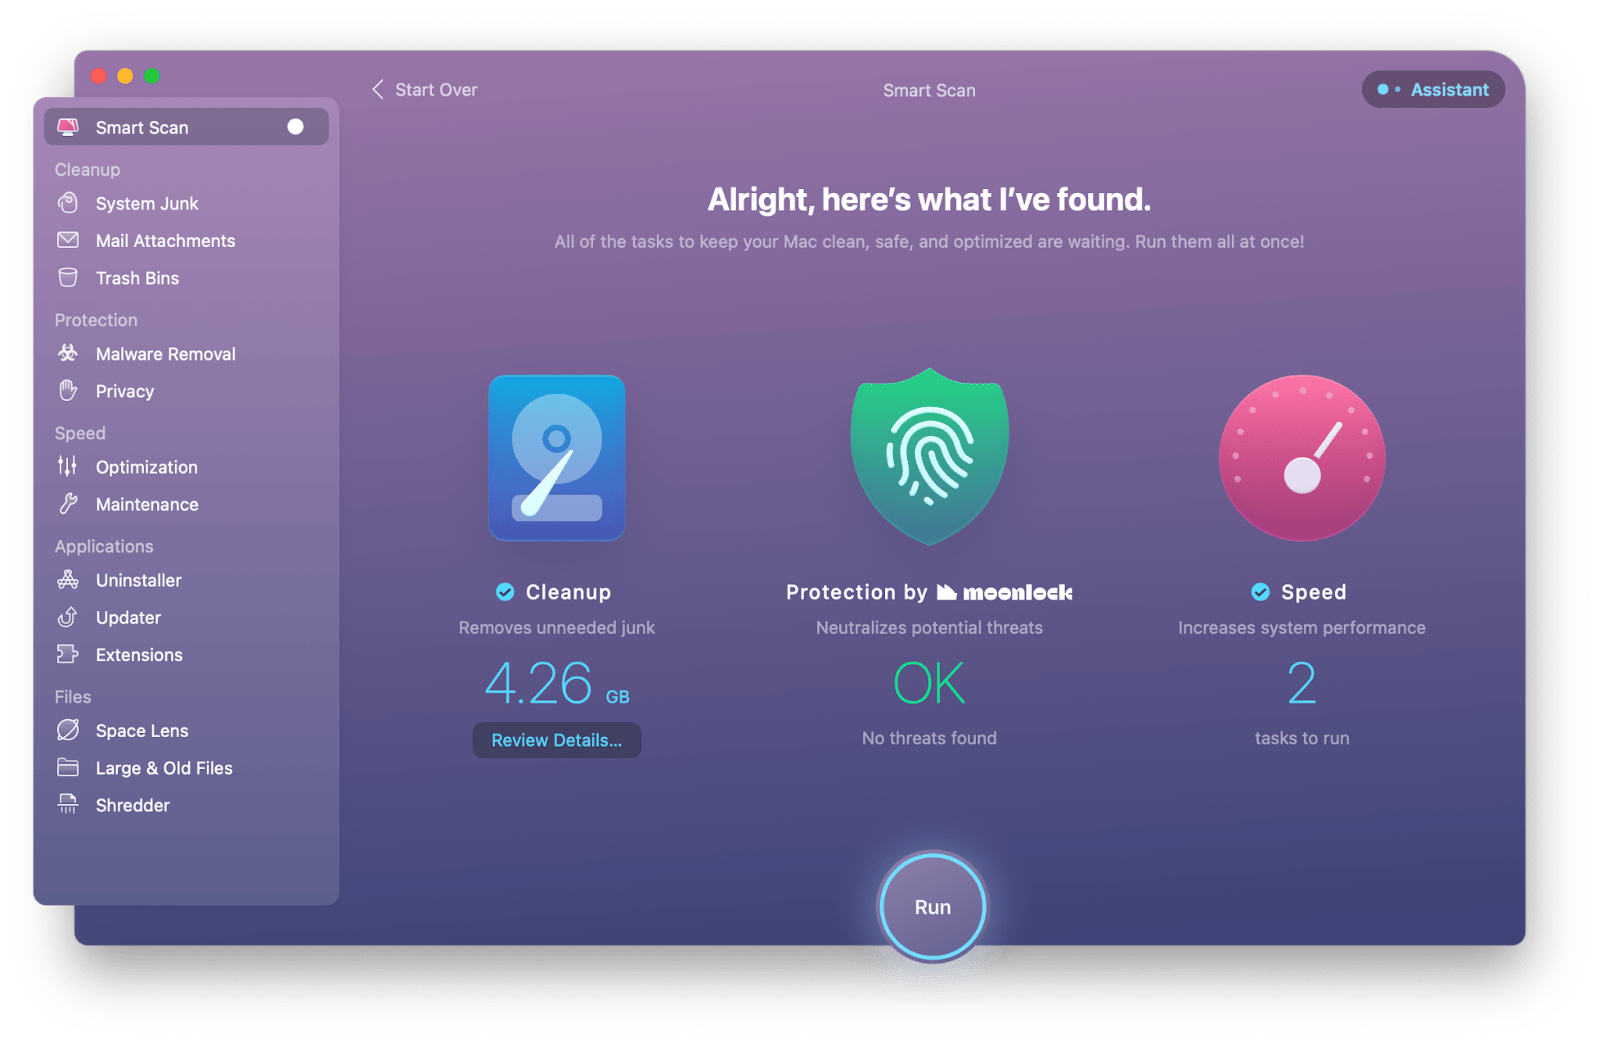
In my quest to find a third-party tool to fill the gap, I found CleanMyMac X, a seamless all-in-one cleanup app that takes no effort to use.
My favorite part of CleanMyMac X is that I don’t always have to get into the nitty-gritty and navigate the app’s menu to perform specific tasks. If I just want a thorough scan to be done, I can simply click Scan, and it’ll search for unneeded files, determine whether there are potential threats, and perform tasks to increase my system performance. Then, if I want to clean up my mail attachments or uninstall specific applications and all their associated files, I can do that, too.
How to get to the Utilities folder on a Mac
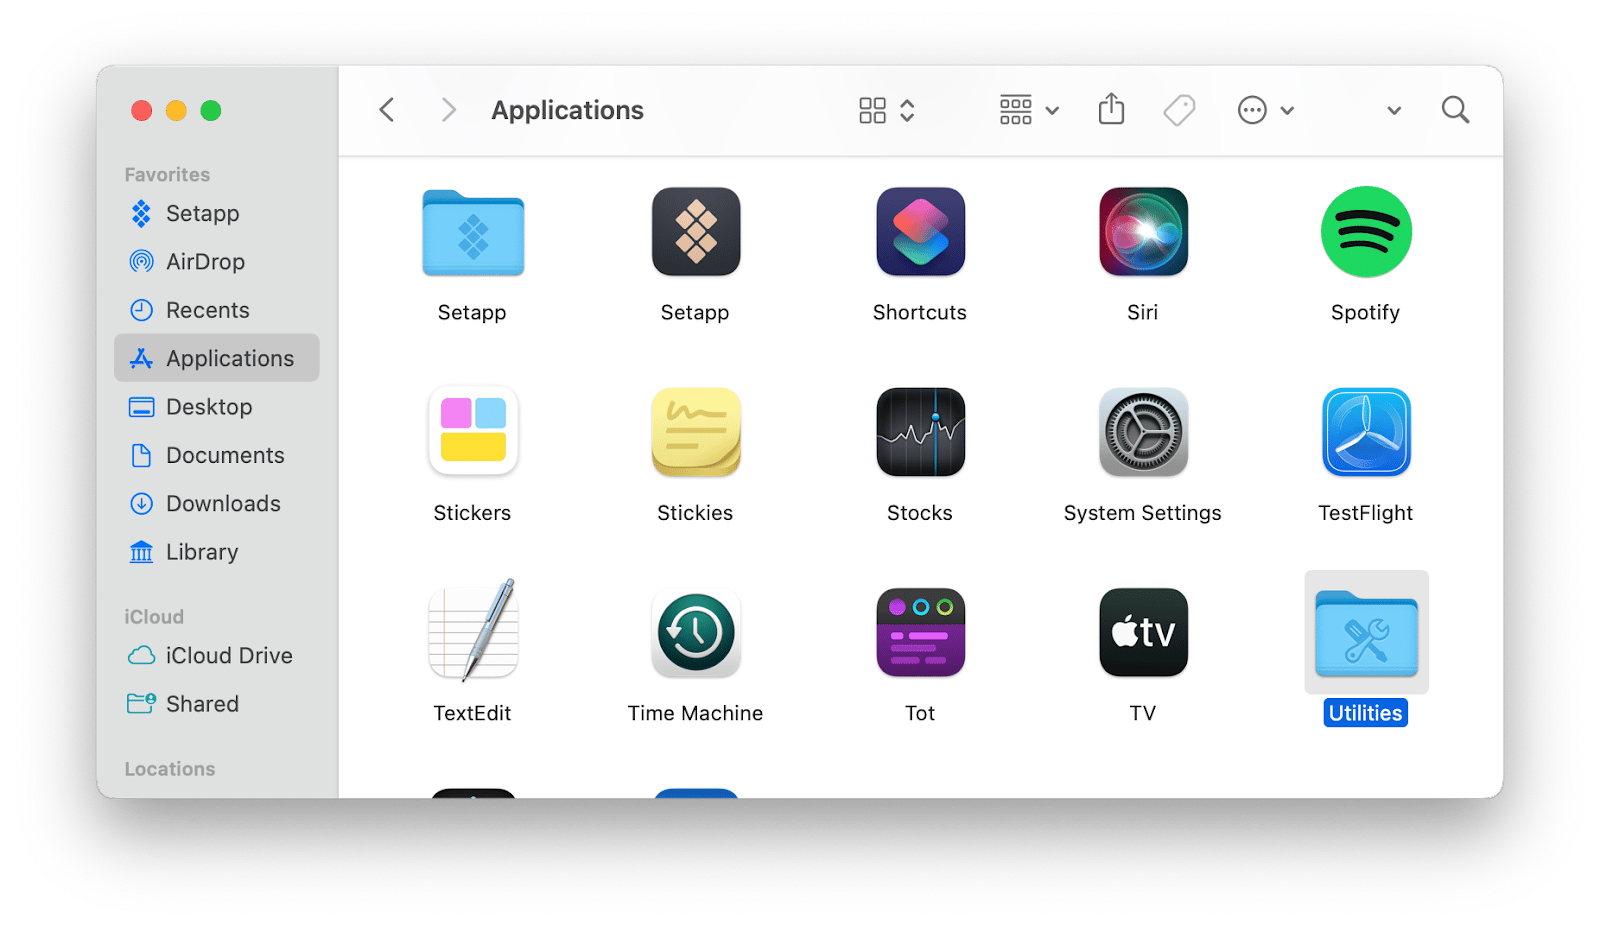
Not sure how to get to Utilities on Mac? It might seem tricky at first, but, in reality, it’s super easy to do.
Here’s a simple guide to locate Utilities:
- Open Finder.
- Click on Applications in the sidebar.
- Click the Utilities folder.
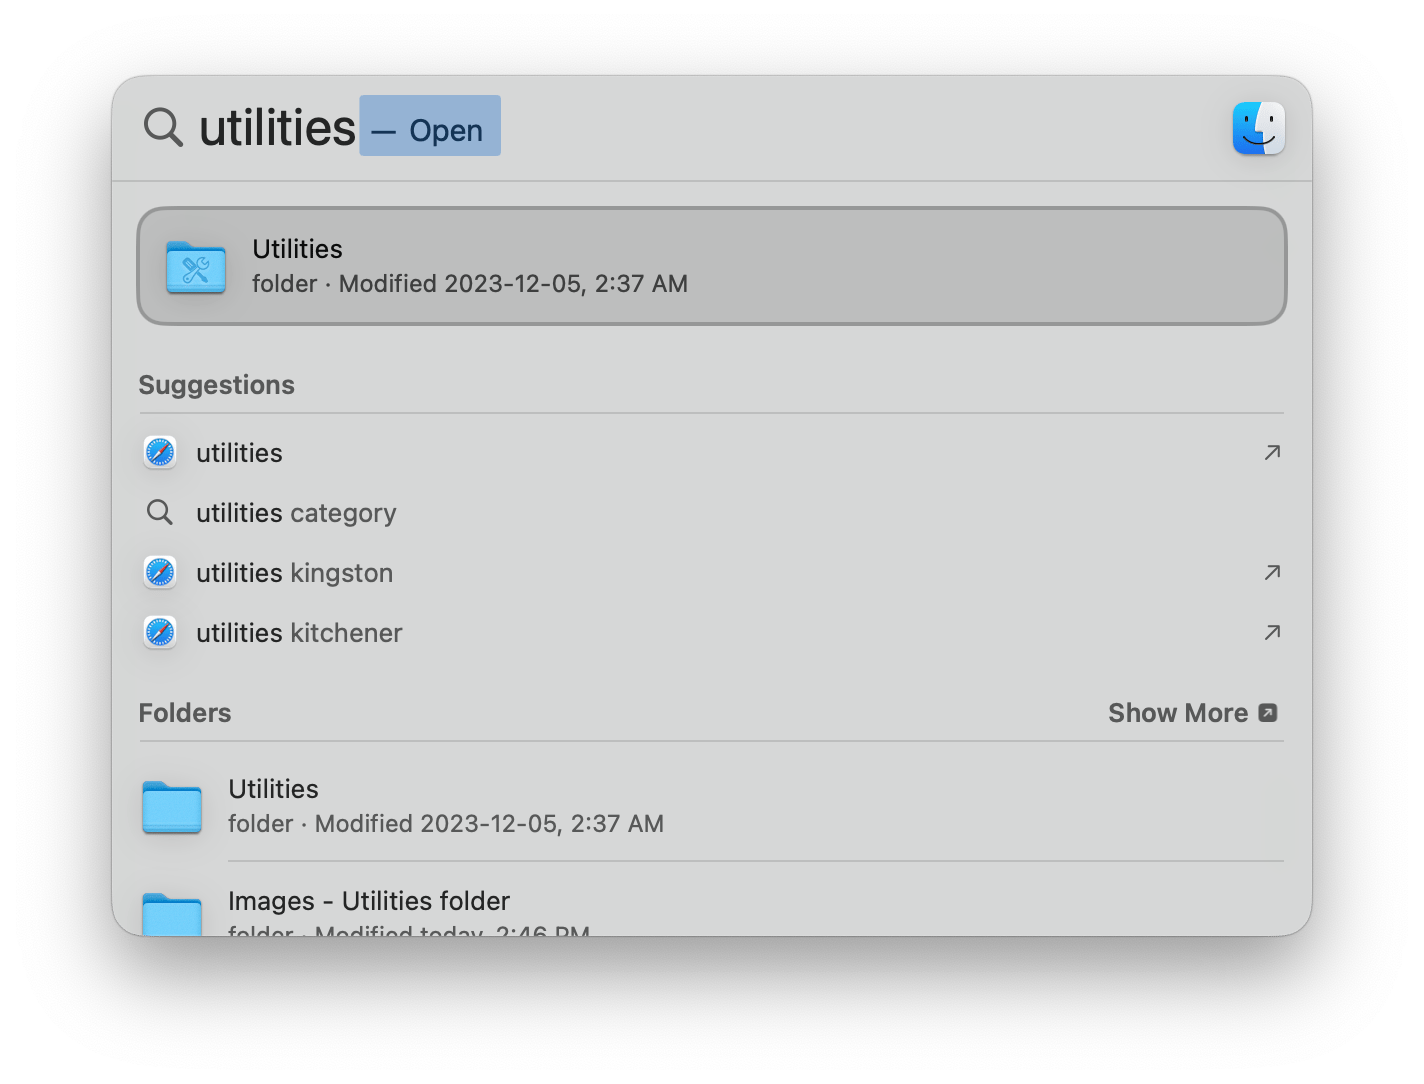
Alternatively, you can use Spotlight Search like I do and type in Utilities for a quicker route. Just press Command + spacebar, and you’re good to go.
As I mentioned earlier, Macs don’t have everything you might need to make your workflow or computer experience more efficient. The Mac takes a nesting doll approach with folders upon folders, which can make things more organized but can also be irritating when you need to locate a file deep within the layers.
To adapt to my non-nesting-doll-style workflow, Default Folder X lets me utilize the menu bar to get instant access to my most used folders and create shortcuts whenever I’m using Finder.
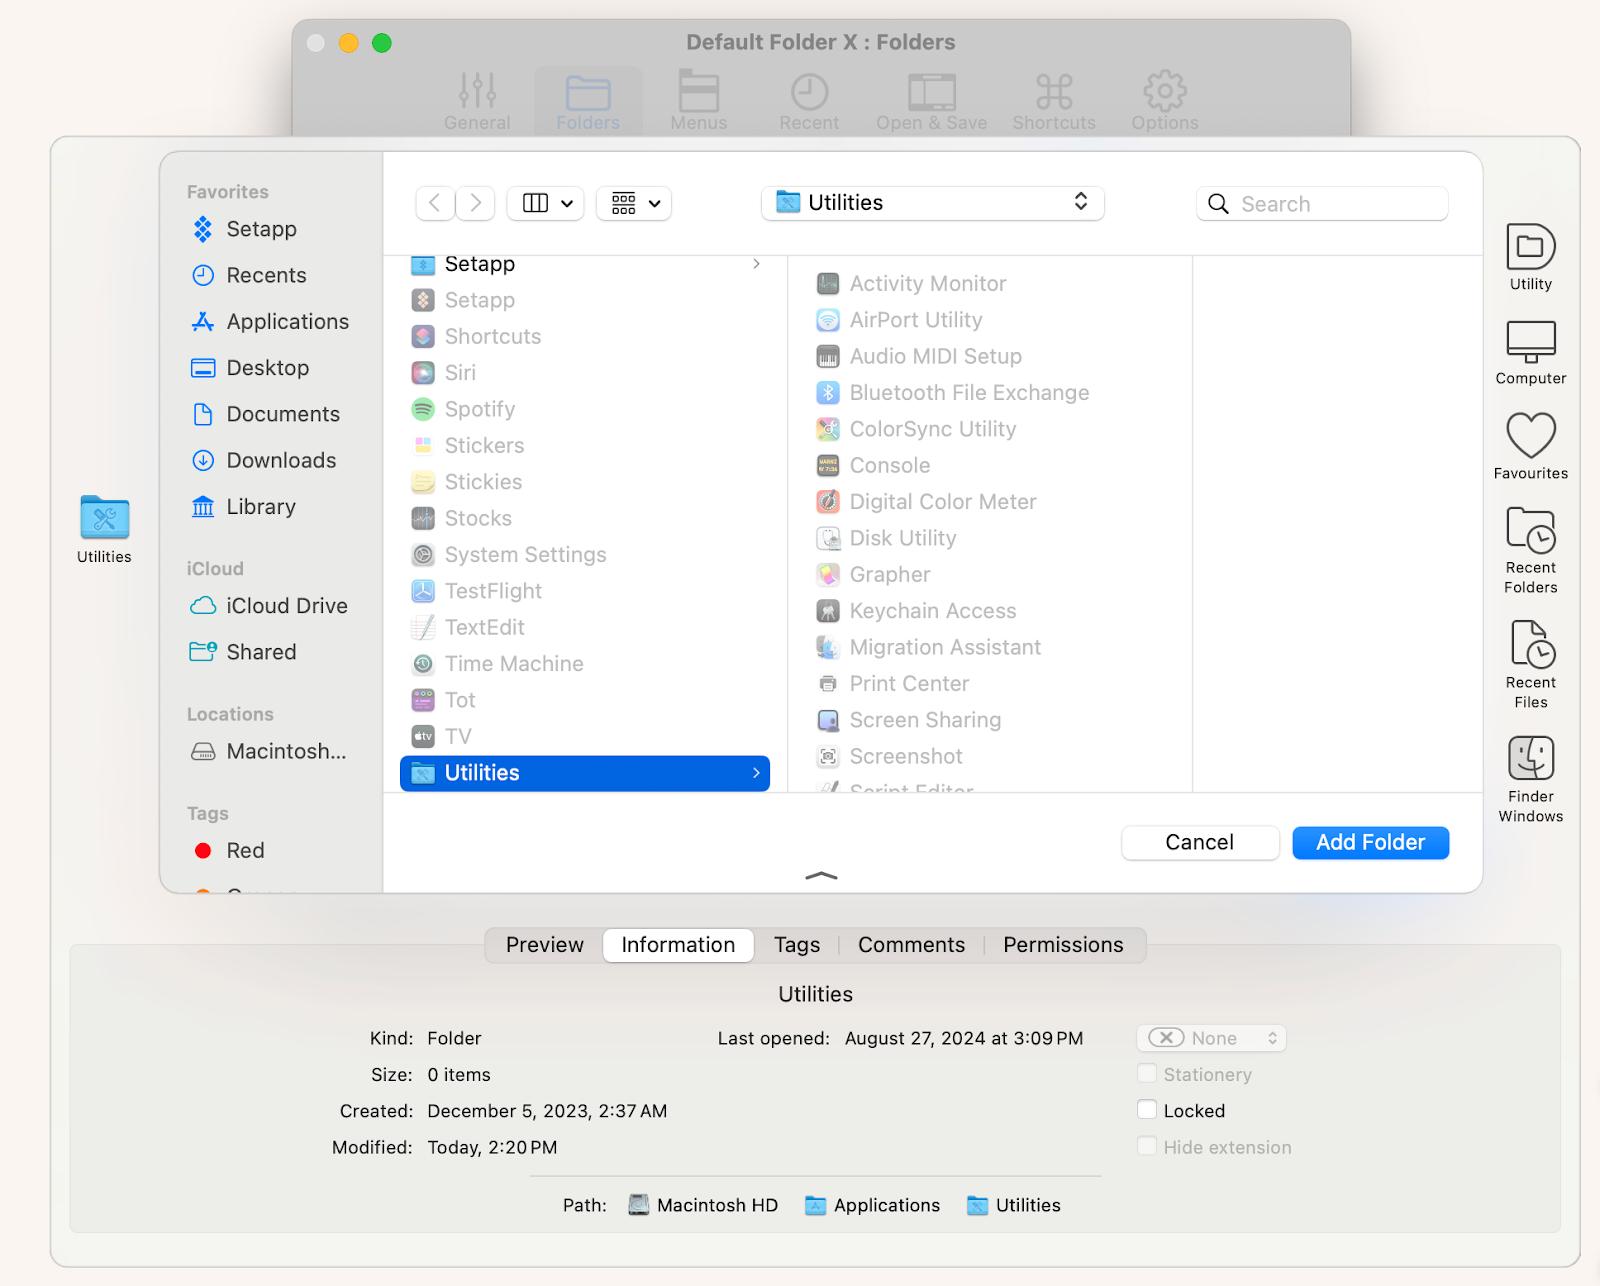
Let’s say I wanted to create a shortcut for the Utilities folder. I’d go into the app settings and add a new Favorite folder by dragging and dropping it to the extended sidebar — and voilá.
Customizing and organizing the Utilities Folder
There are plenty of ways I’ve made an effort to use those gems of apps in my everyday life, many of which are through customization.
Depending on your preferences and what you think would make life easier, you could:
Organize the Utilities folder with subfolders. Why not create new subfolders to group certain apps together for easier navigation? For example, you might group all the diagnostic and system information applications like Activity Monitor and Disk Utility in one folder and the color-related ones in another.
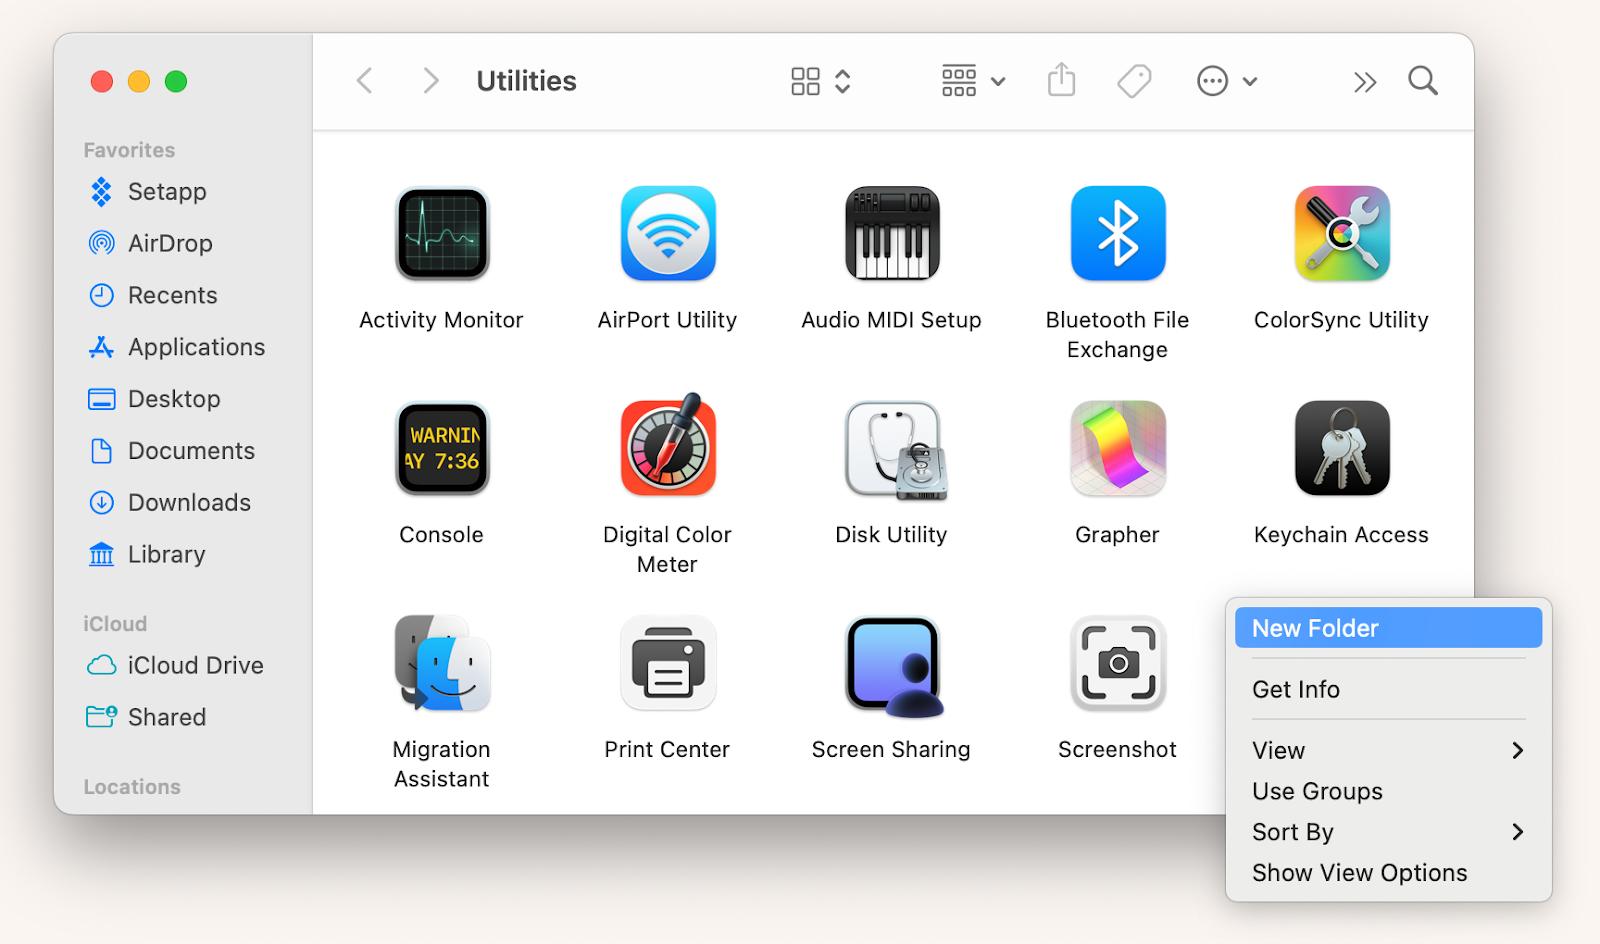
Use the Dock. Drag and drop your most used utilities right into your Dock for even faster access.

Create shortcuts for your desktop. Right-click on an app and select Make Alias. Drag and drop that new shortcut icon onto your desktop for quick desktop access.
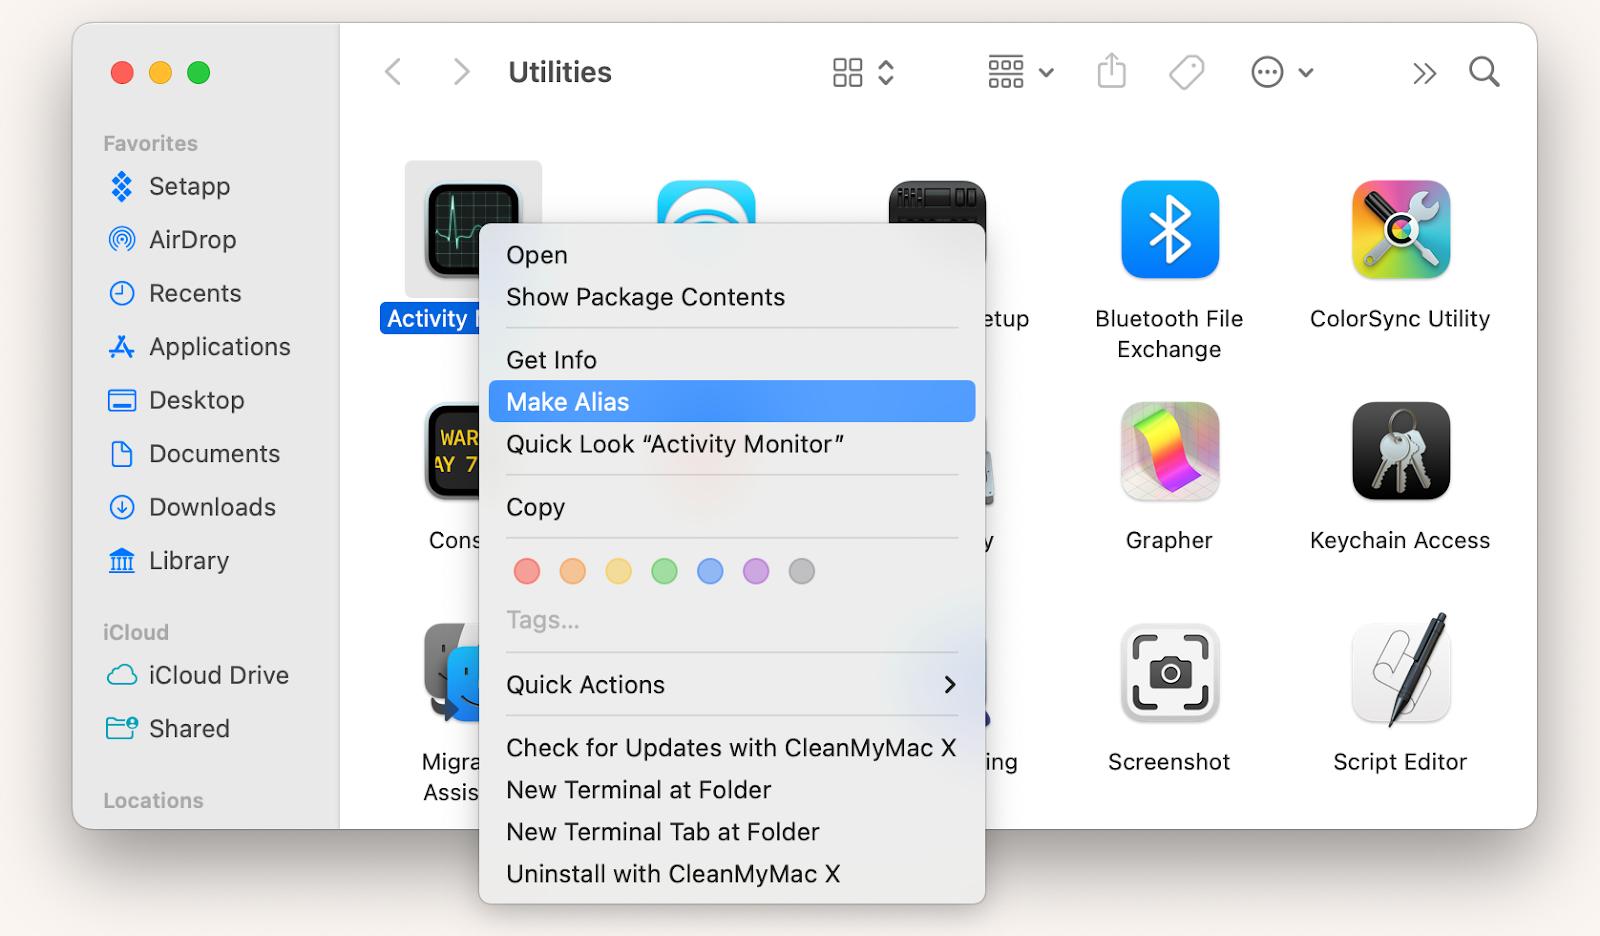
Of course, you can also make use of the colored tags or give Default Folder X a try if these options aren’t advanced enough for your liking.
Where is my Utilities folder? Now you know
As this venture into the Utilities folder might prove, exploring the inner capabilities of your Mac can bring you to a treasure trove of tools that make system management and other tasks much, much easier. Customizing your Utilities folder and adding shortcuts to your desktop, Dock, and using other third-party tools like CleanMyMac X and Default Folder X can bolster your experience, making it easier to access specific tools when you need them.
Both apps mentioned, as well as 250+ native iOS and macOS apps, are available through a Setapp subscription. The platform offers a 7-day free trial, so you can get full access today!
FAQ
I have no Utilities folder, what to do?
If you can’t locate your Utilities folder, you can try searching for it manually. Use Spotlight Search by pressing Command + spacebar to locate the folder. Alternatively, open Finder > Go > Go to Folder… > type /Applications/Utilities.
If you don’t see it in your Applications Folder and Spotlight search isn’t working, you might have to restart your Mac altogether.
How to add the Utilities folder to the sidebar of Finder window
Go to Finder > Applications > Drag the Utilities folder into your Favorites section on the sidebar. Alternatively, you can also use a third-party app like Default Folder X to make shortcuts and accessibility much easier.
How to get rid of Utilities Folder from desktop without deleting
The Utilities folder icon on a desktop isn’t the official folder — it’s a shortcut, or in Apple’s terms, an alias. Simply press and hold Command + delete or right-click and select Move to Trash.


