Redact an image: full guide on how to blur and hide text in screenshots with ease
Screenshots capture more than you might realize, often including sensitive information that can lead to problems like fraud and theft later on. Not only does redacting or blurring the image protect you, but it is also the professional expectation within a business or legal context.
Knowing how to remove personal information from a screenshot is quite an important skill in the line of privacy and security. In this tutorial, I’ll show you how to blur, black out, and generally redact text from screenshots using tools that are provided but perhaps unknown to users.
What is the best redact tool for images?
Fortunately, it's super easy to quickly redact text in screenshots using both Mac and iPhone. I started this journey of learning how to blur text in screenshots by looking at the best tools on the market, and I’m excited to share what I’ve discovered.
First, the tool you choose depends on your specific needs — whether you’re looking for a quick and simple solution or advanced editing options.
Here’s a comparison of the top tools for redacting text and hiding sensitive information in screenshots:
Let’s compare! | Superpowers | Hidden gem | Compatibility | Best for |
Preview | Blackout sensitive information using shapes | Native to Mac with built-in image and PDF viewing capabilities. | macOS | Simple, basic image censoring |
Blur text, highlight areas, and annotate | Capture entire web pages and documents at once with scrolling capture. | macOS | Blurring sensitive info with pixels | |
Auto-blur sensitive content using AI detection | Automatically identifies and captures active windows for screenshots. | macOS | Automatic hiding of sensitive information with AI | |
Edit, blur, redact, and share screenshots across devices | Direct uploads to cloud storage locations with restricted URLs to limit access. | macOS, iOS | Instantly sharing edited and redacted screenshots across devices via URL |
Learn more about the best screenshot apps for your Mac.
How to blur text in a screenshot on Mac
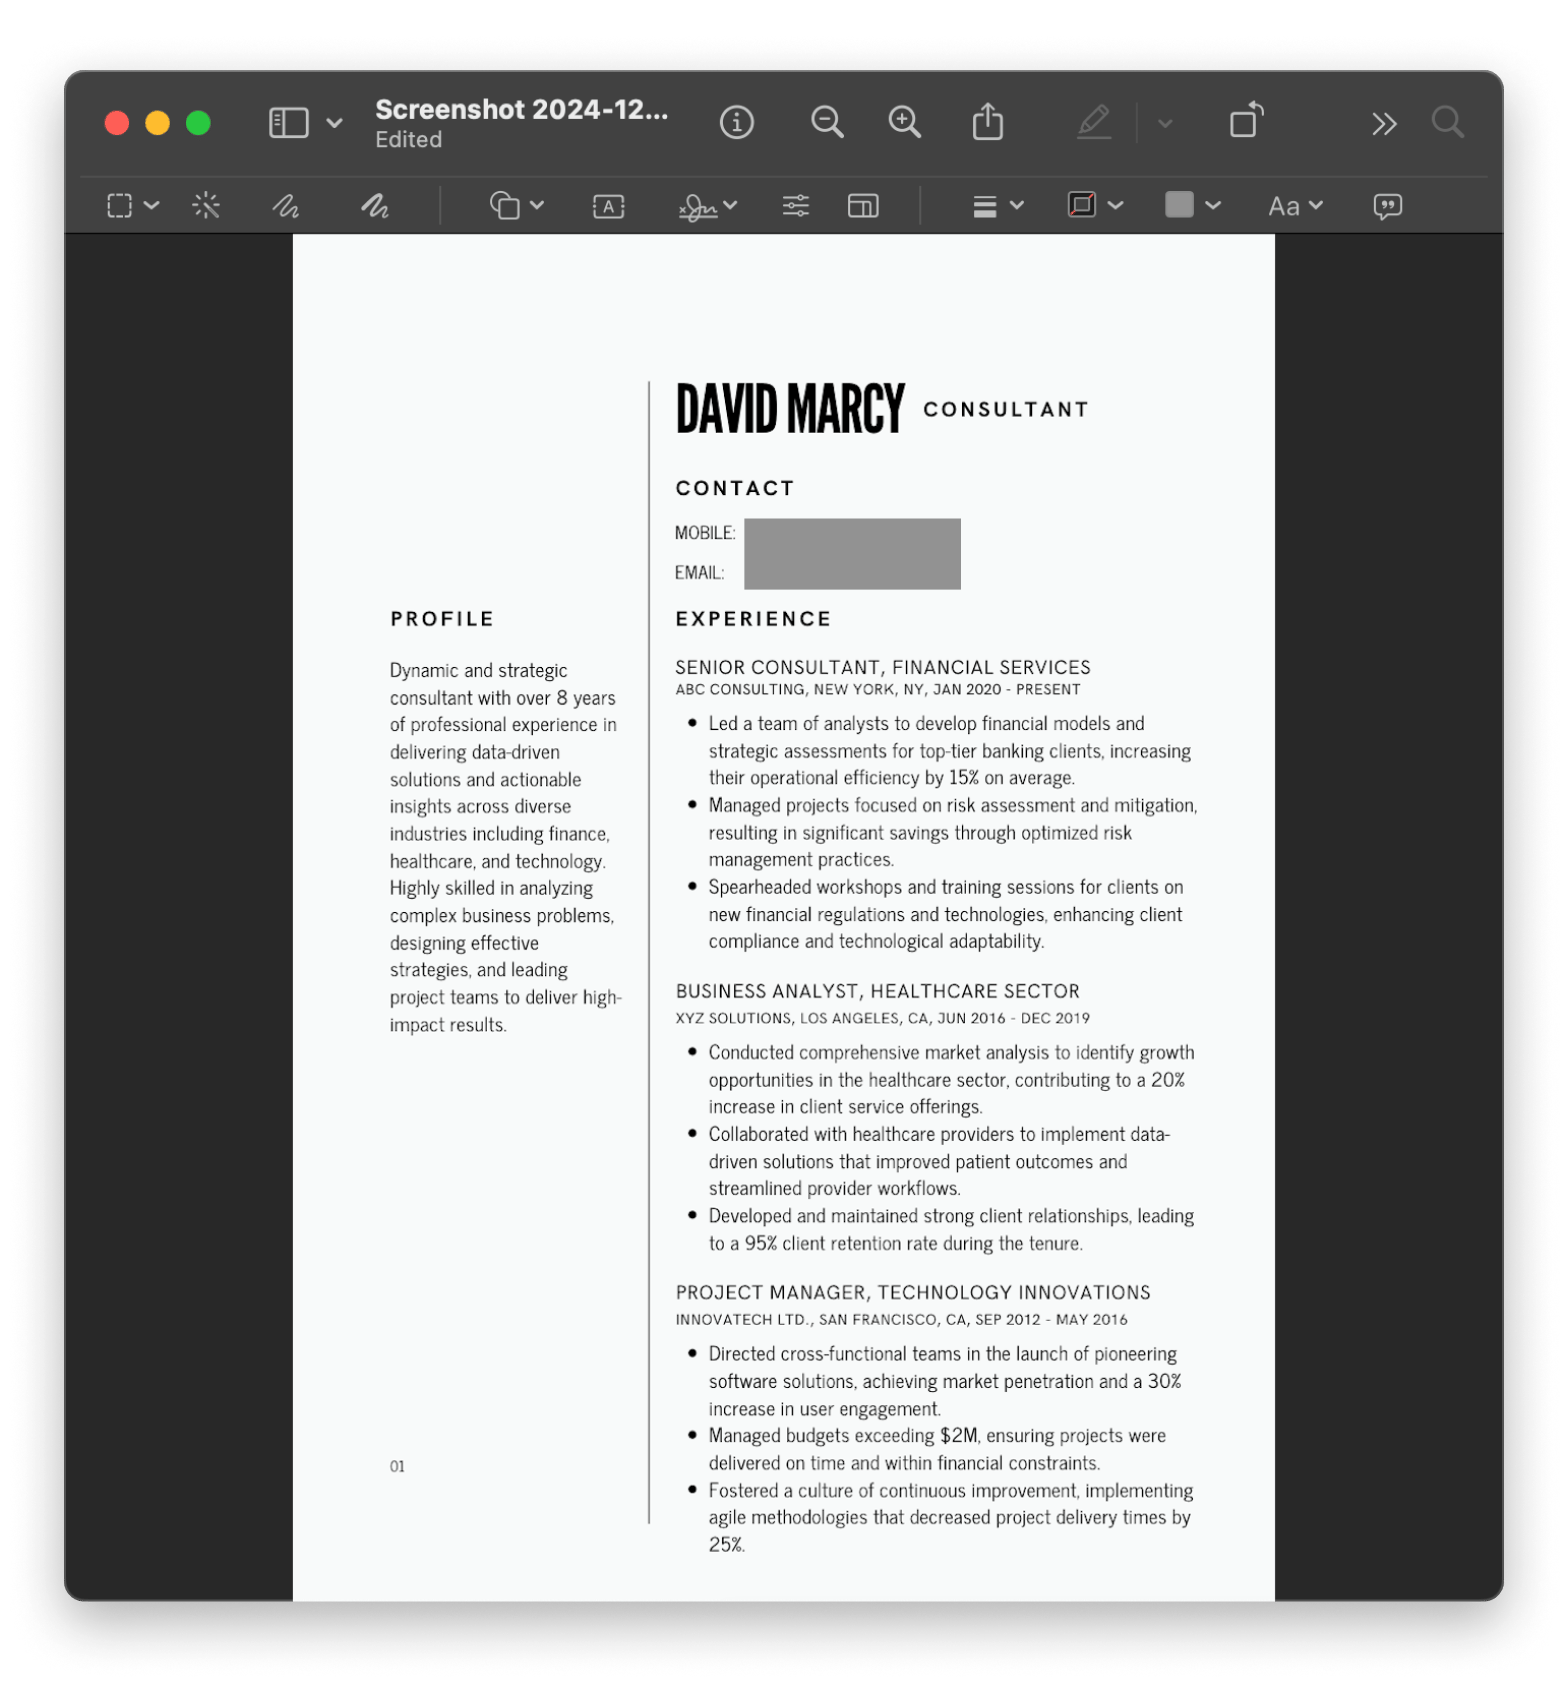
If you’re using macOS, the built-in Preview app is a good starting point for redacting and turning screenshots into PDFs. While Preview lacks advanced blur functionality, you can still hide text by blacking it out.
Here’s how to redact with Preview:
- Locate the screenshot and Right-Click > Open With > Preview.
- When the screenshot opens in Preview, go to Tools in the Apple menu bar.
- Choose Annotate > Choose the shape of your choice (I recommend a rectangle).
- Drag the shape into place over what you want to censor.
- If you wish, change the shape color > File > Save.
Now that you’ve saved it, a shape will neatly cover sensitive information when you open the screenshot. For professional documents, I advise you to choose a clean shape with a neutral color. It’s also best not to make the shape any bigger than it needs to be; you don’t want it to overwhelm the document!

Want to get an advanced Previe alternative? Check out the screenshot tool for advanced Mac users.
How to redact information on a screenshot in advanced mode
For a more sophisticated approach, CleanShot X is one of the right tools for Mac users to redact text in screenshots. CleanSho Xt provides not only basic features but also advanced ones like blurring and highlighting.
Here’s how to use CleanShot X:
- Install and open the app.
- Click on the app icon in the top menu bar > Choose whichever capture option you prefer, i.e., window, the entire screen, or a precise area.
- After taking a screenshot, you’ll see a small window in the left corner. Click the edit icon (pencil) to edit in the CleanShot X app.
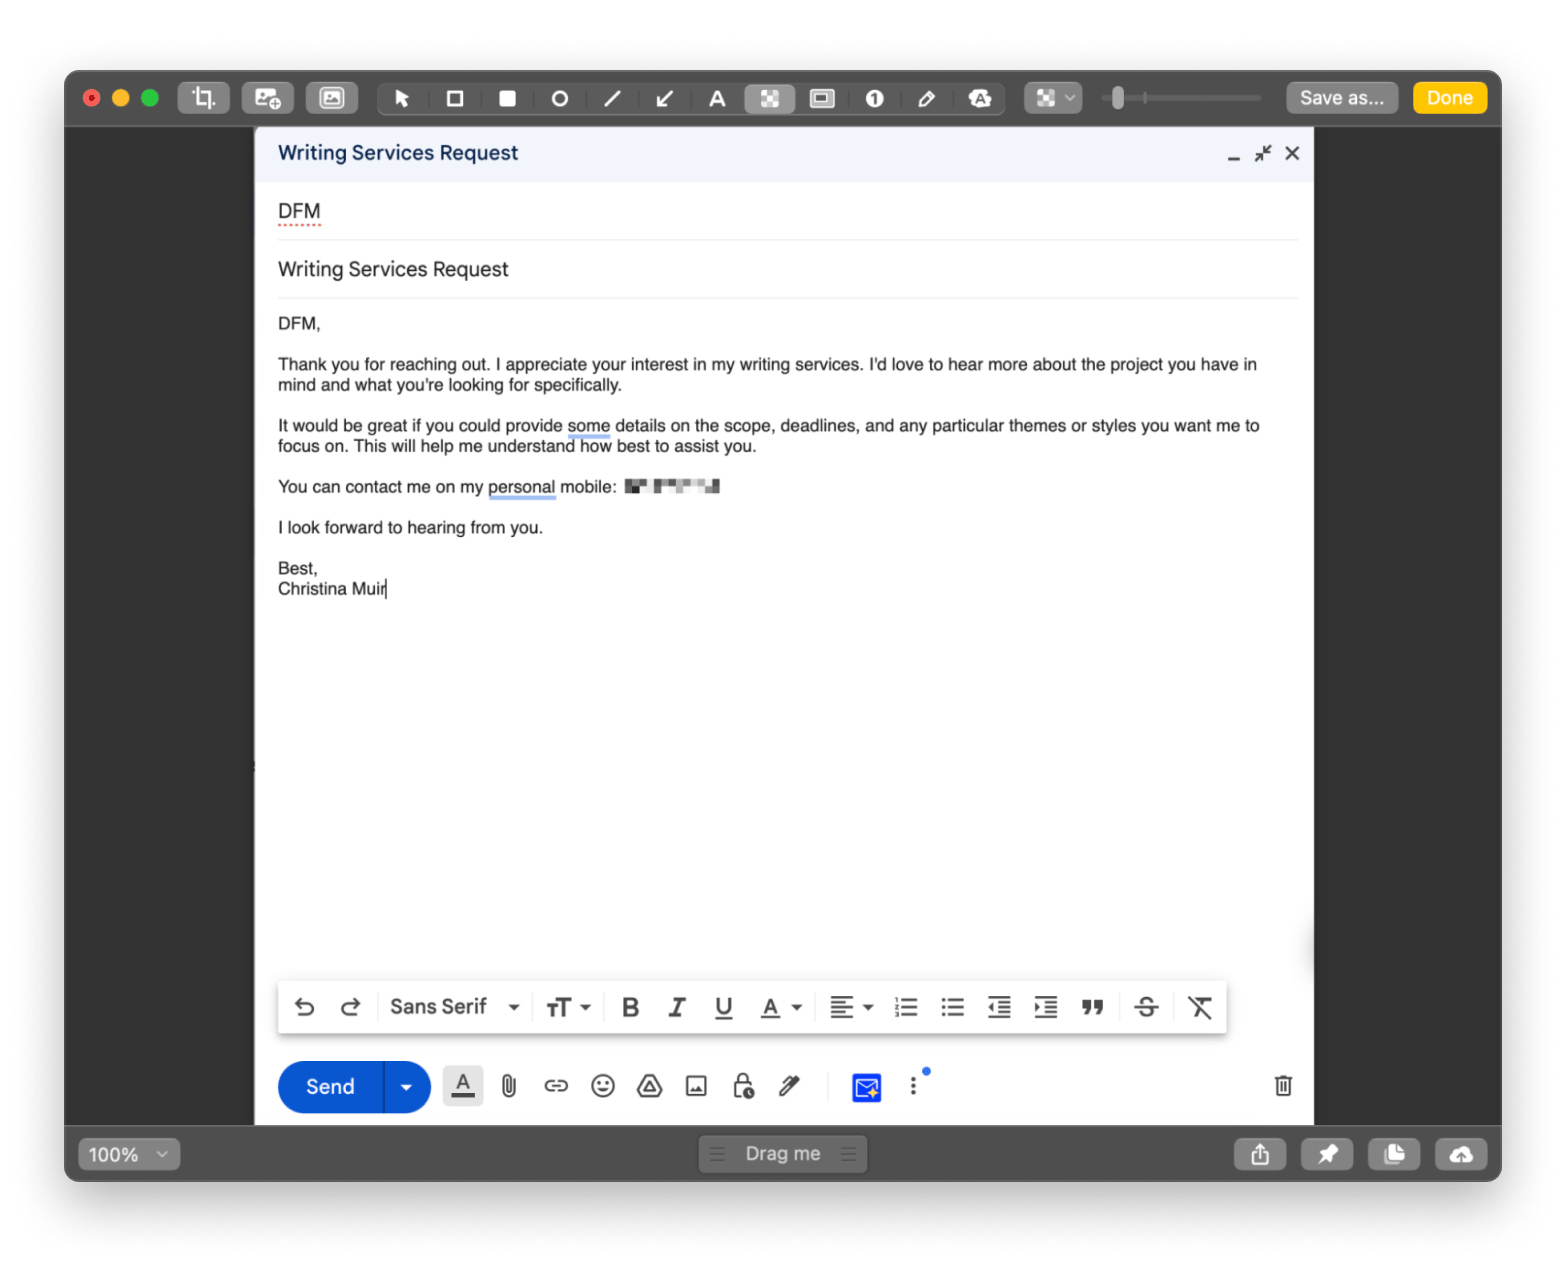
- Click on the Pixalate icon to obscure text or sensitive areas. Drag over the area you want to blur.
- Adjust the intensity of the blur using the slider for better precision/coverage.
- Save or share the redacted image directly via Save As in the top right corner.

CleanShot X is one of those apps that I recommend to everyone. No matter what your job is, there comes a time when you need to hide details in a screenshot before you send it.
How to blur text automatically
It’s great to blur text in screenshots with a few clicks, but long documents with lots of text to scan through for sensitive bits or numerous files, all with similar blurring requirements, are a slog to get through. For those who want to redact screenshots quickly and efficiently, Xnapper is a fantastic option.
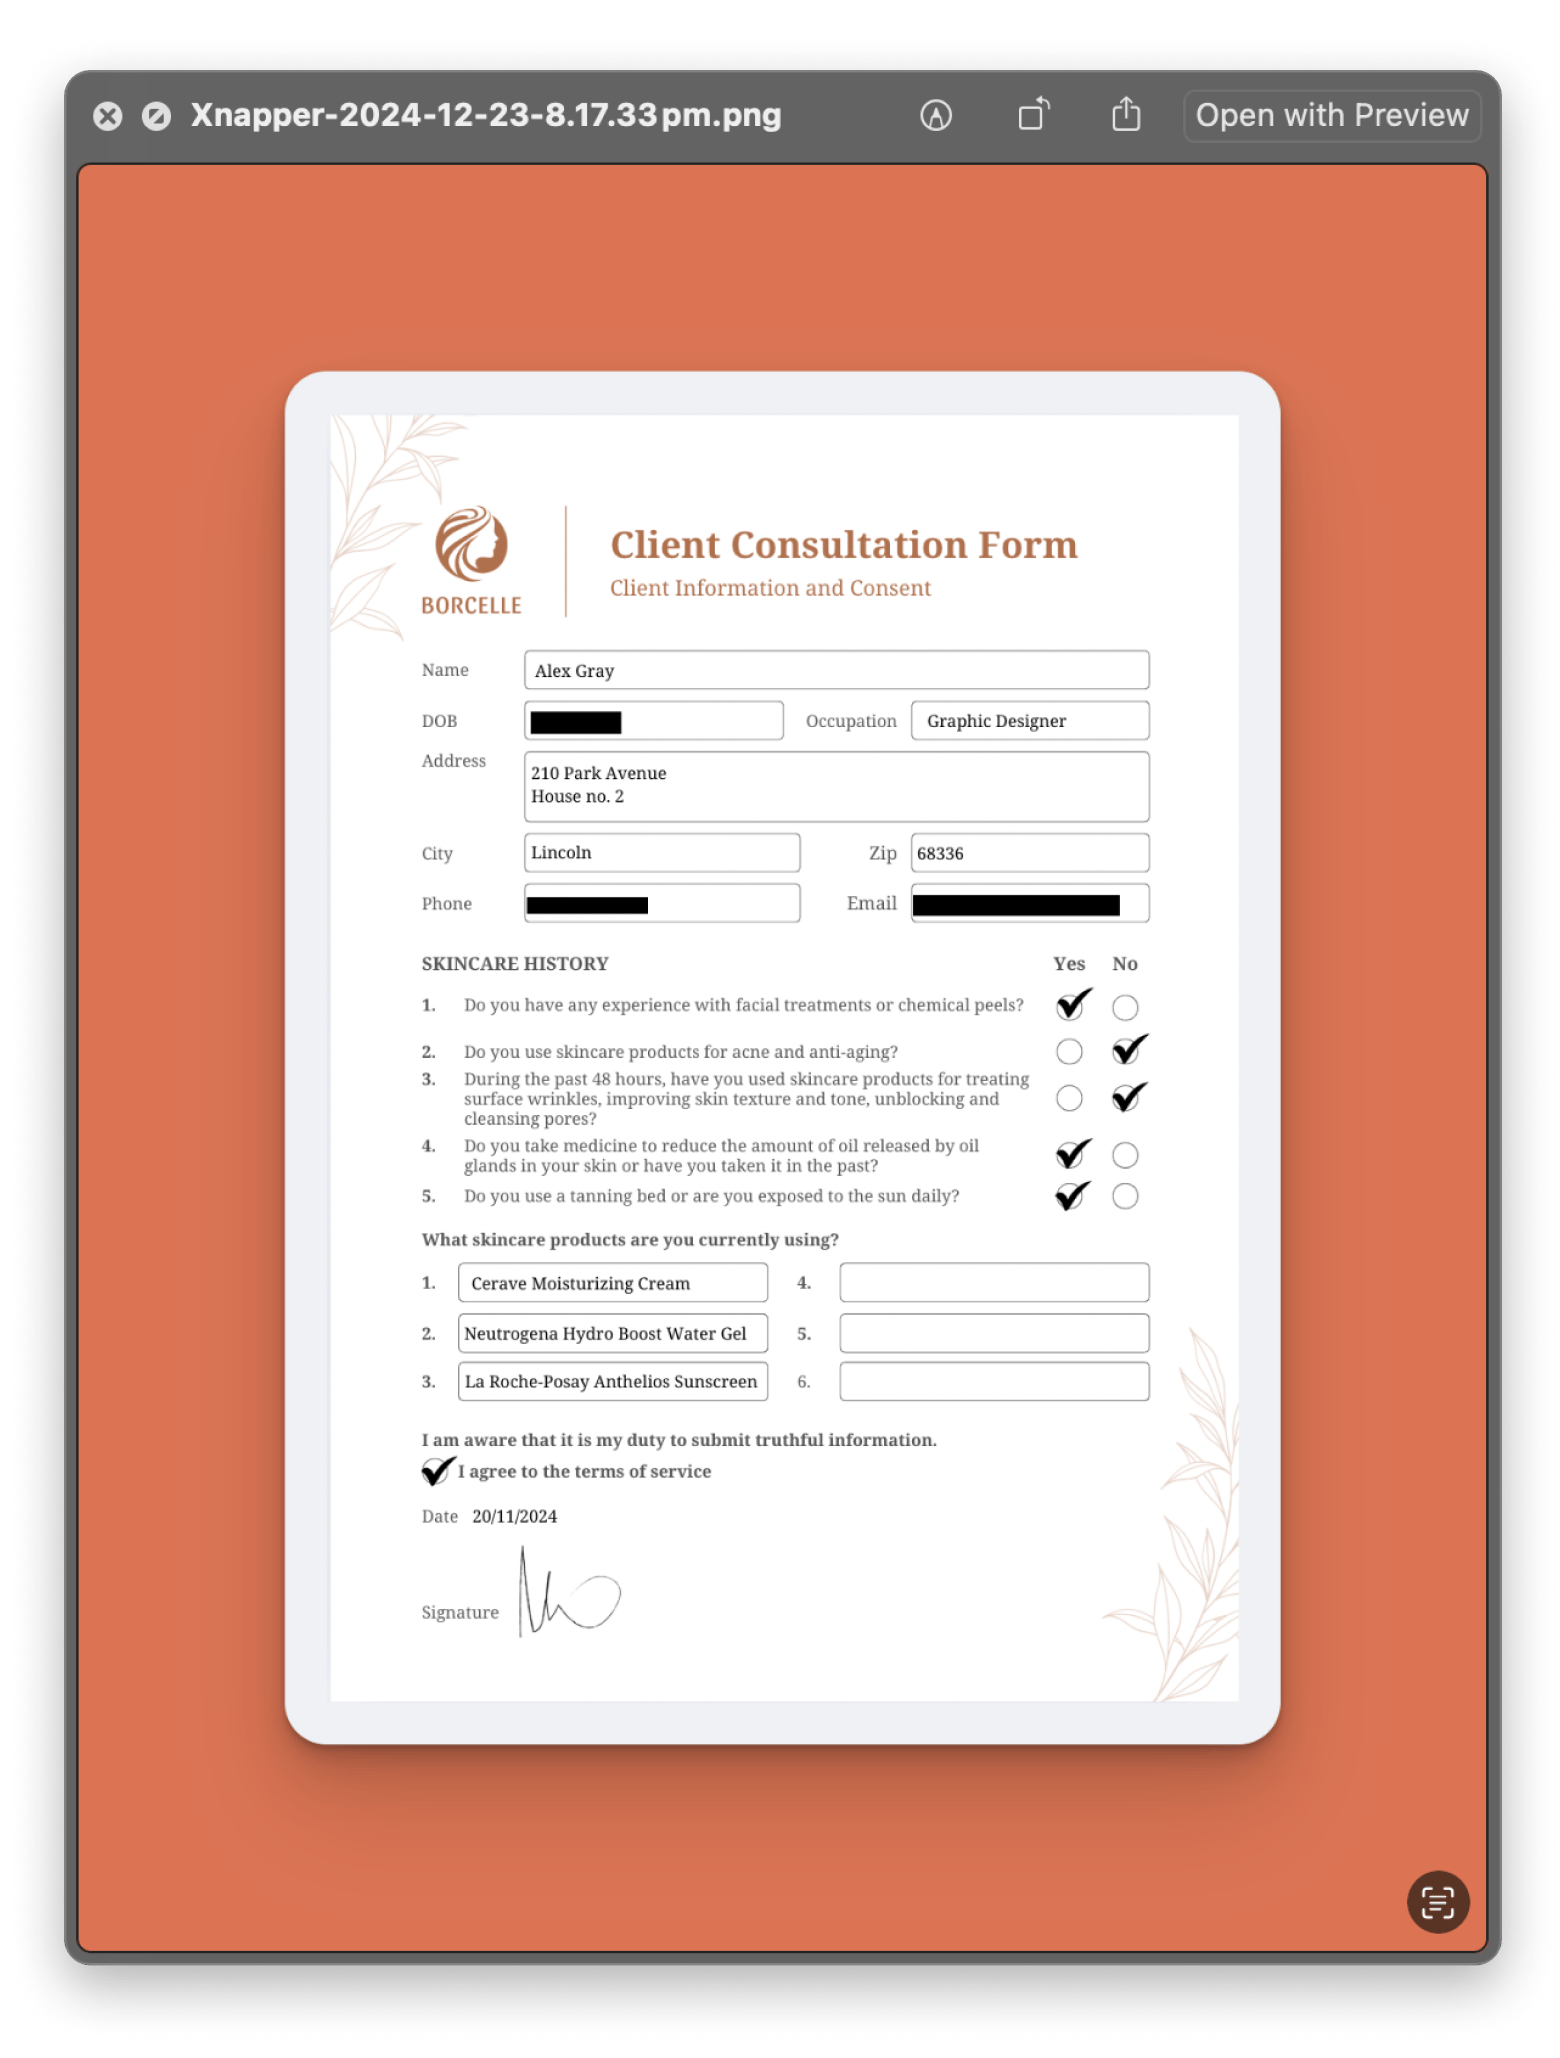
Xnapper has an auto-blur feature that uses AI to detect and remove sensitive content from images without you having to lift a finger. This saves time and catches things the human eye can overlook.
How to blur text in screenshots using Xnapper:
- Install and open the app.
- Click the Xnapper icon in the menu bar > Choose Take Screenshot or Open from File.
- Turn on the Redact Sensitive Data tool. The cog icon next to the sensitive field allows you to adjust its classification.
- Save or export the edited screenshot.

How to hide details in a screenshot on all your Apple devices
Like most of us Apple users, working across multiple iOS and macOS devices is common. You may often need to hide sensitive details in screenshots before sharing them, especially in an office setting where confidential information must always be protected.
Dropshare provides a way to capture screenshots and edit them directly on your device. After editing, Dropshare allows for easy sharing, making it a powerful all-rounder, and I gravitate towards it time and time again.
How to remove personal information from a screenshot on a Mac using Dropshare:
- Install and open Dropshare, and access it on your Mac’s menu bar.
- Either use Dropshare to take a screenshot using the square tool at the top of the window or select the cog in the top right corner to import one.
- Once the screenshot is in Dropshare, select the cog > Annotate Image.
- In the editing window, choose either of the two blur tools, click, and drag an area to cover. Revert the effect by clicking on the blur.
Dropshare also works well on iPhones, and it’s a bonus that you can transfer edited images between devices in seconds. As an example of how useful this app is, I used a tool to hide details in a screenshot on my Mac using Dropshare, sent it to iCloud, and later on used the Dropshare app on my iPhone to remove personal information from a screenshot I had missed.

Redact images with ease to protect your privacy
Sure, it’s easy to quickly scribble over something using a pen on Preview’s markup function, but it doesn't look professional and, most importantly, risks sensitive information peeking out.
Learning how to blur screenshots with sensitive data is an essential skill; regardless of whether you’re using macOS’s built-in Preview app or advanced tools like CleanShot X, Xnapper, and Dropshare, there are solutions for every situation.
Whether they be doctor’s notes, contracts, or a mirror selfie before a work event, give your images the presentation they deserve with clean, thorough editing tools. It only takes a few seconds and a couple of clicks, and you can share screenshots with peace of mind.
With Setapp, you can access these brilliant tools in one convenient subscription. Simplify your workflow and boost productivity with Setapp’s 7-day free trial of over 250 apps, each with something new to bring to your device.


